
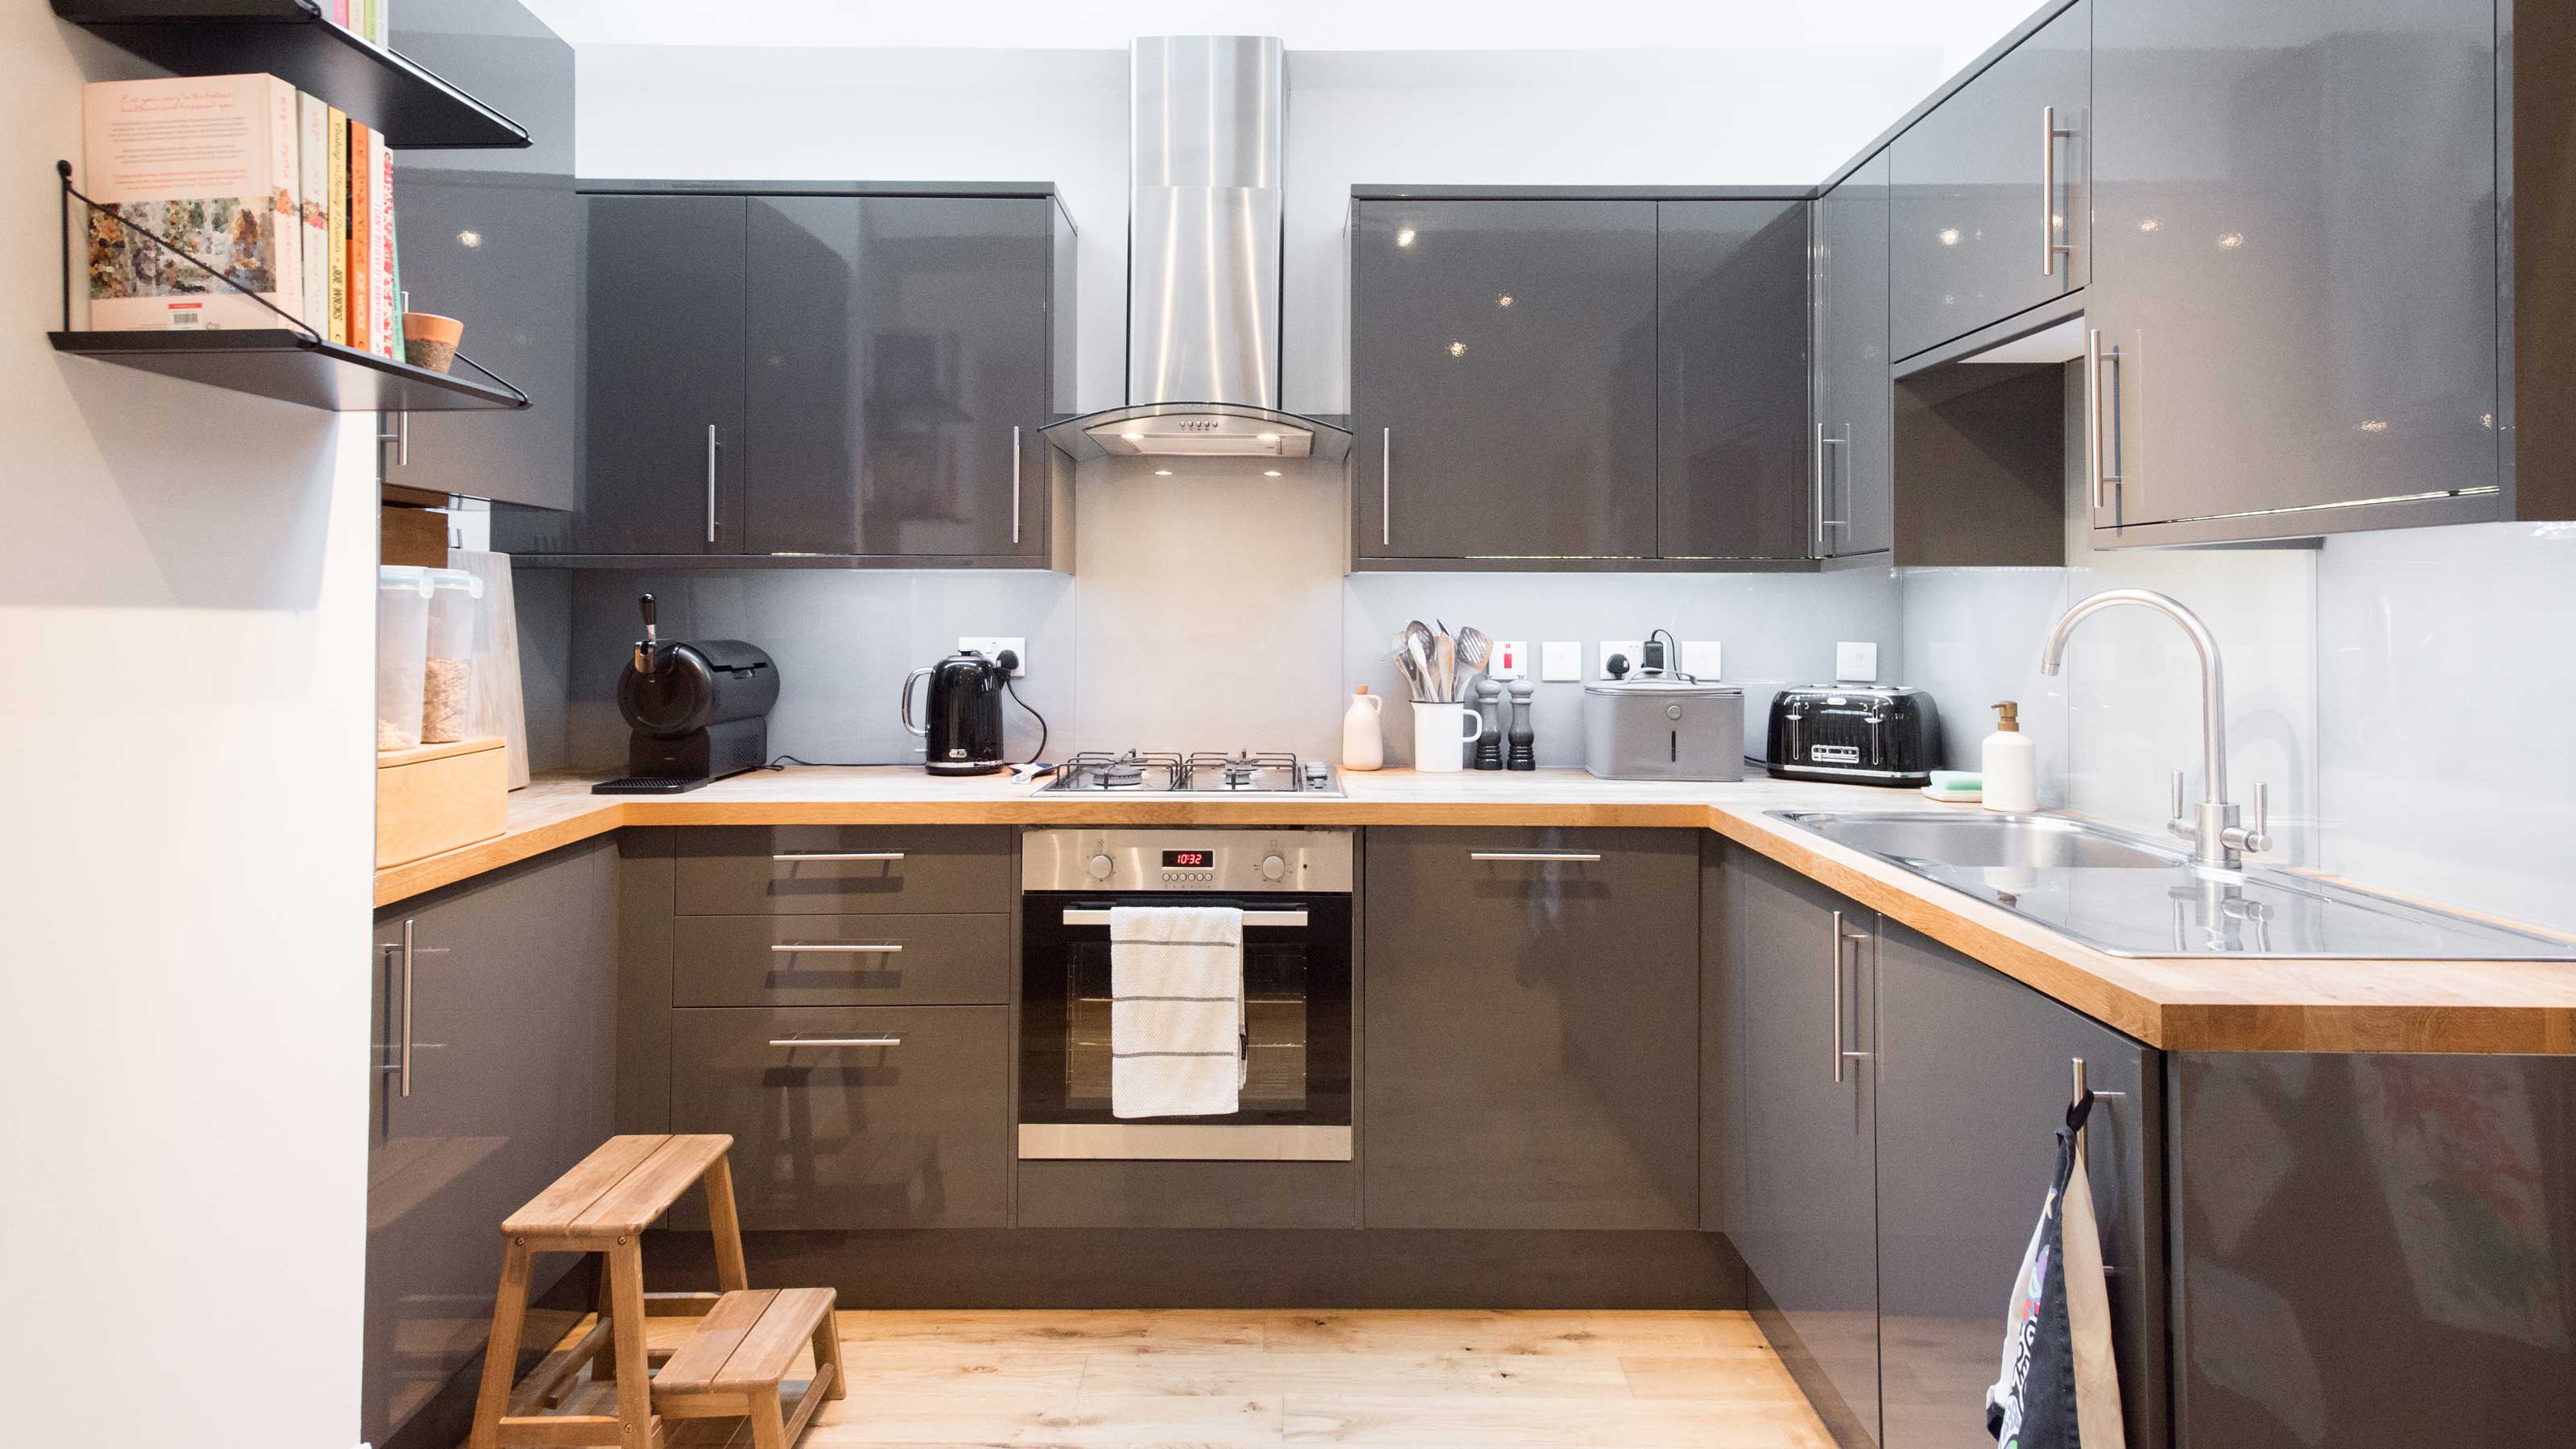
Making kitchen cabinets look sleek and shiny can completely change the feel of your kitchen. High gloss cabinets are popular because they reflect light, make spaces look larger, and add a modern touch. Many people believe getting that perfect, glass-like finish is only possible with expensive materials or professional help. However, with the right approach, you can create high gloss kitchen cabinets at home—saving money and learning valuable DIY skills. In this guide, you’ll find all the steps, tips, and details you need to achieve a stunning, durable high gloss finish, even if you’re new to painting or refinishing furniture.
Understanding High Gloss Cabinets
Before you start, it’s important to know what makes high gloss cabinets unique. The glossy look comes from surfaces that are perfectly smooth and highly reflective. This effect is achieved by careful preparation, the right products, and proper application techniques. High gloss finishes are not just about looks—they’re also easy to clean and resistant to stains, making them practical for busy kitchens.
There are several ways to get a high gloss look: using special paints, lacquers, or even applying glossy laminates. Each method has its pros and cons, but the core steps—preparation, priming, painting, and finishing—are always crucial. Skipping or rushing any of these steps usually leads to a dull or uneven result.
Tools And Materials Needed
Getting a professional look starts with having the right tools and supplies. Here’s what you’ll need:
- Screwdriver (for removing cabinet doors and hardware)
- Mild cleaner or degreaser (such as dish soap or TSP)
- Sandpaper (120, 220, and 400 grit)
- Tack cloths
- Painter’s tape
- Drop cloths or plastic sheeting
- High-quality primer (bonding primer for laminate, stain-blocking for wood)
- High gloss paint (acrylic, alkyd, or lacquer)
- Foam rollers (for smooth finishes)
- High-quality brushes (synthetic bristles)
- Paint sprayer (optional, for ultra-smooth finish)
- Polyurethane or clear lacquer (for extra gloss and protection)
- Respirator mask (especially for spraying or using solvent-based products)
- Gloves and safety glasses
Many beginners miss the importance of good preparation. Cheap brushes or skipping proper sanding can ruin the final result, no matter how good your paint is.
Credit: insideflyer.co.uk
Planning And Preparation
Emptying And Cleaning
Start by removing all items from your cabinets. Take off the doors, drawers, and hardware (handles, hinges, etc. ) With a screwdriver. Label each piece to make reassembly easier. Place hardware in sealed bags so nothing gets lost.
Clean every surface thoroughly with a degreaser or mild soap. Kitchen cabinets often have grease and dust that will prevent paint from sticking. Rinse well and let them dry completely.
Sanding
Sanding is the secret to a smooth, glossy finish. Use 120-grit sandpaper to remove old finish, scratches, or rough spots. For laminate cabinets, a light scuff is enough—just to give the surface some “tooth” for the primer. For wood, sand with the grain to avoid scratches.
After sanding, wipe every surface with a tack cloth to remove dust. Repeat this process between each layer you apply later. Many beginners skip this, leading to a gritty or bumpy finish.
Masking And Protecting
Cover countertops, floors, and nearby walls with drop cloths or plastic. Use painter’s tape to protect areas you don’t want painted. Take time with this step—paint splatters are hard to clean from tiles or appliances.
Choosing The Right High Gloss Product
Not all gloss paints are the same. Here’s a quick comparison to help you choose:
| Type | Best For | Pros | Cons |
|---|---|---|---|
| Acrylic Latex | Most cabinet materials | Easy to use, fast drying, low odor | Not as hard as oil-based |
| Alkyd (Oil-based) | Wood cabinets | Very durable, super smooth | Slow drying, strong odor, requires mineral spirits |
| Lacquer | Professional finish | Ultra-glossy, hard, glass-like | Needs sprayer, tricky for beginners, toxic fumes |
| Spray Paint | Small jobs/edges | Even finish, easy touch-ups | Hard to control on large areas |
For most DIYers, acrylic latex or alkyd paint offers the best balance of shine, durability, and ease of use. If you want a showroom look and have some experience, lacquer is unbeatable—but be aware of its handling and safety needs.
Priming: The Foundation For Gloss
Primer makes a huge difference. It helps paint stick, blocks stains, and smooths out imperfections. Use a bonding primer for laminate or glossy surfaces, and a stain-blocking primer for wood (especially if you’re covering dark stains or knots).
Apply primer with a foam roller or spray for a smooth base. Let it dry fully, then sand lightly with 220-grit sandpaper. Wipe with a tack cloth before painting. This step is often rushed, but taking time here will make your topcoat flawless.
Painting: Achieving The High Gloss Effect
Applying The Paint
Stir your paint well. Pour it into a paint tray for rollers, or load your sprayer according to instructions. Use thin, even coats. Thick layers will run or stay tacky.
- Foam rollers work well for flat surfaces and deliver a nearly spray-like finish.
- High-quality brushes are best for edges, corners, and detailed areas.
- Sprayers give the smoothest finish but require careful masking and practice.
Apply the paint in long, straight strokes, working with the grain (for wood). Overlap each pass slightly to avoid lines. Let each coat dry completely (check your paint’s recommended drying time, usually 4–6 hours for latex, 16–24 hours for alkyd).
Sand lightly between coats with 400-grit sandpaper. This removes dust and helps the next layer bond better, resulting in a mirror finish.
Number Of Coats
Plan for at least two coats of paint, sometimes three for full coverage and depth. More thin coats are better than one thick one.

Credit: penniesforafortune.com
Adding The Ultimate Shine: Topcoat Application
Even the best high gloss paint can be improved with a clear topcoat. Polyurethane (water-based for light colors, oil-based for dark colors) or clear lacquer adds durability and extra gloss.
- Apply topcoat with a clean foam roller or sprayer.
- Let each coat dry, and sand lightly with 400-grit sandpaper between coats.
- Two coats are usually enough, but three will give a glass-like finish.
A topcoat also makes cleaning easier and protects your cabinets from scratches, stains, and water damage.
Drying And Curing: Patience Pays Off
Many people move too fast after painting. While paint may feel dry to the touch after a few hours, it takes longer to cure (harden fully). Wait at least 48–72 hours before reattaching doors and hardware. Avoid heavy cleaning or scrubbing for at least 2–3 weeks. This ensures the finish won’t get dented, chipped, or dulled.

Credit: www.fabuwood.com
Reassembling And Final Touches
Once everything is cured, carefully remove painter’s tape. Reinstall the hardware and rehang the doors and drawers. Wipe surfaces with a microfiber cloth to remove dust. Step back and admire your new, glossy kitchen!
Common Mistakes And How To Avoid Them
Even careful DIYers sometimes make errors that spoil the high gloss look. Here are a few to watch out for:
- Not cleaning thoroughly: Grease and dust stop paint from sticking.
- Skipping sanding: This leads to bumpy, uneven finishes.
- Using cheap tools: Low-quality rollers or brushes leave marks.
- Applying paint too thickly: Causes drips and a dull finish.
- Rushing drying time: Leads to fingerprints and dents.
A non-obvious tip: Humidity and temperature matter a lot. High humidity or cold slows drying and can cause the finish to stay tacky for days. Work in a well-ventilated, moderate temperature room.
Maintenance Tips For Long-lasting Gloss
High gloss cabinets are easy to keep clean, but need gentle care to stay shiny.
- Wipe spills quickly with a damp, soft cloth.
- Avoid abrasive cleaners or pads—they will scratch the surface.
- For tough spots, use a mild soap and water solution.
- Regularly dust with a microfiber cloth to keep the shine.
- Add felt bumpers to doors to reduce chipping from slamming.
A practical insight: Even the most durable finish can chip if hit with a heavy pan or sharp object. Keep touch-up paint handy for quick fixes.
Comparing Diy Vs. Professional Finishes
You might wonder how a DIY high gloss finish compares to hiring a pro. Here’s a side-by-side look:
| Factor | DIY | Professional |
|---|---|---|
| Cost | Low ($100–$300) | High ($1,000+) |
| Time Required | 2–5 days (plus curing) | 1–3 days |
| Finish Quality | Very good with care | Perfect, glass-like |
| Customization | Any color, more effort | Wide range, less effort |
| Durability | High (with proper prep) | Very high |
A key insight: You can achieve 90% of a professional look at home if you’re patient and follow all prep steps. The last 10%—flawless, glass-smooth finish—is usually due to specialized sprayers and controlled environments.
Alternative High Gloss Methods
Painting isn’t the only way to get high gloss cabinets. Here are two other popular options:
High Gloss Laminate Or Acrylic Fronts
Many modern kitchens use laminate or acrylic panels for a super-shiny look. These are factory-made and simply installed over existing cabinet boxes. They’re ultra-durable, water-resistant, and come in hundreds of colors.
- Pros: Instant shine, easy to clean, no painting mess.
- Cons: Expensive, less DIY-friendly, harder to repair scratches.
High Gloss Vinyl Wraps
A newer option is vinyl wrapping. Special adhesive films are applied over cabinet surfaces.
- Pros: Fast, no mess, huge color/pattern variety.
- Cons: Less durable than paint or acrylic, can peel in humid kitchens.
If you want to learn more about material types and gloss finishes, check out this resource from Wikipedia.
Realistic Expectations: What High Gloss Does (and Doesn’t) Do
High gloss cabinets are beautiful, but they do show fingerprints, smudges, and scratches more than matte finishes. They reflect light, so every imperfection stands out. This means preparation and regular gentle cleaning are important.
They can make small kitchens look much bigger by bouncing light around. However, in very bright rooms, the shine can sometimes feel intense or cold. Mixing high gloss lowers with matte uppers is a popular way to balance the look.
Troubleshooting Common High Gloss Problems
Even with care, sometimes issues pop up. Here’s how to handle the most common:
- Orange peel texture: Usually from rolling too fast or overworking paint. Sand lightly and add a thin topcoat.
- Brush marks: Switch to a foam roller or use a paint conditioner to help paint level out.
- Bubbles: Can be from shaking paint or painting in humid conditions. Sand and repaint.
- Dull patches: Missed spots or uneven topcoat. Clean, sand gently, and add a new clear layer.
A small detail many miss: Always check cabinets under strong light before finishing. Gloss reflects every flaw—better to fix now than after everything is dry.
Advanced Tips For A Super-gloss Finish
If you want to go beyond the basics and aim for a truly flawless, showroom-level shine:
- Wet sanding: After the last paint coat, use 1000–2000 grit sandpaper with a little water. Sand very lightly in circles, then wipe clean. This creates a glassy smoothness.
- Rubbing compound: Use an automotive rubbing compound and a microfiber pad. Buff gently to polish out tiny scratches and boost shine.
- Polishing: Finish with a swirl remover or fine polish for a mirror look. Always test on a hidden spot first.
These steps are optional, but can elevate your cabinets to the next level.
Safety Tips
High gloss painting often involves fumes and dust. Protect yourself and your home:
- Always wear a respirator mask when sanding or painting.
- Work in a well-ventilated area.
- Wear gloves and eye protection.
- Store paint and chemicals safely, away from children and pets.
- Dispose of rags and brushes responsibly (oil-based products can self-ignite).
Small investments in safety gear make the project much more pleasant.
Frequently Asked Questions
How Long Does The High Gloss Finish Last On Kitchen Cabinets?
With good prep and proper products, a high gloss finish can last 5–10 years or longer. Durability depends on use, cleaning methods, and the quality of your application.
Can I Apply High Gloss Paint Over Existing Cabinets Without Sanding?
Sanding is essential for a durable, smooth result. Even “no-sand” primers work better with a light scuff. Skipping sanding often leads to peeling or uneven gloss.
Is It Better To Spray Or Roll High Gloss Paint?
Spraying gives the smoothest, glass-like finish, especially for large, flat areas. However, foam rollers can deliver excellent results with less mess and practice. For beginners, rolling is usually safer.
How Do I Fix Scratches Or Chips In High Gloss Cabinets?
Clean the area, sand lightly, and touch up with matching high gloss paint. For deeper scratches, fill with wood filler, sand smooth, then repaint. Always finish with a clear topcoat for best results.
Are High Gloss Cabinets Hard To Keep Clean?
They’re easy to wipe, but do show fingerprints and smudges more than matte finishes. A quick wipe with a microfiber cloth keeps them shiny. Avoid abrasive cleaners to prevent scratches.
Shiny, modern, and surprisingly achievable—high gloss kitchen cabinets can transform your space. With patience, the right tools, and a careful approach, you can create a look that rivals professional results. Whether you choose paint, laminates, or wraps, the key is all in the preparation and finishing touches.
Invest time up front, and you’ll enjoy a brilliant kitchen for years to come.