
Installing frameless cabinets can completely change the look of your kitchen or workspace. These cabinets, also called European-style cabinets, have a modern design with no face frame on the front. That means you get more space inside, a clean look outside, and easier access to your storage.
But, installing frameless cabinets is different from traditional framed cabinets. You need to measure carefully, use the right tools, and follow clear steps. Many people make small mistakes that affect the final result, so careful planning is important.
This guide will show you every detail you need to know about how to install frameless cabinets. Whether you’re a DIY beginner or an experienced renovator, you’ll learn the correct process, get useful tips, and discover what usually goes wrong.
You’ll also find out how to avoid common errors and how to make your installation last for years. Let’s dive in and help you install your frameless cabinets with confidence.
What Are Frameless Cabinets?
Frameless cabinets are different from traditional cabinets because they do not have a face frame on the front. The doors attach directly to the sides of the box, creating a smooth and modern appearance. This style is popular in Europe and has become common in contemporary homes around the world.
Key Features
- No face frame: The front is flat, and the cabinet box is fully visible.
- Full access: There’s more room to store larger items.
- Modern look: Clean lines and minimal gaps between doors.
- Adjustable hinges: Special European hinges allow precise door adjustment.
Where Are Frameless Cabinets Used?
You’ll see frameless cabinets in kitchens, bathrooms, laundry rooms, and even in offices. They work best in spaces where you want a simple, seamless design and easy access to everything inside.
Tools And Materials You Need
Before you start, gather all your tools and materials. Missing even one item can slow you down or cause mistakes.
Essential Tools
- Drill/driver (cordless recommended)
- Level (at least 4 feet long)
- Measuring tape (at least 25 feet)
- Pencil
- Stud finder
- Clamps (quick-release work best)
- Screwdriver set
- Rubber mallet
- Utility knife
- Square (for checking corners)
- Shims (plastic or wood)
- Step ladder or small scaffold
Materials
- Frameless cabinet boxes (assembled or ready-to-assemble)
- Mounting screws (2.5- to 3-inch wood screws)
- Cabinet hanging rail (if your cabinets use this system)
- Filler strips (if needed for walls or appliances)
- Toe kick panels
- End panels and scribe molding
- Cabinet door and drawer fronts
- Hinges (usually included, but double-check)
- Shelves and supports
- Finishing nails
Having everything ready saves time and prevents frustration. For large projects, organize your tools and materials by area or cabinet type.
Planning Your Installation
Frameless cabinet installation is all about planning. Poor planning leads to uneven cabinets, gaps, and wasted time. Follow these steps to ensure success.
Measure Your Space
Start by measuring the length, height, and depth of the wall where you will install the cabinets. Write down every measurement, and measure at least twice. Walls and floors are rarely perfectly straight, so check for any uneven spots.
Mark Reference Lines
Draw a level line on the wall for the top of the base cabinets, usually 34.5 inches from the floor (for standard 36-inch height with countertop). Mark another line for the top of the wall cabinets, usually 54 inches from the floor (assuming 18 inches between countertop and wall cabinets).
Find And Mark Studs
Use a stud finder to locate wall studs. Mark each stud with a pencil. You’ll screw the cabinets into these for strong support.
Check For Obstacles
Look for outlets, plumbing, vents, and other obstacles. Plan how the cabinets will fit around these. Sometimes, you’ll need to cut the back of a cabinet or install a filler piece.
Plan The Cabinet Order
Decide which cabinet goes where. Start in a corner or at one end of the run. Write the installation order on paper or tape labels on each cabinet. This small step saves confusion later.
Preparing The Workspace
A clean, organized space helps you work faster and safer. Move furniture out of the way and cover floors with drop cloths to protect them from scratches or dropped tools. Remove old cabinets if you’re replacing them. Clean the walls to help cabinets sit flush.
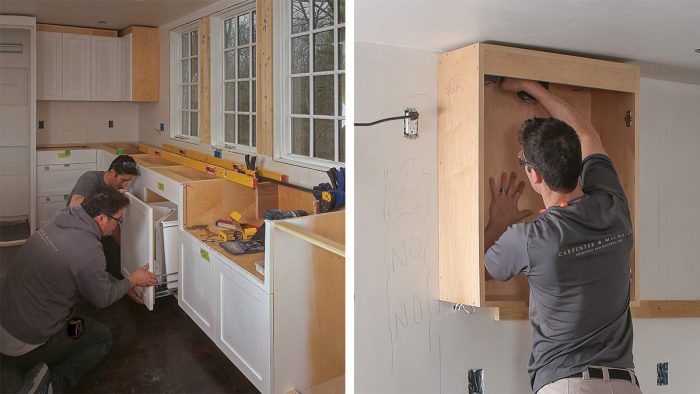
If you’re working alone, have a sturdy support system ready. Buckets, boxes, or a cabinet jack can help you hold cabinets in place while you fasten them.
Credit: www.finehomebuilding.com
Assembling Frameless Cabinets
Many frameless cabinets come as flat packs, especially from big brands like IKEA. Others arrive pre-assembled. Always follow the manufacturer’s instructions, but here are some universal tips.
Step-by-step Assembly
- Lay out all parts and hardware. Make sure nothing is missing.
- Assemble the box. Connect the sides, top, bottom, and back panel. Use screws or cam locks as directed.
- Install shelf supports but leave shelves out until after installation.
- Attach legs (for base cabinets) if your model uses adjustable legs.
- Do not attach doors or drawers yet. Add these after the cabinets are on the wall for easier handling.
Double-check each box for squareness. Place a square in the corners—if the box isn’t square, the doors won’t hang right.
Installing Base Cabinets
Base cabinets go in first. They support the countertop and help align the wall cabinets above.
Step 1: Level The First Cabinet
Place the first base cabinet in the starting position (usually a corner). Check if the floor is level. If not, use shims under the cabinet to make it perfectly level front-to-back and side-to-side.
Step 2: Secure To The Wall
Drill through the cabinet back into the wall stud using 2. 5- or 3-inch screws. Do not over-tighten—just enough to hold the cabinet firmly. Use at least two screws per stud.
Step 3: Add And Connect Cabinets
Set the next cabinet beside the first. Clamp them together at the front and back edges to keep the face perfectly flush. Drill small pilot holes through the cabinet sides and screw the boxes together. Only tighten after checking both are still level.
Step 4: Continue The Run
Repeat the process for each base cabinet. Shim as needed to keep all cabinets perfectly level and at the same height. Check alignment every two or three cabinets.
Step 5: Install Fillers And Panels
If your cabinets do not reach the wall (for example, near appliances or corners), install filler strips. These cover gaps and give a custom look. Cut fillers to size, clamp in place, and screw from inside the cabinet.
Step 6: Attach The Toe Kick
Most frameless cabinets have a separate toe kick panel. Measure, cut, and snap or screw it into place along the base. This covers the legs or open space and gives a finished look.
Installing Wall Cabinets
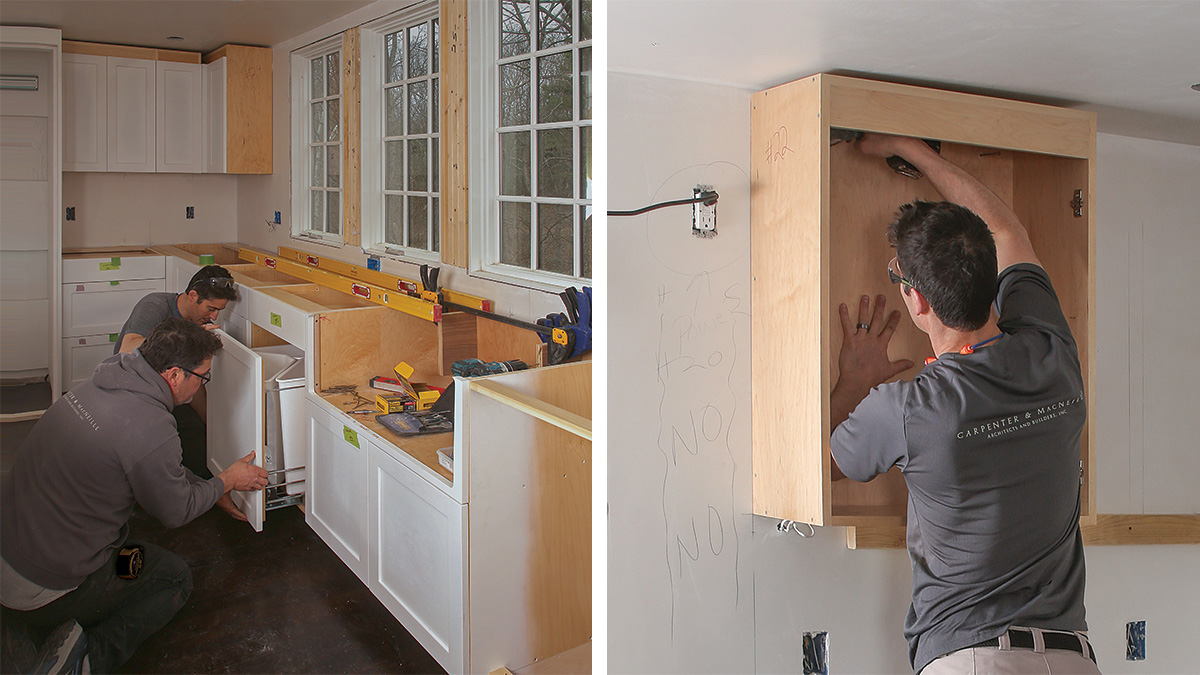
Wall cabinets are trickier to install because you must hold them up while fastening. It’s best to have a helper, but you can use a cabinet jack or create a temporary ledge with a 1×3 board screwed to the wall at the base cabinet height.
Step 1: Mark The Top Line
Double-check your level line for the top of the wall cabinets. Measure from the floor up to make sure it matches your plan.
Step 2: Pre-drill Mounting Holes
Drill holes in the back of the cabinet at the stud locations. This makes installation easier and prevents splitting.
Step 3: Hang The First Cabinet
Lift the first cabinet into place. Rest it on your support ledge or jack. Use a level to check alignment. Screw through the back into the studs, but do not fully tighten until all cabinets are in place.
Step 4: Add More Cabinets
Add each cabinet, clamping it to the previous one. Drill small holes and screw the sides together. Check for level and plumb (vertical) every time.
Step 5: Tighten All Screws
Once all wall cabinets are up and perfectly aligned, tighten all screws fully. Remove the support ledge if you used one.
Step 6: Add End Panels
For cabinets that end a run, attach finished end panels. These cover the raw sides and give a polished look.
Installing Tall And Pantry Cabinets
Tall cabinets (like pantries or oven towers) need extra care because they are heavy and tall. Usually, you install them first, before base and wall cabinets, to avoid gaps or alignment problems.
How To Install Tall Cabinets
- Slide the tall cabinet into place.
- Use shims under the base to level it.
- Screw the cabinet to the wall studs at multiple points.
- Double-check that the front is plumb (vertical) and lines up with base and wall cabinets.
If the floor is uneven, you may need to trim the bottom of the cabinet or add extra shims for a perfect fit.
Attaching Doors, Drawers, And Hardware
Once the boxes are in place, you can add the finishing touches.
Doors
- Attach European hinges to the door first, then clip them into the pre-drilled holes in the cabinet.
- Adjust the hinges for perfect gaps (called “reveals”) around each door. Frameless cabinets need very even reveals for the best look.
Drawers
- Slide drawer boxes onto the metal runners. Snap into place if using soft-close runners.
- Adjust the front to be flush and even with the neighboring doors.
Handles And Pulls
- Mark handle positions with a template or measuring tape.
- Drill pilot holes and screw handles from the inside.
A common mistake is to rush this step. Take your time—uneven handles or doors are very noticeable on frameless cabinets.
Filling Gaps And Final Touches
No installation is perfect. You may see small gaps between cabinets or between cabinets and the wall.
How To Fix Gaps
- Use color-matched caulk for tiny gaps (less than 1/8 inch).
- Install scribe molding for larger gaps next to walls or ceilings.
- Fill holes with matching wood filler if you miss a screw or make a mistake.
Don’t forget to clean all surfaces, remove protective film, and adjust shelves to your preferred height.
Common Mistakes And How To Avoid Them
Even experienced installers can make errors with frameless cabinets. Here are mistakes to watch for and how to avoid them.
1. Not Checking For Level And Plumb
If your cabinets are not level, countertops will not fit right, and doors won’t align. Always check with a long level, not just a short one.
2. Over-tightening Screws
Frameless cabinets have thinner sides than framed cabinets. Over-tightening can split the material or cause the box to go out of square.
3. Ignoring Wall Variations
Walls and floors are rarely perfectly straight. Use shims and filler strips to hide gaps, and never force a cabinet into place.
4. Poor Door Adjustment
Frameless cabinets show uneven gaps more than framed ones. Spend extra time adjusting each hinge for the best look.
5. Not Using Enough Stud Screws
Cabinets are heavy and get even heavier with dishes and food inside. Always screw into every stud you can find.
Frameless Vs. Framed Cabinets: Quick Comparison
To understand why installation is different, see how frameless and framed cabinets compare:
| Feature | Frameless Cabinet | Framed Cabinet |
|---|---|---|
| Front Style | No frame, modern | Has face frame, traditional |
| Storage Space | More, full access | Less, frame blocks opening |
| Ease of Installation | Requires careful alignment | More forgiving for errors |
| Door Adjustment | Precise, tight gaps | Less precise needed |
| Hinge Type | European concealed | Face frame or semi-concealed |
Frameless cabinets offer a sleek look but require more precision during installation.
Example: Installing A 10-foot Run Of Frameless Cabinets
Let’s say you’re installing five base cabinets and four wall cabinets along a 10-foot wall. Here’s a real-world workflow:
- Mark the layout on the wall. Draw level lines and mark all stud locations.
- Assemble each cabinet (if not pre-assembled). Check each for squareness.
- Start with the leftmost base cabinet. Level and attach to studs.
- Add and clamp each cabinet. Screw together through side panels.
- Install wall cabinets. Use a ledge or cabinet jack for support.
- Screw wall cabinets to studs and each other.
- Install doors, drawers, and hardware.
- Finish with toe kicks, fillers, and panels.
- Check everything for level, plumb, and even reveals.
On average, a skilled DIYer can install a 10-foot run of frameless cabinets in a weekend, but expect to spend extra time adjusting doors and hardware for perfect alignment.
Tips For A Professional-looking Finish
- Use painter’s tape to mark hinge and handle positions to avoid mistakes.
- Test-fit doors and drawers before final installation.
- Wipe down cabinets after installation to remove dust and fingerprints.
- Don’t rush—small errors are much more visible with frameless cabinets.
If you need more guidance on cabinetry terms or kitchen standards, check the resource from the Wikipedia Cabinetry page.
Credit: www.finehomebuilding.com
Data Table: Average Installation Time
How long does it take to install frameless cabinets? Here’s a rough estimate for a DIYer:
| Number of Cabinets | Estimated Time (Hours) | Difficulty Level |
|---|---|---|
| 4-6 (small kitchen) | 8-12 | Moderate |
| 7-10 (medium kitchen) | 12-20 | Challenging |
| 11+ (large kitchen) | 20-32 | Advanced |
These times include assembly, mounting, and final adjustments. If you’re new to DIY, plan for the higher end of the range.
Practical Insights Beginners Often Miss
- Wall Flatness Matters: Even small bumps or dips in the wall can throw off your whole cabinet run. Run a long level or straightedge along the wall before starting, and sand or fill as needed.
- Leave Room for Appliances: Always measure the space for your fridge, oven, and dishwasher. Check the manufacturer’s clearance requirements, and don’t crowd the appliances with cabinets.
- Pre-plan Electrical and Plumbing: If outlets, switches, or pipes are behind cabinets, mark them clearly. Cut access holes before installing the cabinet to avoid damaging them later.
- Cabinet Height Is Not Universal: If your floor is not level, some cabinets may need to be raised higher than others. Always measure from the highest point of the floor.
What To Do If You Make A Mistake
Even with care, mistakes happen. Here’s how to fix common problems:
- Cabinet too high/low: Remove screws, adjust shims, and re-check level before reattaching.
- Gaps between cabinets: Loosen connecting screws, clamp tightly, and retighten.
- Over-drilled holes: Use wood filler or special repair kits, then drill a new pilot hole nearby.
- Damaged edge: Hide with a scribe or cover panel if possible.
Always work slowly and check your progress at every step. It’s much easier to correct a mistake right away than to fix it later.
When To Hire A Professional
Installing frameless cabinets is a big job. You may want to hire a pro if:
- Your walls or floors are very uneven.
- You are installing a large kitchen with many cabinets.
- You’re not comfortable with power tools or precision measuring.
- You want a perfect, showroom-quality finish.
A professional installer can often complete a large kitchen in just two days, and their experience minimizes mistakes.

Credit: www.familyhandyman.com
Safety Tips
- Wear safety glasses when drilling or using power tools.
- Use gloves when handling heavy cabinets or sharp hardware.
- Lift with your legs, not your back, to prevent injury.
- Turn off power to any electrical outlets you’re working near.
Maintenance Tips After Installation
To keep your frameless cabinets looking new:
- Wipe with a soft, damp cloth weekly.
- Tighten hinges and handles every six months.
- Avoid hanging heavy items on doors.
- Check for water leaks under sink cabinets.
Cost Comparison: Frameless Vs. Framed Installation
Frameless cabinets can cost a bit more to install because they require more precise alignment. Here’s a typical breakdown:
| Type | Material Cost (USD/linear foot) | Labor Cost (USD/linear foot) |
|---|---|---|
| Frameless | $150 – $300 | $100 – $200 |
| Framed | $100 – $250 | $80 – $150 |
Costs depend on your region and cabinet quality. DIY installation saves labor but plan for more time.
Frequently Asked Questions
What’s The Main Advantage Of Frameless Cabinets?
The biggest advantage is full access. Without a front frame, you can use all the space inside the cabinet, making it easier to store large pots, trays, or appliances. The look is also more modern and sleek.
Can I Install Frameless Cabinets By Myself?
Yes, you can, but it’s much easier with two people. Some steps, like hanging wall cabinets, are difficult and heavy to do alone. Use support ledges or cabinet jacks to make solo installation safer.
Do I Need Special Screws For Frameless Cabinets?
Use high-quality wood screws at least 2.5 inches long for mounting to studs. Avoid drywall screws—they aren’t strong enough. Some cabinets come with their own mounting hardware. Always follow the manufacturer’s instructions.
How Do I Get Perfectly Even Gaps Between The Doors?
Adjust the European-style hinges after the doors are installed. These allow you to move the door up/down, left/right, and in/out. Take your time—use a ruler to check the reveal around each door. It may take several adjustments.
What If My Walls Are Not Straight?
Use shims to fill gaps between the cabinet and wall. For larger gaps, finish with scribe molding or filler strips. Never try to force the cabinet to match a crooked wall, as this will create problems with door alignment.
Installing frameless cabinets takes patience, planning, and attention to detail. But with the right approach, you can achieve a professional-looking, modern result that transforms your space for years to come.