Keeping your Traeger grill in top shape is about more than just cooking great food—it’s also about proper cleaning and knowing how to restart it the right way. Many people think cleaning the grill is enough, but resetting your Traeger after a deep clean is just as important.
If you skip this, you might face common problems like temperature swings, error codes, or uneven smoke. With the right reset process, you avoid frustration and get your grill running as smoothly as when it was new.
Resetting your Traeger after cleaning is not hard, but there are steps you cannot skip. Newer and older Traeger models sometimes need different approaches. Small mistakes—like forgetting to reseat a part or missing a sensor—can stop your grill from working well.
This guide will walk you through every step to reset your Traeger, explain the reasons behind each action, and share expert tips that save you from common beginner mistakes. Whether you’re a first-time Traeger owner or have years of experience, you’ll find clear, practical advice to keep your grill working perfectly.
Why Resetting Your Traeger After Cleaning Matters
Many Traeger owners clean the grill and jump straight back to grilling. But a reset is crucial for several reasons:
- Removes leftover cleaning residue: Even if you wipe everything, small bits of cleaning agents or ash may remain. A reset burns off residues, keeping food safe and flavors pure.
- Recalibrates temperature sensors: After cleaning, sensors can get shifted or coated with residue. Resetting helps the grill read temperatures correctly.
- Avoids startup errors: Traeger’s digital controls run a self-check on startup. If parts are not seated right after cleaning, you could get error codes like LEr (Low Error) or HEr (High Error).
- Prevents auger jams: Cleaning sometimes moves pellets or ash into the auger. A reset cycle clears jams and avoids feeding problems.
Not resetting after cleaning is a common reason for poor grilling results. This step is especially critical if you’ve cleaned the firepot, changed pellets, or removed the controller panel.
What You Need Before You Begin
Having the right tools and supplies ready makes the reset process smoother. Here’s what you should prepare:
- Clean, dry grill: Make sure your Traeger is fully reassembled and dry after cleaning.
- Fresh wood pellets: Old or damp pellets can cause startup issues.
- Vacuum or small brush: Useful for clearing out leftover ash.
- Power source: The grill must be plugged in securely.
- Owner’s manual: For model-specific features.
- Protective gloves: Optional, but good for handling hot or sharp parts.

Credit: www.reddit.com
Step-by-step Guide: How To Reset Traeger After Cleaning
Resetting your Traeger is a process with several steps. Follow each one carefully for best results.
1. Double-check Assembly
Before you power up your Traeger, make sure everything is put back correctly:
- Firepot: Confirm it sits flat and is not blocked.
- Drip tray and heat baffle: These must be in their exact positions, or airflow and temperature will suffer.
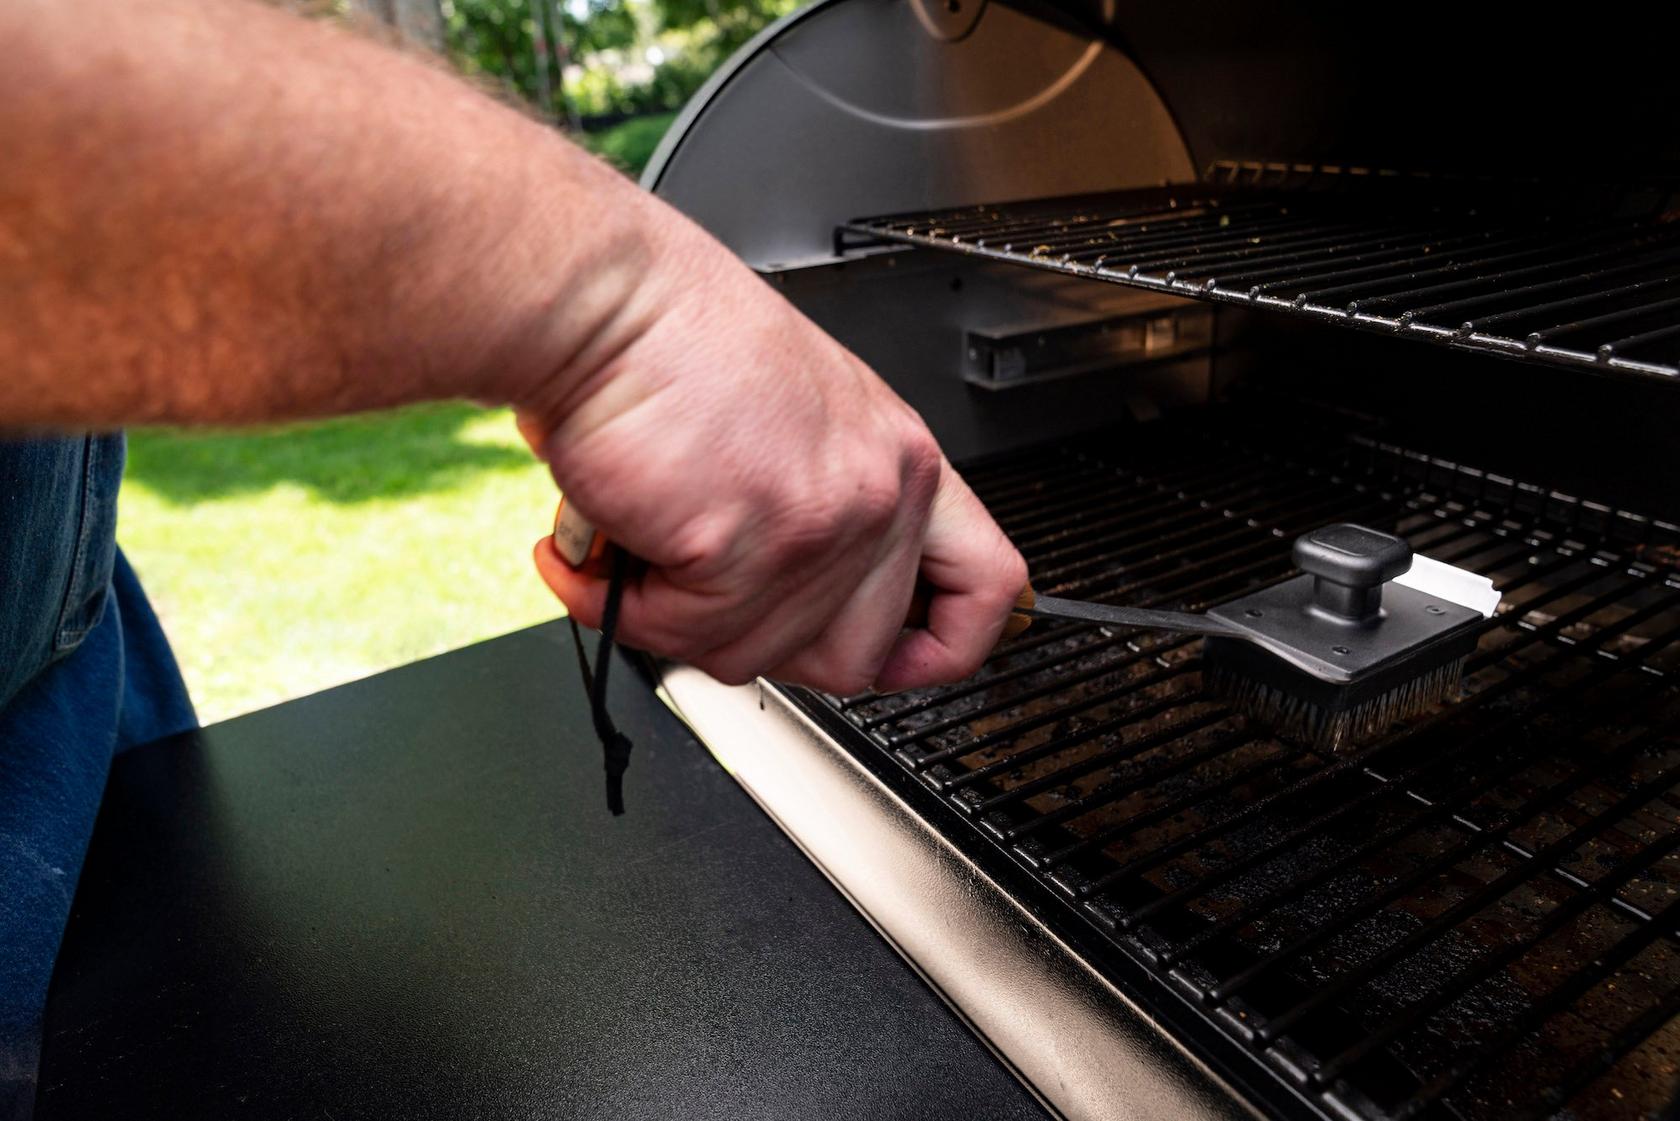
- Grill grates: Should be clean and free of leftover cleaning agents.
- Grease tray and bucket: Properly attached to avoid drips.
- Hopper lid: Close securely to keep moisture out.
A small misplacement, such as the heat baffle being crooked, can cause major temperature problems.
2. Check And Refill Pellets
Old pellets can absorb moisture during cleaning. Always:
- Remove old pellets from the hopper.
- Vacuum out pellet dust and debris.
- Add fresh, dry pellets—avoid using pellets that smell damp or have visible mold.
Pellet quality directly affects grill startup and temperature accuracy.
3. Inspect The Firepot And Auger
The firepot is where pellets burn, and the auger feeds them from the hopper. After cleaning:
- Use a flashlight to check for leftover ash or cleaning cloth fibers.
- Spin the auger by hand (if possible on your model) to ensure it moves smoothly.
- If the firepot is damp, let it air dry completely.
Any leftover debris or moisture here can cause startup errors.
4. Plug In And Turn On The Grill
- Connect your Traeger to a stable power supply.
- Turn on the power switch (usually on the control panel).
- Wait for the display to light up and show the home screen or the default temperature.
Some models have a “reset” or “cycle” button, but for most, simply powering on starts the process.
5. Run A Startup Cycle (seasoning Cycle)
This is a short burn-in to clear out residue and recalibrate the system:
- Set the temperature to Smoke (on older models) or 180°F (on new D2 controllers).
- Leave the lid open.
- Watch for the igniter to glow and the firepot to produce smoke (usually within 4–6 minutes).
- Let the grill run for 10–15 minutes.
This process clears out cleaning residues and checks that the igniter, fan, and auger all work.
Example Of Startup Cycle Timing
| Step | Time (minutes) | What to Watch For |
|---|---|---|
| Igniter starts heating | 0–2 | Fan noise, smell of heating element |
| Smoke appears | 2–6 | Thin white smoke from firepot |
| Flame in firepot | 6–10 | Small flame visible, heat rising |
| Stabilization | 10–15 | Steady smoke, no error codes |
If you smell strong chemicals or see unusual colored smoke (blue, green), turn off the grill and check for leftover cleaning agents.
6. Reset The Controller (if Needed)
Most Traeger models do not need a manual controller reset, but newer WiFIRE or D2 models sometimes do after deep cleaning. If your grill displays errors or won’t start:
- Hold the Menu or Settings button on the control panel for 3–5 seconds.
- Select “Reset” or “Factory Reset” if prompted.
- Follow the on-screen instructions.
This step wipes error codes and reboots the system. You’ll need to reconnect to Wi-Fi if you use smart features.
7. Test The Temperature Probes
Temperature probes often get moved or disconnected during cleaning. To reset:
- Plug probes into their ports on the control panel.
- Set a test temperature (like 225°F).
- Place one probe in the center of the grill.
- Watch the display for a stable reading.
If the probe shows wild swings or doesn’t respond, clean the tip with a damp cloth and reconnect. Faulty probe readings are a common cause of overcooked or undercooked food.
8. Run A Short High-heat Burn (optional But Recommended)
After cleaning, running the grill at high heat for 10–15 minutes burns off any last cleaning residue and checks for smoke leaks.
- Set the grill to its highest setting (usually 450–500°F).
- Close the lid.
- Watch for steady smoke and heat.
- Listen for unusual noises (rattling, popping).
This step is especially important if you used water or degreaser inside the grill.
9. Reconnect Wi-fi Or App (for Wifire Models)
If you use the Traeger app or WiFIRE features:
- Open the app on your phone.
- Select your grill model.
- Follow instructions to reconnect after a reset or power cycle.
This ensures you get alerts, monitor temperatures, and access recipes.
10. Final Visual And Function Check
Before grilling, do a last check:
- Inspect all internal parts for proper placement.
- Make sure the chimney cap is adjusted for airflow.
- Test the lid for a tight seal.
- Confirm the grease tray and bucket are in place.
If everything looks and sounds right, you’re ready to start cooking.
Model-specific Reset Differences
Traeger has released many grill models over the years. The reset process is mostly the same, but some key differences exist.
Classic Traeger Models (non-d2, Manual Dial)
- No Wi-Fi or digital display.
- Reset is just a power-off and startup cycle.
- Temperature swings are more common; watch the grill closely.
D2 And Wifire Models
- Digital touchpad or app control.
- May require a factory reset after deep cleaning.
- Firmware updates can change reset steps (always check the manual).
Quick Comparison
| Feature | Classic Models | D2/WiFIRE Models |
|---|---|---|
| Controller Type | Manual dial | Digital touchpad/app |
| Startup Cycle | Smoke setting, lid open | 180°F or Smoke, on-screen prompts |
| Factory Reset Needed? | Rarely | Sometimes after deep clean |
| Wi-Fi/App Support | No | Yes |
If you’re unsure, the Traeger support page has model-specific guides for resets.

Credit: www.youtube.com
Common Problems After Cleaning And Reset
Even with a careful reset, you might run into problems. Here’s how to solve the most frequent ones:
1. Error Codes (ler, Her, Etc.)
- LEr (Low Error): Grill did not reach minimum temperature. Check for pellet jams or empty hopper.
- HEr (High Error): Grill overheated. Make sure heat baffle and drip tray are in place.
2. Auger Jam Or Pellet Feed Issues
- Listen for a grinding noise or no pellets feeding.
- Remove the hopper cover and inspect the auger.
- Turn off the grill and clear jams with a long screwdriver (while unplugged).
3. Igniter Not Working
- No smoke or flame after 5–6 minutes? Igniter rod may be loose or dirty.
- Clean the igniter gently and check connections.
4. Temperature Fluctuations
- Check for air leaks around the lid or chimney.
- Make sure all internal parts are properly seated.
5. Wi-fi/app Not Connecting
- Restart your router and the grill.
- Re-add the grill in the Traeger app.
Practical Tips For A Smoother Reset
Some actions are not obvious to beginners but make a big difference:
- Prime the auger: After an empty hopper, run the auger with the grill lid open for 2–4 minutes before starting a cook cycle. This ensures pellets reach the firepot.
- Check fan and motor sounds: Listen for the quiet hum of the induction fan and auger motor. Unusual silence means a part may be disconnected.
- Keep cleaning agents away from sensors: Even a small drop on a temperature sensor can cause bad readings.
How Often Should You Reset Your Traeger?
- After every deep clean: A full reset is always recommended.
- After changing pellet types: Especially when switching from one wood flavor to another.
- If you see error codes: Reset before trying to cook again.
- Every 2–3 months: Even without deep cleaning, a quick reset keeps the system healthy.
Mistakes To Avoid During Reset
Many problems come from simple errors. Watch out for:
- Skipping the burn-in cycle: Don’t start cooking immediately after cleaning.
- Leaving parts loose: The heat baffle, drip tray, or probes must be locked in place.
- Using wet pellets: Moisture in pellets is the main cause of startup failure.
- Ignoring error codes: Always address them before cooking.
- Forgetting to check Wi-Fi: If you use smart features, test the connection before you need it.
Credit: www.traeger.com
Signs Your Reset Was Successful
After a good reset, your Traeger should show:
- Smooth startup with no error codes.
- Even smoke and temperature within 10–15 minutes.
- Temperature probe matches the grill’s internal reading (within 5°F).
- No strange smells or leftover cleaning agent odors.
- All app or Wi-Fi features working (if your model supports it).
If you notice any problems, repeat the startup cycle or check the troubleshooting tips above.
Expert Insights: What Most Owners Miss
Even experienced users often overlook these details:
- Sensor placement: Some temperature sensors are easy to move by accident during cleaning. Double-check their position before starting.
- Chimney cap adjustment: The chimney needs to be open about one inch for best airflow. Too tight, and smoke can back up; too loose, and heat escapes.
- Pellet quality: Even the best grill can’t run on bad pellets. Store them in a sealed container away from moisture.
When To Call Traeger Support
If you’ve followed all reset steps and still get errors, or the grill won’t start:
- Write down any error codes or blinking lights.
- Take photos of the firepot, hopper, and auger.
- Contact Traeger support with your model number and a description of the problem.
Their technicians can walk you through advanced resets or send replacement parts if needed.
You can find more information about Traeger troubleshooting on the official Traeger Support site.
Frequently Asked Questions
How Long Does It Take To Reset A Traeger After Cleaning?
A full reset usually takes 20–30 minutes. This includes assembly checks, a startup cycle, and a high-heat burn. Most of this time is waiting for the grill to run through its cycles.
Do I Need To Run The Grill Empty After Cleaning?
Yes, running the grill empty for 10–15 minutes at smoke or high heat burns off cleaning residues and moisture. Never start cooking food right after cleaning and reassembly.
Can I Reset My Traeger Using The Mobile App?
You can restart and monitor modern D2 and WiFIRE Traeger models using the app, but a physical startup cycle is still needed after cleaning. The app can also trigger a factory reset if needed.
What Do I Do If My Traeger Shows An Error Code After Reset?
Check assembly, pellet quality, and part placement first. If problems continue, perform a factory reset (on D2/WiFIRE models) or consult the support page for error code solutions.
Is It Safe To Use My Traeger If I Smell Cleaning Chemicals During The Burn-in?
No. If you smell strong chemicals, turn off the grill and check for leftover cleaning agents. Wipe down surfaces again and repeat the startup cycle until no odor remains.
—-
Resetting your Traeger after cleaning is the key to safe, consistent grilling. It’s not just about following steps, but understanding why each one matters. With these instructions, you’ll avoid common mistakes, keep your grill in perfect shape, and enjoy that signature wood-fired flavor every time.
Happy grilling!