
Painting your kitchen cabinets to look like real wood is a smart and budget-friendly way to completely change the feel of your kitchen. Many people want the warmth and beauty of wood, but new cabinets or refacing can be very expensive. The good news is you do not have to spend thousands of dollars to get the look of natural wood cabinets. With a little patience and the right process, you can transform almost any surface—laminate, melamine, painted, or bare wood—into a wood look that fools the eye.
Why do so many people choose to paint cabinets to look like wood? First, it gives you control over the final color and grain pattern. Second, it lets you upgrade builder-grade or old cabinets without replacing them. Third, if your cabinets are in good shape, this method adds value and style for a fraction of the cost of new ones.
But there’s a catch: getting a real wood look is not as simple as slapping on brown paint. It takes careful preparation, the right tools, and a step-by-step approach. This guide will show you how to do it, from start to finish, with all the details you need to succeed—even if you are a complete beginner. You will learn the best products, techniques, and tricks that professional painters use to achieve a wood-grain effect that lasts.
Let’s walk through everything you need to know about how to paint kitchen cabinets to look like wood.
Understanding The Wood Grain Painting Technique
To paint cabinets that look like real wood, you must use a process called faux wood graining. This is more than just painting brown and hoping for the best. It involves layering colors and using special tools to create lines and textures that mimic natural wood.
The main idea is to use a base color (which acts as the “bare wood”), then add one or more layers of gel stain or glaze with a wood-graining tool or brush. The tool creates the look of grain, knots, and movement, just like you see on real wood boards.
Some beginners skip the graining step and end up with flat, boring cabinets. The wood grain effect is what makes the finish believable. This technique works on most cabinet materials, including:
- Laminate
- Melamine
- Painted MDF
- Old stained wood
- Solid wood
One non-obvious insight: You do not need to remove all old paint or finish, but you must create a surface the new finish can stick to. Skipping proper prep is the biggest beginner mistake.
Tools And Materials: What You Really Need
Having the right tools and materials can make or break your project. Do not try to save money on the wrong products—cheap brushes or stains can ruin your finish. Here is a list of what you will need for a professional result:
- Degreaser/Cleaner – Removes kitchen oils and dirt
- Sanding block or orbital sander – For dulling the surface and smoothing edges
- Medium and fine sandpaper (120 and 220 grit)
- Painter’s tape
- Drop cloths or plastic sheeting
- Screwdriver or drill – For removing doors and hardware
- Tack cloth – To remove dust before painting
- High-quality primer – Sticks to slick surfaces and blocks stains
- Base coat paint – A light tan or beige, flat or satin finish
- Gel stain or glaze – In your chosen wood color (walnut, oak, mahogany, etc.)
- Wood graining tool – Also called a “rocker,” available at most paint stores
- Soft brush and foam brush – For applying and blending stain
- Clear topcoat – Water-based polyurethane for protection
- Rags or old T-shirts
- Small artist’s brush – For touch-ups and details
Not all wood looks are the same. Choose your stain or glaze color carefully—test on a hidden area first. For example, walnut gives a rich, dark look, while golden oak is lighter and more casual.
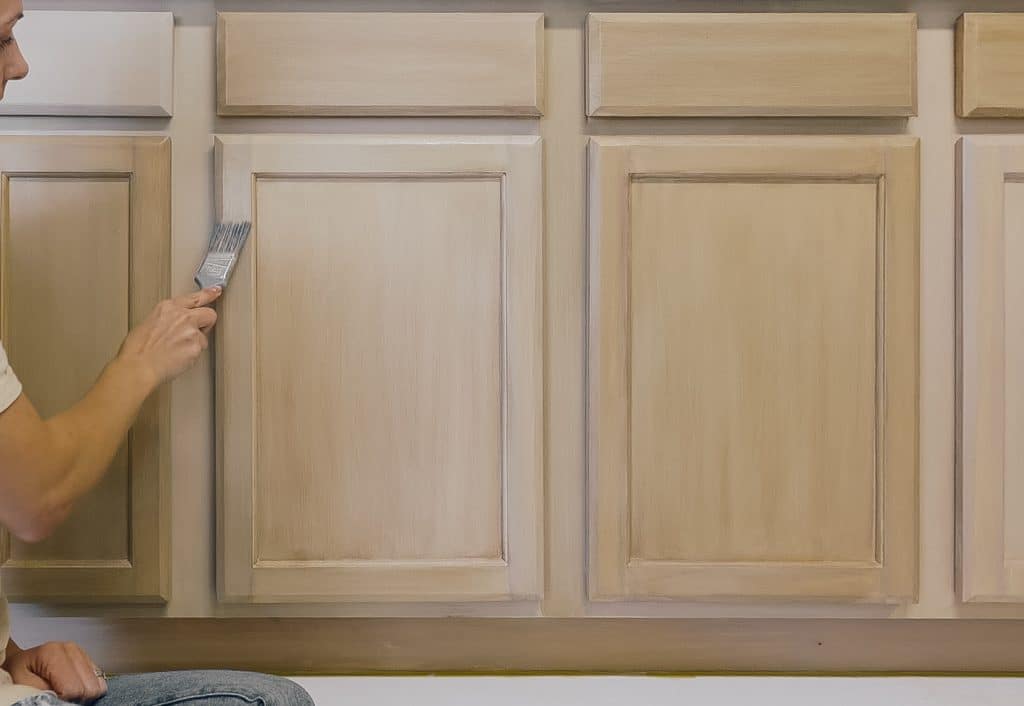
Credit: www.lilyardor.com
Planning Your Project: Timeline And Prep
A successful kitchen cabinet transformation takes planning. Rushing the job often leads to brush marks, peeling, or a finish that doesn’t last. Here is what you need to consider before starting.
How Long Will It Take?
- Preparation: 1 day (cleaning, sanding, removing doors)
- Priming: 1 day (plus drying time)
- Base coat: 1 day
- Wood grain layers: 1-2 days (may need multiple coats)
- Topcoat: 1 day
- Reassembly: 1 day
In total, expect at least 5-7 days for a full kitchen, depending on your speed and drying times. Do not try to rush by painting everything in one day—the finish will suffer.
Work Space Tips
- Set up a workspace for cabinet doors (garage, basement, or use saw horses)
- Label each door and drawer for easy reassembly
- Take photos before removing hardware
- Keep pets and kids away from the project area
Non-obvious Planning Tip
If you use your kitchen daily, plan meals ahead or set up a temporary kitchen. Having cabinets open and hardware off for a week can feel stressful if you’re not prepared.
Step-by-step Guide: How To Paint Kitchen Cabinets To Look Like Wood
This is where the magic happens. Follow these steps for the best results.
1. Remove Doors, Drawers, And Hardware
Unscrew all cabinet doors and drawer fronts. Remove hinges, knobs, and pulls. Place screws in labeled bags so you do not lose them. Lay doors flat for the smoothest finish.
2. Clean All Surfaces
Kitchen cabinets get greasy from cooking. Use a strong degreaser (like TSP substitute) and wipe every surface. Rinse with clean water and let dry completely. Skipping this step can cause peeling later.
3. Sand To Dull The Surface
Use 120-grit sandpaper or a sanding block to scuff the surface. The goal is to remove shine, not all the old paint. Pay extra attention to edges and corners. For laminate, sanding is essential for good primer adhesion.
Wipe with a tack cloth to remove all dust.
4. Tape And Protect
Use painter’s tape to cover walls, counters, and inside cabinet boxes. Lay drop cloths on the floor.
5. Prime The Surface
A good bonding primer is key. Use a brush for corners and a small roller for flat areas. Let the primer dry fully, according to the label—usually 4–6 hours.
For extra slick surfaces (like melamine), a second coat of primer may be needed.
6. Apply The Base Coat
Paint a light base coat in your chosen “bare wood” color. Use a satin or matte finish, not gloss. Let dry overnight. This color will show through the “grain” later.
7. Create The Wood Grain Effect
This is the most important step. Here’s how to get a real wood look:
- Work on one small area at a time (one door or one cabinet section)
- Brush or roll on a thin layer of gel stain or glaze. Do not cover too thickly.
- While the stain is still wet, drag the wood graining tool down the length of the door. Rock the tool gently to create knots and curves.
- Wipe off excess with a rag if needed. Blend with a soft brush for a softer look.
- Repeat with a second color or layer for more depth (optional).
- Let dry completely between layers.
If you make a mistake, wipe it off with a damp rag and try again before it dries.
Example: Oak Vs. Walnut Grain
- For an oak look, use a lighter base and less rocking motion for straight, fine lines.
- For a walnut look, use a darker gel stain and rock the tool more to create bold knots.
8. Add Details And Touch-ups
Use a small artist’s brush to add extra lines or knots where needed. Step back and view your work from a distance. Do not overdo it—too many details can look fake.
9. Apply A Protective Topcoat
After the wood grain is fully dry (wait at least 24 hours), apply two coats of water-based polyurethane. This protects your finish from scratches and stains. Let each coat dry as directed.
10. Reassemble Cabinets
Remove all tape and drop cloths. Reattach hardware and doors. Enjoy your new wood-look cabinets!
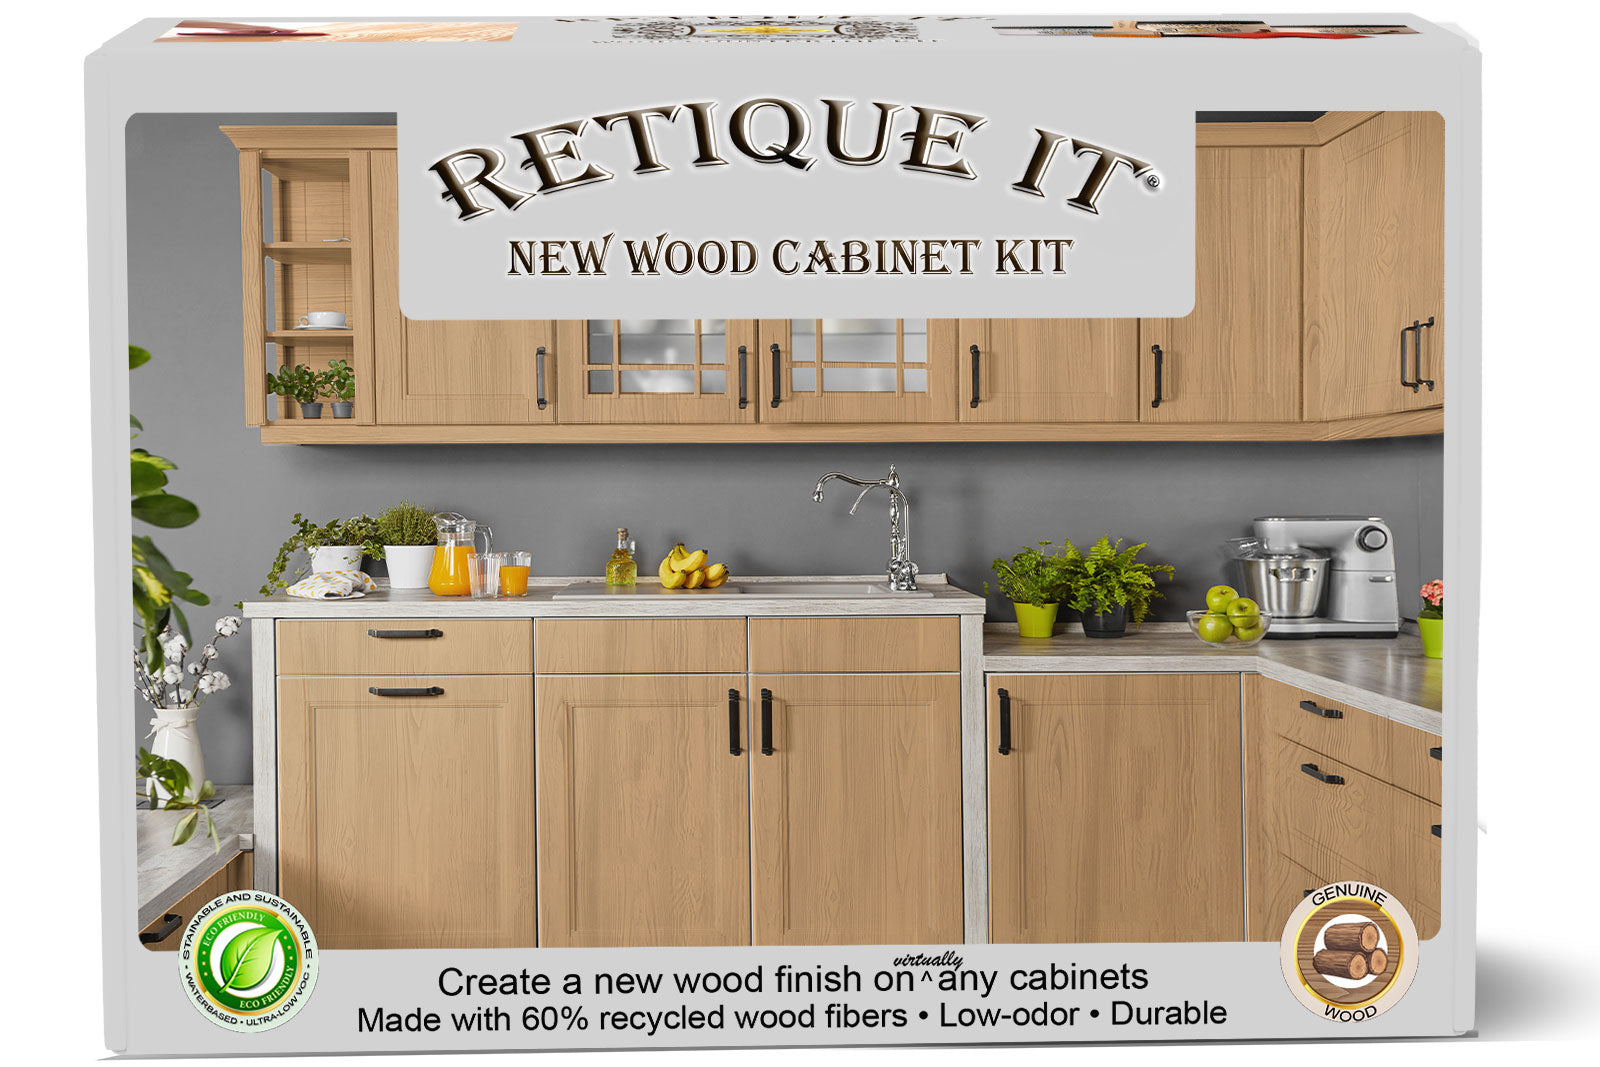
Credit: retique.com
Choosing Colors And Wood Types
Not sure which wood look is right for your kitchen? Here are some popular options and how they change your space.
| Wood Type | Base Color | Gel Stain/Glaze Color | Room Effect |
|---|---|---|---|
| Golden Oak | Light beige | Golden brown | Bright, casual |
| Walnut | Medium tan | Dark brown | Rich, dramatic |
| Cherry | Warm pink/beige | Reddish brown | Elegant, formal |
| Driftwood | Gray-beige | Gray glaze | Modern, rustic |
Testing colors on a sample board is the best way to see how they look in your kitchen’s light.
Common Mistakes And How To Avoid Them
Many DIYers struggle with painting cabinets to look like wood. Here are the most frequent mistakes and how you can avoid them:
- Skipping Prep Work – Not cleaning, sanding, or priming is the #1 reason for peeling and poor results.
- Choosing the Wrong Colors – Using a base or stain that is too dark or too orange can look fake. Always test first.
- Applying Stain Too Thick – Thick layers cover the grain detail and take too long to dry. Use thin coats.
- Rushing Dry Times – Not letting each layer dry can cause smudges and dull spots.
- Not Practicing the Grain Tool – Practice on cardboard or scrap wood before starting on your cabinets.
Pro Tip: Take your time with each step. A rushed job often means redoing everything later.
How Does Painting Cabinets To Look Like Wood Compare To Other Methods?
You might wonder how faux wood painting stacks up against other ways to get a wood look. Here’s a quick comparison:
| Method | Cost | Time | Durability | Custom Look |
|---|---|---|---|---|
| Faux Wood Painting | Low | Medium | Good (with topcoat) | High |
| Cabinet Refacing | Medium-High | Medium | Excellent | Limited |
| Replacing Cabinets | High | High | Excellent | High |
| Peel-and-Stick Wood Film | Low | Low | Poor | Low |
Painting with a wood grain technique gives you a custom look at a fraction of the price of new cabinets.
Real-world Examples: Transformations That Inspire
Seeing real transformations can help you picture what’s possible. Here are two examples:
- Small Condo Kitchen: White laminate cabinets were painted with a light tan base and golden oak gel stain. The owners used a simple graining tool and finished with two coats of clear polyurethane. The result? A bright, wood-look kitchen for under $150 in materials.
- Older Home Update: Outdated honey oak cabinets got a dark walnut makeover. The old finish was sanded and primed, then a deep brown gel stain was applied with a graining tool. The change made the kitchen look modern and expensive—without new cabinets.
In both cases, the key was careful prep and taking time with each layer.
Cleaning And Maintaining Your New Wood-look Cabinets
Your painted cabinets need simple, regular care to keep them looking great for years. Here’s what to do:
- Wipe spills quickly with a damp, soft cloth.
- Avoid harsh cleaners—use mild soap and water only.
- Do not scrub with abrasive pads; this can scratch the topcoat.
- Touch up chips with leftover stain or paint and reseal if needed.
A good topcoat will protect against most kitchen messes, but gentle cleaning keeps the finish looking fresh.
How To Fix Common Problems
Even with the best process, sometimes things go wrong. Here’s how to fix common problems:
- Peeling or Flaking: Sand back the affected area, re-prime, and repeat the paint and stain steps.
- Smudged Grain: Let the stain dry fully, then add new grain lines with a small brush or re-use the graining tool.
- Uneven Color: Blend with a soft brush or add a second thin layer of gel stain.
- Sticky Finish: This usually means layers were too thick or not dry. Let the cabinets dry fully, then apply a fresh topcoat.
Always do repairs as soon as you notice a problem—the longer you wait, the harder it is to fix.

Credit: thebeautyrevival.com
Advanced Tips For A More Realistic Wood Look
Want your cabinets to look even more like real wood? Try these advanced techniques:
- Blend two or more stain colors for added depth and natural variation.
- Add light dry-brushed highlights with a nearly dry brush and a lighter color to mimic the look of worn or sun-bleached wood.
- Use a feather or small brush to add subtle cross-grain lines for a more authentic texture.
- Seal with a matte finish for a more natural, less shiny look.
If you want to learn more about faux wood painting, check out this guide from Family Handyman for extra tips and visual examples.
Cost Breakdown: How Much Will You Spend?
Most people want to know if painting cabinets to look like wood is really cheaper than other options. Here’s a typical cost breakdown:
- Degreaser, cleaner: $10–$15
- Sandpaper, tack cloths: $10
- Primer: $20–$30
- Base coat paint: $20–$40
- Gel stain or glaze: $15–$25
- Wood graining tool: $10–$15
- Brushes and rollers: $15–$25
- Painter’s tape, drop cloths: $10–$20
- Polyurethane topcoat: $20–$30
Total: $120–$200 for most kitchens
Compare that to $2,000–$6,000 for refacing and $8,000–$20,000 for new cabinets. The savings are huge, especially if you already own some tools.
When To Hire A Professional
Most people can handle this project with patience and careful work. But you should consider hiring a pro if:
- You have very large or intricate cabinets (lots of trim, raised panels)
- You have allergies to paint or dust
- You want a super high-end, flawless finish
- You do not have space to work safely
A professional painter will charge $1,000–$3,000 or more for this service, but you may get a smoother and more durable finish.
Environmental And Health Safety Tips
Painting cabinets requires good ventilation. Always:
- Open windows and doors while working
- Wear a mask when sanding or using strong cleaners
- Dispose of rags and paint waste safely (some stains are flammable)
- Store products out of reach of children and pets
If you use oil-based products, let them dry outside if possible to limit fumes indoors.
Frequently Asked Questions
How Long Does The Faux Wood Finish Last On Kitchen Cabinets?
A well-done faux wood finish with a good topcoat can last 5–10 years or more. The key is using the right primer and letting each layer dry fully. Avoid harsh cleaners, and your cabinets will look great for years.
Can I Paint Over Laminate Cabinets To Look Like Wood?
Yes, you can. Proper cleaning, sanding, and a bonding primer are essential for laminate cabinets. The faux wood process works well if you follow all prep steps and use thin, even layers.
What Is The Best Gel Stain Color For A Natural Wood Look?
It depends on your taste, but walnut, golden oak, and cherry are popular choices. Always test your stain on a hidden area or sample board first, as colors can look different under your kitchen’s lighting.
Is It Safe To Do This Project Myself?
Yes, if you follow safety guidelines: work in a ventilated area, wear a mask when sanding, and keep products out of reach of children. Water-based products are safer and have less odor than oil-based ones.
Can I Use Regular Paint Instead Of Gel Stain For The Wood Grain?
Regular paint does not give the same transparent, layered look as gel stain or glaze. Gel stain is thicker, easier to control, and lets the grain effect show through. For best results, stick with gel stain or a specialty glaze.
Transforming your cabinets with a wood look is one of the most satisfying kitchen DIYs. With the right tools, careful prep, and the tips in this guide, you can achieve a finish that surprises everyone who sees it. Whether you want rustic oak, elegant walnut, or something unique, you now have the knowledge to make your kitchen warm, stylish, and truly your own.