
Using a waffle maker at home feels a bit like bringing a small piece of a cozy café into your kitchen. You pour in a simple batter, close the lid, and soon the air fills with the smell of fresh, golden waffles.
Whether you want a classic breakfast, a fun family brunch, or a creative dessert, learning how to use a waffle maker opens many delicious options. Yet, for many people, the process can seem confusing at first. Which settings should you use?
How do you keep waffles from sticking? What type of batter works best? These are real questions, and if you’re new to waffle makers, you probably have more.
This guide will walk you through every step, from choosing the right waffle maker to cleaning up afterward. Along the way, you’ll learn practical tips, common mistakes to avoid, and a few ideas to get creative. You don’t need to be a chef—just a little guidance and you’ll soon make perfect waffles every time.
Understanding Your Waffle Maker
A waffle maker is a kitchen appliance designed to cook batter between two heated plates, creating the signature grid pattern. But not all waffle makers are the same. Knowing your model helps you get better results and avoid accidents.
Types Of Waffle Makers
1. Classic (american) Waffle Makers
These produce thinner, crispier waffles with small, shallow pockets. They are common in the United States and great for quick breakfasts.
2. Belgian Waffle Makers
They create thicker, fluffier waffles with deep pockets—perfect for holding syrup, fruit, or whipped cream.
3. Stovetop Waffle Irons
Made of cast iron or aluminum, these go directly on your stove. They require manual flipping and more skill, but some people love the control they offer.
4. Rotating (flip) Waffle Makers
These machines rotate during cooking, helping batter spread evenly and making waffles crispier on the outside.
5. Mini Waffle Makers
Compact and easy to store, these make small, personal-sized waffles. They’re ideal for small kitchens or quick snacks.
Key Features To Check
- Non-stick plates: Make removal and cleaning easier.
- Temperature control: Lets you adjust crispiness and color.
- Indicator lights: Show when the machine is hot enough or the waffle is done.
- Steam release: Helps avoid soggy waffles.
- Removable plates: Great for cleaning.
Choosing the right waffle maker depends on your needs—size, speed, and how many people you cook for. For most beginners, a non-stick electric waffle maker with indicator lights is the easiest place to start.
Preparing To Use Your Waffle Maker
Before making your first waffle, a little preparation goes a long way. This step is often skipped by beginners, but it makes the cooking process smoother and prevents common problems.
Unboxing And Cleaning
Even new waffle makers may have dust or residues from the factory.
- Remove all packaging and stickers.
- Wipe the plates and exterior with a damp cloth.
- For removable plates, wash with mild soap and water, then dry completely.
Placing Your Waffle Maker
- Find a flat, stable surface near an electrical outlet.
- Make sure the area is clear of paper towels, plastic, or cords that could melt.
- Place a heat-resistant mat or towel under the machine if you want extra protection for your countertop.
Preheating
Preheating is essential. If you pour batter onto a cold or only-warm waffle maker, waffles will stick and cook unevenly.
- Plug in your waffle maker and close the lid.
- Most machines have an indicator light that turns on when ready.
- Preheating usually takes 3-5 minutes.
Non-obvious tip: Don’t rush preheating. Even if the light is on, give the machine a full minute extra for the best results.
Credit: bydash.com
Making Waffle Batter
You can use a boxed mix or make your own batter. If you want to start simple, here’s a classic homemade recipe that works in any waffle maker.
Basic Waffle Batter Recipe
Ingredients (for 4–5 Waffles)
- 2 cups (250g) all-purpose flour
- 2 tablespoons sugar
- 1 tablespoon baking powder
- ½ teaspoon salt
- 2 large eggs
- 1¾ cups (420ml) milk
- ½ cup (120ml) vegetable oil (or melted butter)
- 1 teaspoon vanilla extract
Instructions
- In a large bowl, mix the flour, sugar, baking powder, and salt.
- In another bowl, beat the eggs, then add milk, oil, and vanilla.
- Pour the wet ingredients into the dry and stir until just combined. Small lumps are okay—overmixing makes tough waffles.
- Let the batter rest for 5–10 minutes. This helps the waffles become fluffier.
Batter Tips
- Thicker batter makes denser waffles; thinner batter gives lighter waffles.
- If using a boxed mix, follow package instructions, but you can often add a little vanilla or melted butter for better flavor.
- For crispier waffles, replace ¼ cup of milk with plain yogurt.
- Some recipes use whipped egg whites for extra fluffiness—great for Belgian waffles.
Insight: Humidity and temperature can affect batter. On rainy days, your batter might need a tablespoon more flour. If it seems too runny, add a bit more flour; if too thick, add a splash of milk.
Using Your Waffle Maker: Step-by-step
Now comes the main event. Follow these detailed steps to make perfect waffles every time.
1. Preheat The Waffle Maker
As explained earlier, preheating is key. Wait until the ready light is on, then give it an extra minute if you want a crispier outside.
2. Grease The Plates (if Needed)
Even non-stick plates can sometimes stick, especially with sweet or cheesy batters.
- Use a pastry brush or folded paper towel to apply a thin layer of vegetable oil or melted butter.
- Avoid sprays with propellants—they can damage non-stick coatings over time.
Non-obvious tip: Grease just before the first waffle. If the plates still look shiny after, you don’t need to grease again for the next batch.
3. Pour The Batter
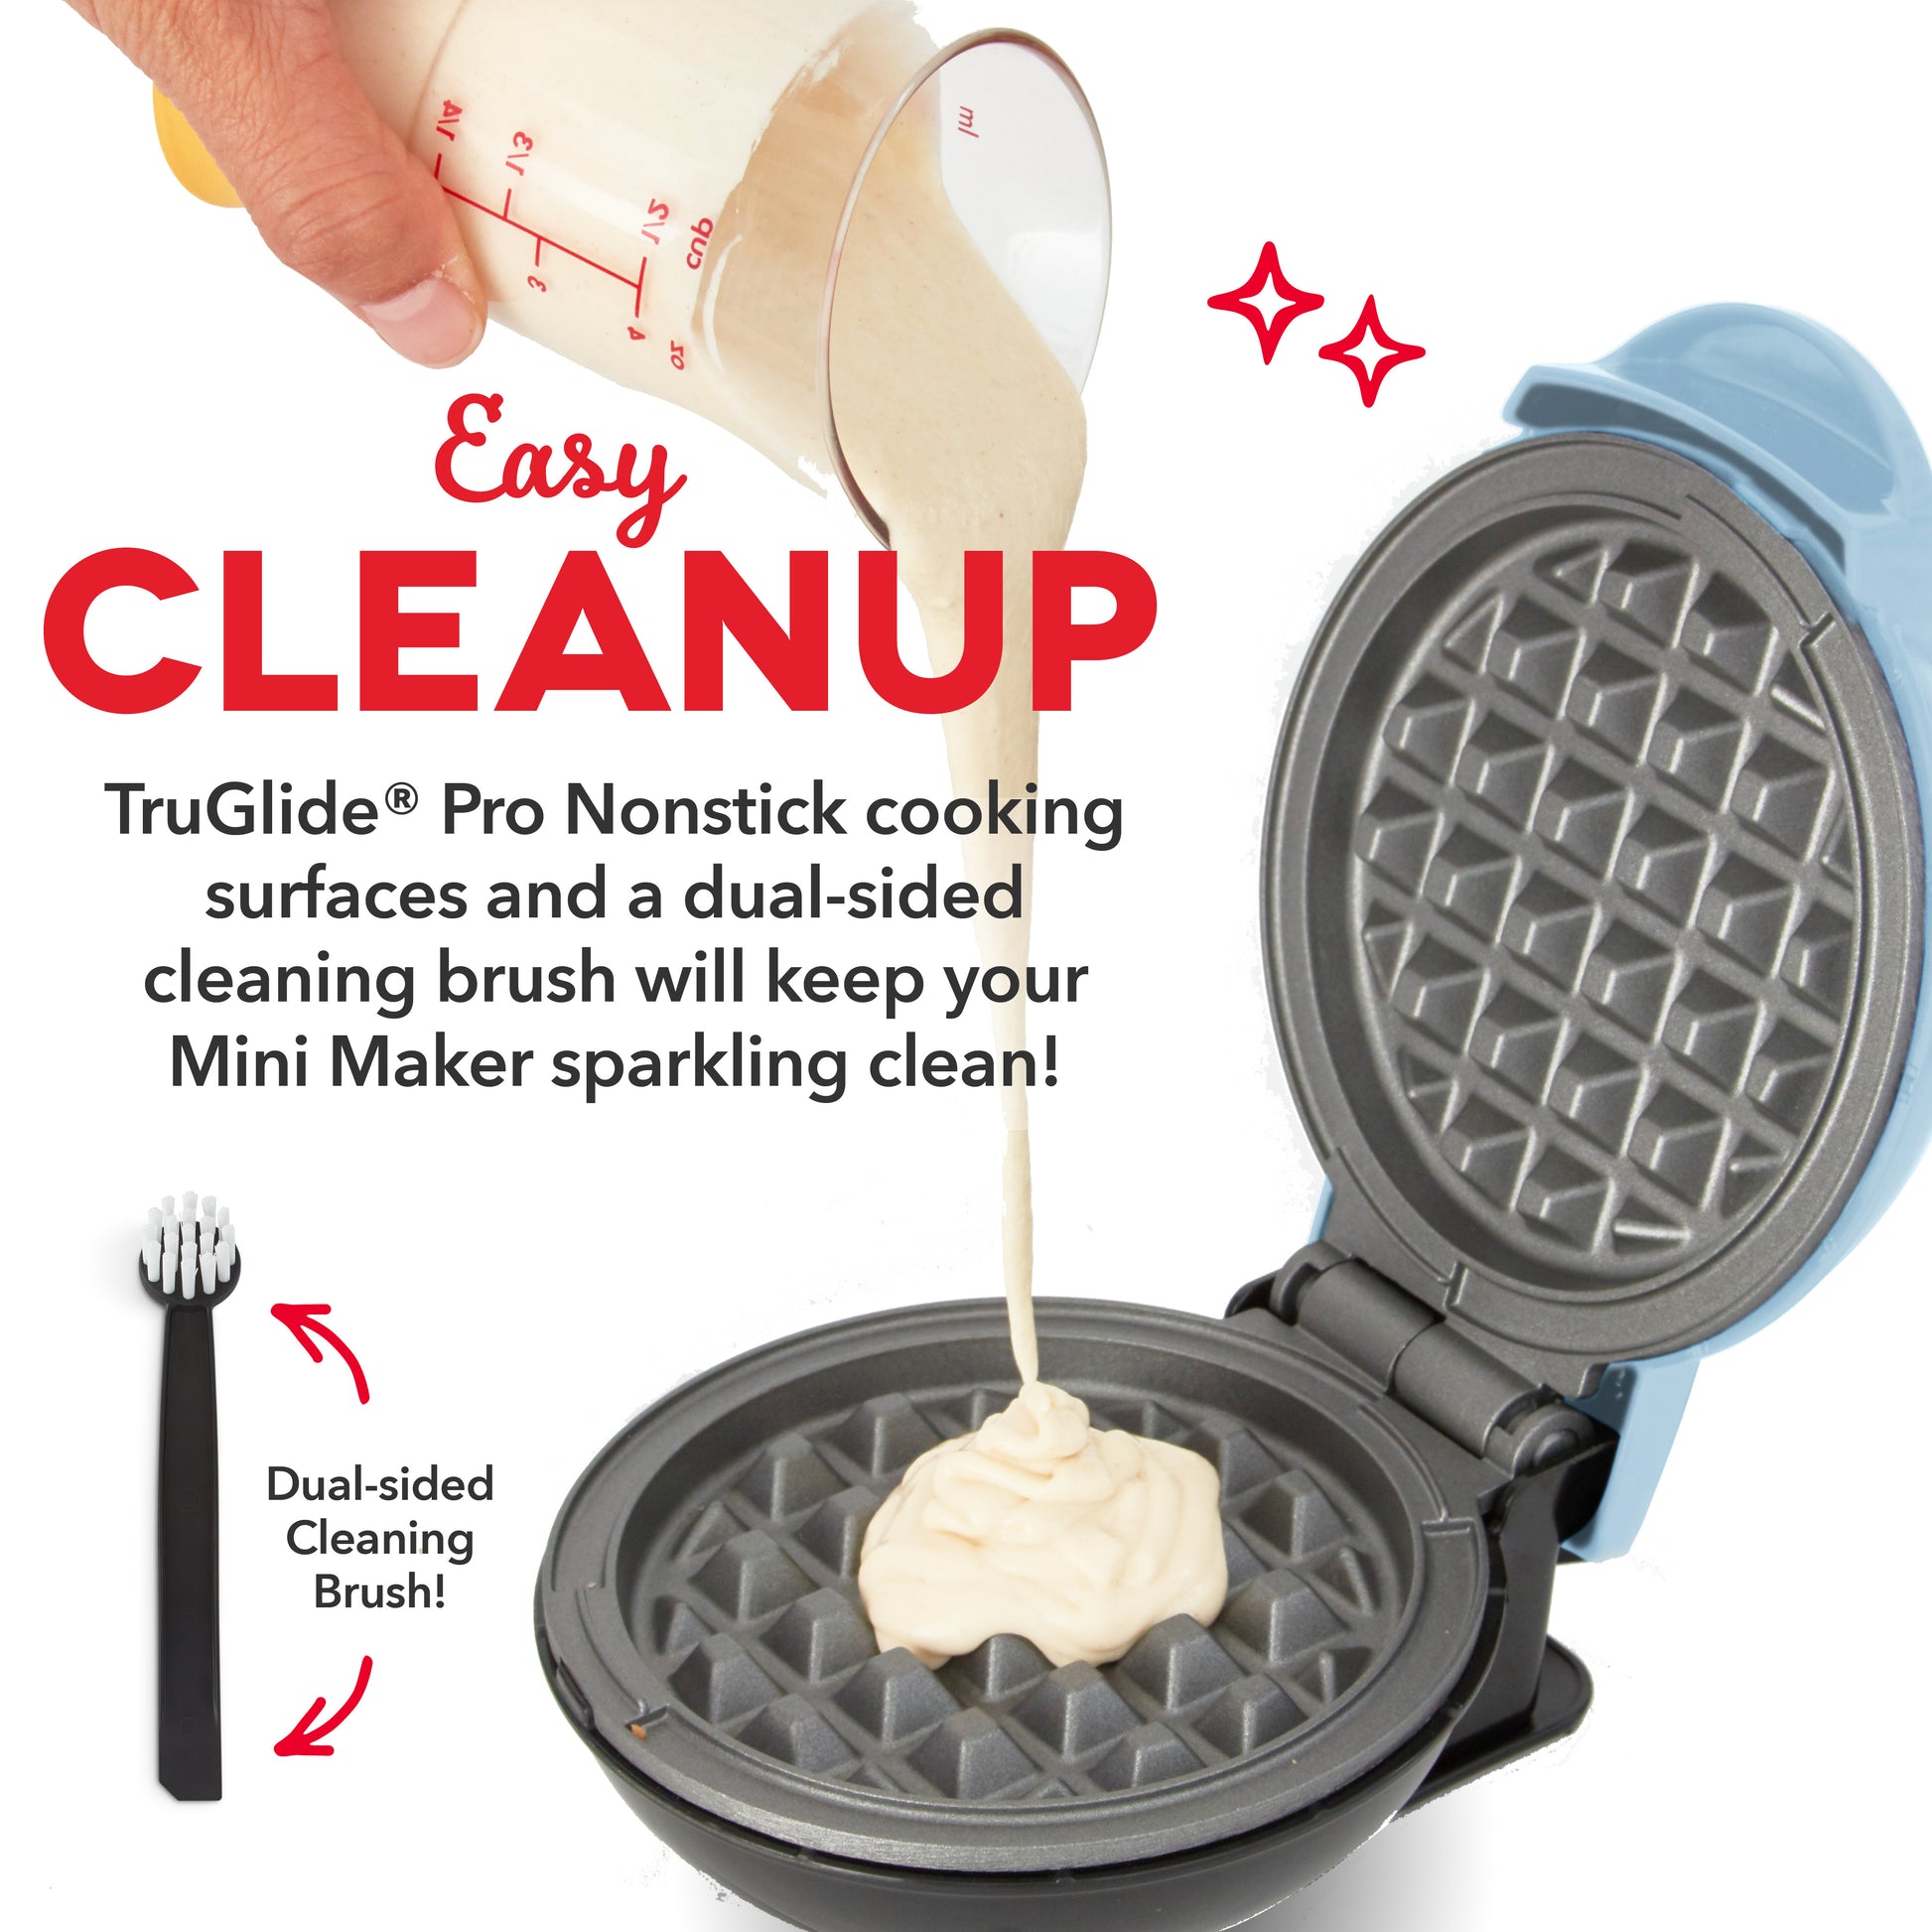
How much batter to use depends on your machine’s size. Most standard waffle makers need about ½ to ⅔ cup of batter per waffle.
- Pour batter in the center of the lower plate.
- Use a ladle or measuring cup for control.
- Don’t overfill—the batter will spread when you close the lid.
4. Close The Lid Gently
Lower the lid slowly. For rotating models, lock the handle and flip as directed.
- Don’t press down hard. Waffle makers are designed for the lid to rest on the batter.
- If batter leaks out, use less next time.
5. Cooking Time
Most waffles take 3–6 minutes, depending on your machine and recipe.
- Don’t open the lid too soon—steam means it’s still cooking.
- Wait for the indicator light or a noticeable reduction in steam.
- For extra crispy waffles, add 30–60 seconds after the light comes on.
6. Removing The Waffle
Use a silicone or wooden spatula to lift the waffle out. Avoid metal utensils—they scratch non-stick surfaces.
- If the waffle sticks, close the lid for another 30 seconds, then try again.
- Place finished waffles on a wire rack or a warm oven to stay crisp.
7. Repeat For More Waffles
Before each new waffle, check if the plates need a light re-greasing. Stir the batter gently if it separates.
8. Turning Off And Cooling Down
- Unplug the machine after the last waffle.
- Let it cool with the lid open for easier cleaning.
Cleaning And Maintenance
Cleaning your waffle maker properly keeps it working well and makes waffles taste better. Sticky residue or old crumbs can cause future waffles to burn or taste odd.
Cleaning Steps
- Unplug and cool: Always unplug and wait for the waffle maker to cool down.
- Wipe plates: Use a damp, soft cloth or sponge to clean the plates.
- Remove crumbs: Use a soft brush or paper towel to get crumbs out of the grid pattern.
- Tough spots: For stuck-on bits, pour a little warm water on the plate (while unplugged and cool) and let it soak for a few minutes. Then wipe clean.
- Exterior: Wipe with a damp cloth.
- Removable plates: If your model has these, wash them in warm soapy water and dry fully before replacing.
Never submerge an electric waffle maker in water.
Maintenance Tips
- Avoid metal utensils and harsh cleaners.
- Store your waffle maker unplugged and clean.
- If the non-stick coating starts to wear, consider replacing the machine for safety.
Waffle Maker Safety
Using a waffle maker is safe if you follow basic precautions.
- Keep cords away from the cooking area.
- Don’t touch the hot plates or exterior during use.
- Supervise children if they help.
- Unplug immediately after cooking.
- Let cool before cleaning.
One overlooked risk: steam burns. When opening the lid, tilt it away from your face and hands.
Common Mistakes And How To Avoid Them
Many first-time waffle makers run into similar problems. Here’s how to sidestep the most common issues.
1. Waffles Stick To Plates
- Didn’t preheat enough? Wait longer next time.
- Batter too thin? Add a little more flour.
- Not enough oil or butter in batter? Add a tablespoon next batch.
- Waffle maker not greased? Brush with oil before the first waffle.
2. Soggy Waffles
- Cooking time too short. Leave waffles in until steam nearly stops.
- Batter too wet. Try less milk or add a tablespoon of cornstarch.
- Waffles stacked on a plate. Place finished waffles on a rack or in a warm oven.
3. Overflowing Batter
- Too much batter. Fill less next time.
- Batter foamed up. If using whipped egg whites, pour slowly.
4. Uneven Cooking
- Don’t open the lid early—heat escapes.
- For stovetop models, flip halfway through.
- Rotate or flip models as directed.
5. Waffles Taste Bland
- Add a pinch of salt or a splash of vanilla.
- Use fresh baking powder for best rise.
Creative Waffle Ideas
Once you’ve mastered basic waffles, you can try new flavors and styles.
Sweet Variations
- Chocolate chip waffles: Add ½ cup mini chips to batter.
- Cinnamon apple waffles: Stir in 1 teaspoon cinnamon and ½ cup diced apple.
- Banana nut waffles: Add 1 mashed banana and ¼ cup chopped walnuts.
Savory Waffles
- Cheese and herb waffles: Mix in ½ cup shredded cheese and 2 tablespoons chopped herbs.
- Ham and cheese waffles: Add chopped ham and Swiss cheese for a brunch twist.
Gluten-free And Vegan Waffles
- Use gluten-free flour blends or oat flour.
- Replace eggs with flaxseed gel (1 tablespoon ground flaxseed + 3 tablespoons water per egg).
- Use plant-based milk and oil.
Fun Shapes And Sandwiches
- Mini waffle makers can make bite-sized snacks.
- Use waffles as bread for sandwiches (try fried chicken, or ice cream).
Non-obvious insight: Waffles freeze well. Make extra, cool completely, and freeze. Reheat in a toaster for a quick breakfast.

Credit: www.youtube.com
Comparing Popular Waffle Maker Models
Choosing the right waffle maker can make your waffle experience much easier. Here’s a comparison of three popular types:
| Model | Waffle Type | Cooking Time | Ease of Cleaning | Price Range |
|---|---|---|---|---|
| Classic Electric | Thin/Standard | 3-5 min | Easy (non-stick) | $20–$50 |
| Belgian Rotating | Thick/Belgian | 4-6 min | Medium (removable plates best) | $40–$100 |
| Stovetop Iron | Thin or Thick | 3-7 min | Hard (hand wash) | $25–$60 |
Waffle Maker Features: What Matters Most
Not sure which features are important? Here’s a quick overview.
| Feature | Why It Matters | Who Needs It |
|---|---|---|
| Non-stick Plates | Easy release & clean-up | All users |
| Removable Plates | Best for deep cleaning | Frequent users |
| Temperature Control | Custom browning/crispiness | Foodies & experimenters |
| Indicator Lights | Tells you when to cook | Beginners |
| Rotating Feature | Even cooking, crispier waffles | Belgian waffle lovers |
Troubleshooting Guide
Even with practice, things sometimes go wrong. Here’s a quick reference for common waffle maker issues.
Waffle Sticks Badly
- Let the machine heat fully
- Use a bit more oil in the batter and on the plates
Waffle Undercooked
- Leave for an extra minute
- Check if the machine is heating properly
Waffle Too Dark/burned
- Lower the temperature (if adjustable)
- Use less sugar in batter
Waffle Leaks Out
- Reduce the amount of batter
- Don’t overfill
Practical Tips For Perfect Waffles
- Preheat well: A hot iron means crisp edges.
- Don’t peek: Opening early ruins the texture.
- Rest batter: Ten minutes rest makes a big difference.
- Wire rack, not plate: Keeps waffles crispy as they cool.
- Freeze leftovers: Waffles can be toasted straight from the freezer.
Extra tip: If you want to keep waffles warm for a group, place them in a 200°F (93°C) oven in a single layer. Don’t cover or stack, or they’ll get soggy.
Waffle Maker Recipes To Try
If you want to go beyond the classic, try these easy ideas:
- Pumpkin spice waffles: Add ½ cup pumpkin puree and 1 teaspoon pumpkin spice to the batter.
- Cornbread waffles: Replace half the flour with cornmeal and add shredded cheddar.
- Brownie waffles: Use brownie batter instead of waffle batter for dessert.
These add variety and make your waffle maker more useful.
Cleaning Mistakes To Avoid
- Never use steel wool or abrasive pads.
- Don’t soak the whole appliance.
- Avoid dishwasher for non-removable plates.
- Don’t store with crumbs or batter residue.
Non-obvious insight: If your waffle maker smells burnt, run a piece of plain white bread through a cook cycle. It helps absorb odors and loosen residue.
When To Replace Your Waffle Maker
Even with care, waffle makers don’t last forever. Signs it’s time for a new one:
- Non-stick coating is peeling.
- Plates are warped or won’t heat evenly.
- Electrical issues or burnt smells persist.
- Handle or hinges are broken.
A good waffle maker should last 3–5 years with regular home use.
Waffle Maker Myths
Some people believe a few common myths:
- “You must use spray oil every time.” Not true—use a brush, and only as needed.
- “Only boxed mixes work.” Homemade batters are just as easy.
- “Waffle makers are only for breakfast.” Try them for sandwiches, desserts, or even hash browns.
For more about waffle history and fun facts, check the Wikipedia page.

Credit: www.wikihow.com
Frequently Asked Questions
Why Do My Waffles Stick To The Waffle Maker?
This usually happens if the machine isn’t hot enough, the plates are not greased, or your batter is too thin. Always preheat fully and use a little oil or butter. If you use non-stick spray, apply lightly and wipe off any excess.
How Do I Know When My Waffle Is Done?
Most waffle makers have an indicator light or beep. But the best sign is when steam nearly stops coming out. Opening the lid too early can split the waffle or make it stick.
Can I Use Pancake Batter In A Waffle Maker?
Yes, but pancake batter is usually thinner and has less fat. For better results, add an extra tablespoon of oil or melted butter to your pancake mix before using it in the waffle maker.
How Do I Clean A Waffle Maker With Stuck-on Batter?
Let the machine cool, then wipe with a damp cloth. For stubborn spots, pour a little warm water onto the plate, let it sit, and then wipe again. Never use metal tools or submerge the machine in water.
Is It Safe For Kids To Use A Waffle Maker?
With supervision, older children can help. Always keep young kids away from hot surfaces and cords, and teach them to open the lid carefully to avoid steam burns.
Making waffles at home can be easy, fun, and delicious with just a little practice. Whether you want a quick breakfast or a treat for a special occasion, your waffle maker can do much more than you might expect. With these tips and ideas, you’ll be ready for perfect waffles every time.