
Welcoming a new baby brings both joy and a long list of new products to learn. The Kiinde bottle warmer is one of those items many parents find essential for feeding time. It promises to make warming breast milk, formula, or baby food safer and easier. Yet, using a bottle warmer for the first time can feel confusing, especially for parents who want to protect the nutrients in breast milk and avoid hot spots in formula. If you’ve just unboxed your Kiinde bottle warmer or are thinking about buying one, this guide will walk you through every step, from setup to cleaning. Whether you’re a new parent or a caregiver, you’ll learn not just the basics, but also practical tips, safety advice, and insights that many users only discover after months of use.
What Is The Kiinde Bottle Warmer?
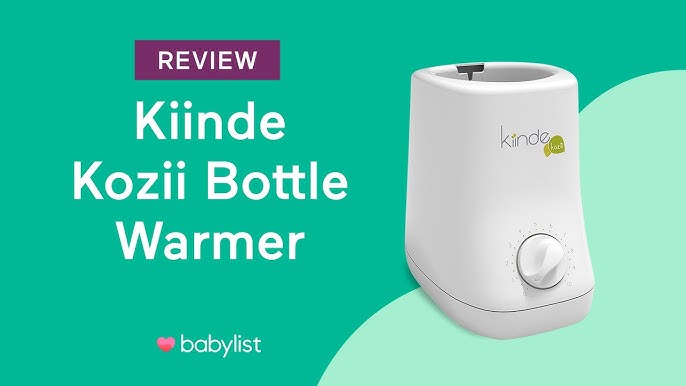
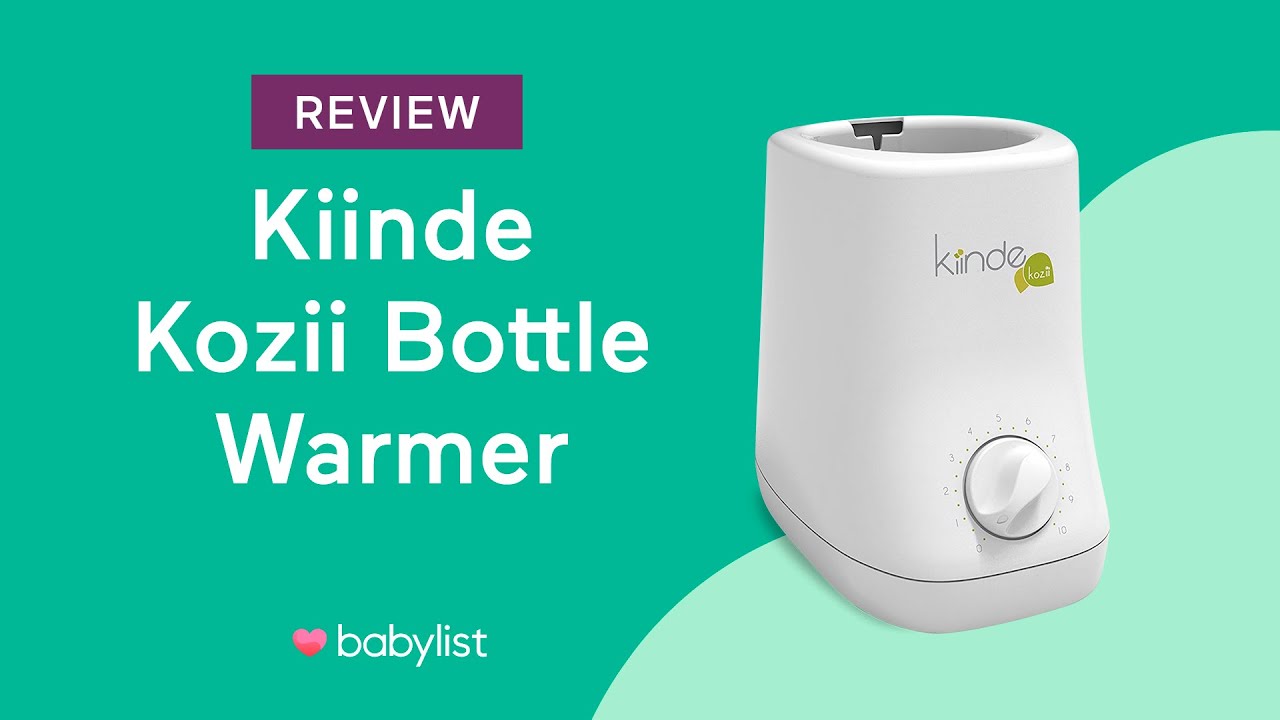
The Kiinde bottle warmer is a device designed to heat baby milk and food safely. Unlike microwave ovens, which can create dangerous hot spots and destroy nutrients, the Kiinde uses a gentle warming method. This makes it especially popular among breastfeeding mothers who want to preserve the quality of their milk. The Kiinde system also stands out because it is compatible with many bottle shapes and baby food pouches. Its popularity is due to both its flexibility and its focus on safety.
Why Use A Bottle Warmer?
Many parents ask if a bottle warmer is necessary. Some use a bowl of warm water or the microwave. However, these methods have risks. Microwaves can heat unevenly and damage nutrients in breast milk. Bowls of water can be slow and hard to control. The Kiinde bottle warmer addresses these issues by using a water bath and precise temperature controls. This means bottles heat evenly, reducing the risk of burns or nutrient loss. For night feeds or busy mornings, the time saved can be a big help.
Getting To Know Your Kiinde Bottle Warmer
Before you start, let’s look at the main parts you’ll find in the box:
- Heating unit: The main device that heats water.
- Water reservoir: Holds water for the warming process.
- Basket or insert: Holds different sizes of bottles or pouches.
- Power cord: Connects to your wall outlet.
- Control panel: Where you set temperature and time.
- Instruction manual: Always keep this for reference.
Some Kiinde models may have small differences in design or features. However, the basic function is the same across models.
Key Features
- Gentle water bath: Heats milk slowly to prevent overheating.
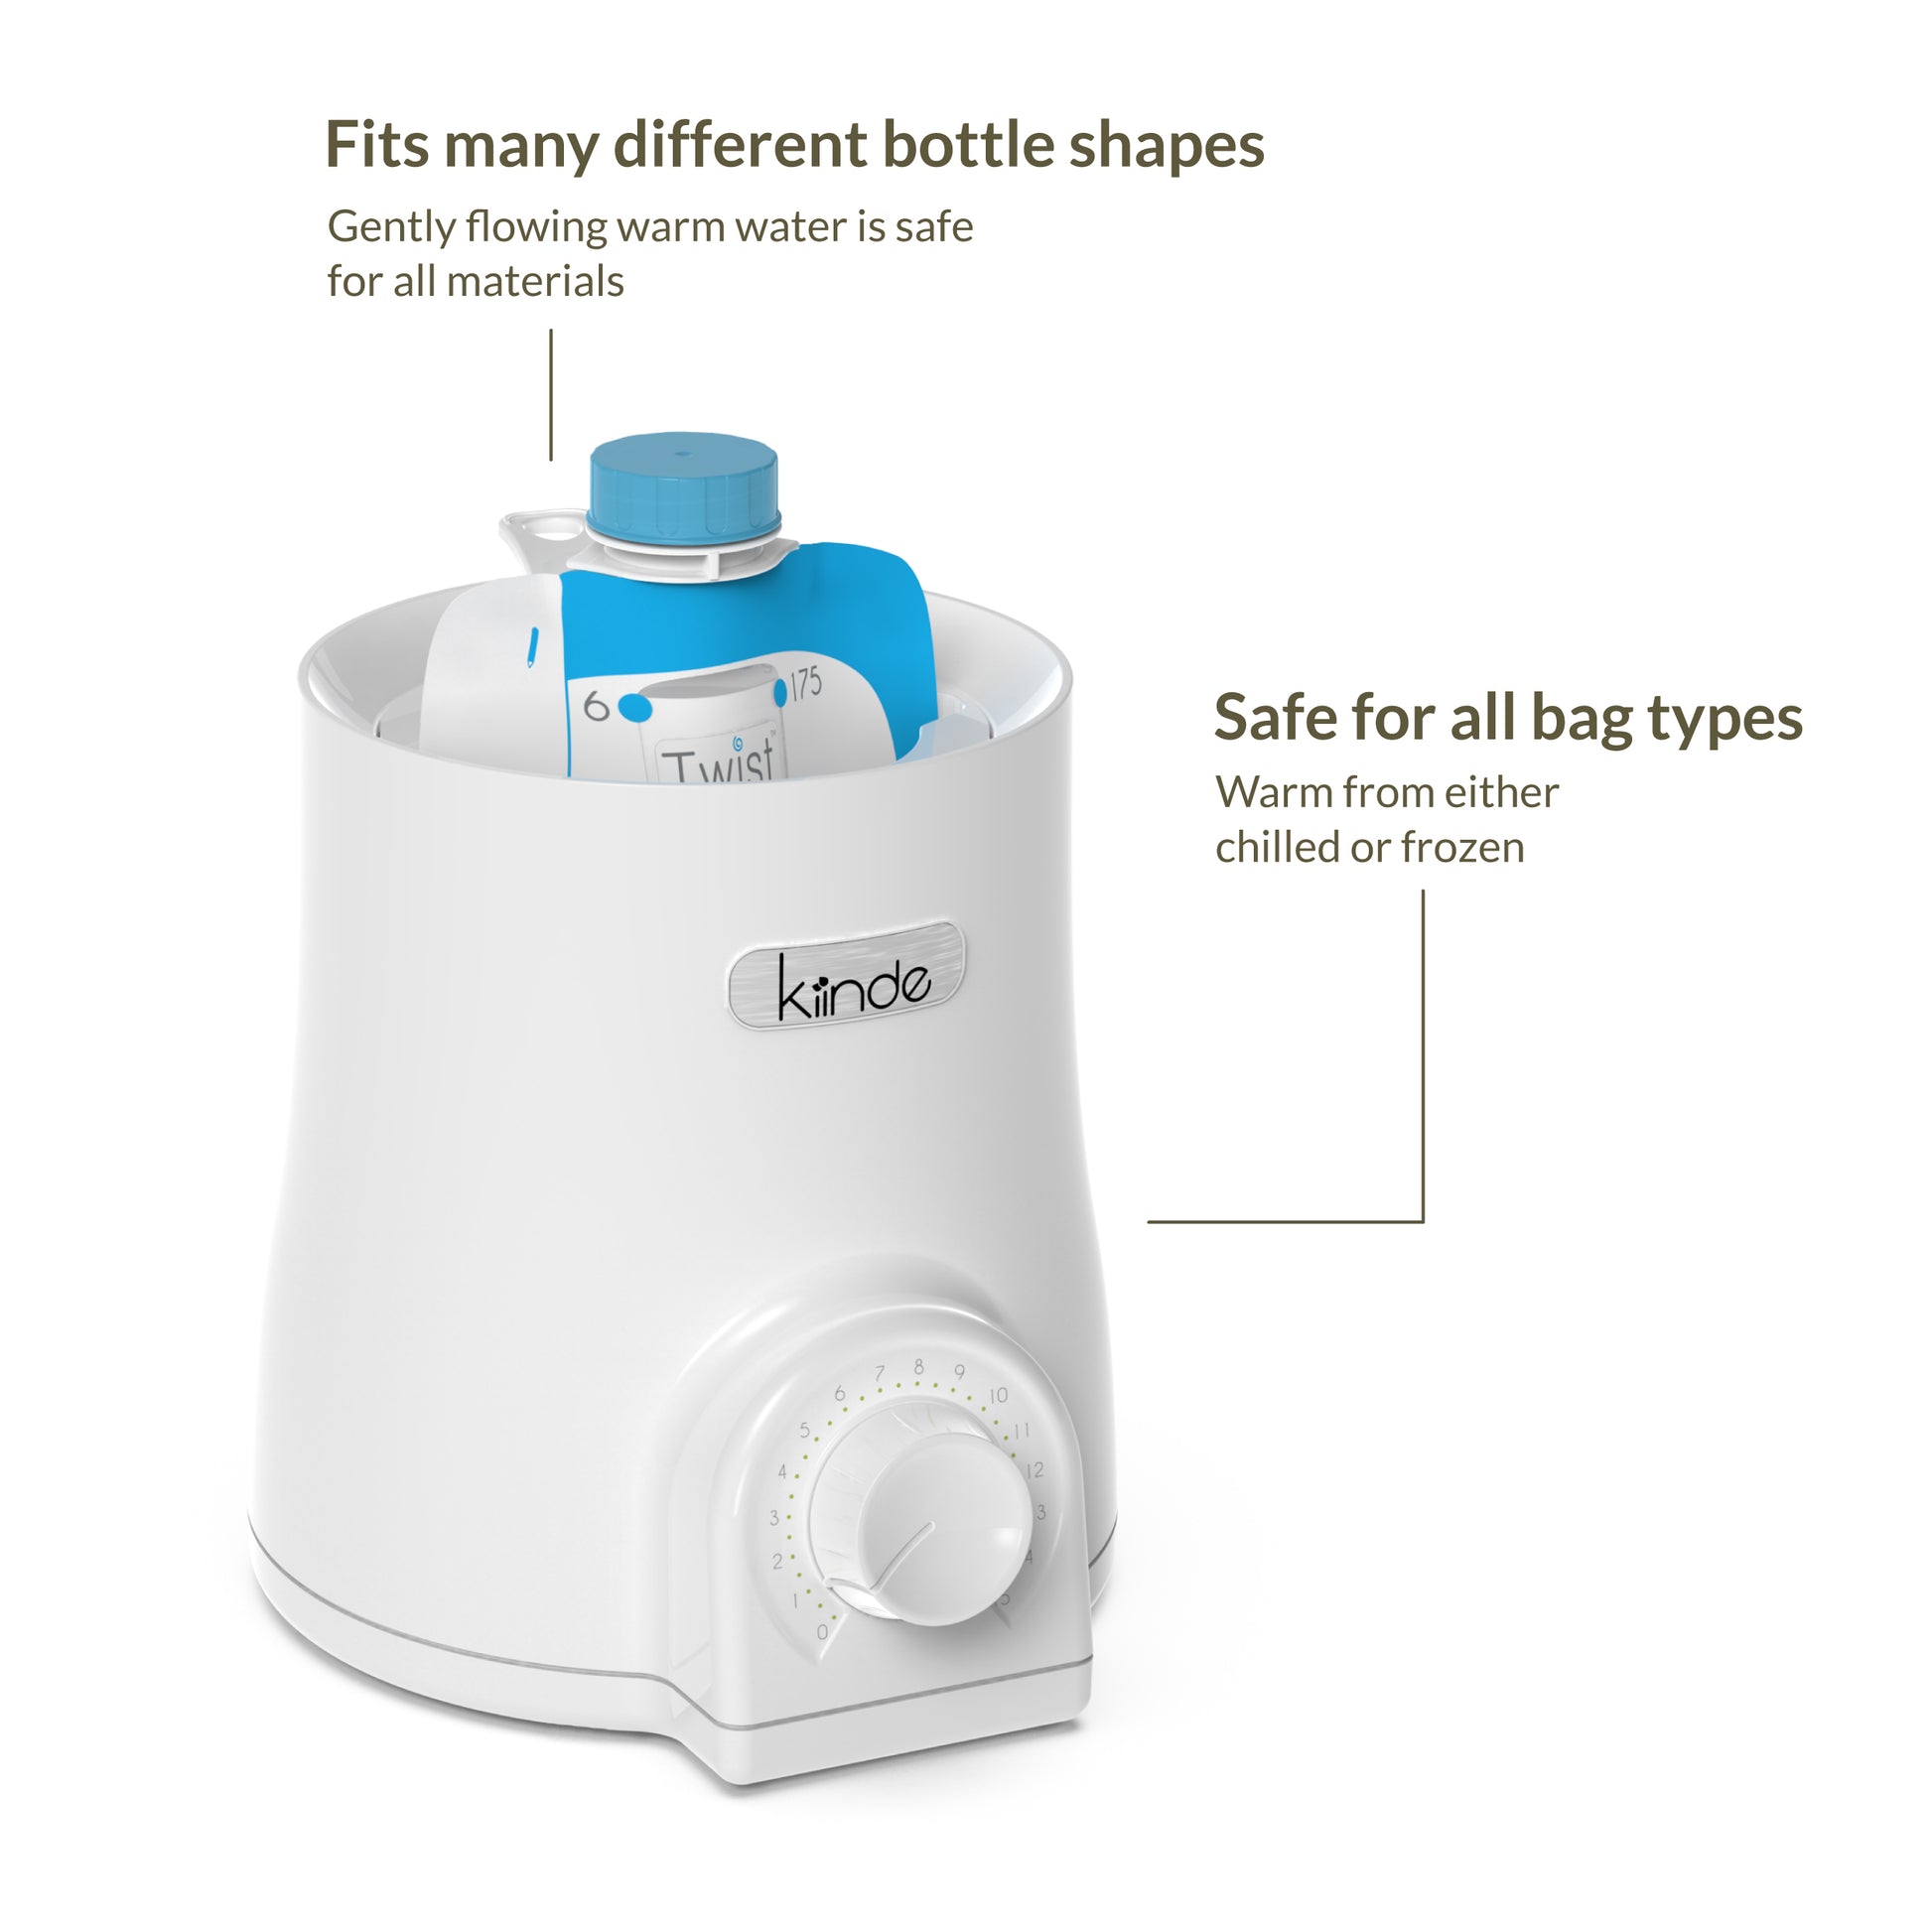
- Universal fit: Works with Kiinde pouches, most baby bottles, and food jars.
- Automatic shut-off: Prevents overheating and saves energy.
- Easy controls: Simple buttons or dials for setting time and temperature.
- Compact design: Small size fits on kitchen counters or nightstands.
Setting Up Your Kiinde Bottle Warmer
Correct setup ensures safe and efficient warming. Follow these steps before your first use:
- Read the manual: Always read the full instruction booklet. Each model may have unique features.
- Find a safe spot: Place the warmer on a flat, dry surface, away from edges and water sources.
- Check voltage: Make sure your power outlet matches the voltage listed on the warmer.
- Add water: Fill the water reservoir to the recommended line. Use clean, filtered water if possible.
- Plug in: Connect the power cord to the outlet. Avoid using extension cords to reduce fire risk.
- Insert basket or adapter: Place the basket or insert inside the heating chamber, depending on the bottle or pouch you plan to warm.
Practical Tip
Don’t overfill the reservoir. Too much water may cause spills or leaks during heating.
How To Use The Kiinde Bottle Warmer: Step-by-step
Warming your baby’s milk or food is simple once you know the steps. Here’s a detailed process:
- Prepare the bottle or pouch: Ensure it’s sealed and undamaged.
- Place in the basket: Put the bottle, pouch, or food jar in the basket or adapter.
- Lower into the chamber: Gently place the basket into the warming chamber.
- Fill with water (if needed): Some models require adding water each time, while others use a built-in reservoir.
- Set controls: Choose the correct time and temperature. Use the guide in your manual or the one below.
- Start warming: Press the start button. The warmer will heat the water, gently warming the milk or food.
- Wait for completion: Most warmers have an indicator light or sound to signal when done.
- Remove carefully: Use a towel or cloth to lift the basket and avoid burns.
- Test temperature: Shake the bottle or pouch gently, then squeeze a few drops on your wrist to check for safe temperature.
- Feed your baby: Once you confirm the temperature, you can start feeding.
Example Timing Guide
Warming times depend on the size, starting temperature (fridge or room temperature), and type of milk or food. Here’s a quick example:
| Milk/Formula | Starting Temp | Amount | Warming Time (min) |
|---|---|---|---|
| Breast milk | Fridge | 4 oz | 3-4 |
| Breast milk | Frozen | 4 oz | 6-8 |
| Formula | Room temp | 4 oz | 2-3 |
| Baby food | Fridge | 4 oz | 3-4 |
Always check your specific model’s recommendations.
Warming Different Types Of Bottles, Pouches, And Jars
The Kiinde system is known for its flexibility. Here’s how it handles different containers:
Kiinde Twist Pouches
These are designed to work perfectly with the warmer. Just place the pouch in the basket, warm, and then attach a nipple for feeding.
Standard Baby Bottles
Most brands fit into the basket. For wide-neck bottles, use the correct adapter or basket insert.
Glass Bottles
The Kiinde warmer is safe for glass, but always handle hot glass with care. Allow a few seconds for the glass to cool on the outside before touching directly.
Baby Food Jars
Small jars of pureed food can be warmed. Make sure the lid is loose to avoid pressure build-up.
Non-kiinde Pouches
Other brands of milk or food pouches may fit. Check their size and material for compatibility.
Extra Insight
Some parents find that using a mesh bag or small towel around the bottle helps prevent glass from clinking in the basket, especially during night feeds.
Credit: www.youtube.com
Safety Tips And Common Mistakes
Using a bottle warmer is easy, but there are some mistakes to avoid:
- Don’t overheat: Overheating can destroy nutrients in breast milk and create hot spots in formula.
- Never microwave: Don’t use the microwave to reheat milk or food after using the warmer.
- Test temperature every time: Always check the temperature before feeding.
- Don’t leave water in the reservoir for days: Stale water can grow bacteria and cause odors.
- Watch for wear: Check the cord and plug for damage. Replace if needed.
- Don’t overfill: Too much water can spill and damage the device.
- Use clean bottles and pouches: Dirty containers can introduce germs during warming.
- Avoid using near water sources: Prevent electric shock by keeping the warmer away from sinks and wet areas.
Overlooked Insight
Most parents only realize after a few weeks that mineral buildup from hard water can affect heating. Use filtered water and descale the warmer every 1-2 weeks for best results.
Cleaning And Maintenance
Keeping your Kiinde bottle warmer clean ensures it works well and lasts longer.
Daily Cleaning
- Unplug first: Always unplug the warmer before cleaning.
- Empty water: Pour out leftover water after each use.
- Wipe surfaces: Use a damp cloth to wipe the inside and outside.
- Clean the basket: Wash the basket or insert with warm soapy water, rinse, and dry.
Weekly Maintenance
- Descale: Mineral deposits can build up. Fill the warmer with vinegar and water (1:1 ratio), run a full warming cycle, and then rinse thoroughly.
- Inspect parts: Look for cracks, discoloration, or damage.
Deep Cleaning Example
| Cleaning Step | Frequency | Description |
|---|---|---|
| Daily wipe down | Daily | Wipe inside/outside with damp cloth |
| Basket wash | Daily | Wash with soap and water |
| Descale (vinegar) | Weekly | Run with vinegar/water mix, then rinse |
| Check for damage | Weekly | Inspect cord, basket, and chamber |
Tip
Never submerge the main unit in water. Only the removable basket or insert should be washed in a sink.
Credit: www.youtube.com
Troubleshooting: Solving Common Problems
Even the best appliances can have issues. Here’s how to fix the most common ones:
Warmer Does Not Turn On
- Check power: Make sure it’s plugged in.
- Try another outlet: The socket may not work.
- Inspect cord: Look for damage.
- Reset: Some models have a reset button on the bottom.
Milk Not Warming
- Check water level: Not enough water can stop heating.
- Basket placement: Make sure the bottle is centered.
- Warming time: Add a minute if milk is still cold.
Overheating Or Steam Leaks
- Overfilled: Remove excess water.
- Blocked vent: Ensure air vents are clear.
- Lid issues: Don’t seal jars or bottles tightly during warming.
Strange Odor
- Old water: Always use fresh water.
- Mineral buildup: Descale with vinegar as described above.
Example Troubleshooting Table
Here’s a quick reference for common issues:
| Problem | Possible Cause | Solution |
|---|---|---|
| Not turning on | Power issue | Check plug, socket, cord |
| Milk still cold | Low water, short time | Refill water, increase time |
| Burning smell | Dry heating | Add water before use |
| Steaming/leaking | Overfill | Reduce water amount |
Comparing Kiinde To Other Bottle Warmers
Parents often wonder if the Kiinde is better than other brands. Here’s a quick comparison with two popular alternatives: Dr. Brown’s and Philips Avent.
| Feature | Kiinde | Dr. Brown’s | Philips Avent |
|---|---|---|---|
| Heating Method | Water bath | Steam | Water bath |
| Universal Fit | Yes (pouches, bottles, jars) | Mostly bottles | Bottles, jars |
| Automatic Shut-off | Yes | Yes | Yes |
| Warm Baby Food | Yes | Some models | Yes |
| Price Range | Mid | Low-Mid | Mid-High |
| Special Features | Works with pouches | LCD timer on some models | Defrost setting |
The main reason parents choose Kiinde is its compatibility with both pouches and bottles and its gentle warming method, which is good for breast milk.
Credit: kiinde.com
Tips For Using The Kiinde Bottle Warmer Efficiently
Even after you know the basics, a few extra tips can make life easier:
- Pre-measure water: If your model needs water each time, keep a small measuring cup nearby.
- Batch warm at night: For night feeds, prep bottles and keep them in a cooler. Warm only what you need, when you need it.
- Label bottles: If you’re using pumped milk, label bottles with time and date to avoid confusion.
- Use a timer: If your model doesn’t have an automatic shut-off, use your phone or kitchen timer to avoid over-warming.
- Keep a spare basket: If you lose the basket, warming is harder. Keep an extra on hand if possible.
- Share with caregivers: Write out your warming routine for babysitters or family, so everyone uses the warmer safely.
- Keep it handy at night: Some parents set up the warmer in the bedroom for fast night feeds.
Hidden Insight
Some parents discover that warming a bottle from fridge temperature can take much longer if the room is cold. In winter, let bottles sit at room temperature for 10 minutes before warming to save time.
When Not To Use The Kiinde Bottle Warmer
While the Kiinde is a helpful tool, there are times when you shouldn’t use it:
- Plastic not labeled “safe for warming”: Some bottles or pouches can melt or release chemicals.
- Unlabeled homemade baby food: If you don’t know what’s inside, don’t risk warming.
- Already warm milk: Don’t reheat milk that’s already been warmed once. This can grow bacteria.
- Medical needs: If your baby has specific feeding requirements, consult your doctor before using a warmer.
The Science Behind Gentle Warming
Why does gentle warming matter? Breast milk is sensitive to heat. Overheating can destroy enzymes and antibodies that protect your baby’s health. Studies show that temperatures above 104°F (40°C) can start to break down some nutrients. The Kiinde’s water bath method heats slowly and evenly, keeping milk in the safe range.
Formula is less sensitive, but hot spots from microwaves can cause burns. The Kiinde’s design helps reduce this risk by avoiding direct heat and circulating warmth evenly.
For more scientific detail on why gentle warming is recommended, see this page from La Leche League International.
How Long Does It Take To Warm A Bottle?
Warming time depends on:
- Starting temperature: Fridge, freezer, or room temp
- Amount of milk: 2 oz warms faster than 8 oz
- Bottle material: Glass takes longer than plastic
- Warmer model: Some heat faster than others
As a rule, it takes 2-4 minutes for 4 oz from the fridge, and 6-8 minutes if frozen. Always check your model’s guide and adjust as needed.
Storage And Portability
The Kiinde bottle warmer is compact, but not all models are portable. Some plug into a wall, while others have car adapters for travel.
- Home use: Place it on a kitchen counter or bedside table.
- Travel use: If you travel often, look for a Kiinde model with a car adapter.
- Storage: Store in a dry place. Always empty water before packing away.
Extra Insight
If you travel frequently, some parents keep a small cooler and use the car adapter to warm bottles on the road, which is much safer than relying on gas station microwaves.
Environmental And Cost Considerations
Using a bottle warmer like Kiinde can save time and reduce waste. Instead of running water for minutes to warm a bottle, you use a small, controlled amount. Over a year, this can save gallons of water and reduce your energy bill.
Kiinde pouches are single-use, but the system is designed to reduce mess and make feeding easier, which many parents see as a fair trade-off. If eco-friendliness is your priority, use reusable bottles with the warmer.
Real-world User Experiences
Many parents share their stories online. Some highlight how the Kiinde warmer fits into their night routine, while others appreciate its reliability for grandparents or babysitters. A few mention the learning curve for setting the right time but agree that, after a week, it becomes second nature.
One parent shared that after switching to the Kiinde system, night feeds became much less stressful because the bottle was always the right temperature, and there was less crying from waiting.
Another mentioned that after trying several brands, the Kiinde was the only one that consistently worked with both their favorite bottle and food pouch brands.
Frequently Asked Questions
How Do I Know When The Milk Is Ready?
Most Kiinde bottle warmers have a light or beep to signal when warming is finished. However, always check by shaking the bottle and testing a few drops on your wrist to make sure it’s not too hot.
Can I Warm Frozen Breast Milk Directly In The Kiinde Warmer?
Yes, you can warm frozen milk, but it takes longer than milk from the fridge. For best results, thaw the milk overnight in the fridge first, then use the warmer.
Is It Safe To Leave Water In The Warmer Between Uses?
It’s best to empty and refill with fresh water daily. Old water can become a breeding ground for bacteria and cause unpleasant smells.
What If My Bottle Doesn’t Fit In The Basket?
Check if your model has adapters or try removing the basket if safe. If your bottle is too large, you may need to use a different container or warm milk in a pouch, then transfer.
Can I Use The Kiinde Bottle Warmer For Baby Food?
Yes, the Kiinde is designed to warm jars and pouches of baby food as well as bottles. Always loosen the lid before warming to prevent pressure build-up.
The Kiinde bottle warmer is more than just a convenient gadget—it’s a tool that helps you feed your baby safely and easily at any time of day. With proper setup, cleaning, and a few smart tricks, it will quickly become a trusted part of your feeding routine.
Whether you’re warming breast milk, formula, or baby food, knowing how to use the Kiinde bottle warmer means less stress and more time to enjoy with your little one.