
Sealing butcher block countertops around a sink is one of the most important steps for keeping your kitchen both beautiful and functional. Many people love the warm, natural look of butcher block countertops. However, water is their biggest enemy, especially around the sink area. Without proper sealing, moisture can cause stains, swelling, and even mold. If you want your butcher block to last for years and stay hygienic, you need to seal it the right way—especially where the wood meets the sink.
This guide will walk you through every step, product, and tip you need to create a water-resistant and long-lasting seal. Whether you’re a beginner or already have some experience, you’ll find clear instructions, practical insights, and solutions for common problems.
By the end, you’ll be confident in keeping your countertop safe from water damage and looking great.
Why Sealing Around The Sink Is So Important
Butcher block countertops are made from natural wood. Wood is porous, which means water can easily soak in. Around the sink, water splashes, soap, and even food debris are common. If these get into the wood:
- The countertop can warp or crack.
- Mold and bacteria can grow inside the wood.
- Stains and discoloration will appear, especially near the sink.
Sealing creates a protective layer. This keeps out water, prevents bacteria, and makes cleaning easier. Without a good seal, you may need to replace sections of your countertop much sooner.
Choosing The Right Sealer For Butcher Block Countertops
There are many products for sealing wood, but not all are safe or effective for kitchen use—especially near a sink. Here are the main options:
| Sealer Type | Water Resistance | Food Safe | Maintenance |
|---|---|---|---|
| Mineral Oil | Low | Yes | Frequent (Monthly) |
| Tung Oil | Medium | Yes (Pure) | 2-3x per year |
| Danish Oil | Medium-High | Check Label | Yearly |
| Polyurethane | High | Only when fully cured | Rare (Years) |
| Waterlox | Very High | Yes (when cured) | Rare (Years) |
What Is The Best Sealer Around A Sink?
- Waterproof sealers like Waterlox or polyurethane work best around sinks.
- Tung oil is good, but only if you reapply often and never let water sit.
- Mineral oil is easy, but not strong enough for wet areas.
Non-obvious insight: Many beginners think food-safe oils are enough everywhere. In reality, the sink zone needs a much tougher, water-resistant finish.
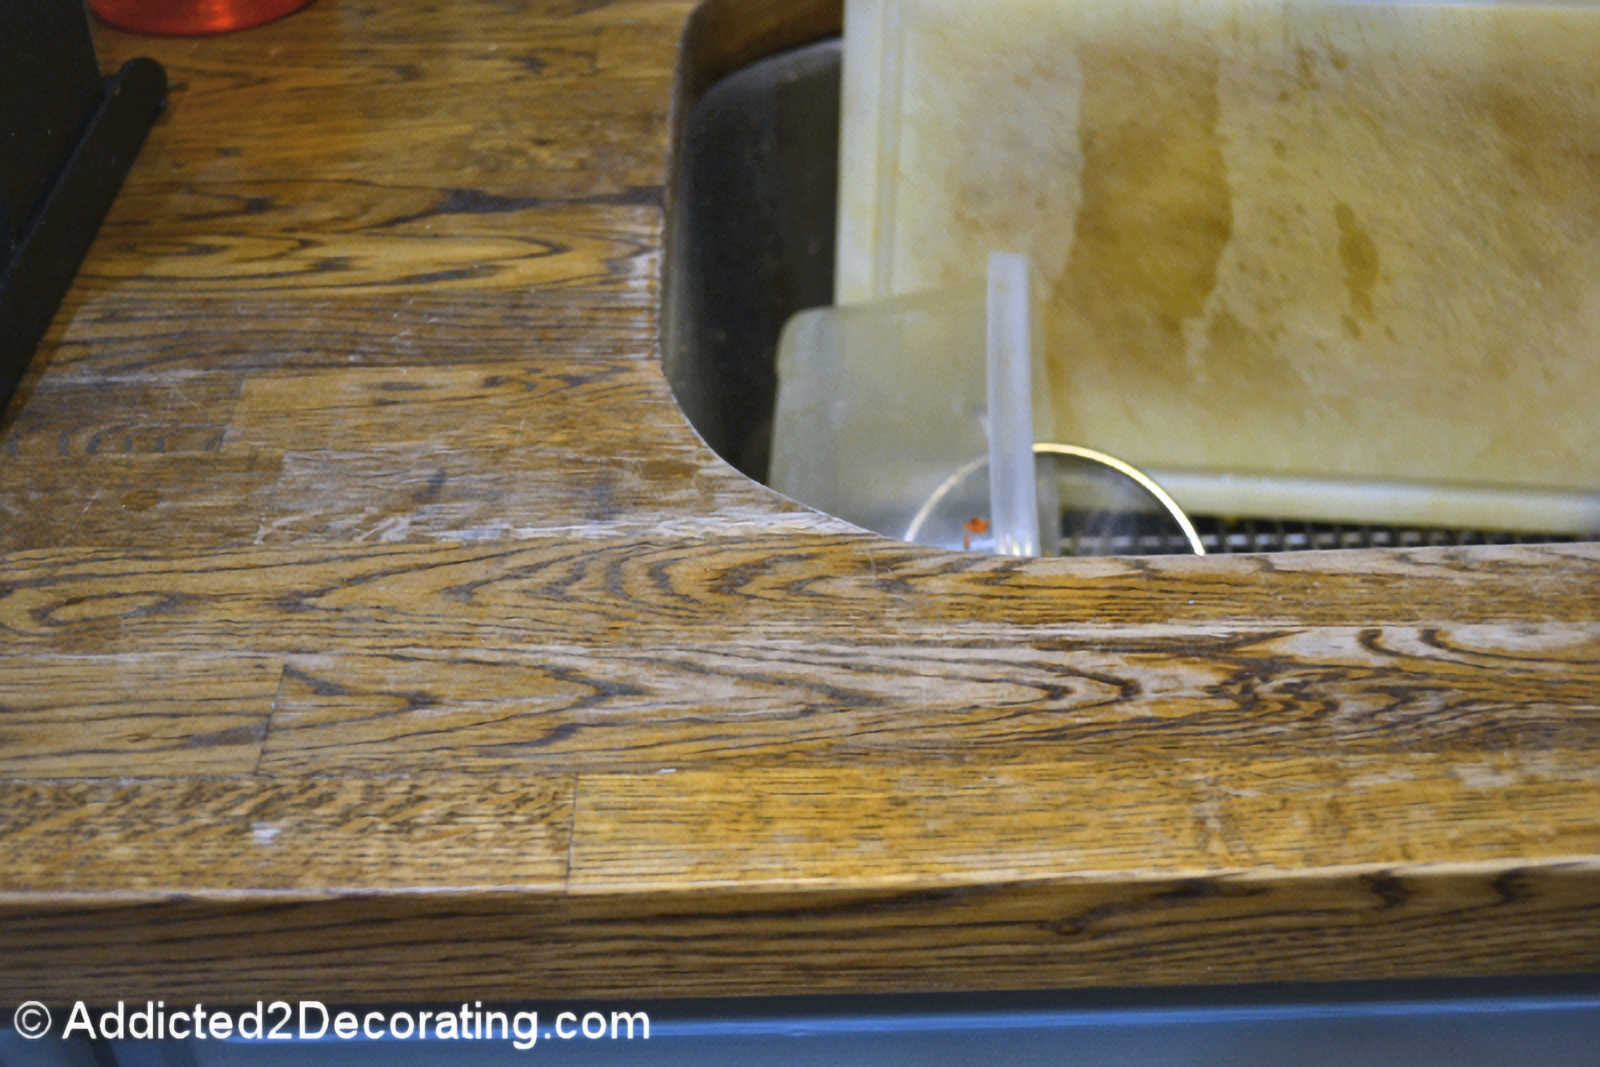
Credit: www.addicted2decorating.com
Tools And Materials You’ll Need
Before you start, gather all the necessary items. Having everything ready makes the job smoother and prevents mistakes.
- Sandpaper (grits 120, 220, and optionally 320)
- Vacuum or tack cloth (for dust removal)
- Painter’s tape (to protect the sink and walls)
- Clean rags or lint-free cloths
- High-quality brush or foam applicator (for sealer)
- Nitrile gloves
- Screwdriver (if you need to loosen sink clips or fixtures)
- Selected sealer (Waterlox, polyurethane, or your choice)
- Caulk (100% silicone, for final waterproofing)
- Mild soap and water (for cleaning the surface)
- Plastic scraper (optional, for old sealant removal)
- Respirator mask (if using strong chemicals)
Practical tip: Always check the manufacturer’s instructions for your sealer. Some products need special brushes or drying conditions.
Prepping The Countertop For Sealing
A great seal starts with the right preparation. Rushing this step is a common mistake that leads to poor results.
1. Clear The Area
Remove all items from your countertop. If possible, loosen or remove the sink. If not, use painter’s tape to protect the sink edges.
2. Clean Thoroughly
Wash the wood with mild soap and water. Remove all grease, dirt, and stains. Wait until the wood is completely dry before moving on.
3. Sand The Surface
Start with 120-grit sandpaper to smooth out any rough spots or old finish. Sand evenly, always in the direction of the wood grain. Finish with 220-grit (and 320-grit for a super-smooth feel).
- Pay extra attention to the area around the sink cutout.
- Wipe off all dust with a vacuum or tack cloth.
4. Check For Gaps Or Cracks
Look closely at the seam where the countertop meets the sink. Fill any small gaps with wood filler or a small amount of matching caulk. Let it dry and sand smooth.
Non-obvious insight: Even tiny cracks around the sink can let water through and cause swelling under the wood. Seal these before you apply any finish.

Credit: www.thriftydecorchick.com
Sealing The Butcher Block: Step-by-step Guide
This section will guide you through the process for the two most common, effective sealers: Waterlox and polyurethane.
Method 1: Using Waterlox
Waterlox is a tung oil-based finish that creates a tough, water-resistant coating. It is food-safe once cured and easy to maintain.
Step 1: Apply The First Coat
- Stir (don’t shake) the Waterlox.
- Use a lint-free rag or brush to apply a thin, even layer.
- Work with the grain and cover all exposed wood, especially the inside edge of the sink cutout.
Step 2: Let It Dry
- Wait at least 24 hours in a well-ventilated area.
- It will look shiny and might feel sticky.
Step 3: Lightly Sand
- Use 320-grit sandpaper to lightly smooth the surface.
- Remove all dust before the next coat.
Step 4: Repeat
- Apply 3-4 coats, following the same process.
- Focus on the sink area—add an extra coat for more protection.
Step 5: Cure
- Let the final coat cure for at least 7 days before heavy use.
- Avoid standing water during this time.
Method 2: Using Polyurethane
Polyurethane is a hard, clear finish that offers excellent water resistance.
Step 1: Select The Right Product
- Use oil-based polyurethane for deeper protection, or water-based for a less yellow finish.
- Make sure the product is labeled food safe after curing.
Step 2: First Coat Application
- Use a high-quality brush or foam applicator.
- Apply a thin, even coat with the grain.
- Cover the inside edge of the sink cutout carefully.
Step 3: Dry And Sand
- Let the coat dry (follow label instructions—usually 6-8 hours).
- Sand lightly with 220-320 grit sandpaper.
- Remove all dust.
Step 4: Add More Coats
- Apply 2-4 total coats, sanding lightly between each.
- For wet areas, more coats mean better protection.
Step 5: Curing Time
- Let the final coat cure for at least 72 hours before use.
- Don’t place wet objects on the surface until fully cured.
Special Attention: Sealing The Sink Cutout
The sink cutout is the most vulnerable place. Water often gets trapped here, especially under the sink rim. Here’s how to make it extra strong:
- Use a small brush to apply sealer inside the cutout.
- Apply extra coats—4 or more.
- Seal the underside edge too, if possible.
Pro tip: If the sink is not yet installed, seal the cutout and let it cure fully before placing the sink.
Caulking For A Watertight Seal
After sealing the wood, you need to add a flexible, waterproof barrier where the sink meets the countertop. This stops water from sneaking into small gaps.
How To Apply Silicone Caulk
- Clean the seam where the sink meets the wood.
- Dry the area completely.
- Cut the tip of your 100% silicone caulk tube at a 45-degree angle for better control.
- Apply a smooth, continuous bead around the sink edge.
- Smooth the caulk with a wet finger or a caulking tool.
- Remove painter’s tape before the caulk skins over.
- Let cure for 24 hours before getting wet.
Common mistake: Using painter’s caulk or acrylic caulk. These types shrink and crack over time. Only use 100% silicone for sink areas.
Maintenance Tips After Sealing
Sealing is not a one-time task. Wood needs regular care to stay in good shape, especially around water.
Daily And Weekly Care
- Wipe up spills right away.
- Don’t let water stand on the countertop.
- Use a mild cleaner (never bleach or harsh chemicals).
Monthly And Yearly Care
- Check for worn spots, especially around the sink.
- Reapply mineral oil or wax to the whole counter if needed (for unfinished areas).
- For polyurethane or Waterlox, spot-recoat if you see worn or dull areas.
Long-term Protection
- Use a dish mat or tray for wet dishes.
- Never cut directly on the countertop—use a cutting board.
- Reseal high-use areas every 1-2 years, or as needed.
Data: Studies show sealed butcher block lasts 3-5 times longer than unsealed wood in wet areas.
Repairing Water Damage And Resealing
Even with good care, accidents happen. If you see black spots, stains, or swelling around the sink, act fast.
How To Repair Minor Damage
- Let the area dry completely (use a fan if needed).
- Sand out stains with 120-grit, then smooth with 220-grit sandpaper.
- Wipe clean and dry.
- Reapply your chosen sealer to the damaged spot.
- Add extra coats around the sink cutout.
For Major Swelling Or Mold
- Remove all old sealer and sand until clean wood appears.
- If the damage is deep, you may need to cut out and replace a section.
- In extreme cases, call a professional.
Non-obvious insight: Black stains often mean water and iron have reacted in the wood. You can sometimes remove these with a paste of baking soda and water before sanding.
Comparing Popular Sealers For Sink Areas
Understanding the pros and cons of each sealer will help you make the best choice for your kitchen.
| Product | Pros | Cons | Best For |
|---|---|---|---|
| Waterlox | Deep protection, food safe, easy to repair | Strong smell during application, long cure time | Kitchen sinks, high-moisture areas |
| Polyurethane | Very tough, high water resistance, durable | Not repairable in small spots, may yellow | Heavy use, modern kitchens |
| Tung Oil | Natural look, food safe, easy to apply | Needs frequent reapplication, less water resistant | Prep areas, less wet zones |
| Mineral Oil | Safe, simple, non-toxic | Poor water resistance, frequent upkeep | Cutting boards, low-moisture areas |
Mistakes To Avoid When Sealing Butcher Block Around Sink
Many new DIYers make the same errors. Avoid these and your countertop will last much longer.
- Skipping the sink cutout: The inside edge is easy to miss but needs extra sealer.
- Using the wrong sealer: Not all finishes are food-safe or water-resistant.
- Not sanding enough: Skipping sanding makes the sealer less effective.
- Applying thick coats: Thin, even coats dry better and last longer.
- Forgetting caulk: Caulk is the final defense against leaks at the sink edge.
- Ignoring maintenance: Even the best sealer needs regular checks.
When To Call A Professional
Sealing butcher block is a project most homeowners can handle. However, you may need help if:
- The sink is undermount and hard to access.
- The wood is already badly damaged.
- You have a custom or very expensive countertop.
A pro can remove the sink, seal all edges perfectly, and ensure a long-lasting result.
Real-world Examples
Case 1: Sarah installed a butcher block countertop and used only mineral oil. After one year, water stains appeared around the sink. She switched to Waterlox, added four coats, and now her countertop stays dry and looks new after three years.
Case 2: Mike tried using regular caulk instead of silicone. Within months, the caulk cracked and water seeped in. He had to replace part of his countertop. Now, he always uses 100% silicone caulk around wet areas.
Case 3: Lisa’s installer missed sealing the inside of the sink cutout. After a small leak, the wood swelled and lifted the sink. She sanded, resealed, and never skips this step now.
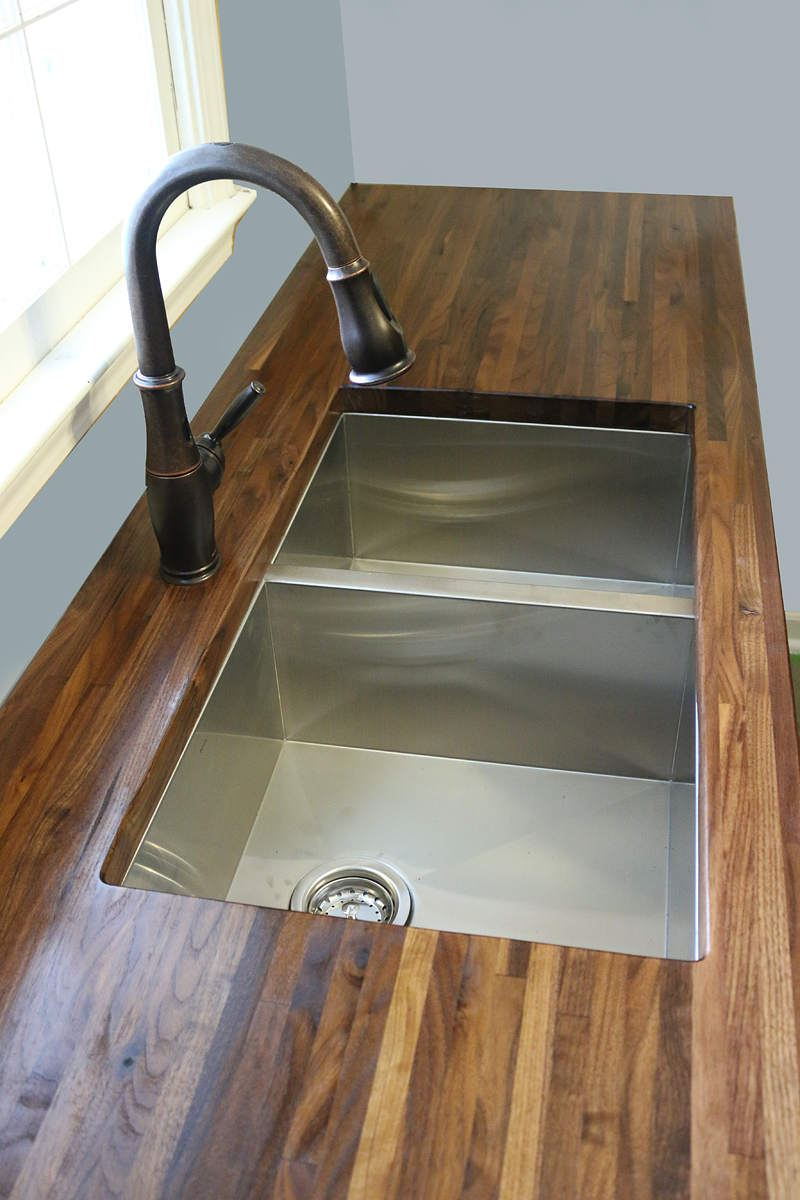
Credit: www.bowerpowerblog.com
Expert Tips For A Flawless Finish
- Always seal the underside of the sink cutout, even if it’s hard to reach.
- Let each coat dry fully before adding the next—don’t rush.
- Use painter’s tape for clean edges and to protect the sink.
- Open windows and use fans for better ventilation when applying sealers.
- Test your sealer on a scrap piece first for color and finish.
How Sealed Butcher Block Compares To Other Countertop Materials
Butcher block has unique needs. Here’s how it stacks up to other popular options:
| Material | Water Resistance | Maintenance | Durability | Appearance Changes |
|---|---|---|---|---|
| Butcher Block (Sealed) | High (if maintained) | Medium | Good | Darkens, gains patina |
| Granite | Very High | Low | Excellent | Little to none |
| Quartz | Very High | Low | Excellent | None |
| Laminate | Medium | Very Low | Fair | Can chip or swell |
Insight: Sealed butcher block offers natural beauty and repairability, but needs more attention around sinks than stone or quartz.
Safety And Environmental Considerations
Some sealers contain strong chemicals and release fumes. Always:
- Work in a well-ventilated area.
- Wear gloves and a mask.
- Dispose of oily rags safely—store in a metal can with a lid to prevent fire risk.
For a greener choice, look for low-VOC or natural oil-based finishes. Always check the product’s safety rating for kitchen use. For more details, see this EPA resource.
Final Thoughts
Sealing butcher block countertops around a sink takes time and care, but the results are worth it. The right products and techniques will protect your investment and keep your kitchen safe and beautiful for years. Focus on the vulnerable areas—the sink cutout, the edges, and the caulk line.
Regular maintenance keeps your countertop in top condition. With these steps, you can enjoy the warmth and charm of wood without worrying about water damage.
Frequently Asked Questions
How Often Should I Reseal My Butcher Block Countertop Around The Sink?
You should check the seal every 6-12 months. In high-use sink areas, reseal at least once a year or as soon as you notice water no longer beads on the surface.
Can I Use Regular Kitchen Oil To Seal My Butcher Block?
No, kitchen oils like olive or vegetable oil will turn rancid and attract bacteria. Only use food-safe mineral oil, tung oil, or approved wood finishes.
Is It Safe To Use Polyurethane Near Food Prep Areas?
Yes, once fully cured, polyurethane is considered food safe for kitchen use. Always let it cure completely (72+ hours) and wipe away any residue before placing food directly on the surface.
What Do I Do If The Wood Around My Sink Starts To Turn Black?
Black stains are usually water or mold damage. Sand the area back to clean wood, treat with a wood bleach if needed, and reseal with your chosen finish. Prevent future stains with better caulking and regular sealing.
Can I Install An Undermount Sink With Butcher Block Countertops?
Yes, but it requires extra care. Completely seal the sink cutout (top, sides, and underside) before installing the sink. Use plenty of silicone caulk to keep water from getting under the wood.
With these tips and careful attention, your butcher block countertop will stay strong, safe, and beautiful for many years—no matter how busy your kitchen gets.