
Many homeowners dream of having a pool that feels complete, fun, and exciting. A diving board can make that dream come true—it adds a thrill to every swim and brings a new level of enjoyment to your backyard. But if your pool deck is already built with concrete, adding a diving board can seem like a challenge.
Is it possible? Absolutely! With the right approach, you can install a diving board on an existing concrete deck safely and securely.
This guide will walk you through every step of the process, from choosing the right board to drilling into concrete, safety tips, common mistakes, and much more. Even if you’re not a professional builder, you’ll find practical advice, clear examples, and warnings about the usual pitfalls.
Let’s dive in and make your pool the highlight of the neighborhood.
Understanding Diving Board Installation On Concrete
Most pools today have concrete decks. Concrete is strong, durable, and supports heavy loads like diving boards. However, installing a diving board in existing concrete is not as simple as just screwing it down. You need to think about safety, board compatibility, and the condition of your concrete.
Why Installation In Existing Concrete Is Different
When a pool is first built, contractors often install special dive stands or anchor sockets in wet concrete. This makes the attachment solid. But if your concrete is already cured and finished, you’ll need to drill precise holes for the diving board’s base. The challenge is to make sure the installation is just as safe and strong as a new build.
Safety Standards And Regulations
Diving boards are fun, but they can also be risky if installed incorrectly. The American National Standards Institute (ANSI) and the Association of Pool & Spa Professionals (APSP) have strict guidelines for diving board placement, height, and water depth. For example, a typical residential diving board requires at least 7.5 to 8.5 feet of pool depth at the diving end.
Before you buy or install anything, check your local building codes and pool regulations. Some areas do not allow diving boards on older pools due to safety risks. If you ignore these rules, you might void your insurance or even face legal trouble.
Choosing The Right Diving Board
Your diving board must match your pool’s size, depth, and the way your concrete deck is built. Not all boards fit all pools. Picking the wrong one can be dangerous.
Key Factors To Consider
1. Pool Depth And Shape
Deeper pools are safer for diving boards. Measure the deepest part of your pool and the slope from shallow to deep.
2. Board Length And Flexibility
Common sizes are 6, 8, and 10 feet. Longer boards need more space and deeper water. Stiffer boards are better for adults, while flexible ones suit children.
3. Base Type
There are stand bases (with legs) and direct bolt-down bases. For existing concrete, you need a base with anchor bolts or a universal jig.
4. Board Material
Boards are usually fiberglass, wood, or composite. Fiberglass is durable and slip-resistant.
5. Brand Compatibility
Some brands only fit their own bases and jigs. Always check the manufacturer’s guide.
Mistakes To Avoid
- Choosing a board that is too long for your pool
- Using a board not rated for your pool’s depth
- Ignoring the need for a proper base or jig
Example Of Board Selection
Suppose your pool is 8. 5 feet deep at the diving end and has a concrete deck with at least 4 feet of space behind the pool edge. You can safely install an 8-foot board with a matching stand. If your pool is shallower, you may be limited to a 6-foot board or none at all.
Tools And Materials You’ll Need
Having the right tools and quality materials is the foundation of a safe installation. Trying to save money with the wrong equipment can lead to weak mounts or even injuries.
Essential Tools
- Hammer drill (with masonry bits, typically 5/8″ or 3/4″)
- Socket wrench set and spanners
- Measuring tape and chalk line
- Level (preferably at least 3 feet long)
- Vacuum or blower (for cleaning holes)
- Safety glasses and ear protection
Materials
- Diving board (with matching base)
- Anchor bolts (stainless steel recommended)
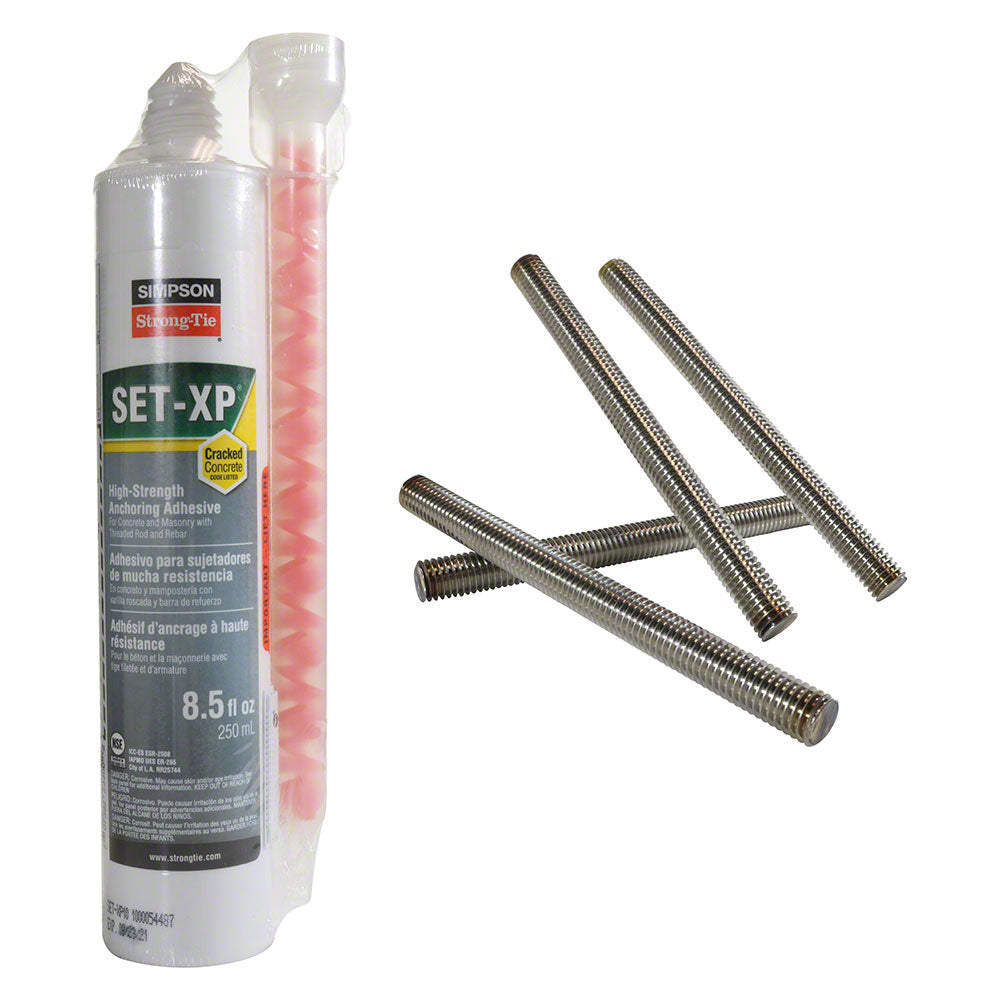
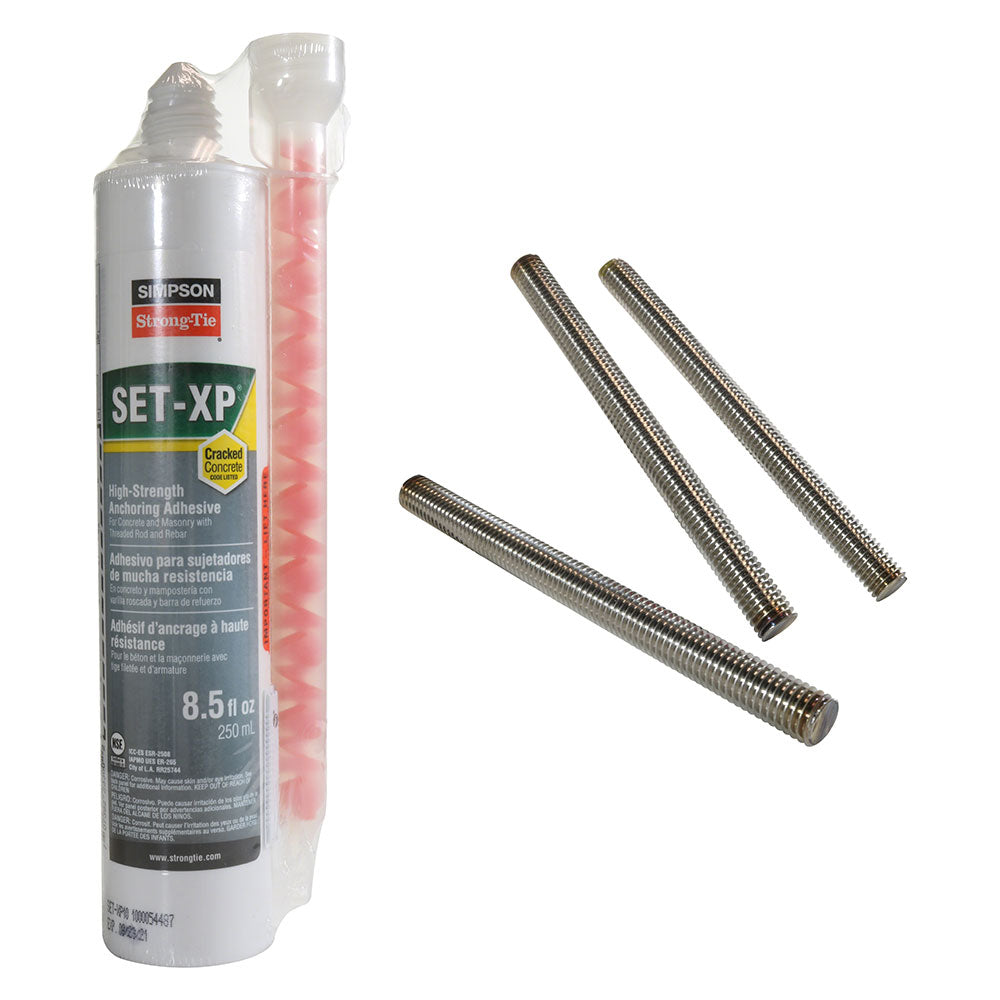
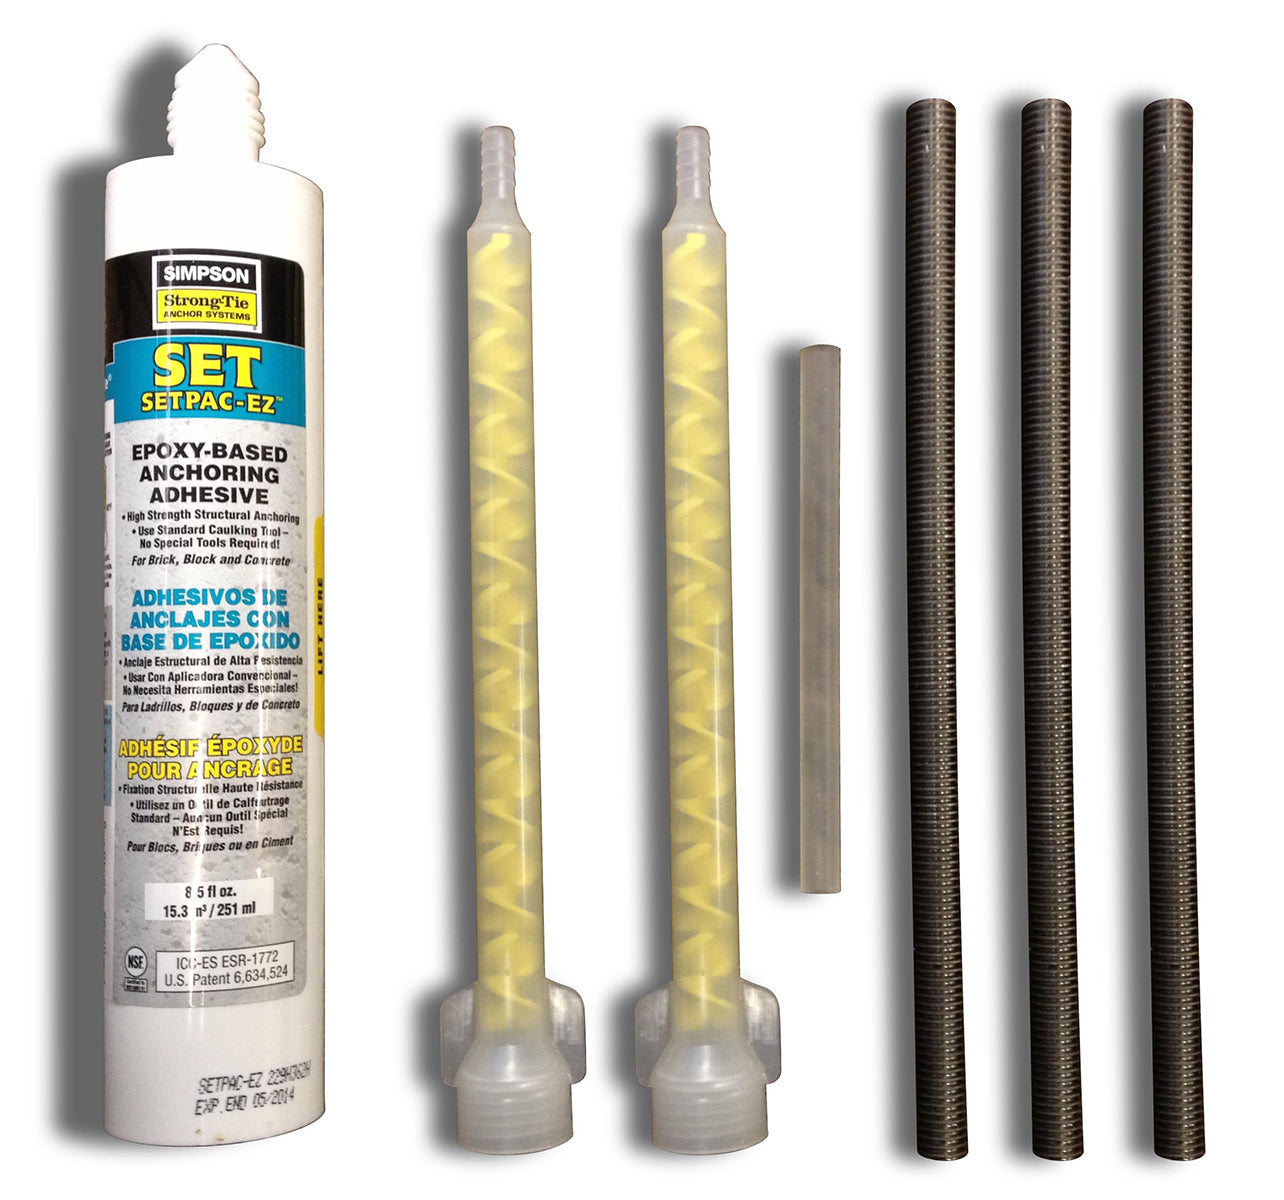
- Epoxy or chemical anchor (for added strength)
- Rubber gaskets or washers
- Anti-slip pads (optional but recommended)
Why Quality Matters
Cheap anchor bolts can rust or shear off over time. Always choose stainless steel or galvanized hardware. Never use regular indoor bolts, as they will fail in outdoor, wet conditions.
Planning And Measuring: Getting It Right
Precision is everything. If your holes are off by even half an inch, the board may not sit flat or could wobble. Take your time with this stage.
Steps For Accurate Planning
1. Check Your Pool’s “diving Envelope”
This is the safe area where diving is allowed. Mark the minimum depth and length from the pool wall.
2. Mark The Board Location
Measure the distance from the pool edge to the center of the board base. Most boards need about 18 inches of overhang.
3. Mark Drilling Points
Use the base or jig as a template. Mark the bolt holes with a pencil or chalk.
4. Double-check Everything
Place the board and stand in position without fixing it. Make sure it looks correct and fits the pool’s layout.
Example Layout
If your pool is rectangular, center the diving board at the deep end. For kidney or L-shaped pools, choose the deepest, straightest spot. Avoid corners or curves, as they reduce diving safety.
Credit: www.poolweb.com
Drilling Into Existing Concrete
Drilling into cured concrete is noisy, dusty, and requires care. Poor drilling can crack your deck or make the bolts loose.
Drilling Steps
1. Set Up Safety Gear
Wear safety glasses, gloves, and ear protection.
2. Choose The Right Drill Bit
Use a carbide-tipped masonry bit, matching your anchor bolts’ size.
3. Start Drilling
Hold the drill steady. Go slow and use light pressure—rushing can overheat the bit or crack the concrete.
4. Depth Control
Drill holes at least 4 inches deep (or as recommended by the board manufacturer). Some boards need up to 6 inches.
5. Clean The Holes
Use a vacuum or blower to remove all dust. Dust prevents the anchors from gripping well.
6. Test Fit
Insert the bolts or anchors without tightening to check alignment.
Common Problems And Solutions
- Drill Wanders: If the bit slips, start with a small pilot hole.
- Hitting Rebar: If you strike metal, move slightly and re-drill. Do not force through rebar.
- Cracking: Stop if you see cracks. Inspect for damage before continuing.
Anchoring And Mounting The Diving Board
Securing the board base is the most important part of the installation. If the anchors are weak or misaligned, the board may loosen or even fail during use.
Types Of Anchors
- Expansion anchors: Expand when tightened, gripping the concrete.
- Epoxy/chemical anchors: Use strong glue to bond the bolt to the hole.
- Pre-installed sockets: Rare in retrofits but common in new builds.
Installation Process
1. Insert Anchors
Place expansion or chemical anchors into the clean holes. If using epoxy, inject it and insert the bolt, then wait for it to cure (usually 24 hours).
2. Mount The Base
Place the base or stand over the anchors. Add rubber gaskets to reduce vibration and protect the concrete.
3. Tighten Bolts
Use a torque wrench if possible—overtightening can crack the concrete, while loose bolts are unsafe.
4. Double-check Level
Use your level to ensure the base is flat and parallel to the pool edge.
5. Attach The Board
Secure the board to the base, following the manufacturer’s torque settings.
Key Insights
- Always stagger the bolt pattern if possible to distribute the load.
- If your concrete is less than 4 inches thick, do not install a diving board—it is not safe.
Example Of A Safe Anchor Setup
Suppose your diving board base requires four 5/8″ bolts, each 5 inches deep. Use high-strength epoxy anchors, as these provide greater holding power than simple expansion bolts, especially in older concrete.
Credit: www.poolweb.com
Safety Checks And Testing
Never allow anyone to use the diving board before you finish all safety checks. Skipping this step is one of the most common and dangerous mistakes.
Steps To Ensure Safety
1. Inspect All Bolts
Re-torque after 24 hours. Check for movement or loose hardware.
2. Test The Board
Step on the end and bounce lightly. Look for flex in the base, not the concrete. There should be no wobble.
3. Check For Cracks
Inspect the concrete for new cracks after installation. Even hairline cracks can grow with use.
4. Review Placement
Make sure the diving trajectory is clear—no ladders, lights, or pool edges in the way.
5. Install Warning Signs
Add “No Running” or “Diving Area Only” signs as needed.
Ongoing Maintenance
Check the board and anchors every 6 months. Tighten bolts and look for signs of wear, rust, or movement.
Comparing Mounting Methods For Existing Concrete
Not all pools or decks are the same. Here’s a comparison to help you choose the best way to anchor your diving board.
| Mounting Method | Pros | Cons | Best For |
|---|---|---|---|
| Expansion Anchors | Quick to install, common | Can loosen over time, not ideal for old/cracked concrete | Newer, solid decks |
| Epoxy/Chemical Anchors | Very strong, works in older concrete | Requires curing time, more expensive | Older decks, heavy use |
| Pre-installed Sockets | Strongest, easiest for future replacement | Rare in retrofits, requires breaking concrete | Major renovations |
Common Mistakes And How To Avoid Them
Many DIYers make the same errors when installing a diving board in existing concrete. These mistakes can be costly or even dangerous.
Top Errors
1. Using The Wrong Anchors
Regular wall anchors or plastic sleeves are not strong enough for diving boards.
2. Misaligned Holes
If your holes don’t match the base, you’ll have to re-drill, weakening the concrete.
3. Not Checking Concrete Thickness
If your deck is too thin, it will crack. Always measure before drilling.
4. Ignoring Manufacturer Instructions
Each board and base has specific requirements—follow them exactly.
5. Skipping Safety Checks
Never rush to finish. Always do the final test and inspection.
Example Of A Costly Mistake
A homeowner in Florida installed a diving board using regular hardware store bolts. After a few months, the bolts rusted, the base loosened, and the board became unsafe. Replacing the concrete cost over $2,000—more than the original pool upgrade.
Professional Vs. Diy Installation
Should you do it yourself or hire a pro? Here’s a comparison to help you decide.
| Factor | DIY | Professional Installer |
|---|---|---|
| Cost | Lower (typically $300-$800 for board & tools) | Higher (usually $800-$1,500 total) |
| Time | 4–8 hours | 2–4 hours |
| Expertise Needed | High (power tools, measuring, safety knowledge) | Low (let the pros handle it) |
| Warranty | Usually none | Often includes labor warranty |
| Safety | Depends on your skills | Professional quality and code compliance |
Non-obvious Insight
Even skilled DIYers sometimes forget to check local codes or get permits. Professionals usually handle this, saving you from possible fines or insurance problems.
Maintenance And Longevity Tips
A diving board can last 7–15 years if cared for. The mounting hardware, however, is often ignored. Here’s how to keep everything safe and working well.
Regular Maintenance
- Inspect hardware every 6 months for rust, cracks, or movement.
- Clean the board with mild soap and water—avoid harsh chemicals.
- Check anti-slip pads for wear.
- Touch up paint or finish on metal bases as needed.
When To Replace
- If the board’s surface is worn smooth or cracked
- If bolts or anchors rust, loosen, or show signs of movement
- If the concrete around the base cracks or breaks
Example
A family in Texas checked their diving board every year but ignored rusty bolts. The board finally failed during a party. Regular hardware checks would have prevented the accident.
Upgrading For Safety And Fun
Installing a diving board is also a chance to improve your pool area.
Safety Upgrades
- Non-slip mats around the base reduce the risk of falls.
- LED lighting under or near the board can help at night.
- Safety rails are available for some board models.
Fun Upgrades
- Springier boards provide more bounce.
- Custom colors or graphics personalize your pool.
Non-obvious Insight
Many families forget to set clear rules for diving. Discuss safe use with children and guests. Post rules where everyone can see them.
Environmental Considerations
Concrete drilling and installation have some environmental impacts, but you can minimize them.
- Use low-dust drilling methods if possible.
- Dispose of concrete dust and debris properly—do not wash into drains.
- Choose boards made from recycled or eco-friendly materials.
Permits, Insurance, And Liability
Adding a diving board changes your pool’s risk profile. Most insurance companies want to know about changes. If you install without a permit or against local codes, you may lose coverage.
- Permits: Check with your city’s building department before you start.
- Insurance: Inform your home insurer. Some may charge more or refuse coverage for diving boards.
- Liability: Always supervise children and guests using the diving board.
For more on pool safety regulations, visit the CDC’s Residential Pool Safety Guidelines.
Credit: bestbuypoolsupply.com
Frequently Asked Questions
What Is The Minimum Concrete Thickness Needed For A Diving Board?
Your concrete deck should be at least 4 inches thick under the diving board base. Thicker is better. If your deck is thinner, do not install a diving board—it’s not safe.
Can I Install A Diving Board If My Pool Is Less Than 8 Feet Deep?
Usually, no. Most boards require at least 7.5 to 8.5 feet of water at the deep end. Check your board’s instructions and local regulations. Never install a board on a shallow pool.
What Type Of Anchors Should I Use For Old Concrete?
Epoxy or chemical anchors are the best choice for older concrete. They bond strongly with the material and do not rely on expansion force, which can crack weak concrete.
How Often Should I Check My Diving Board Hardware?
Inspect all bolts and hardware every 6 months. Look for rust, loose bolts, or cracks. Replace any worn or damaged parts right away.
Do I Need A Permit To Install A Diving Board?
In many places, yes. Always check with your local building department before starting. Permits ensure the installation meets safety standards and may be required for insurance coverage.
Adding a diving board to your pool can transform the way you enjoy your backyard, making every swim more exciting. With careful planning, the right tools, and a strong focus on safety, you can install a diving board on existing concrete and enjoy years of fun.
Remember, never cut corners, always follow the manufacturer’s instructions, and when in doubt, consult a professional. Your safety—and your peace of mind—are worth it.