Installing a pot filler above your stove can transform the way you cook. Imagine filling your largest pots right where you need them—no more carrying heavy water-filled pans across the kitchen. While many people consider pot fillers only for new kitchen builds, it is absolutely possible to add one to an existing wall.
This process is not simple, but with careful planning, the right tools, and attention to detail, you can achieve a professional result. In this article, you’ll learn everything you need to know, from preparation to the final touch, to install a pot filler in an existing wall—even if you’re not a seasoned plumber.
Understanding Pot Fillers: What And Why?
A pot filler is a special faucet installed on the wall above your stove. It usually has an extendable, folding arm so you can easily reach all burners. The main reason people install pot fillers is convenience. It saves you from carrying heavy pots filled with water from the sink to the stove. For families or anyone who cooks a lot, this feature can protect your back and speed up meal prep.
But before you start, ask yourself: Does your kitchen really need one? Pot fillers are a luxury, not a necessity. They do not filter water, and they only supply cold water in most cases. Still, if you cook large meals or want to add a touch of luxury to your kitchen, a pot filler is a smart upgrade.
Planning: Can You Install A Pot Filler In Your Kitchen?
Adding a pot filler to an existing wall is a bigger task than installing one during a kitchen remodel. You need to consider:
- Water supply location: Is there a cold water line near your stove?
- Wall type and accessibility: Is your wall drywall, tile, or another material?
- Stove position: Is the stove on an exterior or interior wall?
- Building codes: Are there any local rules about water lines above stoves?
These questions matter because they affect both the difficulty and the cost of your project. For example, installing on an exterior wall in a cold climate can risk freezing pipes. If you’re unsure, it’s wise to consult a licensed plumber or your local building office.
Tools And Materials: What You’ll Need
Gathering the right tools and materials before you start can prevent delays and frustration. Here is a comprehensive list:
Tools
- Drill with bits (for wood, tile, or masonry)
- Pipe cutter
- Adjustable wrench
- Level
- Tape measure
- Stud finder
- Pencil or marker
- Screwdriver
- Safety glasses and gloves
- Bucket and towels (for water spills)
- Flashlight (for dark wall cavities)
- Hacksaw (if dealing with metal pipes)
- Torch and soldering kit (if using copper pipes)
- Pliers
- Caulking gun
Materials
- Pot filler faucet (wall-mount type)
- Supply line pipe (copper, PEX, or CPVC, depending on your existing plumbing)
- Pipe fittings (elbows, tees, adapters)
- Mounting hardware (often included with pot filler)
- Pipe insulation (if needed)
- Pipe straps and clamps
- Pipe sealant tape (Teflon tape)
- Access panel (optional, for future maintenance)
- Wall patching materials (drywall, compound, touch-up paint or tile)
- Shut-off valve (if not already present on the supply line)
Choosing The Right Pot Filler
Not all pot fillers are created equal. They come in different sizes, finishes, and features. Here’s what you need to consider:
- Reach and movement: Measure the space above your stove. Make sure the arm can reach all burners.
- Finish: Match your pot filler’s finish to your other kitchen fixtures for a cohesive look.
- Number of valves: Some models have two valves (one at the wall, one at the spout) for extra safety.
- Mounting plate: Some pot fillers require a special mounting plate for stability.
- Water pressure: Check your home’s water pressure. Pot fillers need at least 20 psi to function well.
Let’s compare two popular models to illustrate:
| Feature | Model A (Basic) | Model B (Premium) |
|---|---|---|
| Max Reach | 18 inches | 24 inches |
| Finish Options | Chrome, Brushed Nickel | Chrome, Brushed Nickel, Matte Black, Bronze |
| Number of Valves | 1 | 2 |
| Mounting Plate | Not required | Required (included) |
| Average Price | $120 | $280 |
Choosing the right model affects not just style but also installation complexity and long-term reliability.
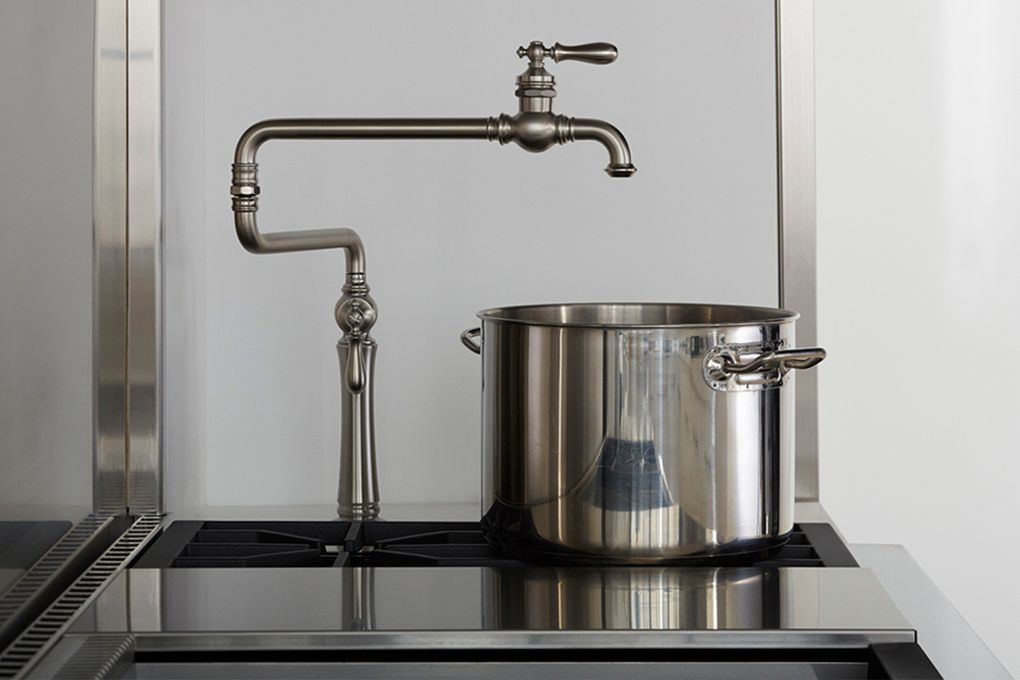
Credit: www.seattletimes.com
Locating The Water Supply Line
Before you break open any walls, you need to know where you’ll tap into your kitchen’s cold water line. The easiest case is when a water line runs behind the stove wall already. If not, you may need to extend a line from the sink or another nearby source.
- Check below the stove: Sometimes, especially in modern homes, there’s already a capped cold water line for future upgrades.
- Under the sink: The most common approach is to tap into the cold water line under the kitchen sink and run a pipe behind cabinets or through the wall.
- Ceiling or basement access: If you have a basement or crawl space, it’s often easiest to run a new pipe up from below.
Pro tip: Use a pipe locator or an inspection camera to see inside walls without unnecessary damage.
Marking And Measuring: Getting The Placement Right
The right position makes a huge difference. A poorly placed pot filler can be awkward or even unsafe.
General Guidelines
- Height above stove: 12-18 inches above the highest burner is typical. This gives enough clearance for large pots.
- Centering: Place the pot filler near the center of your stove, but slightly to one side for easy reach.
- Reach: Check that the faucet arm can extend to all burners, especially if you use large stockpots.
Mark the exact spot with a pencil. Double-check your measurements. Use a level to make sure your mounting spot is straight—uneven installation will be very visible.

Credit: www.youtube.com
Cutting Into The Wall: Safe And Smart Steps
Opening up your wall is the most intimidating part for many homeowners. But with care, it’s manageable.
- Turn off power: If your stove area has electrical outlets, turn off power at the breaker. This avoids shock if you hit a wire.
- Scan for pipes/wires: Use a stud finder with live wire detection or a multi-scanner to avoid damaging hidden wires or pipes.
- Protect your workspace: Lay down drop cloths and cover your stove.
- Cut carefully: Use a drywall saw to cut a neat rectangle large enough for your work. Avoid breaking large sections you don’t need to open.
If your wall is tiled, things are trickier. Use a drill with a tile bit to start, then a rotary tool to cut out a clean section. For stone or masonry, you may need a professional’s help.
Non-obvious insight: Save the cut-out piece of drywall or tile. You can often reuse it to patch the wall later for a cleaner finish.
Running The Water Line
Now comes the plumbing part. The method depends on your home’s pipe material.
For Copper Pipes
- Turn off main water supply.
- Cut the pipe with a pipe cutter.
- Clean the ends with emery cloth.
- Install a T-fitting where you’ll branch off for the pot filler.
- Solder the joints with lead-free solder and a propane torch.
For Pex Or Cpvc Pipes
- Turn off main water supply.
- Cut the pipe using a pipe cutter designed for plastic pipes.
- Install a T-fitting with crimp rings (PEX) or solvent cement (CPVC).
- Run the new pipe up to the opening behind your stove.
Tip: Always install a shut-off valve on the new branch. This allows you to service the pot filler without shutting off water to the whole kitchen.
If you’re not comfortable soldering or working with pipe, hire a plumber for this step. A poorly sealed joint can cause hidden leaks and expensive repairs later.
Mounting The Pot Filler
Every pot filler model comes with its own mounting bracket or plate. Read the manufacturer’s instructions carefully, but here’s the general process:
- Attach the mounting plate to a wall stud or secure backing. If there’s no stud, use heavy-duty anchors.
- Thread the supply pipe through the opening.
- Wrap the pipe threads with Teflon tape for a watertight seal.
- Connect the pot filler to the supply line using the included hardware.
- Secure the faucet to the wall, checking with a level.
Non-obvious insight: If your wall is tiled, use silicone caulk around the base of the mounting plate to prevent water from seeping behind the tile.
Testing For Leaks And Adjusting
With everything connected, it’s time to check your work.
- Slowly turn on the shut-off valve and main water supply.
- Inspect all joints for leaks using a dry paper towel.
- Open and close the pot filler valves several times to clear any air.
- Check for drips at the wall connection and the faucet spout.
If you find any leaks, tighten connections or reapply Teflon tape as needed. Never skip this step—one small drip can cause major problems over time.
Expert tip: Place a dry towel under the connection and leave it overnight. If it’s still dry in the morning, you have a solid seal.
Patching And Finishing The Wall
Once you’re leak-free, you can close up the wall.
- Drywall: Screw the cut-out piece back in place, tape the seams, apply joint compound, sand smooth, and repaint.
- Tile: Use a tile adhesive to set the piece back in, grout around the edges, and seal.
- Access panel: Consider installing a small access panel behind the stove for easy future repairs.
Take your time with this step. A neat patch job makes your upgrade look truly professional.
Safety Considerations And Building Codes
Local plumbing and building codes are important. Some regions require backflow preventers to stop contaminated water from flowing back into your home’s supply. Others ban water lines in exterior walls due to freezing risk.
Check with your local building department before you start. Not following code can void your insurance or even force you to remove the installation.
Common mistake: Ignoring the need for a permit. Always check local rules before cutting pipes or walls.
Maintenance Tips For Your Pot Filler
Once installed, pot fillers are low-maintenance, but a few habits will keep yours working well:
- Operate both valves every few weeks to keep them from sticking.
- Check for drips monthly.
- Inspect the connection behind the stove once a year for leaks or corrosion.
- Clean with mild soap and a soft cloth—avoid harsh cleaners that can damage the finish.
Cost Breakdown And Diy Vs. Professional Help
Installing a pot filler can cost between $300 and $1,200, depending on your plumbing layout, wall type, and whether you hire a pro. Here’s a simple comparison of potential costs:
| Item/Service | DIY Cost | Professional Cost |
|---|---|---|
| Pot Filler Faucet | $120 – $500 | $120 – $500 |
| Plumbing Materials | $30 – $80 | $30 – $80 |
| Tools | $50 – $150 | Included |
| Labor | Free | $300 – $600 |
| Wall Repair | $20 – $100 | $50 – $200 |
| Total | $220 – $830 | $500 – $1,380 |
DIY is more affordable but requires confidence in your plumbing and wall repair skills. If you’re unsure at any step, especially with water supply lines, hiring a professional protects your investment.
Real-world Example: Installing A Pot Filler In A 1980s Kitchen
Let’s look at a real scenario. Sarah, a home chef, wanted a pot filler for her 1980s kitchen. Her stove was on an interior wall, and the sink was six feet away. She hired a plumber to tap the cold water line under her sink and run PEX tubing behind the cabinets.
The plumber cut a small hole behind the stove, installed a shut-off valve, and mounted the pot filler 14 inches above the cooktop. Sarah spent $250 on the faucet, $70 on materials, $450 on labor, and $40 on wall repair materials.
The whole project took one day.
Sarah’s main tip: “Double-check your measurements before you cut. I almost placed mine too high!”
Common Mistakes And How To Avoid Them
- Skipping the shut-off valve: Always include a separate valve for easy repairs.
- Placing too close to the stove: Leave enough space for large pots and to avoid heat damage.
- Ignoring wall type: Tiled or stone walls need special tools and care.
- Not checking for local codes: Save yourself trouble by getting permits if needed.
- Forgetting insulation: If installing on an exterior wall, insulate pipes to avoid freezing.
Alternative Solutions
If a wall-mounted pot filler isn’t possible, consider these options:
- Deck-mounted pot filler: Installs on the countertop behind the stove.
- Portable faucet extender: Not as stylish, but can help in a pinch.
- Moveable faucet at the sink: A high-arc or pull-down faucet with long reach may offer similar convenience.
While not as seamless, these alternatives can solve the main problem—filling big pots—without major wall or plumbing work.
When To Call A Professional
While many homeowners can handle basic plumbing, there are times when you should call a pro:
- You find mold, rot, or damaged pipes in your wall.
- Your home has old or unknown pipe materials (like galvanized steel or lead).
- Your wall is load-bearing and needs structural changes.
- You feel unsure about any step.
Plumbers have the right tools and can ensure your installation meets all codes.
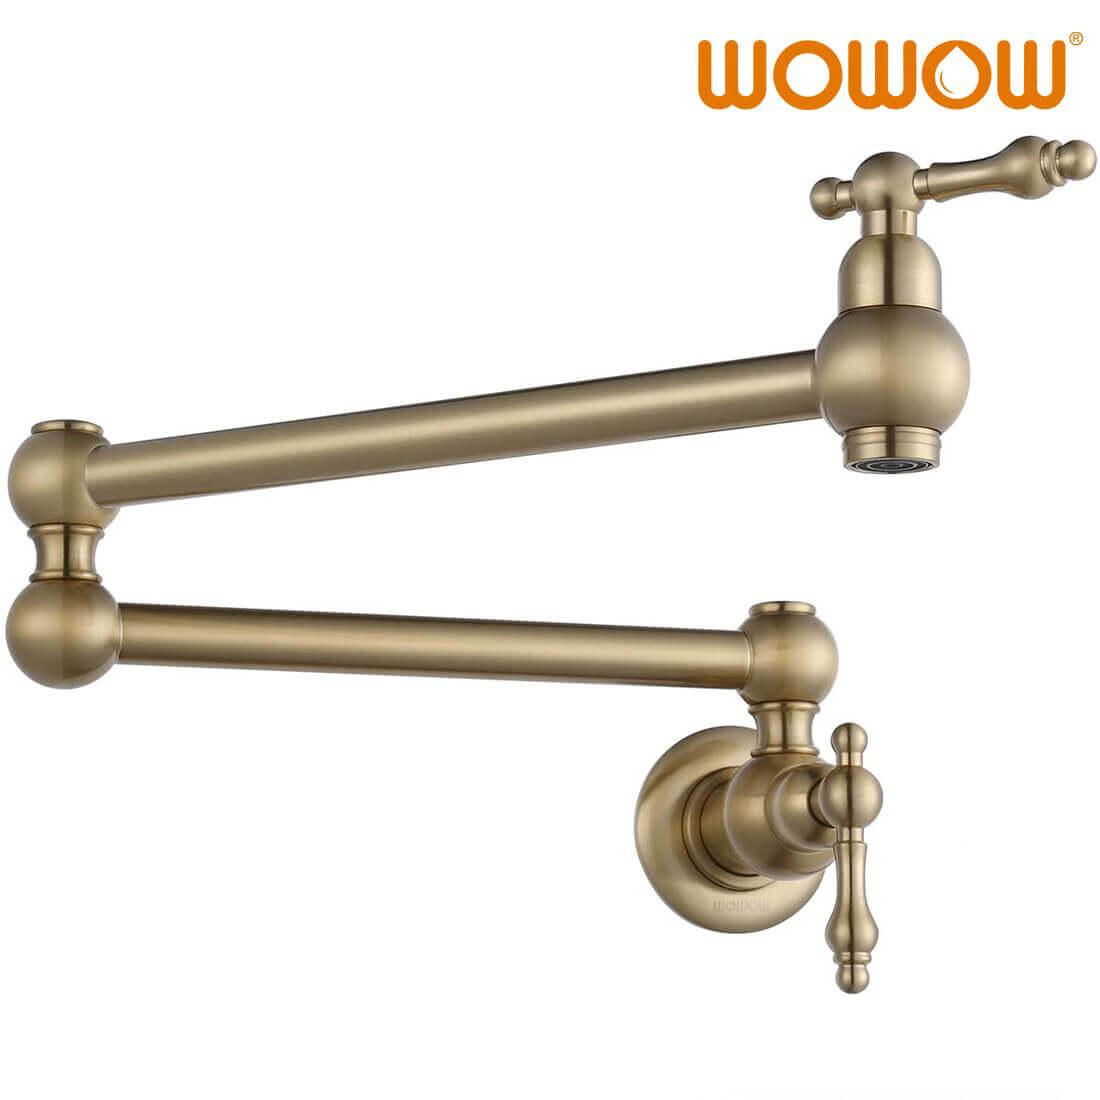
Credit: www.wowowfaucet.com
Final Touches: Making Your Pot Filler Stand Out
Once your pot filler is installed, take a moment for finishing touches:
- Match the backsplash: Repair or update your backsplash for a seamless look.
- Choose a stylish model: Modern pot fillers come in a range of finishes, from classic chrome to matte black.
- Add lighting: Good lighting above your stove makes your new feature pop.
A well-installed pot filler becomes a focal point and a conversation starter in your kitchen.
Frequently Asked Questions
How High Should I Install A Pot Filler Above The Stove?
Most experts recommend 12 to 18 inches above the highest burner. This gives enough space for large pots without putting the faucet too high to reach.
Can I Install A Pot Filler On An Exterior Wall?
While possible, it’s not ideal, especially in cold climates. Pipes in exterior walls can freeze and burst. If you must install on an exterior wall, use pipe insulation and consult a plumber about freeze protection.
Do Pot Fillers Need Hot Water Connections?
No. Pot fillers usually connect only to cold water. They are for filling pots, not for cleaning or washing. Most recipes start with cold water anyway, making a hot water line unnecessary.
Do I Need A Plumber To Install A Pot Filler?
If you are comfortable with plumbing and wall repair, DIY installation is possible. However, if your water line is hard to reach, the wall is tiled, or you’re unsure, hiring a licensed plumber is safer and often required by code.
What Maintenance Does A Pot Filler Need?
Pot fillers are low-maintenance. Operate both valves regularly, check for leaks, and clean with a soft cloth. Inspect connections yearly, especially if you notice drips or reduced water flow.
Upgrading your kitchen with a pot filler is a project that combines function, style, and a bit of luxury. With planning, careful installation, and attention to detail, you can enjoy the convenience of filling large pots right at your stove for years to come. For more detailed plumbing guides, visit Family Handyman.