A broken knife tip can feel like a disaster, especially if you use your knife often. Whether it’s your favorite kitchen knife or a reliable outdoor blade, seeing that chipped or snapped point is frustrating. But don’t worry—fixing a broken knife tip is not only possible, it’s a skill that can make your knife even better suited to your needs.
In this article, you’ll learn how to repair a broken knife tip step by step, what tools to use, and how to avoid common mistakes. You don’t need to be a professional bladesmith to do a good job; you just need patience, some basic tools, and the right guidance.
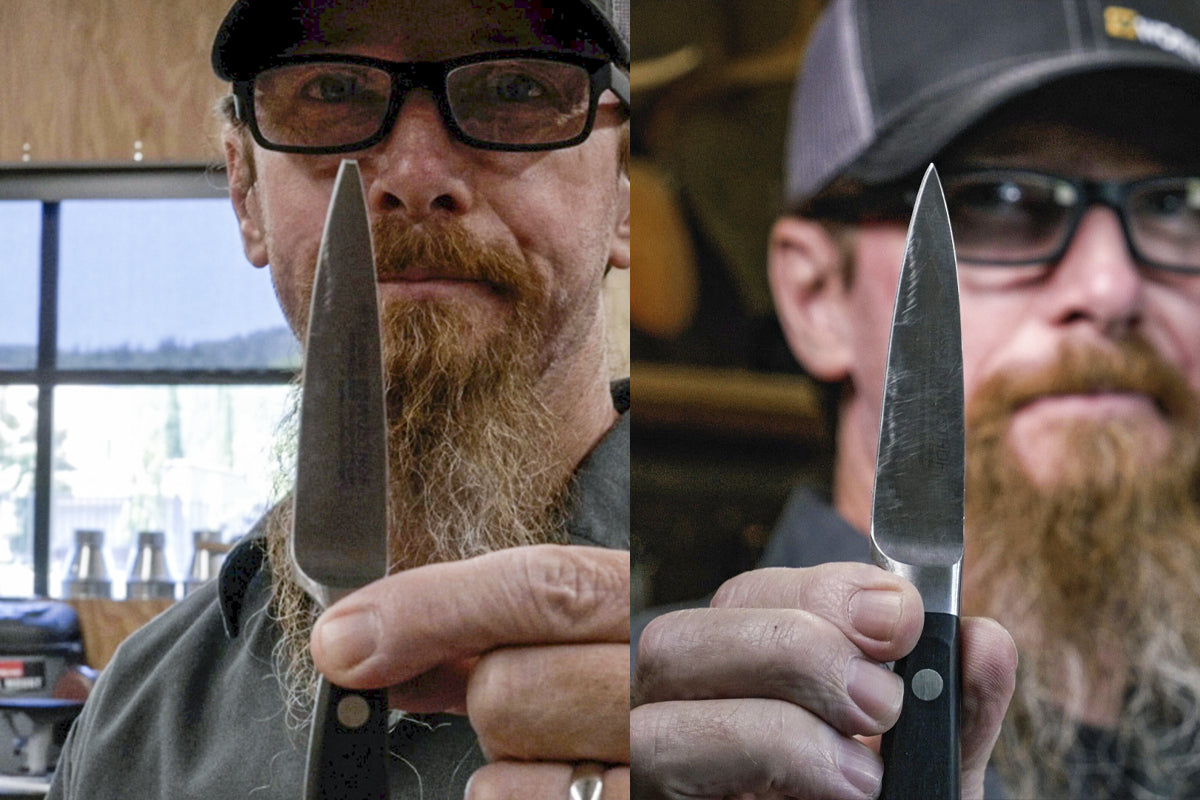
Understanding Knife Tip Damage
Before you start fixing your knife, it’s important to understand how and why the tip breaks. Most knife tips break because of sudden force or misuse. Dropping a knife on a hard floor, using the tip to pry or twist, or cutting very hard materials can all cause the point to snap.
Sometimes, the metal itself is too thin or brittle, making it more likely to break.
There are different types of knife tip damage:
- Clean break: The tip snaps off cleanly, often in a straight line.
- Chipped tip: A small part of the tip is missing, creating a jagged edge.
- Bent tip: The tip is bent but not broken, which is sometimes repairable by straightening, but often requires reshaping.
Knowing the kind of break helps you decide on the best repair method. For example, a clean break is often easier to fix than a jagged, chipped tip.
Tools And Materials You’ll Need
Repairing a broken knife tip doesn’t require a big investment in tools, but some basics are necessary for a good result. Here’s what you need:
- Bench grinder or belt sander (for fast reshaping)
- Coarse and fine sharpening stones
- Diamond file or metal file (for manual work)
- Work gloves and eye protection
- Permanent marker (to mark new tip shape)
- Cloth and rubbing alcohol (for cleaning)
- Clamps or a vise (to hold the knife steady)
- Lubricant or water (for sharpening stones)
If you don’t have a grinder or sander, you can do the job with files and stones—it will just take longer.
Choosing The Right Repair Method
There are three main ways to fix a broken knife tip:
- Reshaping the Blade: Grind a new tip profile by removing metal from the spine and/or cutting edge.
- Regrinding the Point: Focus only on the tip area, blending the broken part into a new, sharp point.
- Professional Welding: In rare cases, a blade smith can weld a new tip on, but this is expensive and usually not necessary for most knives.
For most people, reshaping or regrinding is the best method. Welding is only for high-value or sentimental knives.
Step-by-step Guide: Fixing A Broken Knife Tip
Let’s get into the practical steps. Whether you use a grinder or hand tools, the process is similar. Safety comes first—always wear gloves and eye protection.
1. Clean And Inspect The Knife
Start by cleaning your knife with alcohol and a cloth to remove any dirt, oil, or rust. This lets you see the damage clearly and prevents debris from getting into your tools.
2. Mark The New Tip Shape
Use a permanent marker to draw the new tip profile directly on the blade. There are two main approaches:
- Drop point: Grind the spine down, creating a slightly lower, stronger tip.
- Clip point: Create a new, clipped section by removing metal from both the spine and the edge.
Hold the knife at eye level and adjust your drawing until it looks balanced. Remember, you can always remove more metal, but you can’t put it back.
3. Secure The Knife
Clamp the blade in a vise or use a stable surface to keep your hands safe. Make sure the handle is comfortable to grip and you have enough room to work.
4. Remove Metal To Create The New Tip
Using A Bench Grinder Or Belt Sander
- Turn on the grinder or sander.
- Gently press the marked area against the abrasive belt or wheel.
- Move slowly and evenly, checking your progress often.
- Do not overheat the blade—dip it in water every few seconds to keep it cool.
- Follow your marked lines, shaping the spine and edge as needed.
Using A File
- Hold the knife steady.
- Use a coarse metal file to remove metal from the spine and/or edge.
- Work slowly, keeping the file flat and following your marked lines.
- Switch to a finer file as you get close to the final shape.
This method takes longer but gives you more control, reducing the risk of overheating.
5. Blend And Smooth The New Tip
Once you have the rough shape, use a finer file or sharpening stone to smooth out any sharp corners or uneven spots. The goal is a tip that looks natural, not obviously “fixed. ”
6. Sharpen The New Edge
Use your sharpening stones to re-establish a fine edge on the new tip area. Start with a coarse stone, then move to a fine stone. Lubricate the stone with water or oil, depending on the type.
- Hold the blade at the correct angle (usually 15-20 degrees).
- Work the tip area first, then blend into the main blade.
- Use even strokes on both sides to create a symmetrical edge.
7. Polish And Clean
Wipe the blade clean with a soft cloth. If you want a polished look, use a leather strop or fine sandpaper to remove any burrs and give the tip a mirror finish.
8. Test The Repaired Knife
Carefully check the sharpness of the new tip. Try cutting a piece of paper or piercing soft wood. If the tip feels weak or uneven, repeat the sharpening process as needed.
Common Mistakes To Avoid
When fixing a broken knife tip, beginners often make the same errors:
- Removing too much metal: Go slow. You can always take off more, but you can’t add it back.
- Overheating the blade: Grinding too fast can ruin the temper, making the knife soft. Keep the blade cool at all times.
- Unbalanced tip: Check your work from both sides to keep the tip centered.
- Ignoring the spine: Sometimes the tip looks odd because the spine isn’t blended. Shape both the edge and spine for the best result.
Knife Tip Shapes: Which Is Best After Repair?
Choosing the right tip shape after repair is important. Not every tip style suits every knife or task.
Here’s a quick comparison:
| Tip Shape | Strength | Ease of Repair | Best Use |
|---|---|---|---|
| Drop Point | High | Easy | General use, outdoor knives |
| Clip Point | Medium | Moderate | Precision work, kitchen knives |
| Spear Point | Medium | Difficult | Stabbing, piercing tasks |
| Recurve | Low | Hard | Specialty uses |
A drop point is usually the easiest and strongest choice for a repaired blade.
When To Seek Professional Help
Not every knife tip can be fixed at home. Here are situations where you should get professional help:
- High-value knives: Expensive chef’s knives or collectibles might lose value if home-repaired.
- Heavily damaged blades: Cracks along the spine or deep chips might need special tools.
- Damaged handle or tang: If the break affected the handle or structural part, it’s best to let an expert handle it.
Most knife shops or sharpening services can reshape a tip for a small fee. They have the right tools and experience for delicate repairs.
Knife Steel Types And Repair Considerations
Not all steels are the same. Some are easy to grind and sharpen, while others are very tough or brittle.
- Stainless steel: Easy to grind, but can overheat quickly.
- Carbon steel: Harder, holds an edge well, but rusts easily.
- Tool steel: Very tough, slow to grind, but strong.
- Damascus steel: High value, needs careful work to keep the pattern.
If you’re unsure about your knife’s steel, look for markings on the blade or ask the manufacturer.

Credit: www.youtube.com
Sharpening After Tip Repair: What Matters
After you fix the tip, sharpening is critical. A poorly sharpened tip will be weak or blunt.
Here’s what to focus on:
- Edge angle: Match the existing angle of the main blade for consistency.
- Burr removal: Use a strop or fine stone to remove the wire edge after sharpening.
- Polishing: A polished edge resists rust and makes cutting smoother.
If you have a sharpening system, use it for the final edge. Otherwise, a fine stone and strop work well.
How Long Does It Take To Fix A Knife Tip?
The time needed depends on your tools and experience.
- Bench grinder/sander: 10-20 minutes for basic repair.
- Hand files and stones: 30-60 minutes, sometimes longer for hard steel.
- Professional repair: 1-2 days if you use a sharpening service.
Rushing leads to mistakes, so take your time.
Safety Tips During Repair
Safety is just as important as skill. Here’s how to stay safe:
- Wear eye protection to guard against metal sparks or filings.
- Use gloves to avoid cuts.
- Keep your workspace clean to prevent accidents.
- Work in a well-ventilated area to avoid breathing metal dust.
- Keep water nearby to cool the blade and avoid burns.
Never work when tired or distracted—knives are sharp, even when broken.
How To Maintain Your Knife After Repair
A repaired knife tip is often stronger than the original, but it needs care.
- Clean and dry your knife after use.
- Sharpen regularly to keep the new tip effective.
- Avoid prying or twisting with the tip.
- Store safely in a sheath or knife block.
If you repaired a carbon steel knife, oil it lightly to prevent rust.

Credit: togknives.com
Real-world Example: Fixing A Kitchen Knife Tip
Let’s look at a simple example. You drop your favorite kitchen knife, and the tip breaks off cleanly.
- Mark a new drop point on the blade with a marker.
- Use a fine file to shape the new tip, blending the spine down gently.
- Sharpen with a whetstone, paying special attention to the new point.
- Test by slicing tomatoes—if the tip pierces easily, you’ve succeeded.
In many cases, the new tip is even better for precision tasks.
Advanced Techniques: Creating A Custom Tip
If you want to get creative, you can make your own tip style. For example:
- Tanto tip: Strong, angular, good for piercing.
- Reverse tanto: Unique look, strong tip.
- Hawk’s beak: Curved for specialty cuts.
This requires more grinding and planning, but it’s a chance to make your knife unique.
Cost Comparison: Diy Vs. Professional Repair
Wondering if you should do it yourself or pay for repair? Here’s a quick breakdown:
| Method | Cost | Time Needed | Skill Level |
|---|---|---|---|
| DIY (basic tools) | $0 – $30 (tools) | 30-60 minutes | Beginner to Intermediate |
| DIY (grinder/sander) | $50 – $200 (tools) | 10-20 minutes | Intermediate |
| Professional service | $10 – $40 per knife | 1-2 days | None required |
For most people, DIY is cheaper, especially if you already have the tools.
Two Insights Many Miss
- You can make the tip stronger than before: By grinding a thicker, lower point (like a drop point), your knife may resist future breaks better than the original fine tip.
- A repaired tip often improves function: Many users find their knife works better for daily tasks after a careful repair, since the new tip shape is designed for their needs.
Most beginners focus on making the knife “look like new,” but performance is what matters most.
Credit: worksharptools.com
Environmental Impact: Repair Vs. Replace
Repairing your knife tip keeps a good tool out of the landfill. It saves resources and reduces waste. Knife steel is energy-intensive to produce, so fixing a knife is more eco-friendly than buying a new one.
Myth Vs. Reality: Can Every Knife Be Fixed?
A common myth is that a broken tip means the knife is ruined. In fact, most knives are repairable. Only knives with deep cracks, severe rust, or missing large sections are beyond home repair.
Essential Maintenance After Repair
Once you’ve fixed your knife, take a few extra steps for long life:
- Oil the blade if it’s carbon steel.
- Check for burrs each time you sharpen.
- Store away from moisture to avoid rust.
- Inspect regularly for any signs of new damage.
These habits make your repair last for years.
Knife Repair: What Not To Do
- Don’t use a Dremel or rotary tool unless you’re very skilled—they remove metal too fast.
- Don’t try to “glue” the tip back on. It won’t hold for long and can be dangerous.
- Don’t rush. Patience gives the best results.
Other Types Of Knife Damage
If your knife has other problems (like a bent blade or loose handle), fix these first before repairing the tip. A strong, stable knife is safer and easier to sharpen.
Resources For Further Learning
If you want to dive deeper, check out the knife repair guides at BladeForums, a community of knife enthusiasts with years of experience.
Frequently Asked Questions
What If My Knife Tip Is Only Slightly Chipped?
If the chip is small, you can usually sharpen it out with a coarse stone, blending the edge back to a fine point. For larger chips, you may need to reshape the tip as described above.
Can I Use Household Tools To Fix A Knife Tip?
Yes. A metal file and sharpening stone are enough for most repairs. Avoid using power tools if you’re not experienced, as they can damage the blade quickly.
Will The Knife Be As Strong As Before?
If you grind a new, slightly thicker tip (such as a drop point), your knife may be even stronger. Very thin, needle-like tips are more likely to break again.
How Can I Prevent The Tip From Breaking Again?
Don’t use your knife as a screwdriver or pry bar. Cut only materials the knife is designed for. Store your knife safely so it doesn’t fall.
Should I Repair A Valuable Or Collectible Knife Myself?
No. For antiques, high-value, or collectible knives, always use a professional. Home repairs can reduce value or ruin rare blades.
Fixing a broken knife tip is a useful skill that gives your knife a second life. With care and patience, you can restore both function and beauty to your favorite blade. The next time you see a broken tip, remember—it’s not the end, but a new beginning for your knife.