
Building your own flat panel cabinet doors is one of the most satisfying woodworking projects for any DIYer or homeowner. These doors are a popular choice for kitchens, bathrooms, and closets because they offer a clean, modern look and are straightforward to make. Flat panel doors are sometimes called “Shaker style” because of their simple, functional design. If you have basic woodworking tools, a little patience, and a plan, you can create professional-quality cabinet doors that elevate your home’s appearance.
Many people think making cabinet doors requires years of woodworking experience or expensive machinery. In reality, with careful measuring, the right materials, and attention to detail, even beginners can achieve excellent results. This guide walks you through every step, from choosing materials to finishing and installing your new doors.
Along the way, you’ll find practical tips, safety advice, and solutions to common mistakes—knowledge that even experienced woodworkers sometimes overlook.
Understanding Flat Panel Cabinet Doors
Flat panel cabinet doors consist of a frame with a flat center panel fitted inside. Unlike raised panel doors, the center panel is not sculpted, giving the door a sleek and timeless appearance. Flat panel doors suit both modern and traditional interiors, depending on your choice of wood, finish, and hardware.
The frame is usually made from solid wood, while the panel can be solid wood, plywood, or medium-density fiberboard (MDF). This mix helps balance cost, stability, and looks. The frame’s strength comes from the rail and stile construction: the vertical pieces are called stiles, and the horizontal pieces are rails.
Before you start building, it’s important to understand why flat panel doors are so popular:
- Simplicity: Clean lines fit many design styles.
- Stability: Less likely to warp than solid slab doors.
- Customization: Easy to size for any cabinet opening.
- Cost-effective: Use less expensive panels with solid wood frames.
Planning Your Cabinet Doors
A successful project starts with good planning. Think carefully about your cabinet openings, the look you want, and your budget.
Measuring Cabinet Openings
Accurate measurements are critical. Measure the width and height of each cabinet opening. For overlay doors (most common), add an overlay amount—usually ½ inch on all sides—so the door covers the cabinet frame slightly. For inset doors, the door fits flush inside the opening, so measurements must be exact.
Take these steps:
- Use a steel tape measure for best accuracy.
- Measure every opening—don’t assume they’re all the same.
- Write down each measurement and clearly label them.
Deciding On Overlay Vs. Inset
- Overlay doors cover the cabinet frame. Easier to install and adjust.
- Inset doors sit inside the opening. Require more precise fitting but give a high-end look.
Most beginners start with overlay doors because they’re more forgiving.
Choosing Frame And Panel Thickness
Typical frame thickness is ¾ inch. The panel is usually ¼ inch, but can be ½ inch for larger doors. For tall pantry doors, a thicker panel helps prevent warping.
Calculating Door Parts
A flat panel door has four frame pieces (2 stiles, 2 rails) and one panel. To size the stiles and rails:
- Stile length = Door height
- Rail length = Door width minus (2 x stile width) plus the depth of both grooves (more on this later)
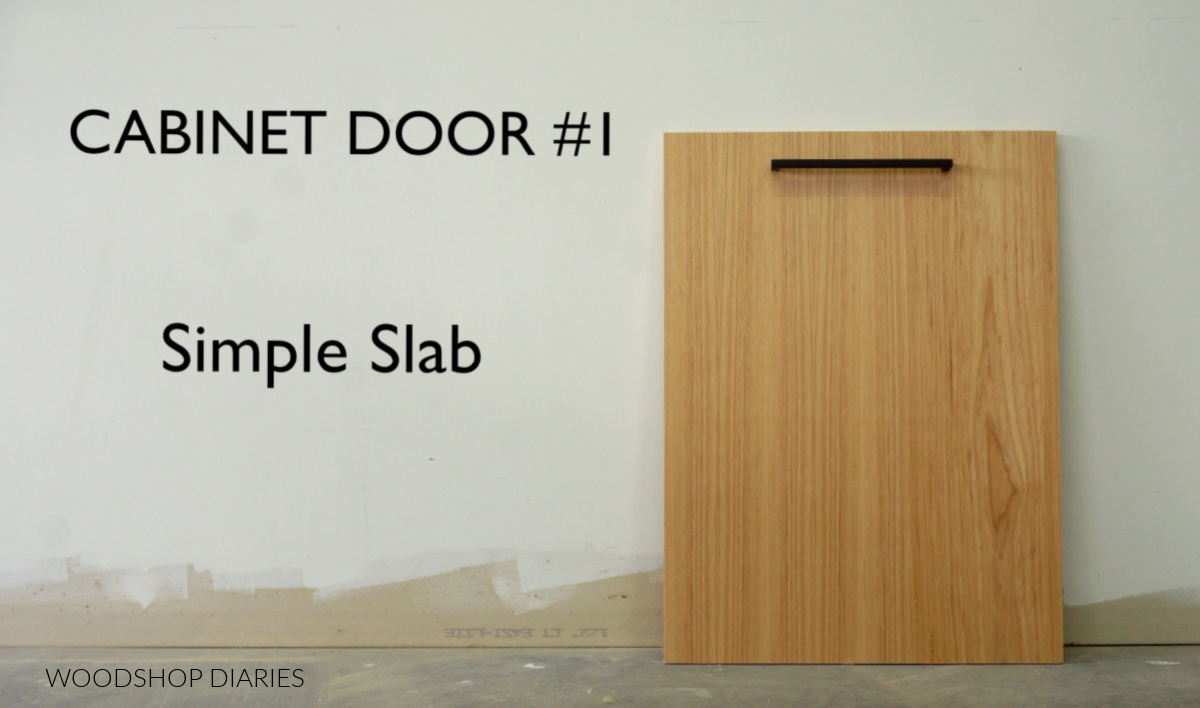
Panels fit into grooves cut into the frame. Plan for a ¼-inch deep groove.
Credit: www.woodshopdiaries.com
Selecting Materials
Your choice of materials affects the door’s look, cost, and durability. Here’s what you need to consider:
Frame Materials
Common options:
- Solid hardwood (maple, oak, cherry, poplar): Strong, takes stain well, long-lasting.
- Softwood (pine): Less expensive, but dents easily.
- Engineered woods: Usually not used for frames because they don’t hold screws well.
For painted doors, poplar or soft maple is a good choice. For stained finishes, select woods with attractive grain.
Panel Materials
- Plywood: Stable, affordable, available in many veneers.
- MDF: Very smooth, ideal for paint, but heavy.
- Solid wood: Beautiful, but can expand and contract with humidity.
- Veneered MDF: Best for a smooth, consistent look.
For most DIY projects, ¼-inch plywood or MDF is ideal.
Hardware
Don’t overlook hinges and handles. Choose high-quality concealed hinges for a modern look. Standard butt hinges also work but are visible. Soft-close hinges add a touch of luxury.
Finishing Supplies
- Sandpaper (120, 180, 220 grit)
- Primer and paint or stain and clear coat
- Wood glue (for frame joints)
- Clamps (bar or pipe clamps)
- Wood filler (for small gaps)
Tools You Need
You don’t need a fancy workshop to make flat panel doors, but some basic tools are essential.
- Table saw or circular saw: For cutting frames and panels.
- Miter saw: For accurate crosscuts.
- Router with a groove bit: To cut grooves for the panel.
- Clamps: To hold frames during glue-up.
- Drill/driver: For pilot holes and hardware.
- Tape measure, square, pencil: For layout and measuring.
- Random orbit sander: For smooth finishes.
If you don’t have a table saw, you can use a circular saw with a guide. For the groove, a router is easiest, but a table saw with a dado blade also works.
Cutting And Preparing Door Parts
Once you have your materials and tools ready, it’s time to start making parts.
Cutting Stiles And Rails
- Cut all stiles to the same length as the door height.
- Cut rails to door width minus 2x stile width, plus groove depths.
- Aim for consistent width—typically 2 to 2.5 inches for a balanced look.
Cutting The Panel
- Cut panels about ½ inch smaller in width and height than the frame opening. This gives room for expansion and prevents panels from rattling.
- If using plywood or MDF, make sure the grain direction matches the frame for a professional look.
Marking Parts
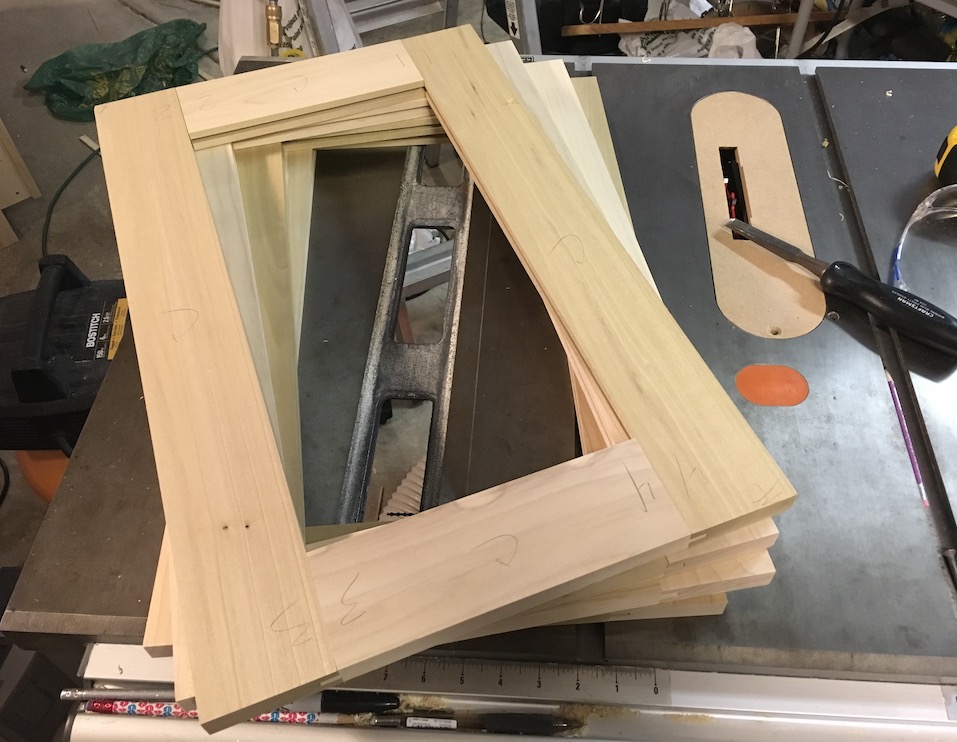
Label each piece (e. g. , “left stile,” “top rail”) with pencil. This prevents confusion during assembly.
Making Grooves For The Panel
The frame holds the panel in a groove (sometimes called a “rabbet”). Grooves are usually ¼ inch wide and ¼ inch deep, running the length of each frame piece on the inside edge.
Cutting Grooves With A Router
- Set up a router with a ¼-inch straight bit.
- Use a fence to keep the cut straight.
- Make test cuts on scrap first.
- Run each stile and rail through, keeping hands clear.
Alternative: Table Saw
- Use a dado blade or make multiple passes with a standard blade.
- Set the fence so the groove is centered on the edge.
Pro Tip: Don’t cut the groove all the way through the ends of the stiles—stop ½ inch from each end. This hides the groove on the finished door (known as a “blind groove”).
Cutting Rail Tenons
Rails fit into the stiles with a simple tongue (tenon) at each end. This makes a strong joint.
- Tenon length: Usually ¼ inch to match groove depth.
- Tenon thickness: Slightly less than groove width for a snug fit.
Cut tenons using a table saw with a miter gauge or a tenoning jig. Test fit each joint as you go.
Dry Fitting The Door
Before gluing, assemble the frame and panel dry (no glue) to check fit. The panel should float easily in the grooves, and the frame corners should fit tightly.
Check for these common mistakes:
- Panel too big (won’t fit in groove)
- Rails or stiles swapped or upside down
- Tenons too tight or loose
Adjust as needed before moving to glue-up.
Gluing And Clamping
When you’re satisfied with the dry fit, it’s time to glue the frame.
- Apply wood glue to the rail tenons only—not in the panel groove. This allows the panel to expand and contract.
- Insert the panel into the grooves.
- Assemble the frame, checking for square using a carpenter’s square or by measuring diagonals.
- Clamp the door firmly but don’t overtighten.
- Wipe away any excess glue with a damp cloth.
Leave clamped for at least 30 minutes (follow glue manufacturer’s instructions).
Pro Insight: Never glue the panel into the groove. If you do, the panel can’t move with humidity changes and may crack or warp.
Sanding And Preparing For Finish
After the glue dries, remove the clamps and check the joints.
Sanding
- Start with 120 grit to smooth any uneven joints.
- Move to 180 and then 220 grit for a fine finish.
- Round over sharp edges slightly for comfort and durability.
Fill any small gaps with wood filler and let dry before final sanding.
Cleaning
Remove all dust with a vacuum or tack cloth before applying finish.
Credit: www.youtube.com
Applying Finish
The finish you choose affects both appearance and durability.
Painting
- Apply a high-quality primer, especially on MDF or end grain.
- Sand lightly, then apply two or three coats of paint.
- Sand lightly between coats for a smooth finish.
Staining
- Use a pre-stain conditioner on softwoods to avoid blotches.
- Apply stain with a brush or rag, following wood grain.
- Wipe off excess and let dry.
- Apply two or three coats of clear polyurethane for protection.
Spray Finishing
For a very smooth surface, consider spraying paint or clear coat. Practice on scrap first.
Expert Tip: For kitchen or bathroom doors, use a finish rated for moisture and easy cleaning.
Drilling For Hardware
Before hanging your new doors, drill holes for hinges and handles.
Hinges
- Mark hinge locations on the stile, usually 2-3 inches from top and bottom.
- For concealed hinges, use a 35mm Forstner bit to drill the cup hole.
- Drill pilot holes for screws to prevent splitting.
Handles Or Knobs
- Mark handle location using a template for consistency.
- Drill pilot holes from the front to avoid splintering.
Credit: woodwork.cooperjason.com
Installing The Doors
With the finish cured and hardware attached, you’re ready to install the doors.
- Hold the door in place and mark screw holes on the cabinet frame.
- Pre-drill holes to prevent splitting.
- Attach the hinges to the cabinet.
- Adjust the door so gaps are even all around.
- Install handles or knobs.
Adjustment Tip: Most concealed hinges allow side-to-side and up-down adjustment. Use these to get perfect alignment.
Comparing Flat Panel To Other Cabinet Doors
To understand why flat panel doors are so popular, it helps to see how they compare to other styles.
| Feature | Flat Panel | Raised Panel | Slab |
|---|---|---|---|
| Appearance | Sleek, simple | Traditional, detailed | Ultra-modern |
| Difficulty | Beginner-friendly | Intermediate/Advanced | Easy |
| Cost | Moderate | Higher | Lowest |
| Best For | Any style | Classic kitchens | Modern kitchens |
Common Mistakes And How To Avoid Them
Even experienced woodworkers sometimes make mistakes. Here are some pitfalls and how to prevent them:
- Measuring errors: Measure twice, cut once. Double-check all dimensions.
- Panel too tight: Leave at least ¼ inch total space (1/8 inch per side) for the panel to expand.
- Gluing panel: Only glue the frame, never the panel.
- Misaligned joints: Use a square during glue-up and check diagonals.
- Poor sanding: Always sand before finishing. Skipping grits leads to rough surfaces.
- Wrong finish: For kitchens or baths, use water-resistant finishes.
Non-obvious insight: For large doors (over 36 inches tall), add a center rail for strength and to reduce warping.
Advanced Tips For Perfect Results
- Back-bevel the door edges slightly (1-2 degrees) so the door closes smoothly and fits uneven frames.
- Use space balls or small rubber balls in the grooves to keep the panel centered and prevent rattling.
- For painted doors, fill all frame joints with a high-quality, paintable caulk after sanding.
Maintenance And Longevity
Flat panel doors are easy to care for, but a few habits will keep them looking new:
- Wipe with a damp, soft cloth—avoid harsh chemicals.
- Touch up chips or scratches with matching paint or finish.
- Check hinges yearly and tighten if needed.
For tips on cleaning and maintaining wood furniture, visit the Wood Magazine website.
Example: Making A Small Flat Panel Door
Let’s walk through a practical example for a 16-inch by 24-inch door.
- Measure cabinet opening: 15 x 23 inches.
- Add ½-inch overlay: Door size = 16 x 24 inches.
- Choose poplar for frame (2.5-inch wide stiles/rails), ¼-inch birch plywood for panel.
- Cut stiles: 24 inches long.
- Cut rails: 16 inches minus (2 x 2.5) + (2 x 0.25) = 11.5 inches.
- Cut panel: 11 x 19.5 inches.
- Cut ¼-inch grooves in all frame pieces.
- Cut tenons on rail ends.
- Dry fit, then glue and clamp.
- Sand, prime, and paint.
With patience and these steps, you can make beautiful, custom doors for any cabinet.
Cost Comparison: Diy Vs. Buying Pre-made
Building your own doors can save money, but let’s compare costs.
| Project Size | DIY Materials | Pre-Made Doors | Savings |
|---|---|---|---|
| Single Door | $30-$40 | $60-$100 | $30-$60 |
| 10 Doors (Kitchen) | $300-$400 | $600-$1000 | $300-$600 |
Additional benefit: Custom doors let you choose exact sizes and materials—something store-bought options rarely offer.
Safety Guidelines
Working with wood and power tools is rewarding but requires caution.
- Always wear safety glasses when cutting or routing.
- Use hearing protection around saws and routers.
- Never remove safety guards from power tools.
- Keep hands away from blades—use push sticks or blocks.
- Work in a well-ventilated area, especially when finishing.
Don’t rush. Take time to set up tools and check cuts before proceeding.
Troubleshooting: Fixing Common Issues
- Panel rattles after assembly: Add space balls or a small bead of clear silicone in the groove.
- Joints open up after drying: Check for insufficient glue or clamps.
- Panel cracked: Next time, allow more room for expansion.
- Finish looks uneven: Sand more thoroughly and apply thinner coats.
Environmental Considerations
Choosing sustainable woods and low-VOC finishes helps the environment. Look for FSC-certified lumber and water-based finishes. This not only reduces your impact but also results in safer air in your home.
Frequently Asked Questions
How Do I Prevent My Flat Panel Doors From Warping?
Use stable materials like plywood or MDF for panels and ensure the panel “floats” inside the frame (not glued). For large doors, add a center rail.
Can I Make Flat Panel Doors Without A Router?
Yes. You can use a table saw with a dado blade to cut grooves, or make multiple passes with a standard blade. A router gives the cleanest result, but it’s not required.
What Is The Best Wood For Painted Flat Panel Doors?
Poplar and MDF are both good choices. Poplar frames are strong and affordable, while MDF panels give a smooth, paint-ready surface.
How Much Space Should I Leave For The Panel To Expand?
Leave at least 1/8 inch on all sides of the panel inside the groove. This prevents cracking or buckling with humidity changes.
Is It Cheaper To Build Or Buy Cabinet Doors?
Usually, it’s cheaper to build if you have the tools and time. DIY doors can cost half as much as pre-made options, and you control the quality and materials.
Creating your own flat panel cabinet doors is a practical, satisfying project that upgrades your space and gives you skills for a lifetime. Take your time, follow these steps, and you’ll enjoy custom results that look professionally made.