
If you own an Instant Pot 2, you know how fast and convenient it can be. Cooking is easy, but understanding how to release pressure naturally is vital. This process affects your food’s texture, taste, and even your safety. Many beginners struggle with releasing pressure correctly. They worry about steam, timing, or making mistakes. But once you learn the right way, your meals turn out better, and you avoid hazards.
This guide shows you everything about natural pressure release on Instant Pot 2. You’ll get clear instructions, safety tips, and practical advice. By the end, you’ll feel confident using your Instant Pot for any recipe. You’ll also discover common mistakes, how different foods react, and how natural release compares to quick release. This article covers all you need to become a skilled Instant Pot user.
What Is Natural Pressure Release?
Natural pressure release means letting the Instant Pot cool down by itself. After cooking, you leave the lid closed. The pressure inside drops slowly as steam escapes. You don’t touch the steam valve or press any buttons. This process usually takes 10–40 minutes, depending on what you cooked and how much liquid is inside.
Why Use Natural Release?
Natural release is important for several reasons:
- It keeps food moist and tender, especially for meats and beans.
- It prevents foam and splatter, reducing mess and keeping your kitchen clean.
- It’s safer—less risk of burns from sudden steam.
- It helps flavors develop more fully.
Foods that need gentle cooking, like rice or stews, often benefit from natural release. For delicate recipes, sudden pressure loss can ruin the texture. So, natural release is the preferred method for many dishes.
How Does Natural Pressure Release Work?
When the Instant Pot finishes cooking, the inside is full of high-pressure steam. If you open the valve quickly, all steam escapes at once. This can cause food to splatter, burn you, or change the taste.
With natural release, you let the pot sit untouched. The heating element turns off automatically. The steam inside cools slowly and condenses. As the temperature drops, the pressure decreases. The float valve inside the lid will lower when pressure is gone.
Only then is it safe to open.
Typical Time For Natural Release
The time for natural release depends on:
- Amount of food and liquid
- Type of recipe
- Instant Pot size
Here’s a rough guideline:
- For soups and stews: 20–40 minutes
- For rice or grains: 10–20 minutes
- For large cuts of meat: 25–40 minutes
Some recipes require partial natural release. This means you let pressure drop naturally for 10–15 minutes, then switch to quick release. Always check your recipe for instructions.
Step-by-step: How To Release Pressure Naturally On Instant Pot 2
You don’t need any special skills or tools. Follow these steps for a safe and effective natural pressure release:
- Finish Cooking: Wait for the cooking cycle to end. The display will beep or show “Keep Warm.”
- Do Not Touch the Valve: Leave the steam release handle in the “Sealing” position. Don’t move it.
- Wait: The Instant Pot will slowly cool. Steam escapes gradually inside the pot.
- Check the Float Valve: The float valve is a small metal pin near the lid handle. When it drops, the pressure is gone.
- Open the Lid: Only when the float valve drops, turn the lid counterclockwise and lift it. Be careful—hot steam may escape.
Tips For Safe Natural Release
- Never force the lid open. Wait until the float valve drops.
- Keep hands and face away from the lid during release.
- If your kitchen is humid, place the Instant Pot near ventilation.
Instant Pot 2 Features That Affect Natural Release
The Instant Pot 2 has several features that impact how natural release works:
- Sealing ring: Ensures airtight cooking; check for damage or dirt before use.
- Float valve: Shows when pressure is present; watch for it to drop.
- Steam release handle: Set to “Sealing” for natural release.
- Keep Warm function: If activated, it keeps food warm but slows pressure drop. You can turn it off for faster natural release.
Table: Natural Release Vs Quick Release
Here’s a comparison to help you decide which method is best:
| Feature | Natural Release | Quick Release |
|---|---|---|
| Time | 10–40 minutes | 1–5 minutes |
| Food Texture | Moist, tender | Can be dry, tough |
| Safety | Safer, less steam | Hot steam, risk of burns |
| Mess | Less splatter | Foam, splatter possible |
| Flavor | Richer, deeper | Sometimes less developed |
When To Use Natural Release
Knowing when to use natural release is key. Use this method for:
- Soups and stews: Keeps liquids from splashing out.
- Beans and lentils: Prevents foam from blocking the valve.
- Large cuts of meat: Allows juices to settle for tenderness.
- Rice and grains: Prevents breaking or turning mushy.
Recipes that require slow, gentle cooking almost always recommend natural release. If you’re unsure, check your recipe or try natural release for safer results.
When Not To Use Natural Release
Some foods do not need natural release. Use quick release for:
- Vegetables: Overcooking can happen with natural release.
- Fish: Delicate texture can turn mushy.
- Eggs: Can become rubbery if left too long.
Quick release is faster, but not always better. Learn to match the right method to the recipe.
Practical Examples: Natural Release For Different Foods
Let’s see how natural release affects common Instant Pot recipes:
Beef Stew
After cooking, leave the lid closed. Wait 25–30 minutes for the float valve to drop. The beef becomes soft, and the broth rich. Opening too soon can cause splatter and tough meat.
Chickpeas
Cook chickpeas with water. Let natural release happen (about 20–25 minutes). This prevents foam from clogging the valve. The beans turn creamy and smooth.
Rice
For white rice, use natural release for 10–15 minutes. The grains stay separate and moist. Quick release can cause rice to stick or break.
Pulled Pork
Large pork cuts benefit from natural release. Wait 30–40 minutes. Meat pulls apart easily, and juices stay inside.
Instant Pot 2: Common Mistakes With Natural Release
Avoid these mistakes to protect your food and your Instant Pot:
- Opening the lid too soon: Wait for the float valve to drop.
- Moving the steam handle: Keep it in the “Sealing” position.
- Ignoring the Keep Warm function: Turn it off for faster cooling if needed.
- Not checking the sealing ring: A damaged ring can leak steam and slow release.
- Letting food sit too long: Some recipes need partial natural release. Follow instructions.
Many new users forget to check the float valve. Always look for it before opening.
How Natural Release Affects Food Quality
Natural release changes how your food tastes and feels. Here’s how:
- Meats: Stay moist and tender. Juices settle in the fibers.
- Beans: Soft, creamy texture. No foam mess.
- Rice: Grains don’t break or stick.
- Soups: Flavors mix slowly, making broth richer.
If you use quick release, steam escapes suddenly. This can cause meat to dry, beans to break, and rice to become mushy. Natural release is gentler and safer.
Data: Cooking Times And Natural Release
Instant Pot 2 users often ask how long natural release takes for different foods. Here’s a handy guide:
| Food Type | Cooking Time | Natural Release Time |
|---|---|---|
| Rice | 4–8 minutes | 10–15 minutes |
| Beans | 20–30 minutes | 20–25 minutes |
| Stew | 30–40 minutes | 25–30 minutes |
| Pork Shoulder | 45–60 minutes | 30–40 minutes |
| Chicken Breast | 6–10 minutes | 10–15 minutes |
These times are average. Your results may vary depending on the recipe and Instant Pot size.
Partial Natural Release: What Is It?
Some recipes use partial natural release. This means you let the Instant Pot sit for a short time (10–15 minutes), then switch to quick release.
Why do this? It combines safety and speed. For foods that can overcook, partial release is best. It lets some steam escape gently, but finishes quickly.
How To Do Partial Natural Release
- Wait for 10–15 minutes after cooking ends.
- Set the steam release handle to “Venting” position.
- Wait for the float valve to drop.
- Open the lid carefully.
Partial release works well for eggs, vegetables, and chicken.
Natural Release And Instant Pot 2 Models
Instant Pot 2 comes in several models. Each model has slight differences:
- Duo: Classic, with manual settings and clear float valve.
- Lux: Basic, but still supports natural release.
- Ultra: Digital controls, easier to track release time.
No matter the model, natural release is done the same way. Watch the float valve and don’t touch the steam handle.
Table: Instant Pot 2 Model Features
| Model | Natural Release Support | Special Features |
|---|---|---|
| Duo | Yes | Manual controls, clear float valve |
| Lux | Yes | Basic settings, less digital |
| Ultra | Yes | Digital timer, custom release settings |
Choose the model that fits your cooking style. All support natural release.
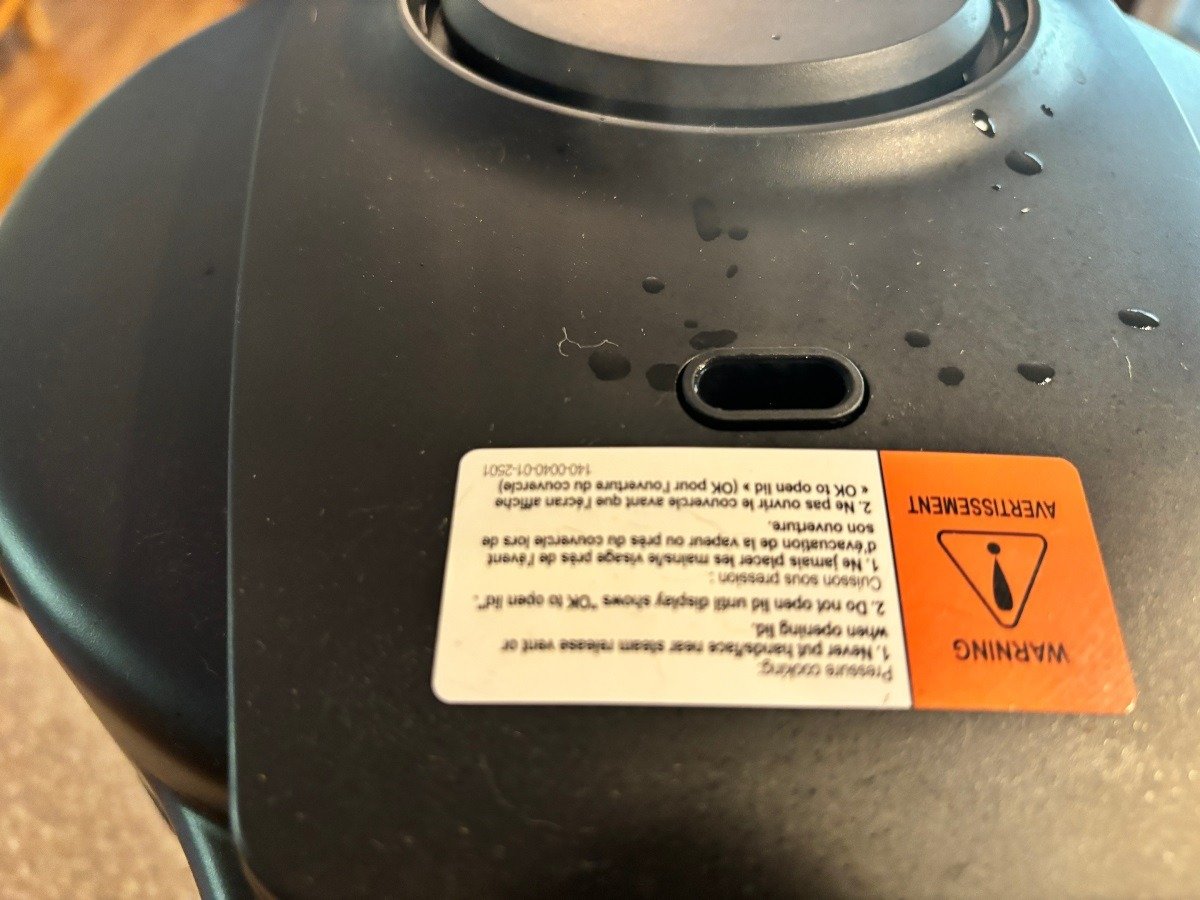
Credit: www.bibliotecaoscura.com
Safety: Protect Yourself And Your Instant Pot
Instant Pot safety is important. Natural release is safer, but you should follow these tips:
- Always let the float valve drop before opening the lid.
- Keep hands away from hot surfaces and steam.
- If food foams, wait longer before opening.
- Inspect the sealing ring and float valve regularly.
- Don’t leave the pot unattended during release.
If you notice unusual smells or sounds, unplug the pot and check for leaks.
Non-obvious Insights: What Beginners Often Miss
Most new Instant Pot users miss these points:
- Keep Warm slows natural release: If “Keep Warm” is on, the pressure takes longer to drop. Turn it off if you want faster cooling.
- Altitude affects release time: High-altitude kitchens need longer natural release.
- Liquid amount matters: More liquid means longer natural release. Less liquid speeds it up.
- Waiting improves flavor: Letting the pot sit for an extra few minutes can deepen the taste.
If you cook beans or grains, never use quick release. Foam can clog the valve and cause a mess.
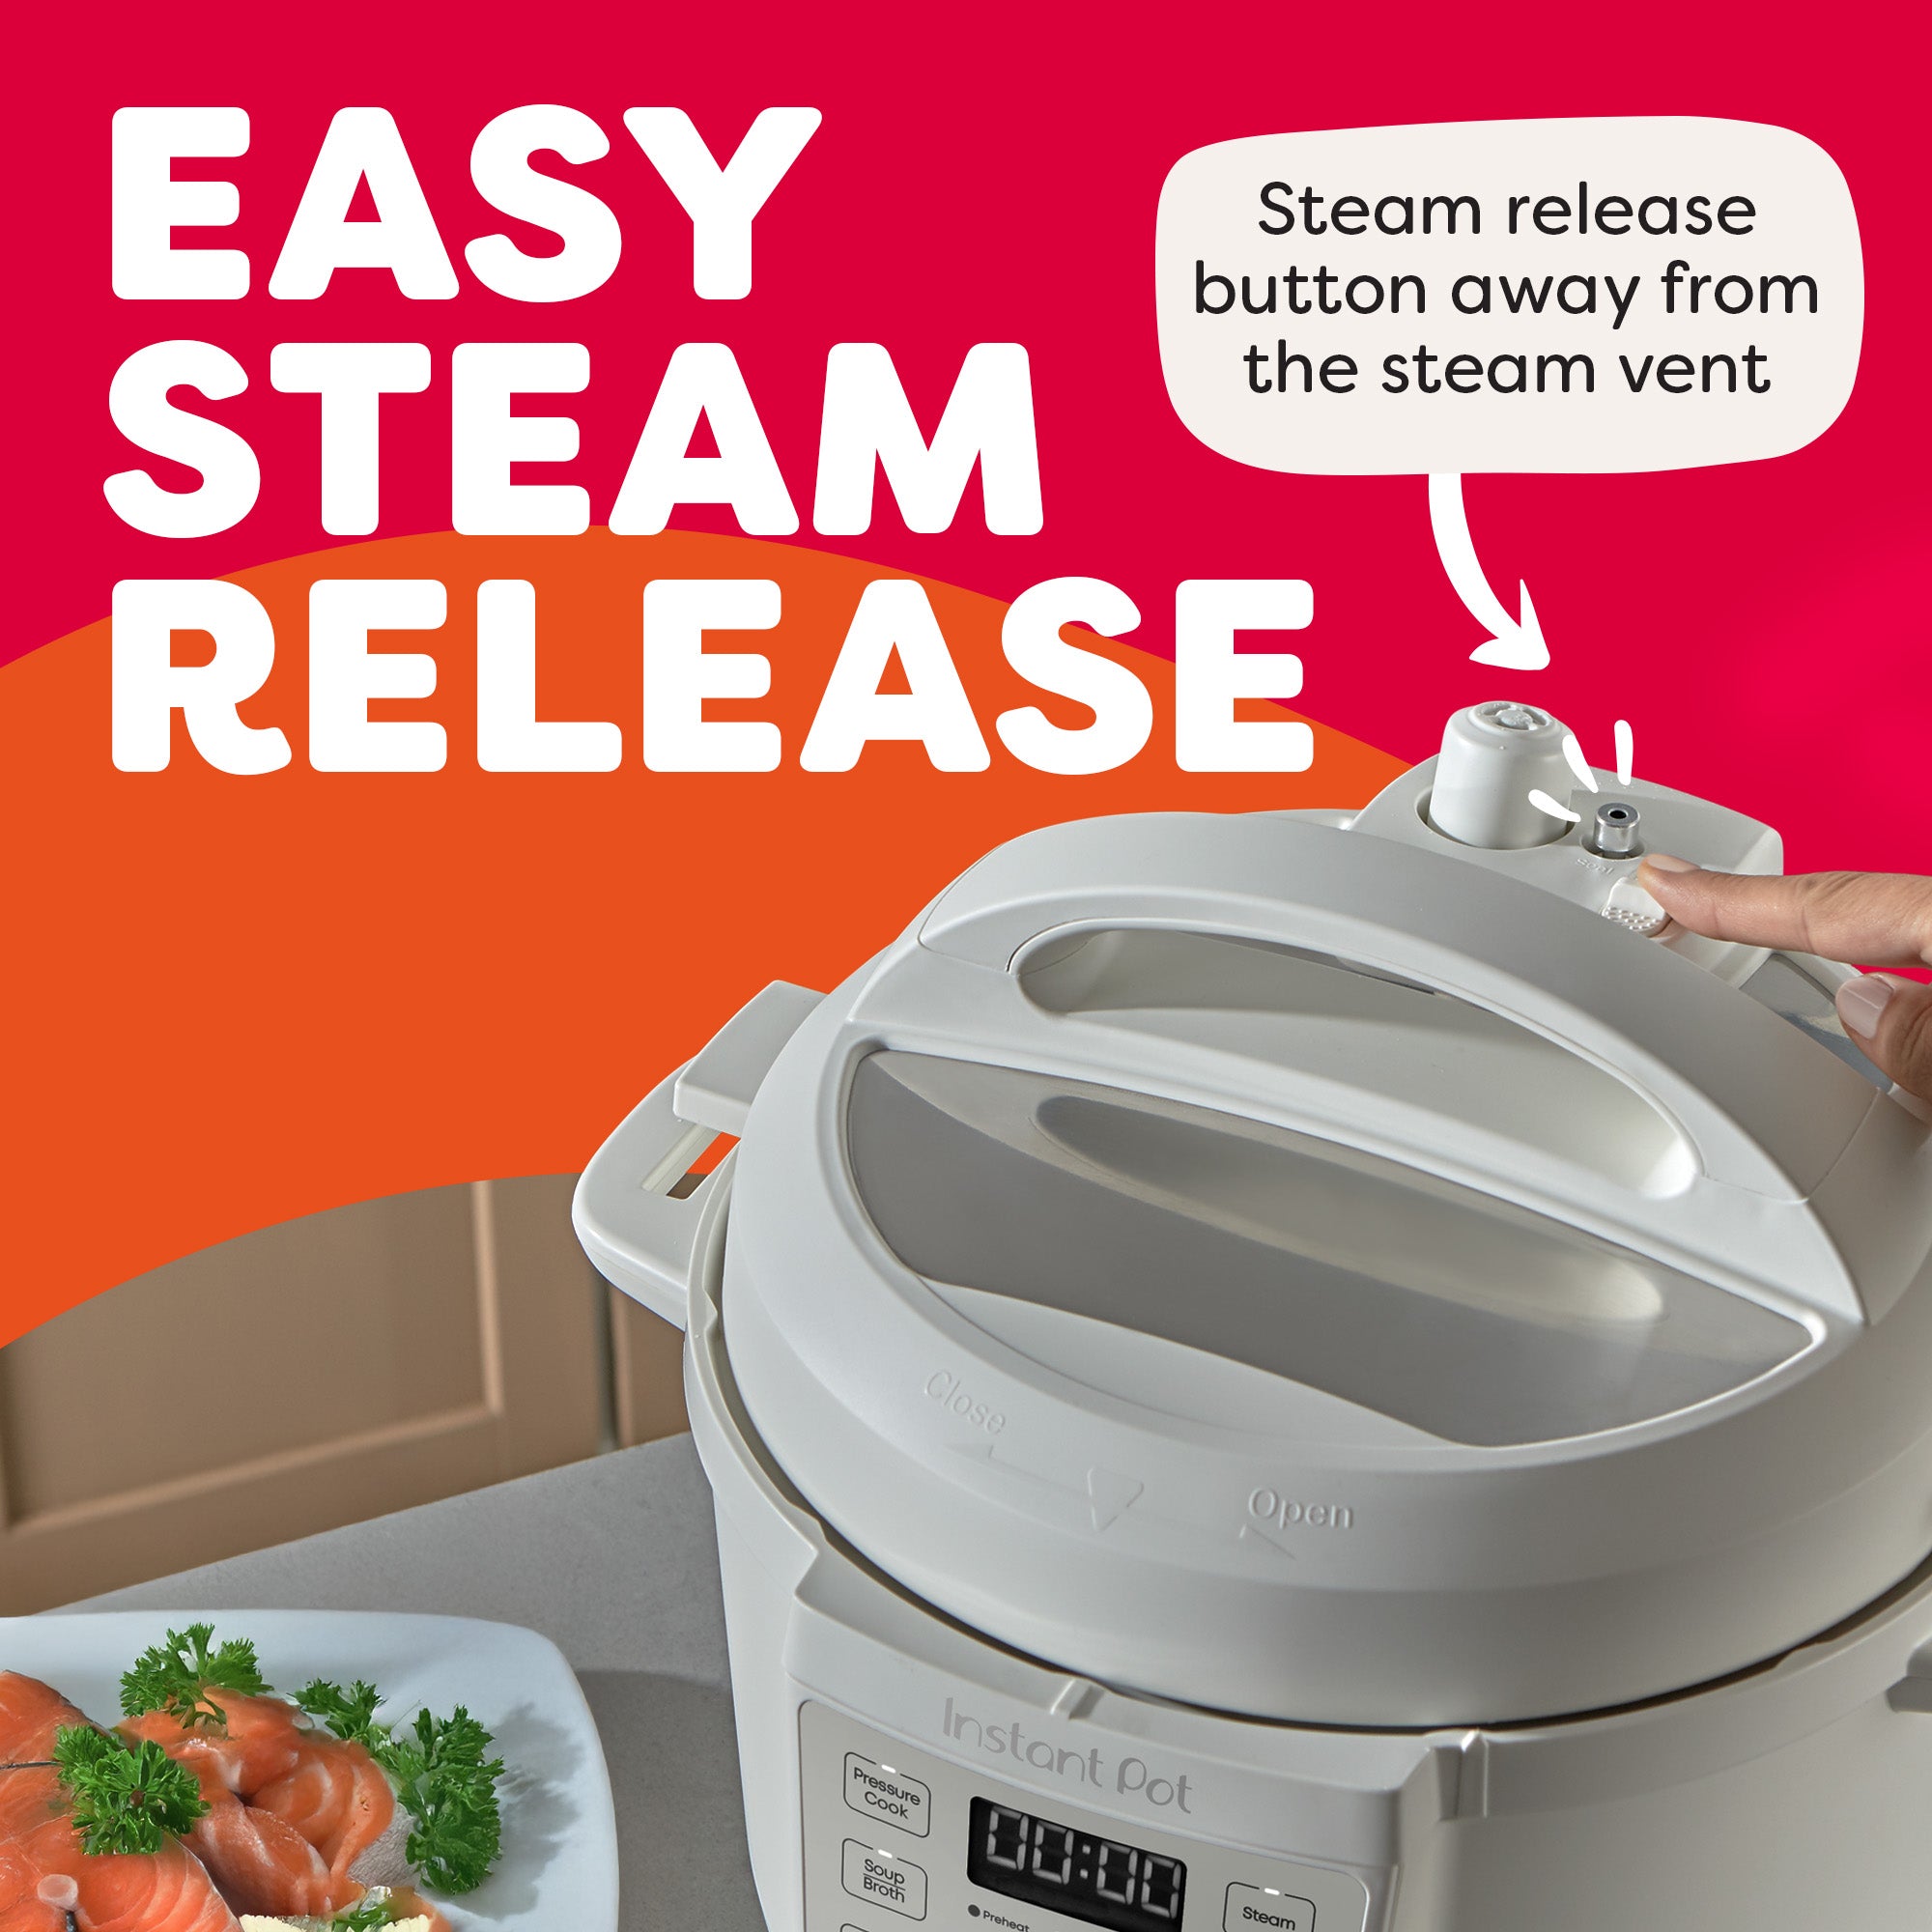
Credit: www.bibliotecaoscura.com
Cleaning After Natural Release
After you finish cooking and releasing pressure naturally, clean your Instant Pot 2:
- Remove the sealing ring and wash it with soap.
- Wipe the lid and inside of the pot.
- Check the float valve for food or steam residue.
- Dry all parts before reassembling.
Regular cleaning helps prevent odors and keeps your pot working well.
Natural Release For Meal Prep
If you cook large batches, natural release helps keep food moist. For meal prep:
- Cook meats and beans together, then let natural release happen.
- Divide food into containers after opening the lid.
- Store portions in the fridge or freezer.
Natural release prevents drying, so your meals taste better throughout the week.

Credit: www.amazon.com
Comparison With Other Pressure Cookers
Instant Pot 2 is not the only pressure cooker. Other brands use similar natural release methods. However, Instant Pot’s float valve is easy to see, and the sealing ring is durable.
Some older pressure cookers need manual steps. Instant Pot 2 automates most parts, making natural release safer and simpler.
If you want to learn more about pressure cooking technology, visit Wikipedia for a detailed overview.
Troubleshooting: What If Natural Release Takes Too Long?
Sometimes, natural release is slower than expected. Try these tips:
- Turn off “Keep Warm.”
- Move the pot to a cooler spot.
- Use less liquid in recipes.
- Check for food blocking the float valve.
If the float valve stays up for more than 40 minutes, unplug the pot and let it cool.
Natural Release For Special Diets
Natural release works for many diets:
- Gluten-free: Keeps grains intact.
- Keto: Makes meats tender without drying.
- Vegan: Softens beans and lentils.
- Low-sodium: Preserves flavor without extra salt.
You can adapt natural release to any recipe. Just adjust cooking times and follow the steps.
Natural Release And Instant Pot Accessories
Some accessories affect natural release:
- Steamer basket: Allows steam to escape easily.
- Glass lid: Not for pressure cooking, but useful for keeping food warm.
- Extra sealing ring: Useful for strong-smelling foods.
Use accessories for easier cleanup and better results.
Expert Advice: Improving Your Natural Release Skills
If you want to master natural release, follow these tips:
- Practice with simple recipes (rice, beans, chicken).
- Watch the float valve closely.
- Experiment with partial release for mixed dishes.
- Try turning off “Keep Warm” for faster cooling.
- Record cooking and release times to improve future meals.
Over time, you’ll learn how different foods react. You’ll avoid common mistakes and get perfect results.
Frequently Asked Questions
How Long Does Natural Pressure Release Take In Instant Pot 2?
Natural release takes about 10–40 minutes. For rice, it’s 10–15 minutes. For large meat cuts, it can be up to 40 minutes. The time depends on food amount, liquid, and recipe.
Can I Speed Up Natural Release In Instant Pot 2?
You can turn off the “Keep Warm” function to speed up natural release. Moving the pot to a cooler spot also helps. But never force the lid open or touch the valve.
Is Natural Release Safer Than Quick Release?
Yes, natural release is safer. Steam escapes slowly, so there’s less risk of burns or splatter. Always wait for the float valve to drop before opening the lid.
Which Foods Should Always Use Natural Release?
Beans, lentils, soups, stews, and large cuts of meat should always use natural release. This prevents foam mess and keeps food tender.
What Happens If I Open The Lid Before Natural Release Finishes?
Opening too soon can cause steam burns, splatter, and ruin food texture. Wait for the float valve to drop before opening. If you’re unsure, wait a few extra minutes.
Pressure cooking is simple, but natural release takes patience and practice. The Instant Pot 2 makes it easy once you know the steps. With this guide, you’ll cook safer, tastier meals and avoid common mistakes. Your kitchen will stay clean, and your food will always turn out just right.