
Removing the bottom drawer from your oven might seem simple, but many people struggle with it. Whether you want to clean, fix, or replace it, knowing the right steps can make the task much easier and safer. Oven drawers come in different types, and each model can have its own tricks.
If you try to force the drawer, you might damage the rails or the oven itself. This guide will help you remove the bottom drawer from your oven smoothly, even if you have little experience with appliances.
Understanding why and how to remove the oven drawer is important. Many people do not realize the drawer can serve different purposes—sometimes it’s for warming food, sometimes for storage, and in some ovens, it’s a broiler. Removing it the wrong way can cause problems later.
In this article, you will find step-by-step instructions, safety tips, and answers to common questions. You’ll also see examples for different oven brands and drawer types, so you can avoid mistakes and save time.
Why Remove The Bottom Drawer From Your Oven?
Most people remove the oven drawer for a few common reasons:
- Deep Cleaning: Food crumbs, grease, or spills often fall into the drawer. Cleaning beneath the oven can improve kitchen hygiene and reduce bad smells.
- Maintenance: Sometimes, you need access to the area under the oven for repairs, checking gas connections, or fixing broken rails.
- Replacing Parts: If the drawer is damaged or the rails are bent, you may need to replace them.
- Checking for Pests: Small insects or mice may hide under the oven. Removing the drawer helps you inspect and clean thoroughly.
- Improving Oven Efficiency: Blocked or dirty drawers can affect heat flow, especially if the drawer is a broiler.
Many people overlook these reasons until a problem occurs. Removing the drawer regularly, even just to check underneath, can save you from bigger issues later.
Types Of Bottom Drawers In Ovens
Oven drawers are not all the same. Knowing what kind of drawer you have will help you remove it safely and avoid breaking anything.
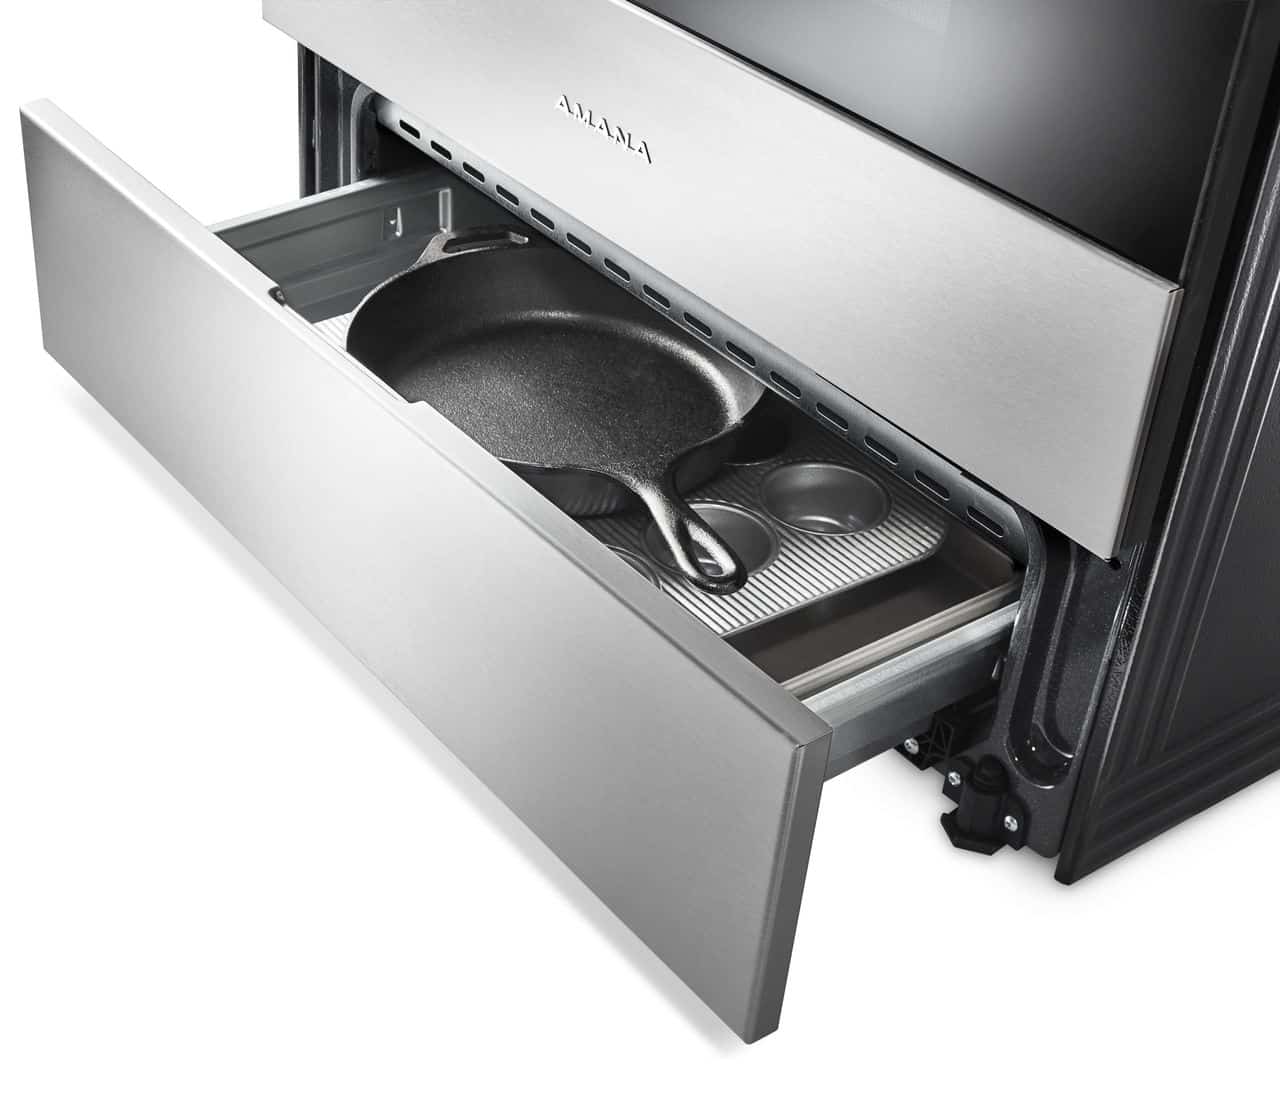
Storage Drawer
Storage drawers are the most common. They are used to store pans, baking sheets, or racks. They usually have simple metal rails and are easy to slide out.
Warming Drawer
A warming drawer keeps food warm after cooking. It may have electrical parts, heating elements, or a temperature setting. These drawers are heavier and may have wires attached.
Broiler Drawer
Some older gas ovens have a broiler drawer at the bottom. It is used for broiling food at high heat. These drawers often feel sturdier and may have a grill pan inside.
Comparison Table: Drawer Types
Here’s a quick comparison of the main differences between oven drawer types:
| Drawer Type | Main Purpose | Special Features | Removal Difficulty |
|---|---|---|---|
| Storage Drawer | Store pans and trays | Simple rails | Easy |
| Warming Drawer | Keep food warm | Heating element, wires | Medium |
| Broiler Drawer | Broil food | Grill pan, vents | Medium to Hard |
Before you begin, check your oven manual or look for labels inside the drawer to identify its type. Removing a warming or broiler drawer requires more care than a simple storage drawer.

Credit: www.reddit.com
Tools And Materials You Might Need
Most bottom drawers can be removed without tools, but sometimes you’ll need a few items:
- Phillips or flathead screwdriver (for some models)
- Work gloves (to protect your hands)
- Flashlight (to see inside or underneath)
- Small container (for screws or clips)
- Soft cloth or sponge (for cleaning)
- Vacuum cleaner (optional, for deep cleaning)
Many ovens do not require any tools, but it’s smart to have these on hand in case you run into a screw or stuck part.
Safety Steps Before Removing The Drawer
People often forget about safety when working with kitchen appliances. Here are important steps you should never skip:
- Turn Off the Oven: Make sure the oven and drawer are completely cool. If your oven has a warming drawer, switch off the power at the wall or unplug it.
- Empty the Drawer: Remove all pans, trays, or food from the drawer.
- Check for Electrical Connections: If your drawer heats up, check for wires or electrical connectors before pulling it out.
- Use Gloves: Metal edges can be sharp. Wear gloves to avoid cuts.
- Read the Manual: If you have it, check your oven’s manual for model-specific advice.
These steps help you avoid burns, shocks, or damage to your oven.
Step-by-step Guide: How To Remove A Bottom Drawer From An Oven
The steps can change based on the type and brand of your oven. Below is a general guide, followed by tips for common brands and drawer types.
1. Open The Drawer Fully
Pull the drawer out as far as it goes. You should feel it stop naturally at the end of the rails. Do not force it past this point.
2. Find The Drawer Stops
Most drawers have stops—small plastic or metal tabs on the rails—to prevent the drawer from falling out. Look along the sides near the front or under the drawer.
- In some models, you must press or lift these stops to release the drawer.
- On others, you might need to tilt the drawer upward or downward.
3. Release The Drawer Stops
Depending on your oven:
- Press Down Tabs: Some ovens have tabs you press down to unlock the drawer.
- Lift Up Tabs: In other ovens, pull up on the stops to release.
- Tilt the Drawer: For certain drawers, you lift the front slightly and pull while tilting.
Check both sides—sometimes you need to do this at the same time. If you feel resistance, stop and check for hidden screws or clips.
4. Pull Out The Drawer
Once the stops are released, slowly pull the drawer straight out. Support the bottom with your hand so it does not drop. If it feels stuck, gently wiggle it side to side.
For heavy drawers (like warming or broiler drawers), ask someone to help you.
5. Disconnect Wires (if Present)
Some warming drawers or high-end ovens have wires for heating. Do not yank the drawer out. Look for a wire connector at the back and gently unplug it.
6. Clean And Inspect
With the drawer out, clean the area underneath. Use a vacuum or damp cloth to remove crumbs and dust. Check the rails for damage or buildup.
7. Reinstalling The Drawer
When putting the drawer back:
- Line up the rails carefully.
- Slide the drawer in slowly until you hear or feel it click into place.
- Make sure it slides smoothly and locks in fully.
If you meet resistance, pull it out and try again. Forcing it can bend the rails.
Special Instructions For Major Oven Brands
Different brands use different rail systems and stop mechanisms. Here are tips for some popular brands.
Removing Drawer From A Ge Oven
Most GE ovens have a simple rail and stop system.
- Open the drawer fully.
- Locate the stops on each side.
- Press the tabs down while pulling the drawer out.
- For older models, you may need to lift the front slightly.
If your GE oven has a warming drawer, disconnect the wire harness at the back before removing the drawer completely.
Removing Drawer From A Whirlpool Oven
Whirlpool ovens often have a lift-and-pull system.
- Open the drawer all the way.
- Lift the front edge of the drawer.
- Pull out gently while keeping the drawer tilted.
- Check for any screws at the back corners and remove them if present.
Some newer models have side clips you must press inward before the drawer slides out.
Removing Drawer From A Frigidaire Oven
Frigidaire ovens usually use side rail stops.
- Pull the drawer out as far as possible.
- On each side, you’ll find a plastic stop.
- Press the stops in and pull the drawer out.
- If your oven has a warming drawer, unplug the wire connector first.
Some models have a metal bar or screw near the back. Remove it with a screwdriver if needed.
Removing Drawer From A Samsung Oven
Samsung ovens often have more advanced rails.
- Open the drawer fully.
- Find the release levers on both sides.
- Push both levers at the same time and pull the drawer out.
- Some warming drawers have a plug at the back—unplug it gently.
If the drawer does not come out easily, check for extra screws under the rails.
Removing Drawer From An Lg Oven
LG ovens use a similar system to Samsung.
- Pull the drawer out.
- Locate the side levers or tabs.
- Press or lift the levers and pull the drawer straight out.
If you have a warming drawer, check for electrical connections before fully removing it.
Comparison Table: Brand Drawer Removal Difficulty
Here’s a quick look at which brands are easier or harder to work with:
| Brand | Release Mechanism | Typical Difficulty | Notes |
|---|---|---|---|
| GE | Press tabs/lift front | Easy | Wire harness on warming drawer |
| Whirlpool | Lift and pull | Medium | Check for screws |
| Frigidaire | Press side stops | Medium | Possible rear bar/screw |
| Samsung | Release levers | Medium | Check for plugs |
| LG | Press/lift levers | Medium | Check for wires |
Credit: fredsappliance.com
Common Problems And How To Solve Them
While removing your oven drawer, you might face some issues. Here’s how to fix them:
Drawer Feels Stuck
- Check for hidden screws: Look at the back or bottom of the drawer.
- Clean the rails: Built-up grease or crumbs can jam the rails.
- Wiggle gently: Move the drawer side to side while pulling.
Drawer Does Not Slide Smoothly
- Bent rails: Look for twisted or bent metal. You can sometimes bend it back gently with pliers.
- Broken stops: If the plastic stops are broken, you may need replacements from an appliance store.
Electrical Connection Blocks Removal
- Do not pull hard: Find the connector and gently unplug before removing the drawer.
- Label wires: If you need to reconnect later, take a picture or mark the connectors.
Drawer Won’t Go Back In
- Misaligned rails: Make sure both sides are lined up exactly.
- Obstructions: Check for objects blocking the rails.
- Damaged stops: Broken stops can prevent the drawer from locking in place.
Cleaning And Maintenance Tips
Once you have the drawer out, take the chance to clean and maintain both the drawer and the space under your oven.
Cleaning The Drawer
- Use warm soapy water and a sponge.
- For tough stains, let the drawer soak for a few minutes.
- Dry the drawer completely before reinstalling.
Cleaning Under The Oven
- Use a vacuum to remove crumbs and dust.
- Wipe with a damp cloth and mild cleaner.
- Check for pests or mold.
Rail Maintenance
- Wipe the rails with a soft cloth.
- If the rails are sticky, use a small amount of cooking oil or spray lubricant. Wipe off any extra to avoid attracting dust.
- Inspect for bent or broken parts.
Preventing Future Problems
- Clean the drawer area every few months.
- Avoid overloading the drawer with heavy items.
- Do not slam the drawer shut.
Mistakes To Avoid When Removing An Oven Drawer
Many beginners make simple mistakes that can lead to bigger problems. Here’s what to avoid:
- Skipping the Manual: Even if you feel confident, always check the oven manual for your model.
- Ignoring Electrical Wires: Never pull a warming drawer without checking for wires.
- Forcing the Drawer: If it doesn’t come out easily, stop and look for hidden stops or screws.
- Not Wearing Gloves: Edges can be sharp, especially on older ovens.
- Losing Screws or Clips: Keep a small container nearby for any loose parts.
Small mistakes can lead to expensive repairs, so take your time and pay attention to details.
Practical Examples: Different Drawer Types
Example 1: Removing A Simple Storage Drawer
Maria wanted to clean under her old oven. She opened the drawer, found two small tabs on the sides, pressed them, and pulled the drawer out easily. She vacuumed the space, wiped the drawer, and reinstalled it in five minutes.
Example 2: Removing A Warming Drawer
John’s oven had a warming drawer with a temperature setting. After unplugging the oven, he opened the drawer, found the wire connector at the back, and unplugged it before removing the drawer fully. He cleaned the rails, reconnected the wires, and the drawer worked perfectly after reinstalling.
Example 3: Removing A Broiler Drawer
Sonia’s gas oven had a broiler drawer at the bottom. She removed the grill pan, unscrewed two small screws at the back, and gently slid the drawer out. After cleaning, she put everything back together and checked that the broiler lit up properly.
These examples show that while the process is similar, small details can make a big difference.

Credit: www.youtube.com
When To Call A Professional
Most oven drawer removals are DIY-friendly. But call a professional if:
- You see damaged wiring or sparks.
- The drawer is stuck and you cannot remove it without force.
- The rails or frame are bent or broken.
- You are unsure about any electrical connections.
Attempting repairs without proper knowledge can be dangerous. If in doubt, always ask for help.
Useful Resources
If you need diagrams or video guides, check the manufacturer’s website. Many brands offer free manuals or visual guides. You can also find helpful tips on appliance repair forums or trusted websites like Family Handyman.
Frequently Asked Questions
How Do I Know If My Oven Drawer Has Electrical Connections?
If your drawer heats up (warming drawer) or has a temperature control, it likely has wires. Look for a plug or connector at the back when you pull out the drawer. Always unplug or turn off the oven before removing drawers with wires.
Can I Remove The Oven Drawer If The Oven Is Hot?
No. Always wait until the oven and drawer are completely cool. Removing a hot drawer can cause burns and may damage the drawer or rails.
What Should I Do If The Drawer Does Not Fit Back In After Removal?
Check the rails for alignment and make sure nothing is blocking the tracks. If the stops are damaged, you may need to replace them. Do not force the drawer—double-check your manual for guidance.
Is It Safe To Clean Under The Oven After Removing The Drawer?
Yes, it is safe if the oven is unplugged or switched off. Use a vacuum or damp cloth to clean crumbs, dust, or spills. Be careful not to touch any wires or connections.
Do All Ovens Have Removable Bottom Drawers?
No. Some ovens, especially built-in or older models, may have a fixed bottom panel or no drawer at all. Check your oven’s manual or inspect the area to see if removal is possible.
Removing the bottom drawer from your oven is a task you can do with a little patience and care. Understanding your oven type, following safety steps, and paying attention to small details will help you avoid common mistakes. Regular cleaning and maintenance can make your kitchen safer and your oven work better.
If you ever feel unsure, it’s always smart to check your manual or call a professional. With the right approach, you’ll find this job much easier than it seems.