
Using your GE oven’s timer can make cooking much easier. Whether you want to bake a cake for just the right amount of time or set a reminder to check your roast, the timer is a helpful tool. But if you’ve never used it before, it might seem confusing.
GE ovens come with different types of controls—some have simple buttons, while others use digital touchpads or even smart features. Learning to set the timer correctly means you can cook with confidence and avoid burned or undercooked food.
Many new users worry about pressing the wrong buttons or accidentally turning off the oven. Some are unsure if the timer controls the oven or just rings an alarm. This article will guide you step by step, from basic settings to advanced features.
You’ll also learn about common mistakes and special functions, like delayed start or multiple timers, available on newer GE ovens. With practical examples and clear instructions, you’ll be able to use your GE oven’s timer like an expert—even if English isn’t your first language.
Understanding The Timer Function On A Ge Oven
The timer on a GE oven is a built-in clock that counts down from a time you set. When the timer reaches zero, the oven will beep or ring. On most models, the timer does not turn the oven off automatically. It simply reminds you that your cooking time is up. This is different from the cooking time or auto-off feature, which can actually stop the oven.
Types Of Timers On Ge Ovens
GE ovens offer different timer types, depending on the model:
- Manual Timer Knobs: Older or basic models may have a physical knob you turn to set the time.
- Digital Timers: Most modern ovens use a touchpad or button controls with a digital display.
- Smart Timers: Some new ovens connect to Wi-Fi and can be set using a smartphone app.
Understanding which type you have is the first step. Check your oven’s control panel for labels like “Timer,” “Bake Time,” or icons like a clock.
What The Timer Does (and Doesn’t Do)
The timer function is for tracking time, not for controlling the oven’s power. If you want the oven to turn off automatically, you need to use the Cook Time or Delay Start features, not just the timer.
Common beginner mistake: Many people think the timer will stop the oven when time is up. On most GE ovens, this is not true. The oven will keep running after the timer ends, unless you use a special function.
How To Set The Timer On A Ge Oven: Step-by-step
Let’s walk through the process for the most common types of GE oven controls. If your model is different, check the manual for specific instructions, but most digital GE ovens follow these steps:
For Digital Touchpad Models
- Locate the Timer Button
- Look for a button labeled “Timer,” “Kitchen Timer,” or a clock icon.
- Press the Timer Button Once
- The display should show “0: 00″ or blink, ready for input.
- Set the Desired Time
- Use the “+” or “-” buttons, or number pad, to enter the amount of time you want. For example, to set 20 minutes, press “2” “0” “0” “0” if your oven uses four digits (hours and minutes).
- Start the Timer
- Press “Start,” “Timer,” or sometimes “Enter” to begin the countdown. The timer will start running, and the display will show the time counting down.
- Wait for the Alarm
- When the time is up, the oven will beep or ring. Some models beep several times until you press “Timer” or “Off” to silence it.
For Manual Knob Models
- Turn the Timer Knob
- Rotate the timer knob clockwise to the desired time (for example, 30 minutes).
- Check for Ticking Sound
- You may hear a ticking sound as the timer counts down.
- Listen for the Alarm
- When the timer reaches zero, a bell or buzzer will sound.
For Ge Smart Ovens (wi-fi Enabled)
- Open the GE App
- Download and open the GE Appliances app on your smartphone.
- Connect Your Oven
- Make sure your oven is connected to Wi-Fi and paired with the app.
- Set the Timer in the App
- Find the timer section and enter your desired time. Tap “Start” to begin.
- Monitor Remotely
- You can check, pause, or cancel the timer from your phone.
Example: Setting A 45-minute Timer On A Digital Ge Oven
- Press “Timer.”
- Enter “4” “5” “0” “0” (if four digits are used).
- Press “Start.”
- The display shows “45: 00″ and begins counting down.
Canceling Or Resetting The Timer
If you need to cancel or change the timer:
- Press “Timer” or “Cancel” once (sometimes you need to hold for 3 seconds).
- Reset the timer by entering a new time and pressing “Start.”
Pro tip: If your oven has multiple timer options (like “Timer 1” and “Timer 2”), choose the correct one before setting.
Advanced Timer Features On Ge Ovens
Some GE ovens offer more than just a simple timer. Let’s look at a few advanced functions and how to use them.
Cook Time And Delay Start
- Cook Time: This feature lets you set how long you want the oven to cook. When time is up, the oven turns off automatically.
- Delay Start: This feature lets you choose when the oven should begin cooking. You can set both the delay and the cook time.
How To Use Cook Time
- Set the oven to the desired cooking mode (e.g., “Bake”).
- Press “Cook Time.”
- Enter the cooking time (for example, “1” “0” “0” “0” for one hour).
- Press “Start.”
- The oven will cook for that amount of time and then shut off.
How To Use Delay Start
- Press “Bake” and set the temperature.
- Press “Delay Start.”
- Enter the time you want the oven to start.
- Press “Cook Time” and enter how long to cook.
- Press “Start.” The oven will wait, then start and stop automatically.
Multiple Timers
High-end GE ovens may let you set more than one timer at once. This is useful if you’re cooking several dishes with different times.
- Press “Timer 1” and set the time.
- Press “Timer 2” and set a different time.
- Both timers will count down and alert you separately.
Sabbath Mode
Some GE ovens have a Sabbath mode for users who observe Jewish traditions. In this mode, the timer and oven functions work differently to meet religious requirements. If you need this, check your manual for step-by-step instructions.
Common Mistakes When Setting The Timer
Even experienced cooks sometimes make errors with the oven timer. Here are a few common mistakes and how to avoid them:
- Confusing Timer and Cook Time
- The timer only alerts you; it doesn’t control the oven. If you want the oven to stop, use “Cook Time.”
- Not Pressing Start
- Some models require pressing “Start” after entering the time. If you forget, the timer won’t run.
- Entering Time Incorrectly
- On some ovens, you need to enter four digits (e.g., “0030” for 30 minutes) instead of just “30.”
- Forgetting to Cancel Old Timers
- If you set a new timer before canceling the old one, the oven may beep unexpectedly.
- Ignoring the Alarm
- The oven may keep beeping until you press “Off” or “Timer.” Always clear finished timers.
Insider tip: Always double-check the display to make sure your timer is running. If you see “0:00,” it means you haven’t started it yet.
Why Use The Oven Timer? Key Benefits
Using your GE oven’s timer gives you several advantages:
- Consistent Results: Set the timer for recipes to avoid overcooking.
- Hands-Free Cooking: Focus on other tasks without watching the clock.
- Multiple Dishes: Set different timers for each dish when cooking big meals.
- Better Time Management: Know exactly when to check your food.
Comparing Timer Features: Digital Vs. Manual Vs. Smart
To help you see the differences, here is a comparison of timer features on various GE oven types.
| Feature | Manual Timer | Digital Timer | Smart Timer |
|---|---|---|---|
| Input Method | Knob | Buttons/Touchpad | App/Voice |
| Precision | Minutes only | Minutes & Seconds | Exact (to the second) |
| Multiple Timers | No | Sometimes | Yes |
| Remote Control | No | No | Yes |
| Auto Oven Shutoff | No | Requires Cook Time | Requires Cook Time |
As you can see, digital and smart timers offer more flexibility and features. Smart timers can even send notifications to your phone, so you don’t miss the alarm.

Credit: www.youtube.com
How Long Can You Set The Timer For?
Most GE ovens let you set the timer for up to 12 hours, but some models limit it to 6 hours or 99 minutes. Always check your specific oven’s manual for the maximum.
Here is a quick overview of typical timer limits:
| Oven Model | Minimum Timer | Maximum Timer |
|---|---|---|
| Manual Knob | 1 minute | 60 minutes |
| Digital Basic | 1 minute | 99 minutes |
| Digital Advanced | 1 minute | 12 hours |
| Smart Oven | 1 second | 24 hours |
If you set a timer longer than the maximum, the oven will usually beep or show an error.
Using The Timer For Different Cooking Tasks
The oven timer is useful for more than just baking. Here are some examples:
- Baking Cookies: Set the timer for 10–12 minutes to avoid burnt cookies.
- Roasting Chicken: Time your roast for 1–2 hours, depending on weight.
- Slow Cooking: Use the maximum timer setting for slow-cooked meals.
- Preheating: Set a short timer (5–10 minutes) to remind you when the oven is hot.
- Resting Meat: After cooking, set a timer for 10 minutes to let meat rest.
For best results, always follow recipe times and set your timer accordingly.
Cleaning And Maintaining The Timer Controls
Keeping your oven’s timer buttons and display clean helps prevent problems. Dust, grease, or crumbs can block buttons or make the display hard to read.
- Wipe with a damp cloth: Never use too much water. A little soapy water and a soft cloth are best.
- Avoid harsh cleaners: They can damage the control panel.
- Check for stuck buttons: If a button sticks, clean around it gently.
- Smart ovens: Clean your phone screen, too, if using the app.
If your timer stops working, unplug the oven for a few minutes to reset it. If problems continue, contact GE customer support.
When The Timer Doesn’t Work: Troubleshooting Tips
Sometimes, the timer may not work as expected. Here are solutions for common issues:
- Display Won’t Light Up
- Check if the oven is plugged in and getting power.
- Some ovens need the clock to be set before the timer works.
- Buttons Don’t Respond
- Clean the control panel.
- Try a “control lock” feature may be on—hold “Cancel” for 3–5 seconds to unlock.
- Timer Beeps Randomly
- Old timers may need to be canceled before setting a new one.
- Timer Shuts Off Early
- Power surges or interruptions can reset the timer.
- No Sound When Timer Ends
- Check volume settings in the oven menu (digital models).
- Some models allow you to turn off the alarm—reset to default if needed.
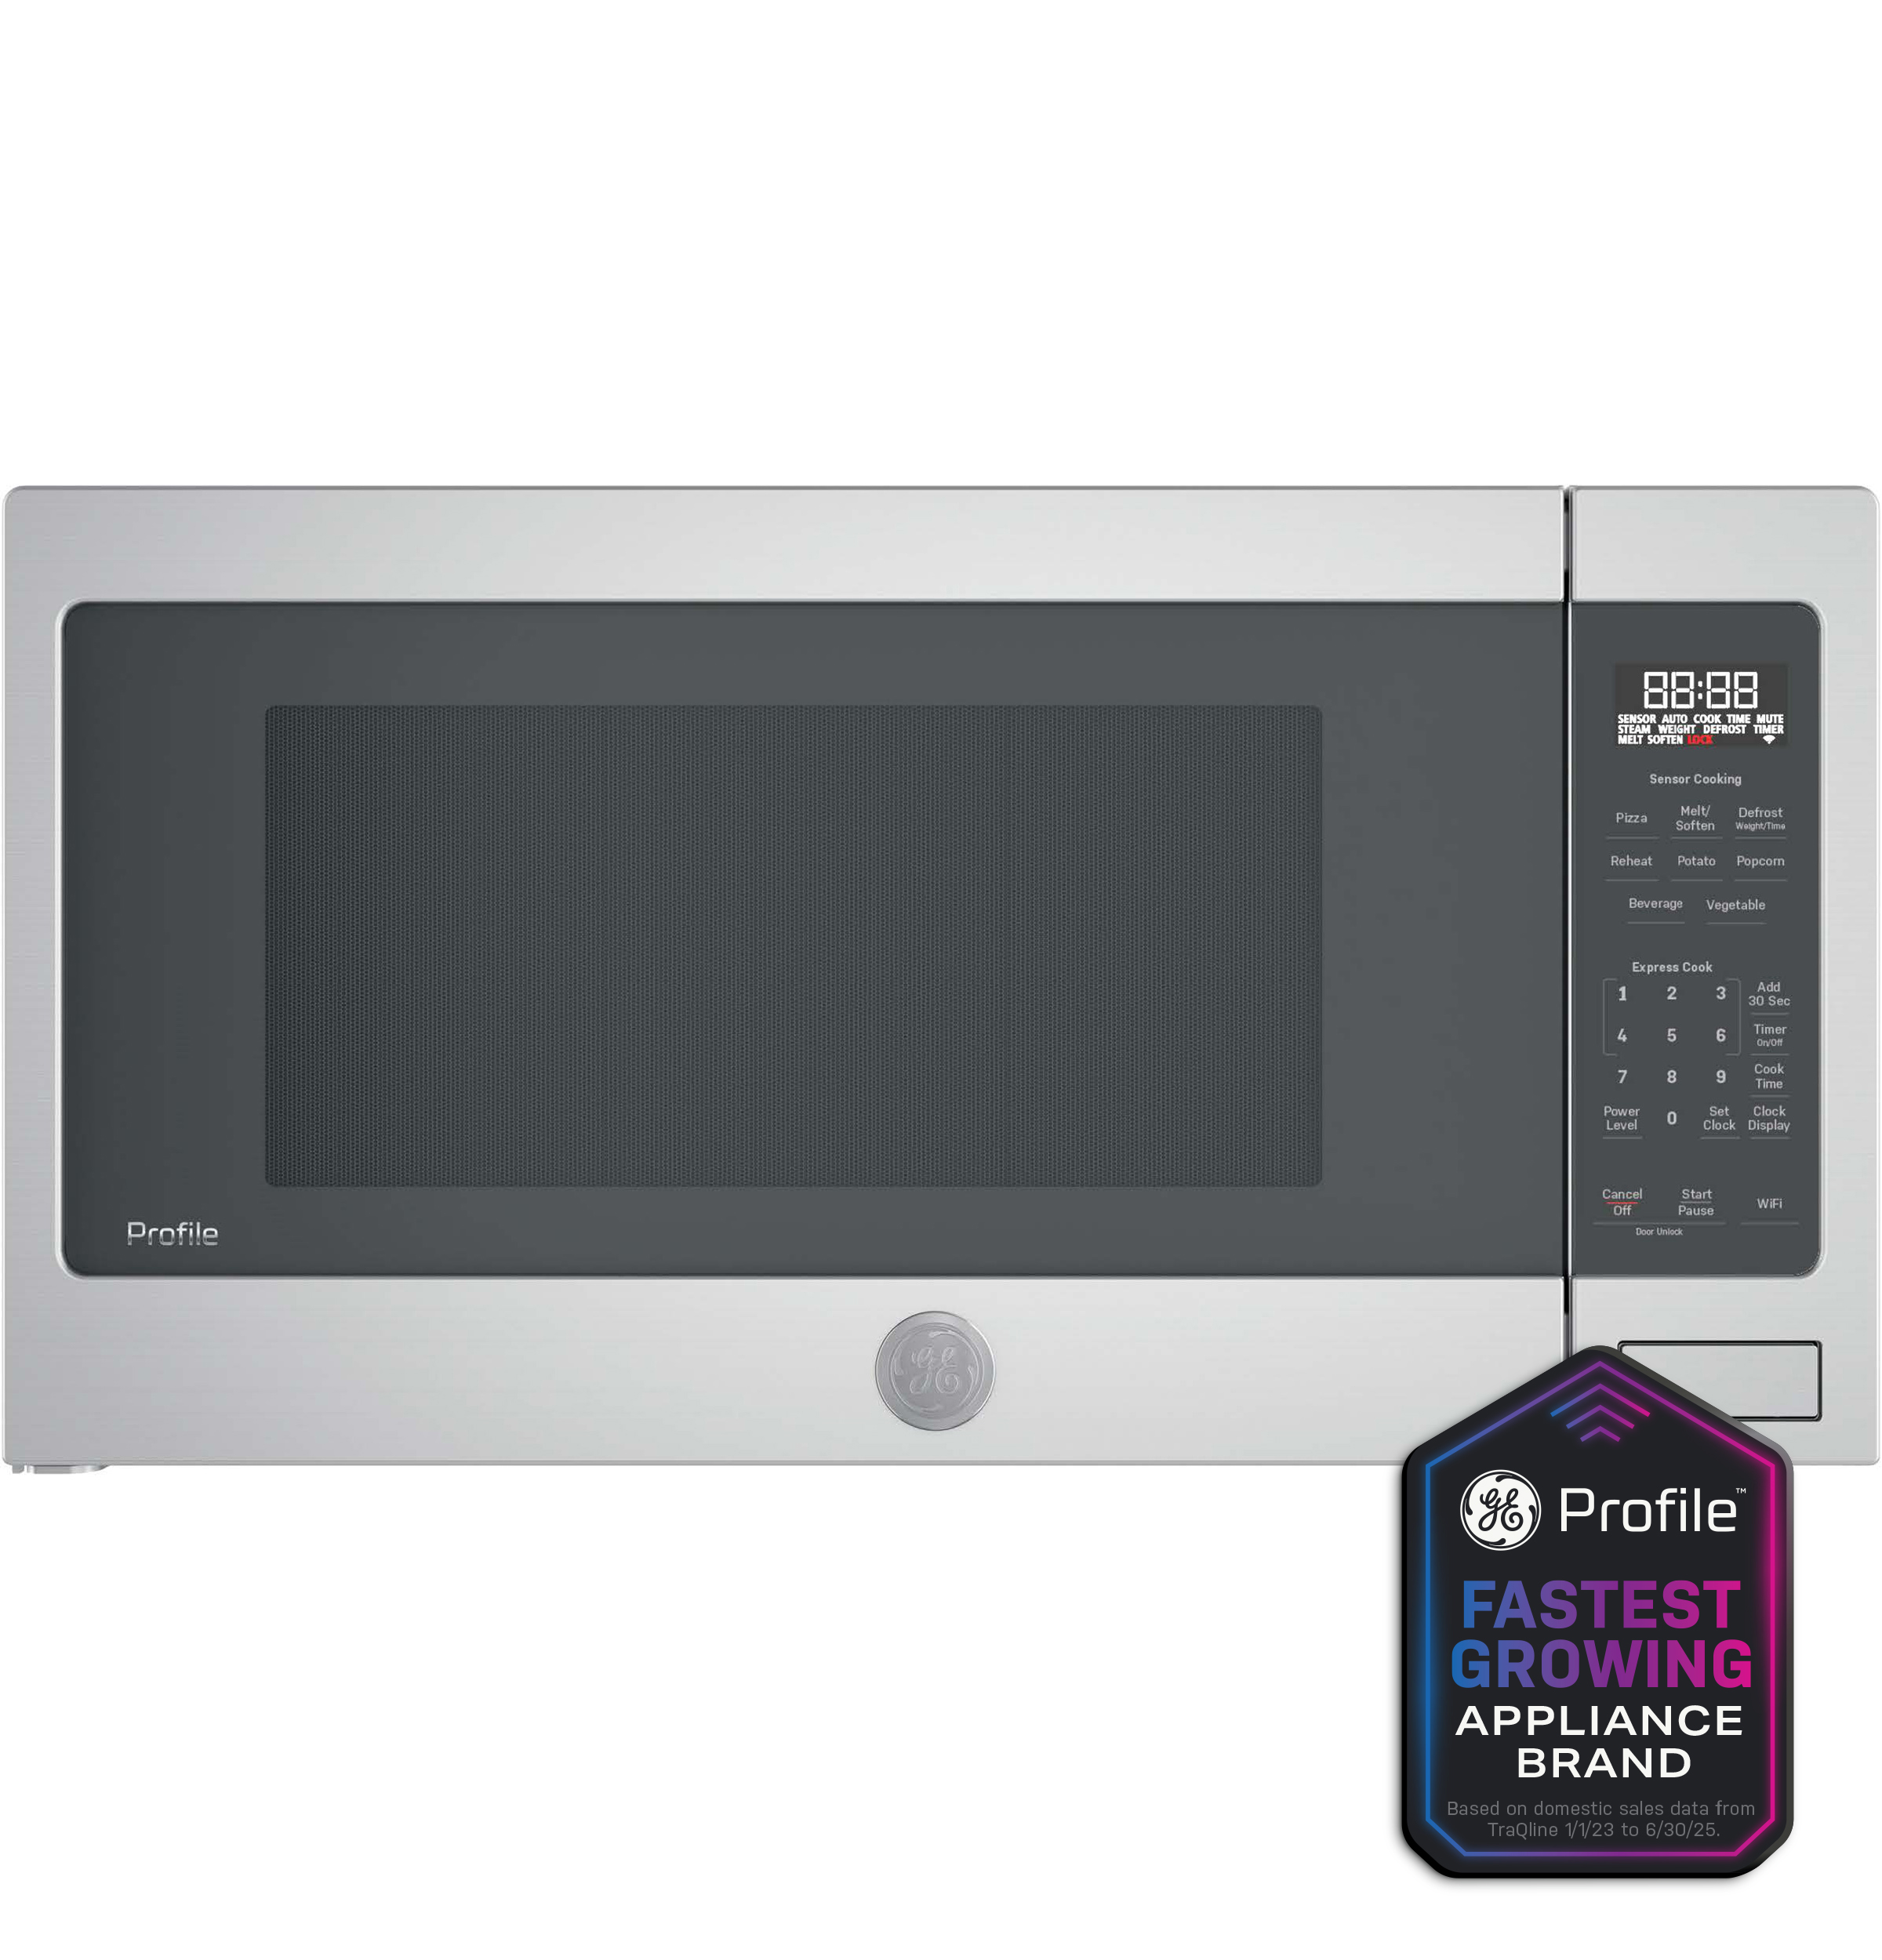
Advanced tip: If you still have problems, look up your oven’s model number and download the manual from the GE Appliances website for specific instructions.
Credit: www.matternsappliances.com
Using The Timer With Other Oven Features
You can use the timer together with other oven functions. For example:
- Bake and Timer: Start baking and set a timer for halfway through to rotate the pan.
- Broil and Timer: Set a short timer to avoid burning food under the broiler.
- Self-Clean and Timer: Use the timer to remind you when the cleaning cycle is done.
Some GE ovens allow the timer and cooking time to run at the same time. This is helpful if you want both a reminder and automatic shutoff.
How The Timer Helps With Meal Planning
If you cook meals for your family, the timer can help you:
- Schedule when each dish goes into the oven.
- Set reminders to check side dishes.
- Plan for busy days by using “Delay Start” and “Cook Time” together.
For holiday meals, using multiple timers or smart features can prevent stress and help everything finish on time.
Accessibility And The Ge Oven Timer
For users with vision or mobility challenges, GE ovens offer:
- Large, clear displays
- Tactile buttons on manual models
- App control for those who prefer smartphones
- Audible alarms loud enough for most kitchens
If you need more accessible features, look for ovens with voice control or integration with smart home devices.
Safety Tips When Using The Ge Oven Timer
Timers are helpful, but always follow basic safety:
- Don’t leave the house while food is in the oven, even with a timer.
- Check food regularly to prevent fires or spills.
- Clear the timer as soon as it ends to avoid confusion.
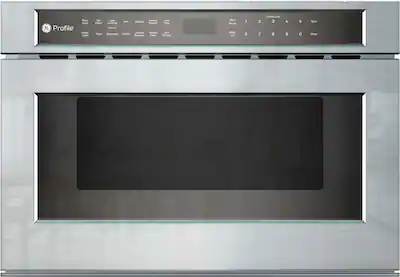
If you use the “Cook Time” feature, remember that the oven will turn off when time is up. Make sure food is fully cooked before serving.
Credit: www.bestbuy.com
Upgrading To A New Ge Oven For Better Timer Features
If your current oven timer is hard to use or unreliable, upgrading to a newer GE model can make a big difference. Modern features include:
- Touchscreens for easier input
- Multiple timers
- Smartphone control
- Louder, adjustable alarms
Before buying, compare models online and look for reviews that mention timer features.
For more information about oven technology and updates, you can visit GE Appliances Official Site.
Frequently Asked Questions
How Do I Reset The Timer On My Ge Oven?
To reset the timer, press the “Timer” or “Cancel” button until the timer display resets to “0:00″ or goes blank. On some models, you may need to hold the button for a few seconds. If you want to set a new timer, simply enter the new time and press “Start.”
Does The Timer Turn Off The Oven Automatically?
On most GE ovens, the timer does not turn off the oven. It only beeps to alert you. If you want the oven to shut off after a set time, use the “Cook Time” or “Delay Start” features instead of the regular timer.
Can I Use The Timer While The Oven Is Off?
Yes, the timer works even if the oven is not running. You can use it as a regular kitchen timer for other tasks, such as timing tea or reminders.
Why Does My Ge Oven Timer Keep Beeping?
The timer will keep beeping until you press “Timer,” “Cancel,” or “Off” to silence it. If your oven continues to beep after this, check for other active timers or alerts. If the beeping does not stop, unplug the oven for a few minutes to reset it.
Can I Set Multiple Timers At Once On My Ge Oven?
Some GE ovens allow multiple timers, especially newer digital or smart models. If your oven has “Timer 1” and “Timer 2” buttons, you can set each one separately. If not, only one timer can run at a time.
Setting the timer on a GE oven is a simple but powerful way to improve your cooking. Whether you use it for baking, roasting, or meal planning, mastering the timer makes your kitchen routine smoother and safer. With these steps, tips, and troubleshooting advice, you can cook with confidence and enjoy perfect results every time.