
When your kitchen or bathroom cabinets start to look old, giving them a new style doesn’t always mean spending big money on new woodwork or professional paint jobs. Instead, contact paper offers a budget-friendly and creative way to upgrade cabinets, even those with grooves or raised panels. But working with grooves isn’t as easy as working with flat surfaces. Air bubbles, wrinkles, and peeling corners are common problems if you don’t prepare and apply the paper correctly.
Many homeowners start with excitement, then feel frustrated when the contact paper doesn’t stick well inside the grooves or the pattern stretches and tears. The good news is: with the right steps, tools, and a few insider tricks, you can cover even the most detailed cabinets smoothly and make them look like new.
Let’s explore a practical, complete guide for putting contact paper on cabinets with grooves—so your makeover lasts and looks professional.
Why Use Contact Paper For Cabinets With Grooves?
Contact paper is not just a temporary fix. Modern designs offer durable, waterproof, and stylish options that stand up to daily use. Here’s why contact paper is a smart choice for grooved cabinets:
- Affordable transformation: Compared to paint or new doors, contact paper costs much less.
- Wide variety: Choose from wood grain, marble, solid colors, or bold patterns.
- Easy to clean: Most contact papers are wipeable.
- Removable: You can update your style later or remove it if you’re renting.
However, grooves and edges make the process a bit more complex. Proper technique ensures a seamless look, even in tricky corners.
Essential Tools And Materials
Before you start, gather everything you need for a smooth job. Missing a key tool often leads to mistakes or damage.
- Contact paper: Buy extra—at least 10% more than your measurements.
- Sharp utility knife or craft knife: For clean cuts around grooves.
- Squeegee or credit card: To smooth out bubbles.
- Measuring tape: For accurate size.
- Ruler or straight edge: For guiding cuts.
- Pencil: To mark measurements.
- Scissors: For rough cuts.
- Spray bottle with water and a bit of dish soap: Helps with repositioning.
- Hair dryer or heat gun: For stretching and shaping around grooves.
- Microfiber cloth: For cleaning.
- Masking tape: For test fits.
Non-obvious tip: Use a pin or sewing needle for popping tiny air bubbles instead of pulling up the paper and risking tears.
Choosing The Right Contact Paper
Not all contact papers are equal, especially for grooved cabinets. Look for:
- Thickness: Thicker paper hides minor imperfections and is easier to handle.
- Adhesive quality: Removable adhesive works for renters but may peel earlier. Stronger adhesives are better for long-term use.
- Texture: Matte finishes show fewer fingerprints; glossy finishes are easier to clean.
- Pattern: Avoid large patterns unless you’re skilled at matching seams.
Pro insight: Order a sample if possible and test on a small area. Some papers look great online but may not stick well to your cabinet’s material.
Measuring Cabinets For Grooved Surfaces
Accurate measurement is vital to avoid waste and get a neat finish. Here’s how to measure cabinets with grooves:
- Measure each section separately: Don’t assume all doors are the same.
- Account for grooves and edges: Add extra for wrapping into grooves and around edges.
- Mark hinges and handles: Plan for cutouts if you don’t remove hardware.
For example, if a cabinet door is 15 inches wide by 24 inches tall, add at least 0. 5 inch on each side if you plan to wrap the paper into the grooves.
| Section | Measured Size | Extra for Grooves | Total Needed |
|---|---|---|---|
| Flat panel | 15″ x 24″ | +1″ (0.5″ each side) | 16″ x 25″ |
| Drawer front | 6″ x 24″ | +1″ | 7″ x 25″ |
Beginner’s mistake: Not adding extra means your paper may fall short inside grooves, showing wood or old color.
Preparing Cabinets For Contact Paper
Preparation makes a massive difference. Clean, smooth surfaces help the adhesive stick better and last longer.
Cleaning
- Use a degreaser to remove kitchen grime.
- Rinse with water and dry with a microfiber cloth.
- Avoid oil-based cleaners—they leave residue that weakens adhesive.
Repairing And Smoothing
- Fill deep scratches or holes with wood filler.
- Sand rough areas lightly with fine sandpaper (220 grit).
- Wipe off all dust.
Non-obvious insight: Even small crumbs or dust can create bumps that show through contact paper, especially on light or glossy finishes.
Removing Hardware
- Remove handles, knobs, and hinges if possible.
- Place screws and parts in labeled bags.
- If you can’t remove hardware, plan precise cutouts.
Pro tip: Take a photo before removing hardware to make re-installation easier.
Cutting Contact Paper For Grooved Cabinets
This step separates a neat job from a messy one.
Planning Cuts
- Lay the paper pattern-side down.
- Mark measurements with a pencil.
- Always cut slightly larger than the cabinet piece.
Cutting Techniques
- Use a sharp utility knife for straight lines.
- For rounded grooves, scissors may give better control.
- Cut out handle or hinge holes before applying the paper.
Beginner’s mistake: Cutting too small means you can’t stretch the paper into grooves.

Credit: www.reddit.com
Applying Contact Paper: The Flat Surfaces
Start with the easy parts first.
- Peel back a small section of the backing.
- Align the top edge with the cabinet.
- Press lightly and check alignment.
- Use a squeegee or credit card to smooth as you slowly peel away more backing.
Key insight: Don’t stick down the whole piece at once. Work from the center out to push out air.
Applying Contact Paper: Tackling The Grooves
This is where most people get stuck—or give up. But with patience and the right approach, you’ll get a seamless result.
Step 1: Position And Lightly Stick
- Lay the contact paper over the door, making sure it covers all grooves.
- Use masking tape to hold it in place if needed.
Step 2: Soften And Stretch
- Use a hair dryer or heat gun on low to gently warm the paper over the grooves.
- As the paper softens, use your fingers or a squeegee to press it into the groove.
- Work slowly—too much heat can melt or warp the pattern.
Step 3: Press Into Grooves
- Use the edge of a credit card or a flexible squeegee to push the paper deeply into the grooves.
- Start at the top and work down.
Step 4: Secure The Edges
- Wrap extra paper around the back or into the groove for a secure hold.
- Press firmly along all edges to seal.
Step 5: Remove Air Bubbles
- Smooth from the center out.
- For stubborn bubbles, poke a tiny hole with a pin and press the air out.
Pro insight: For deep or narrow grooves, a plastic knitting needle or chopstick wrapped in a soft cloth helps press the paper without tearing.
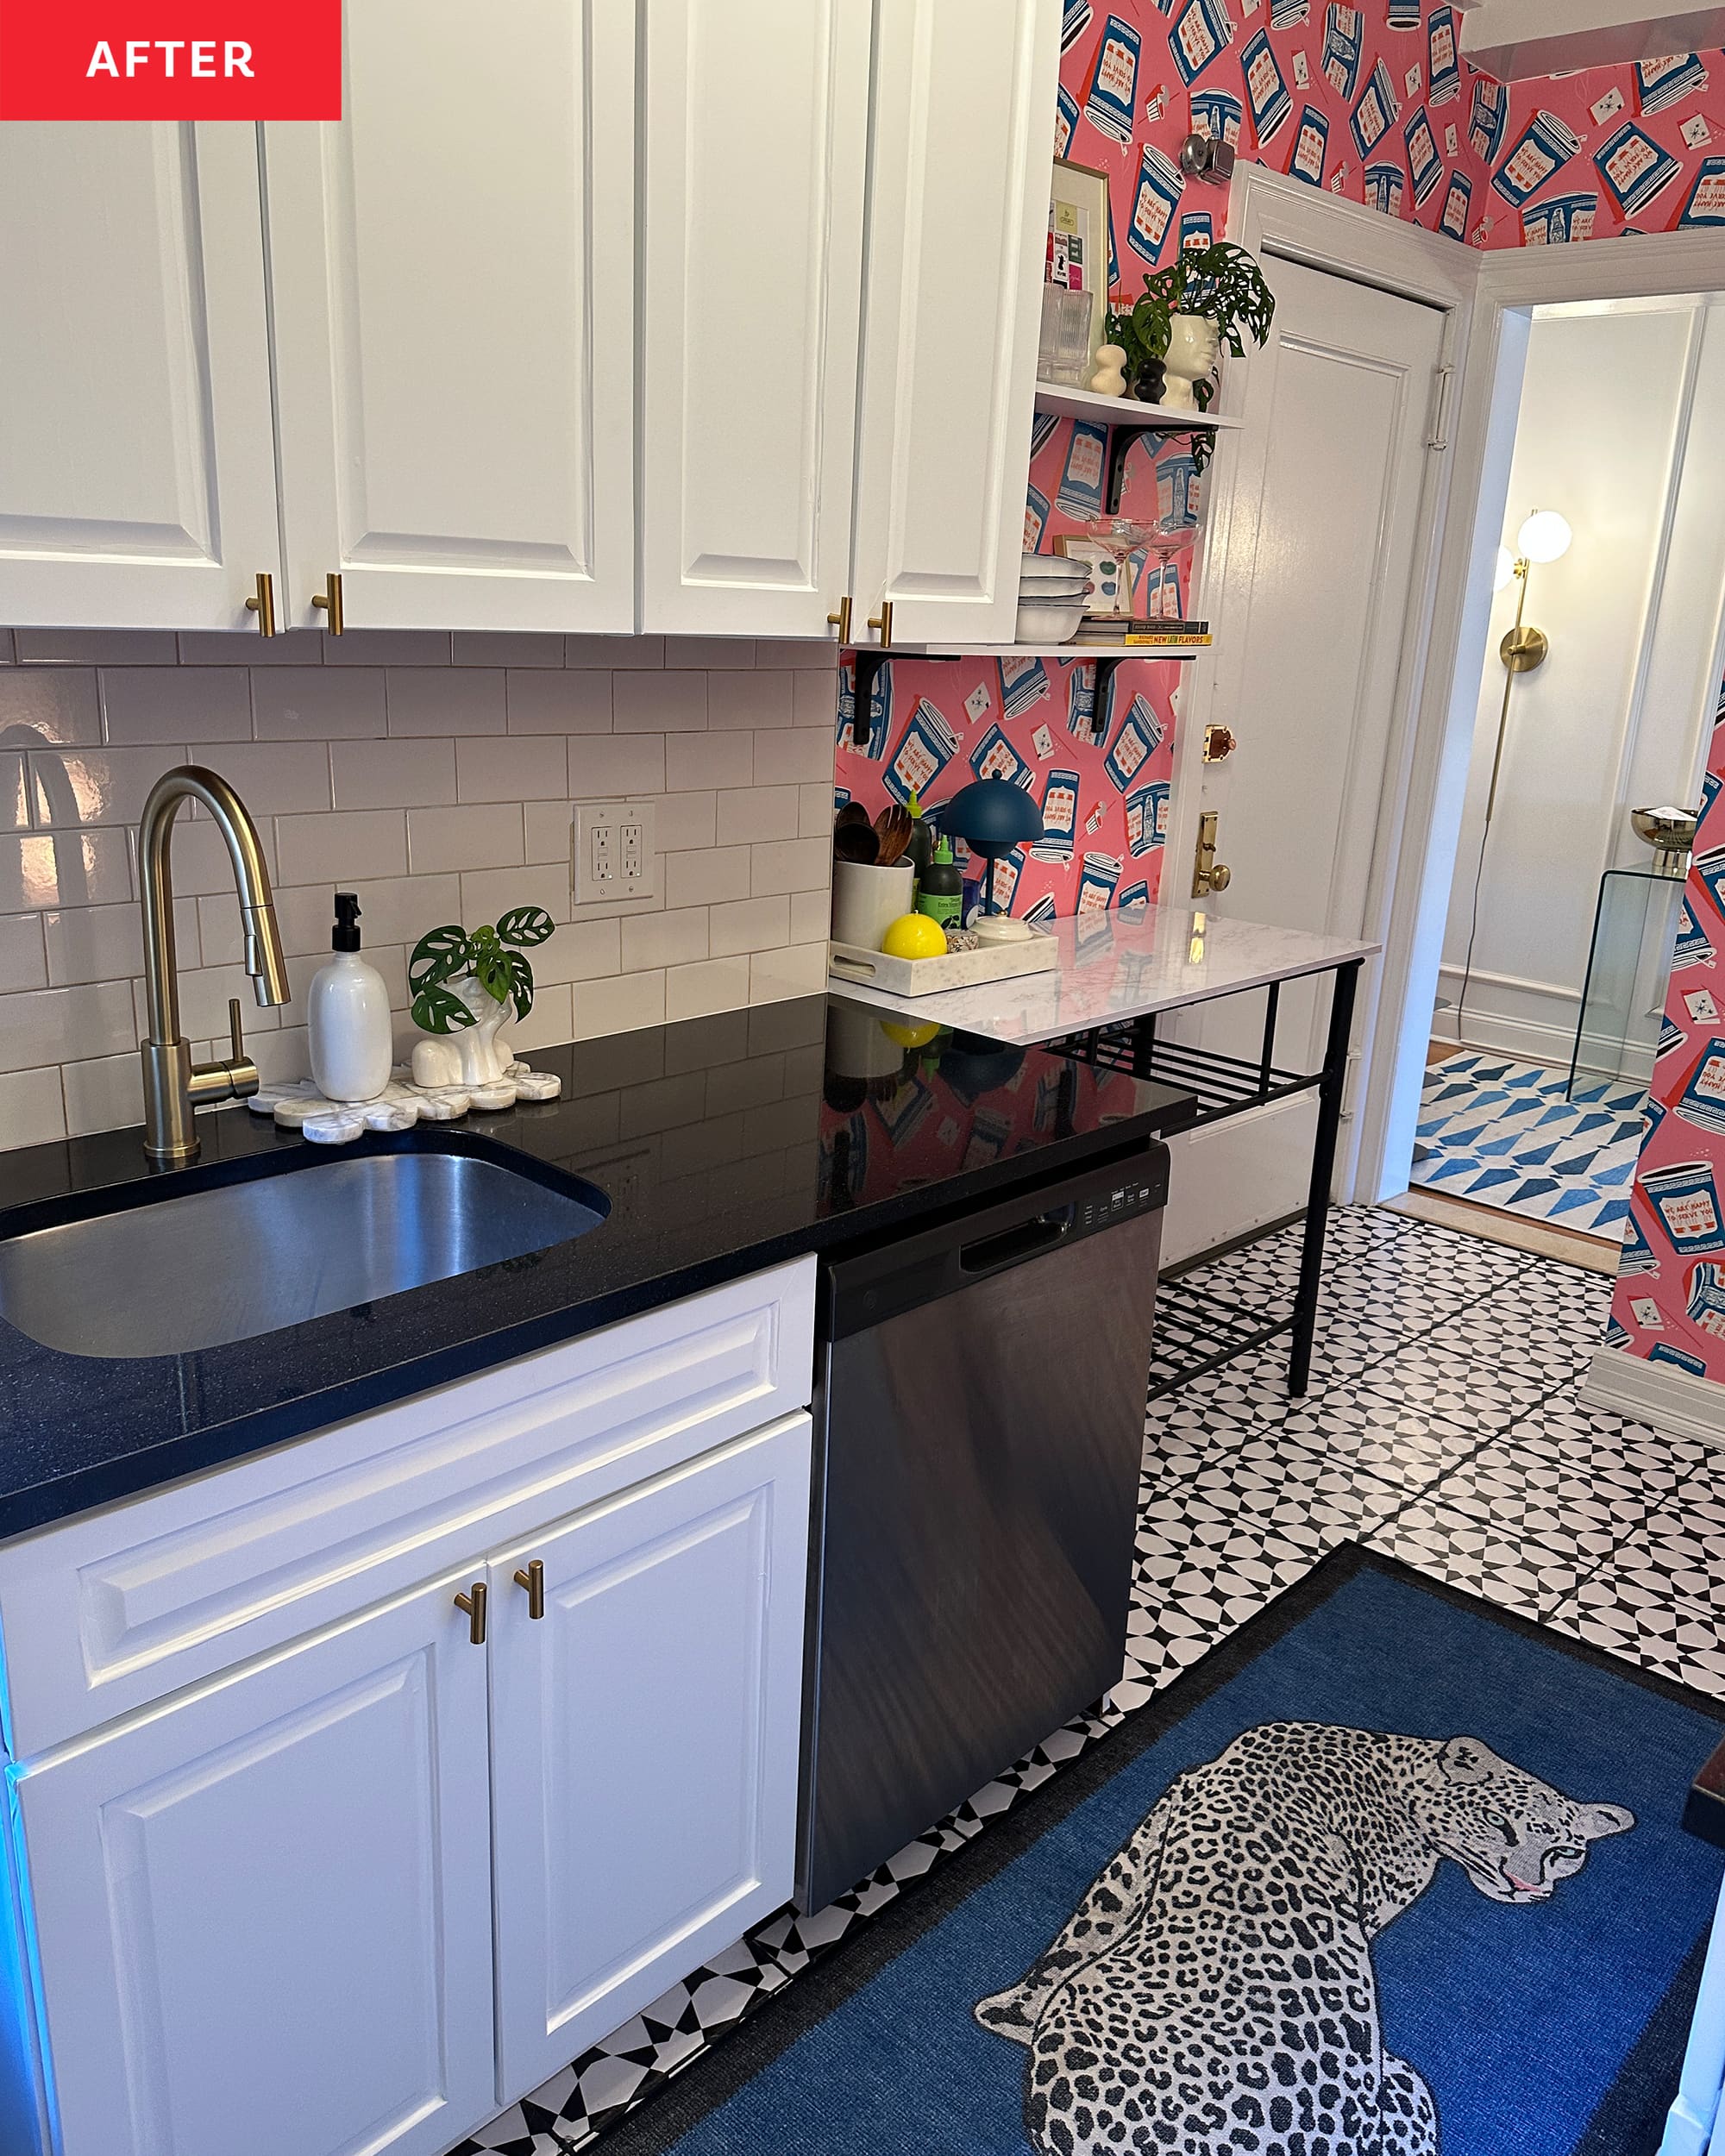
Credit: www.thekitchn.com
Dealing With Raised Panels And Detailed Edges
Raised panels or decorative trim require extra care.
- Cut relief slits: If the paper bunches at corners, cut small slits to let it overlap smoothly.
- Use heat: Soften the paper before stretching over curves.
- Overlap carefully: In complex corners, a slight overlap is better than a gap.
Advanced tip: For very detailed trim, cut separate pieces for the flat area and the trim, then overlap slightly for a seamless look.
Handling Seams And Pattern Matching
If your cabinets are wider than your paper, or you’re using patterns, seams matter.
- Overlap seams by 1/16 inch to prevent gaps.
- Match patterns carefully before sticking down.
- For wood grain or marble patterns, run the design in the same direction for all doors.
| Contact Paper Type | Pattern Matching Difficulty | Best for Grooves? |
|---|---|---|
| Solid Color | Easy | Yes |
| Wood Grain | Moderate | Yes, if grain runs same way |
| Marble/Tile Print | Difficult | Possible, but requires skill |
Beginner’s mistake: Ignoring the direction of wood grain or pattern makes the finish look less realistic.
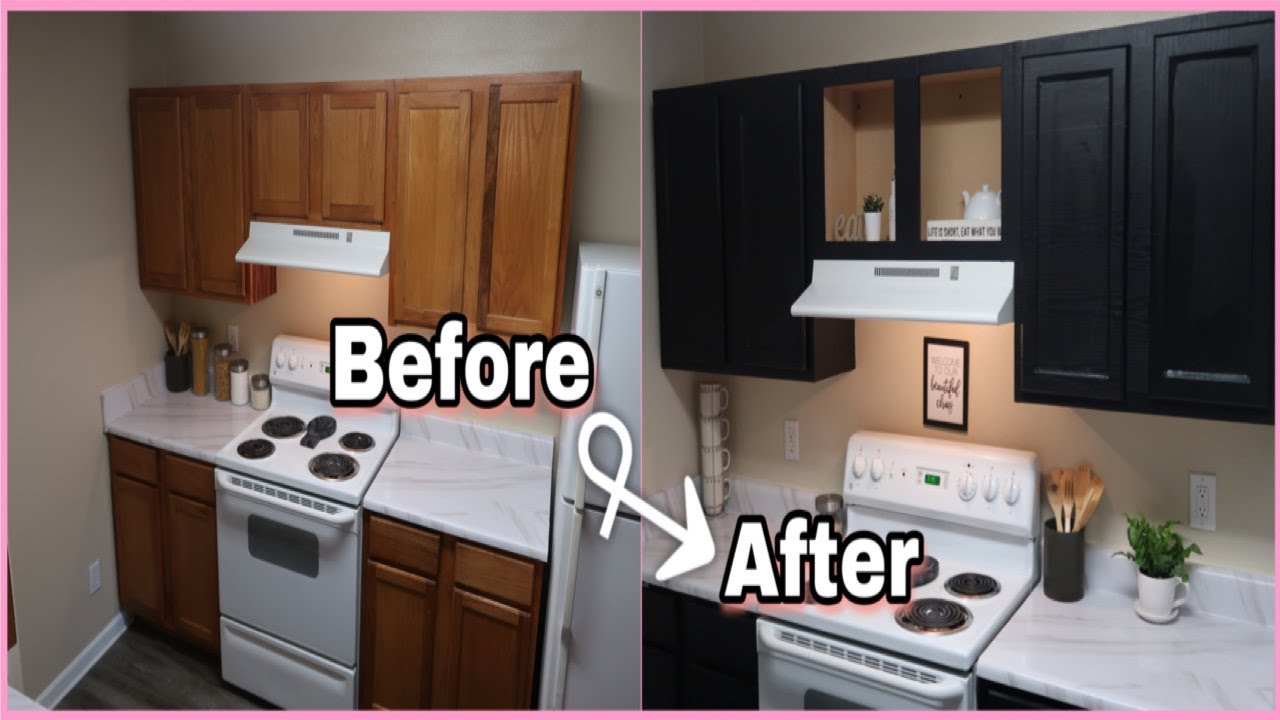
Credit: www.youtube.com
Trimming Excess And Finishing Touches
Once the paper is on and bubbles are out, trim the edges for a clean look.
- Use a sharp utility knife with a fresh blade.
- Run the blade lightly along the edge for a straight cut.
- Fold excess into the back or inside edge for a finished look.
Non-obvious tip: Change blades often. A dull blade can drag and tear the paper, especially around grooves.
Reinstalling Hardware
- Carefully poke holes for screws using a pin or knife tip.
- Reinstall handles, knobs, and hinges.
- Tighten gently—over-tightening can tear the paper.
If hardware is loose after reinstalling, add a thin washer to help hold it against the new surface.
Cleaning And Maintenance After Application
Contact paper is easy to maintain if you follow these tips:
- Wipe with a damp cloth for daily cleaning.
- Avoid abrasive cleaners or scrubbers—they can scratch or peel the surface.
- For sticky spots, use a mild soap and rinse well.
Pro tip: If edges start to lift, use a small amount of clear-drying glue or double-sided tape to stick them back down.
Common Mistakes To Avoid
- Not cleaning the surface properly: Grease and dust will cause the paper to peel.
- Skipping the extra measurement for grooves: Always add extra to cover the depth.
- Rushing the application: Take your time, especially around details.
- Using cheap, thin contact paper: It tears easily and won’t last.
- Not using heat for grooves: Cold paper won’t stretch into details.
When To Consider Professional Help
If your cabinets have very deep grooves, complex moldings, or you want a perfect result for a home sale, it might be worth hiring a professional. They can often apply specialty films or even vinyl wraps that last longer than most DIY options. However, for most cabinets, careful DIY work can look just as good—and cost much less.
Estimated Time And Cost
Here’s a practical look at what you’ll need for a standard kitchen with 10 cabinet doors and 4 drawers.
| Item | Estimated Quantity | Estimated Cost |
|---|---|---|
| Contact paper (rolls) | 3-4 | $25-$60 |
| Utility knife & blades | 1 | $5-$10 |
| Squeegee/credit card | 1 | $2-$5 |
| Cleaning supplies | 1 set | $5-$10 |
| Hair dryer | 1 (on hand) | Free |
Estimated time: 2-4 hours for a small kitchen. Add extra time for first-timers or very detailed grooves.
How Long Will Contact Paper Last On Grooved Cabinets?
Quality contact paper, applied correctly, can last 2–4 years even in kitchens and bathrooms. Thicker, premium films may last longer. Key to long life:
- Clean and dry cabinets before application.
- Avoid soaking edges with water.
- Handle hardware gently.
Insider tip: In high-traffic areas, seal the edges with a clear, water-based polyurethane for even longer wear.
Removing Contact Paper In The Future
If you want to change styles or are moving out, here’s how to remove contact paper without damaging your cabinets:
- Heat the surface gently with a hair dryer.
- Peel slowly from a corner—pull at a 45-degree angle.
- For stubborn adhesive, use a cloth dampened with rubbing alcohol.
Note: Old or cheap contact paper may leave sticky residue. Use a gentle adhesive remover if needed.
Creative Ideas For Using Contact Paper On Grooved Cabinets
- Mix colors or patterns: Use wood grain on frames and solid colors inside panels.
- Add metallic accents: Use gold or silver contact paper just in the grooves for a unique look.
- Create a shaker style: Use white paper on the flat areas and a contrasting color in the grooves.
Beginner’s insight: Test your idea on a single door before doing the whole kitchen.
Where To Buy Quality Contact Paper
Find good options at:
- Home improvement stores (Lowe’s, Home Depot)
- Online retailers (Amazon, Wayfair)
- Specialty shops for peel-and-stick vinyl
Read reviews and check photos from other customers. For more details about different types and brands, visit Wikipedia.
Frequently Asked Questions
How Do I Stop Contact Paper From Peeling In The Grooves?
Press the paper firmly into the grooves using heat from a hair dryer and a flexible tool like a credit card. If edges lift, add a small amount of clear glue or double-sided tape and press again.
Can I Put Contact Paper On Painted Or Laminated Cabinets?
Yes, but the surface must be clean and dry. For glossy or laminated finishes, lightly sand to help the adhesive stick better.
Is Contact Paper Waterproof Enough For Kitchens And Bathrooms?
Most modern contact papers are water-resistant, but not fully waterproof. Wipe up spills quickly and avoid soaking edges.
How Do I Match The Contact Paper Pattern Across Multiple Doors?
Lay out your pieces before applying and line up the patterns as you go. Buy extra paper for pattern matching and start with the most visible doors.
Will Contact Paper Damage My Cabinets When Removed?
If you remove it slowly and use heat, most contact papers won’t damage wood or painted surfaces. Clean any leftover adhesive with rubbing alcohol.
Transforming your grooved cabinets with contact paper is a rewarding DIY that saves money and gives your room a fresh look. With careful prep and these expert tips, you’ll get a result that surprises even experienced renovators. Take your time, don’t rush the details, and enjoy your new space!