
Painting your kitchen cabinets with chalk paint can transform the entire look of your kitchen without spending a fortune. Many people choose chalk paint because it’s easy to use, needs less prep work, and gives a beautiful matte finish. But while the process might sound simple, there are important steps, tips, and insider tricks you should know to avoid common mistakes and achieve a professional result.
Whether you’re a complete beginner or have tried painting furniture before, this guide will help you get it right from start to finish.
Why Chalk Paint For Kitchen Cabinets?
Chalk paint has become a favorite for kitchen cabinets because of its unique finish and the fact that it sticks well to most surfaces. Unlike regular paint, chalk paint rarely needs sanding or priming. It creates a soft, velvety look that works with modern, rustic, or vintage kitchens.
But chalk paint isn’t perfect for every situation. It’s not as strong as some other paints, so sealing is a must in busy kitchens. If you want a simple, fast way to change your cabinets, and you like a matte finish, chalk paint is a strong choice.
Some advantages:
- Low preparation: Usually no need for stripping or heavy sanding.
- Fast drying: You can finish in a weekend.
- Easy touch-ups: Mistakes are simple to fix.
- Versatile finish: Can be distressed or left smooth.
But chalk paint also has some downsides, such as needing a wax or polyurethane topcoat and being less durable without it. Understanding these points helps you decide if chalk paint is right for your project.
What You’ll Need: Materials And Tools
Getting the right tools before you start can save you frustration later. Here’s a complete list of what you’ll need:
- Chalk paint (choose a trusted brand like Annie Sloan, Rust-Oleum, or Behr)
- Cleaner/degreaser (such as TSP or a vinegar-water mix)
- Screwdriver (for removing hardware and doors)
- Drop cloths or old sheets
- Painter’s tape (to protect edges and walls)
- Quality brushes (synthetic or natural bristle for chalk paint)
- Small foam roller (for flat areas)
- Sandpaper (medium and fine grits, 120 and 220 recommended)
- Tack cloth (to remove dust)
- Stir sticks
- Paint tray or plate
- Lint-free cloths
- Sealer (clear wax or polyurethane)
- Wax brush or clean cloth (for applying wax)
- Optional: Wood filler (for holes or deep scratches)
- Optional: Drill (for stubborn screws)
Pro tip: Don’t use regular wall paint brushes. Chalk paint works best with round, dense brushes or high-density foam rollers for smooth finishes.
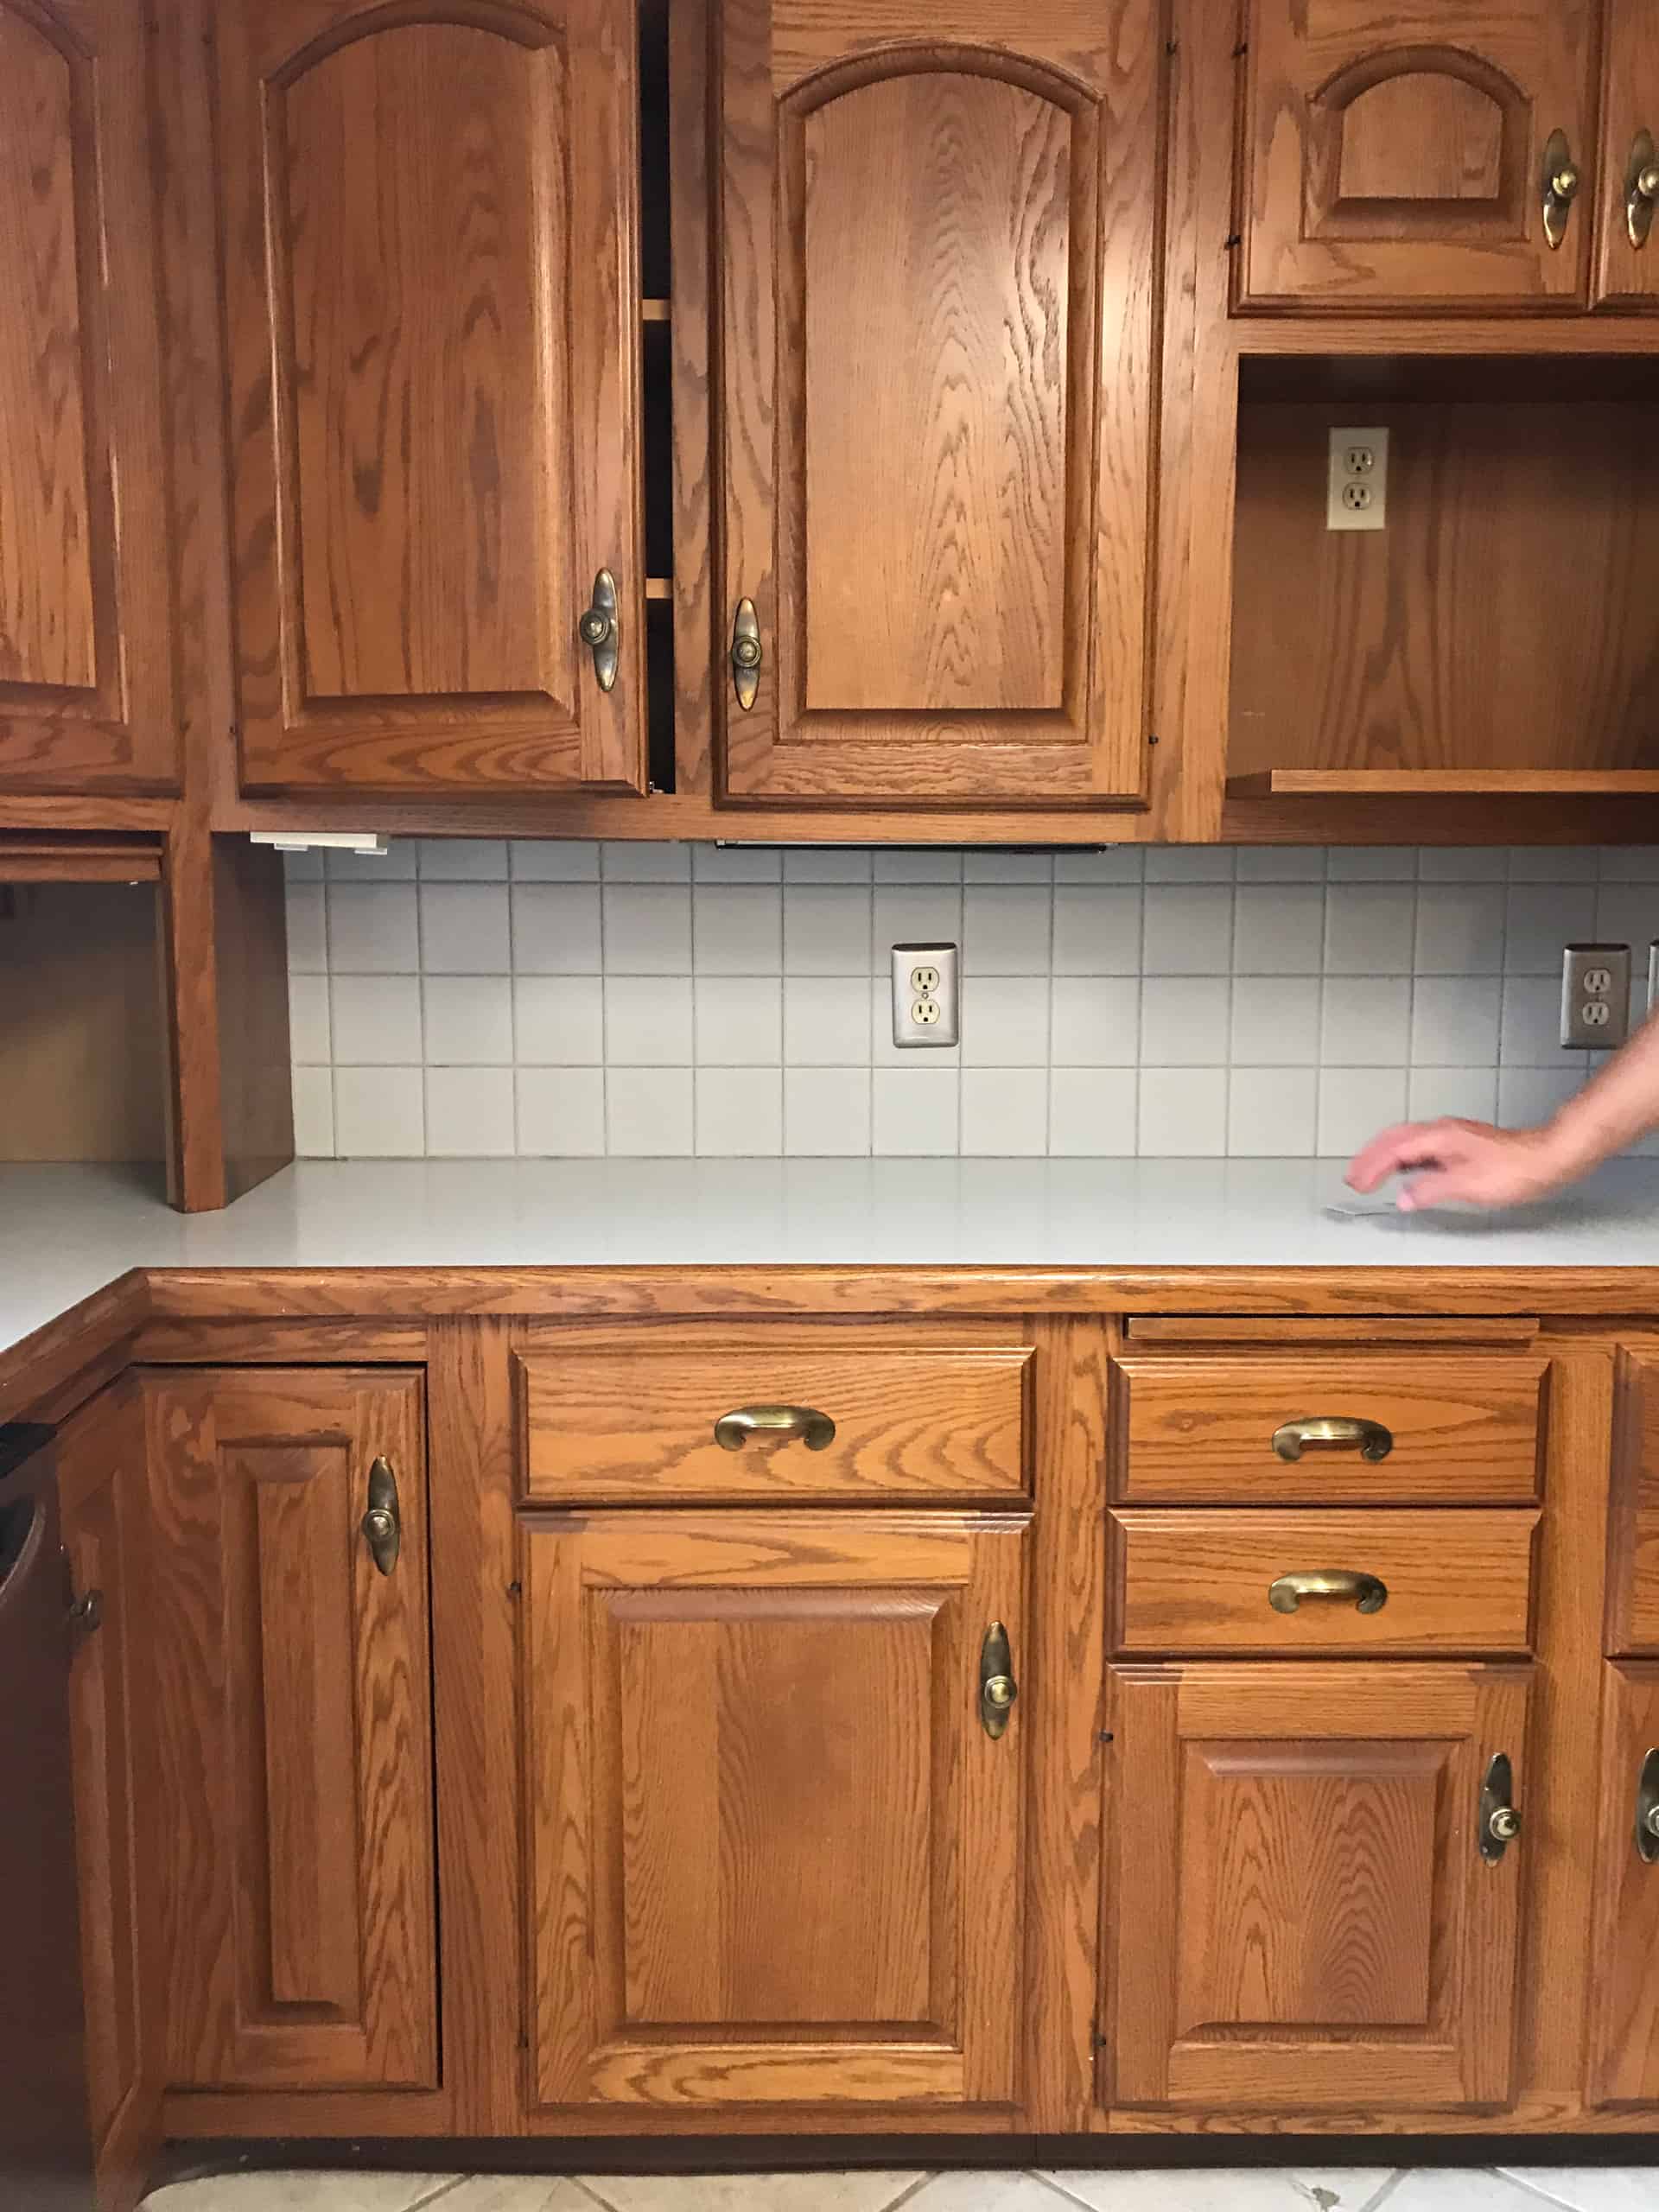
Credit: abeautifulmess.com
Planning Your Kitchen Cabinet Makeover
Before you start, spend time planning. Some beginners rush this step, but good planning saves headaches.
- Pick your color carefully. Light colors brighten small kitchens but show stains more. Dark colors hide wear but make rooms feel smaller.
- Test the paint on a small cabinet area or spare wood first.
- Decide on hardware. If you want new handles or knobs, buy them before painting, as hole sizes may differ.
- Choose your finish. Wax gives a soft sheen, while polyurethane is shinier but more durable.
Non-obvious tip: If you want to distress or layer colors, plan which areas you’ll sand back after painting. Mark these lightly with tape or chalk.
Prepping Your Cabinets: The Key To Success
The most common mistake is skipping prep work. Even though chalk paint sticks well, clean, smooth cabinets always give better results.
Step 1: Empty And Clear The Area
Remove everything from your cabinets. Take out dishes, food, and shelf liners. Protect your counters and floors with drop cloths.
Step 2: Remove Doors And Hardware
Use a screwdriver to take off doors, drawer fronts, and all handles or knobs. Label each piece with masking tape so you remember where it goes. Place screws and hardware in labeled bags.
Extra tip: Take a photo before removing hardware. It helps you put everything back in the right place.
Step 3: Clean Thoroughly
Kitchens are full of grease and grime. Even invisible oils can ruin paint’s grip. Use a degreaser like TSP or a strong vinegar-water mix. Scrub all surfaces, rinse with clean water, and let dry.
Step 4: Light Sanding
While chalk paint claims “no sanding needed,” lightly sanding helps paint stick and creates a smoother finish. Use 120–220 grit sandpaper by hand or with a sanding block. Focus on glossy, damaged, or rough spots. Wipe away dust with a tack cloth.
Step 5: Fill Holes And Repair Damage
Fill any cracks, dents, or old screw holes with wood filler. Let dry, sand flush, and dust again. This step makes a big difference in how professional your finished cabinets look.
Should You Prime Kitchen Cabinets Before Chalk Paint?
Many people wonder if priming is necessary. For most wood cabinets, chalk paint sticks without primer. But if your cabinets have stains, knots, or are very glossy (like laminate), a primer can stop bleed-through and improve adhesion.
When primer is a good idea:
- Cabinets are very dark and you want to paint them white.
- There are grease stains that didn’t wash away.
- You see lots of knots or orange/yellow spots (tannin bleed).
For most standard cabinets, you can skip primer. But for tricky surfaces, a stain-blocking primer is wise.
How To Paint Kitchen Cabinets With Chalk Paint: Step-by-step
Now comes the fun part. Follow these steps for great results.
Step 1: Stir And Test The Paint
Open your can of chalk paint and stir well. Chalk paint settles quickly, so always mix from the bottom. Test paint on a hidden spot to check color and coverage.
Step 2: Start With The Frames
Begin by painting the cabinet frames (the boxes on your walls). Use a brush to cut in corners and a small foam roller for large flat areas. Paint in thin, even coats. Don’t overload your brush or roller.
Let the first coat dry—usually 30–60 minutes, but check your paint brand’s label.
Step 3: Paint Doors And Drawers
Lay doors flat on a raised surface (like paint cans or old blocks) to avoid drips. Paint the back sides first. Once dry, flip and paint the front. This method avoids smudges.
Insider tip: For the smoothest finish, use long strokes in one direction. Avoid going back over drying paint.
Step 4: Apply A Second Coat
Most chalk paints need two coats. After the first coat is dry, lightly sand with 220-grit sandpaper for a super-smooth finish. Wipe off dust, then apply the second coat. Let dry fully.
For very dark cabinets or light paint, a third coat may be needed.
Step 5: Touch Up Details
Use a small artist’s brush for corners, edges, or missed spots. Check for drips or thick lines before sealing.
Step 6: Distressing (optional)
If you want a “shabby chic” look, gently sand edges, corners, and raised details with fine sandpaper. Do this before sealing.
Caution: Distress lightly. It’s easier to remove more paint than fix over-sanded spots.
Sealing Your Chalk Paint Cabinets
Chalk paint is very porous and easily stains if left unsealed. Most brands recommend wax or polyurethane as a topcoat.
Wax Finish
Wax gives a soft, natural look and protects from light stains. Use a wax brush or soft cloth to rub wax in circles, covering all painted areas. Buff with a clean cloth after 10–15 minutes.
- Pros: Traditional look, easy to re-wax
- Cons: Needs re-waxing every 6–12 months, less water-resistant
Polyurethane (or Polycrylic) Finish
A water-based polyurethane or polycrylic topcoat is tougher. Use a good synthetic brush or foam roller. Apply in thin coats, letting each dry before the next. Two to three coats are recommended for kitchens.
- Pros: More durable, resists water and stains, low maintenance
- Cons: Slightly more visible finish, can yellow white paint if oil-based (use water-based only)
Comparison: Wax Vs. Polyurethane
Here’s a quick look at the differences:
| Feature | Wax | Polyurethane |
|---|---|---|
| Appearance | Soft matte, velvety | Matte to satin, less “chalky” |
| Durability | Medium | High |
| Water Resistance | Low–medium | High |
| Maintenance | Needs re-waxing | Easy to clean |
| Application | Buff with cloth/brush | Brush or roll on |
Expert advice: For kitchens with lots of cooking or small children, polyurethane gives longer-lasting protection.
Reassembling And Curing
Wait at least 24 hours after sealing before reattaching doors and hardware. For wax, avoid heavy use for 7–14 days while it cures. For polyurethane, check the can—full hardness may take up to a week.
Reinstall doors, drawers, and hardware. Remove painter’s tape slowly to avoid peeling paint. Put everything back in its original spot, using your labels and photos for reference.
Non-obvious insight: Leave cabinet doors slightly open for a day or two after curing to avoid sticking.
How Long Does It Take To Paint Kitchen Cabinets With Chalk Paint?
Most projects take 2–3 days:
- Day 1: Remove hardware, clean, sand, and fill holes.
- Day 2: Paint first and second coats.
- Day 3: Seal, reassemble, and begin curing.
If you have a large kitchen or want multiple coats or colors, add an extra day.
Cleaning And Maintenance After Painting
Chalk-painted cabinets are easy to clean, but avoid harsh cleaners. Use a damp cloth with mild soap. For waxed cabinets, avoid too much water. Polyurethane-sealed cabinets can handle stronger cleaners, but avoid scrubbing.
Pro tip: Touch up chips with a small brush and leftover paint. Wax or seal again if needed.
Common Mistakes (and How To Avoid Them)
Many beginners make the same errors. Here’s how to avoid them:
- Not cleaning enough: Grease prevents paint from sticking. Clean twice if needed.
- Skipping light sanding: Even for chalk paint, a quick sand helps smoothness and adhesion.
- Painting too thick: Thin coats dry better and don’t peel.
- Forgetting to seal: Unsealed chalk paint stains and scratches easily.
- Rushing the process: Let coats dry fully for a lasting finish.
- Not labeling hardware: Makes reassembly a nightmare.
- Using the wrong brush: Cheap brushes leave marks and bristles.
Realistic Expectations: What Chalk Paint Can And Can’t Do
Chalk paint can hide small imperfections and change your kitchen’s style. But it’s not magic. Deep damage or peeling laminate needs repair before painting. Chalk paint gives a matte, soft look—not a factory-smooth finish.
If you want a flawless, glossy look, consider professional spraying or a different paint. But for charm, speed, and flexibility, chalk paint is hard to beat.
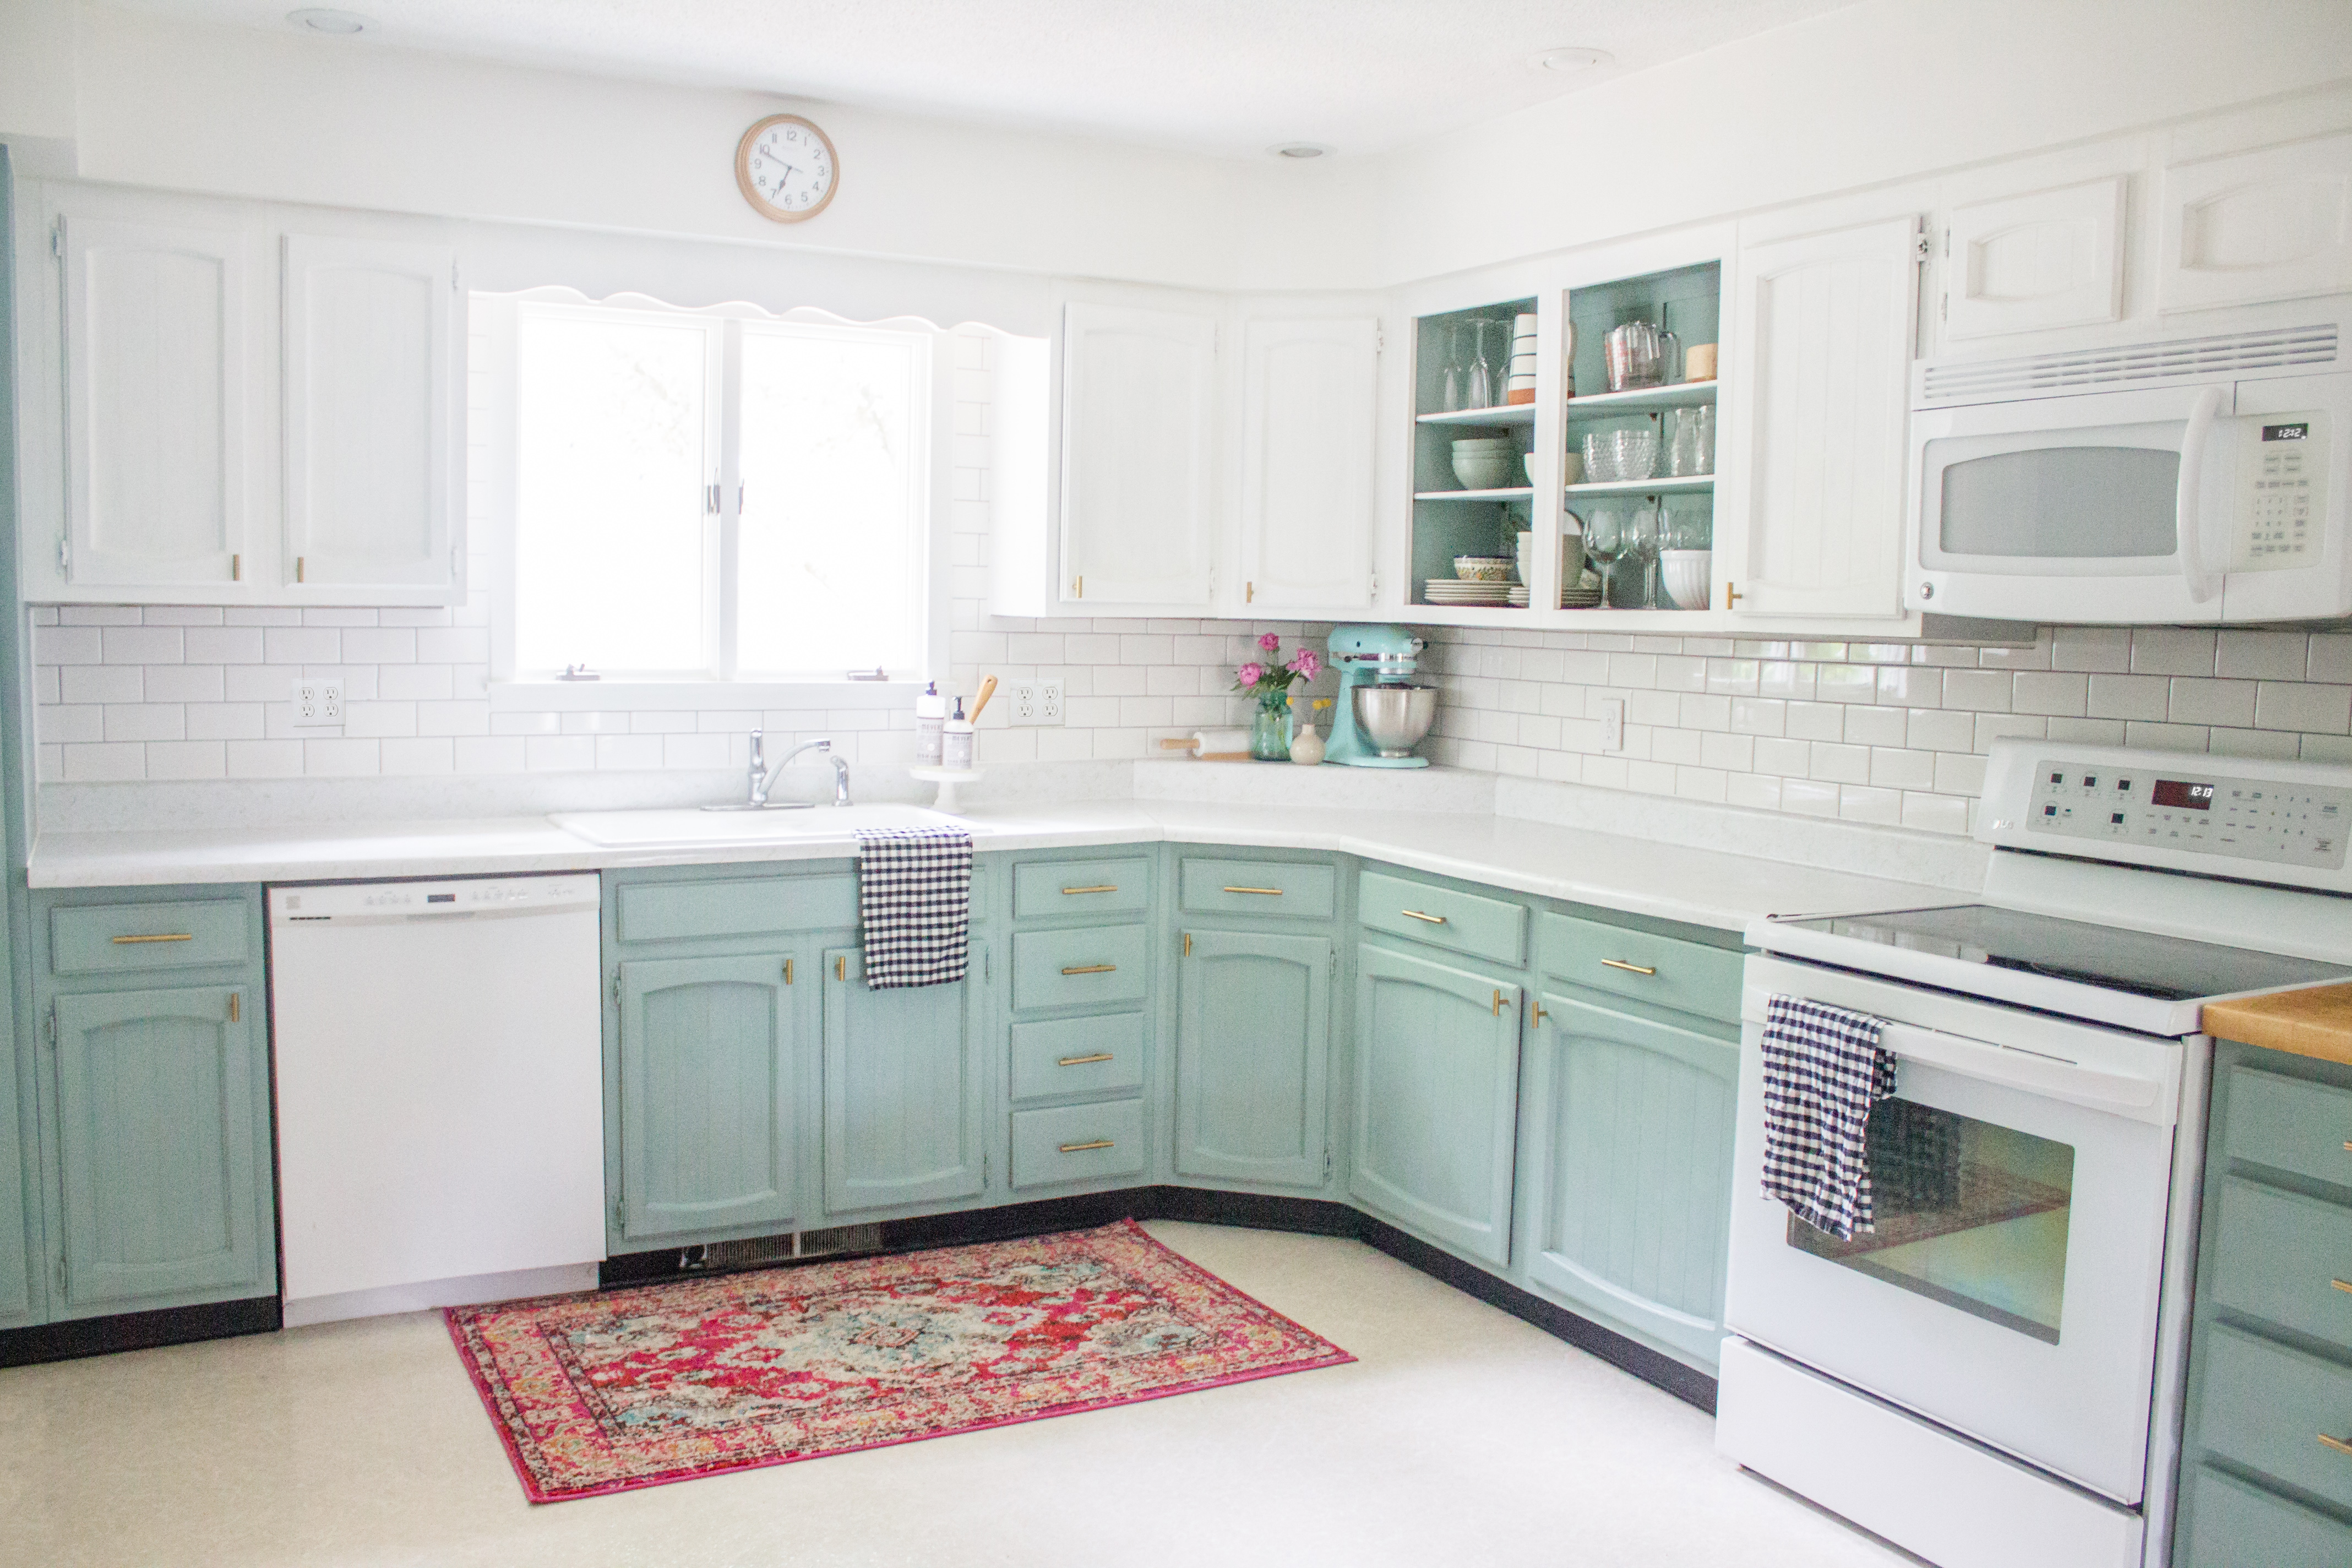
Credit: hollandavenuehome.com
Comparing Chalk Paint To Other Cabinet Paints
Still not sure if chalk paint is right for you? Here’s how it compares to other popular cabinet paints.
| Feature | Chalk Paint | Acrylic/Latex | Oil-Based |
|---|---|---|---|
| Prep Needed | Low | Medium | High |
| Dry Time | Fast | Medium | Slow |
| Finish | Matte | Satin/Semi-gloss | Glossy |
| Durability | Medium (needs seal) | High | Very high |
| Odor | Low | Low | High |
| Touch-up Ease | Easy | Medium | Difficult |
How Much Does It Cost To Paint Kitchen Cabinets With Chalk Paint?
Chalk paint is often cheaper than replacing cabinets, but costs vary. Here’s a breakdown:
- Chalk paint: $30–$45 per quart (covers ~150 sq ft)
- Sealer (wax/poly): $20–$40 per can
- Brushes/rollers: $10–$30
- Cleaner, sandpaper, tape, etc. : $15–$25
For a medium kitchen (10–15 cabinets), expect to spend $100–$200 on materials. Hiring a pro can cost $1,000–$3,000, so DIY is a big saving.
Insider tip: Don’t buy cheap brushes or paint. Quality tools make a big difference in the final look.
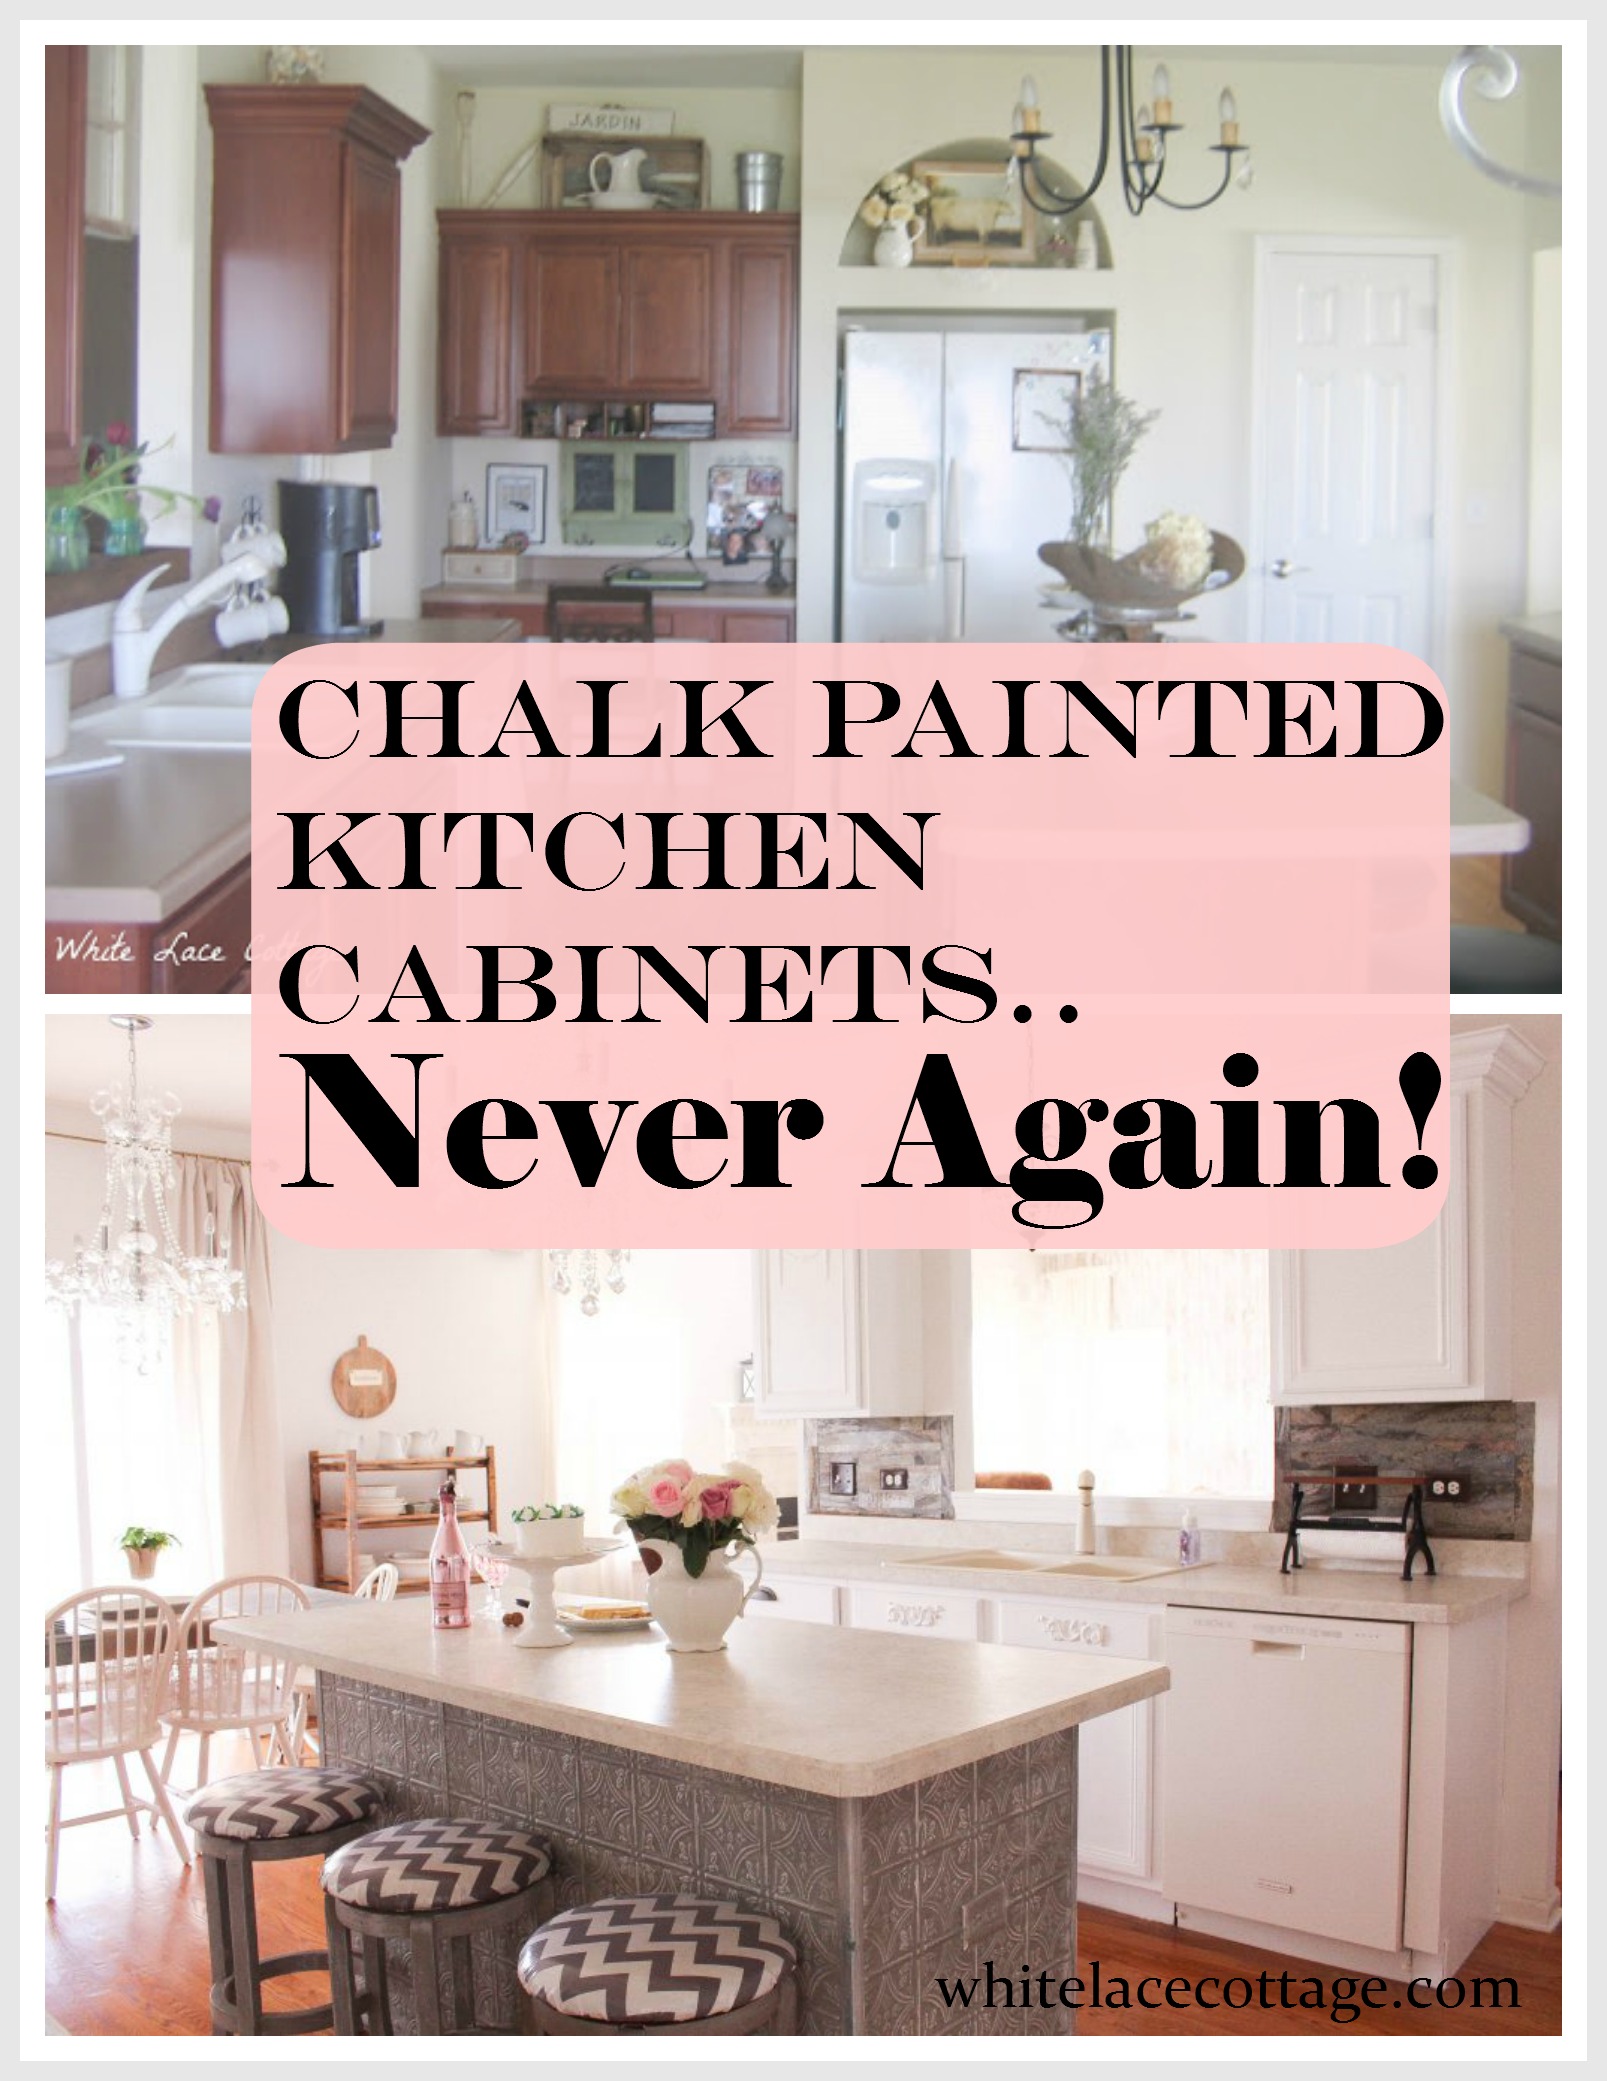
Credit: www.whitelacecottage.com
Tips For A Professional Finish
- Work in good light so you can see missed spots.
- Remove dust between coats using a tack cloth.
- Paint in thin layers for a smoother finish.
- Don’t skip the sealer—it’s what protects all your hard work.
- Let everything cure before heavy use.
Popular Chalk Paint Brands For Kitchen Cabinets
Some brands are more popular for cabinets because of coverage and durability.
- Annie Sloan Chalk Paint – The original and most famous. Thick, covers well, many colors.
- Rust-Oleum Chalked – Widely available, affordable, good for beginners.
- Behr Chalk Decorative Paint – Sold at Home Depot, smooth finish, many shades.
- Dixie Belle Chalk Mineral Paint – Great color range, self-leveling.
- FolkArt Home Decor Chalk Paint – Smaller jars, good for small kitchens.
Check the label for food safety and ventilation recommendations.
External resource: For more on chalk paint’s history and chemistry, see Wikipedia.
Sample Project Timeline
To help you plan, here’s a sample project schedule for a standard kitchen:
| Time | Task |
|---|---|
| Day 1, Morning | Remove hardware, clean, sand, fill holes |
| Day 1, Afternoon | First coat on frames, doors, drawers |
| Day 2, Morning | Light sanding, wipe dust, second coat |
| Day 2, Afternoon | Touch up, optional distressing, begin sealing |
| Day 3 | Second sealer coat, reassemble, curing |
Allow extra time for larger kitchens or humid weather.
Frequently Asked Questions
How Long Does Chalk Paint Last On Kitchen Cabinets?
With the right sealer, chalk paint can last 3–5 years on kitchen cabinets before needing touch-ups. Waxed cabinets may need re-waxing every year, while polyurethane-sealed cabinets last longer. Regular gentle cleaning helps extend their life.
Can You Use Chalk Paint On Laminate Cabinets?
Yes, but you should clean, sand, and prime laminate cabinets before using chalk paint. Laminate is very smooth, so primer helps the paint stick better and prevents peeling.
Is Chalk Paint Safe For Kitchens?
Most modern chalk paints are low VOC and safe for indoor use. Always check the label. Use good ventilation while painting and sealing. Avoid painting cabinets next to food or cookware until the paint is fully cured.
Can I Paint Kitchen Cabinets Without Removing The Doors?
You can, but removing doors gives a smoother, neater result. If you paint doors in place, use painter’s tape to protect hinges and edges, and work carefully to avoid drips. Painting doors flat prevents runs.
What’s The Difference Between Chalk Paint And Regular Paint For Cabinets?
Chalk paint is matte, needs less prep, and is easier to distress or touch up. Regular cabinet paint is glossier, tougher, and needs more prep work but offers a smoother finish and more color options.
Painting your kitchen cabinets with chalk paint is a smart way to refresh your space on a budget. With careful prep, the right tools, and patient steps, you’ll get beautiful, long-lasting results that make your kitchen feel brand new.