
Giving your kitchen cabinets a fresh look doesn’t always mean a full remodel. Often, a simple touch up can make cabinets look almost new again. Over time, cabinets collect scratches, chips, and faded spots, especially in busy kitchens. Maybe you notice water stains near the sink or faded paint by the stove. The good news? You don’t need to be a professional to handle these small repairs. With the right approach, you can restore your cabinets’ beauty and protect them for years to come.
This guide will help you understand every step to touch up kitchen cabinets effectively, whether they are wood, laminate, or painted. You’ll learn how to assess damage, pick the right products, and apply techniques that give a consistent finish. Along the way, you’ll also find common mistakes to avoid, insider tips, and comparison tables to help you select the best methods and materials. Let’s get started on making your cabinets look their best without breaking the bank or your back.
Why Cabinets Need Touching Up
Kitchen cabinets face a lot of daily use. Doors are opened and closed hundreds of times. Grease, steam, and sunlight slowly wear down finishes. Even careful homeowners notice small chips or scratches after a few years. Here are the most common reasons cabinets need touch-ups:
- Scratches and Nicks: Caused by rings, utensils, or moving pots and pans.
- Chips and Dents: Often near handles, corners, or the base.
- Water Damage: Usually found under the sink or near the dishwasher.
- Fading and Discoloration: Sunlight or cleaning products can fade paint and stain.
- Peeling or Bubbled Finish: Poor ventilation or moisture can cause this.
Ignoring these problems allows them to get worse. Small chips can become large cracks. Water stains can lead to mold or swelling. Touching up cabinets not only improves appearance but also protects the wood or material underneath.
Assessing Cabinet Condition
Before you start, take time to examine every cabinet surface. Good results come from knowing exactly what you’re dealing with.
- Look for Damage: Check all sides, edges, and corners. Use a flashlight for dark areas.
- Identify Material: Are your cabinets solid wood, wood veneer, laminate, or painted MDF? Each requires a different approach.
- Check for Loose Hardware: Handles and hinges may need tightening or replacement.
- Test Existing Finish: Rub a small spot with a damp cloth. If color comes off, the finish is weak and may need more than a touch up.
Insider tip: Create a list of all visible damage. Mark spots with painter’s tape so you don’t miss any during repairs.
Gathering Tools And Materials
The right tools make touch ups easier and more professional. Here’s what you’ll need for most projects:
- Mild cleaner (dish soap or gentle degreaser)
- Soft cloths and sponges
- Fine-grit sandpaper (220-320 grit)
- Tack cloth
- Wood filler or putty
- Putty knife
- Matching touch-up marker or crayon
- Stain or paint (matching your cabinet color)
- Small artist’s brushes
- Clear finish (polyurethane or lacquer for sealing)
- Painter’s tape
- Screwdriver (for removing hardware)
- Gloves and mask (for safety)
Non-obvious insight: Many hardware stores offer touch-up kits made for specific cabinet brands or finishes. These can save time searching for the right color match.
Cleaning Cabinets Before Touch Up
Never touch up dirty cabinets. Dirt, oil, and grease will prevent new finishes from sticking. Here’s how to clean cabinets properly:
- Mix a few drops of dish soap in warm water.
- Dampen a soft cloth or sponge (don’t soak).
- Wipe cabinet surfaces, focusing on corners and handles.
- Rinse with clean water and a separate cloth.
- Dry with a towel.
For stubborn grease, use a mix of vinegar and water (1:1 ratio) or a kitchen degreaser. Always test in a hidden spot first.
Key tip: Wait at least 1 hour for cabinets to dry completely before sanding or applying any product.
Choosing The Right Touch-up Products
Picking the correct product depends on your cabinet type and color. Here’s a quick comparison:
| Cabinet Type | Best Touch-Up Product | Notes |
|---|---|---|
| Stained wood | Wood stain marker, filler, clear finish | Match stain carefully |
| Painted wood/MDF | Touch-up paint, wood filler | Use original paint if possible |
| Laminate | Laminate repair paste, paint pen | Surface only; avoid heavy sanding |
| Veneer | Stain or paint marker, filler | Be gentle; veneer is thin |
Non-obvious insight: If you can’t find an exact color, mix two colors on a test board until you match your cabinet shade. Test in an inside corner before using on visible surfaces.
Fixing Scratches And Small Nicks
Even small scratches can make cabinets look worn. Here’s how to repair them:
For Light Scratches
- Use a touch-up marker or crayon that matches your cabinet color.
- Apply gently along the scratch.
- Buff with a clean cloth to blend.
- For extra shine, add a bit of clear finish after drying.
For Deeper Scratches
- Lightly sand the scratch with fine-grit sandpaper.
- Wipe away dust with a tack cloth.
- Fill the scratch with a matching wood filler.
- Let dry completely (check product instructions).
- Sand the area smooth.
- Touch up with stain or paint, then seal with a clear finish.
Example: For a dark brown cabinet, use a matching wood filler and a walnut-colored marker.
Repairing Chips And Dents
Chips and dents often appear near corners or where doors hit frames.
- Clean the damaged area.
- Use a putty knife to apply wood filler or repair paste. Overfill slightly.
- Let it dry as directed.
- Sand smooth with fine-grit sandpaper.
- Remove dust with a tack cloth.
- Touch up with matching paint or stain.
- Seal with a clear coat if needed.
If your cabinet has a textured surface, use a grain tool (available at hardware stores) to recreate the wood pattern before painting.
Restoring Faded Or Discolored Areas
Sunlight or strong cleaners can cause fading. These areas need special attention.
- Lightly sand the faded area to remove loose finish.
- Clean off dust.
- Apply a thin layer of matching stain or paint with a small brush.
- Blend edges to avoid hard lines.
- Let dry, then apply a second coat if needed.
- Finish with a clear topcoat for protection.
Pro tip: For painted cabinets, feather the new paint into the old area using a dry brush for a seamless look.
Dealing With Water Damage
Water stains or swelling are common under sinks. Here’s how to repair them:
- Dry the area fully (use a hairdryer if needed).
- Sand the surface lightly to remove raised fibers or stains.
- Fill any cracks or holes with wood filler.
- Sand smooth after the filler dries.
- Paint or stain to match the rest of the cabinet.
- Add a clear waterproof sealer for extra protection.
If you notice swelling or mold, check for plumbing leaks before repairing.
Fixing Peeling Or Bubbled Finish
Peeling happens when moisture gets under the finish or if the original application was weak.
- Gently scrape away loose finish with a putty knife.
- Sand the area until smooth.
- Wipe clean.
- Apply new finish (paint or stain) in thin layers.
- Let each coat dry before adding another.
- Seal with a clear topcoat.
Important: Don’t rush drying time—this prevents future peeling.
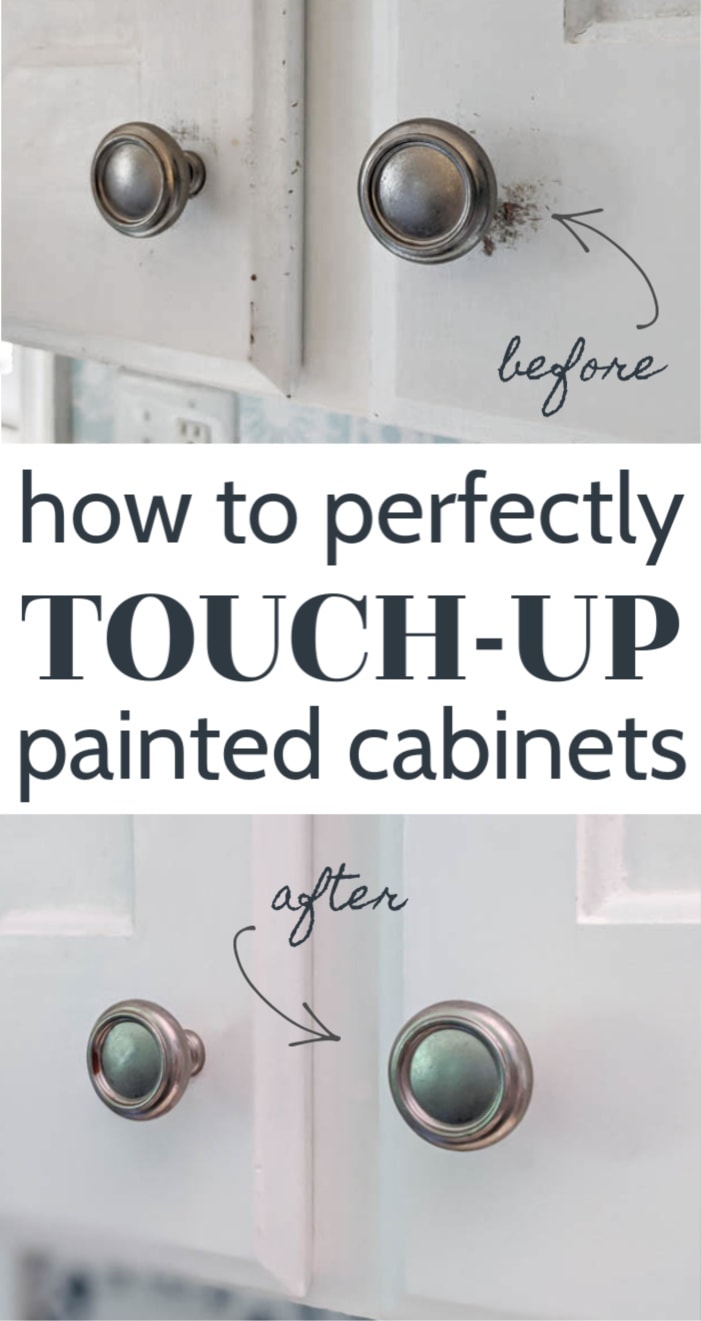
Touching Up Painted Cabinets
Painted cabinets are popular for their color options, but chips and scratches show easily.
- Lightly sand damaged spots.
- Clean away dust.
- Fill any gouges with putty and let dry.
- Sand the filled areas.
- Use a small brush to apply matching paint. Blend edges with a slightly damp brush.
- Allow to dry fully before using.
Tip: Save leftover paint from your original project for future touch-ups. If you don’t have extra, take a cabinet door to the paint store for color matching.
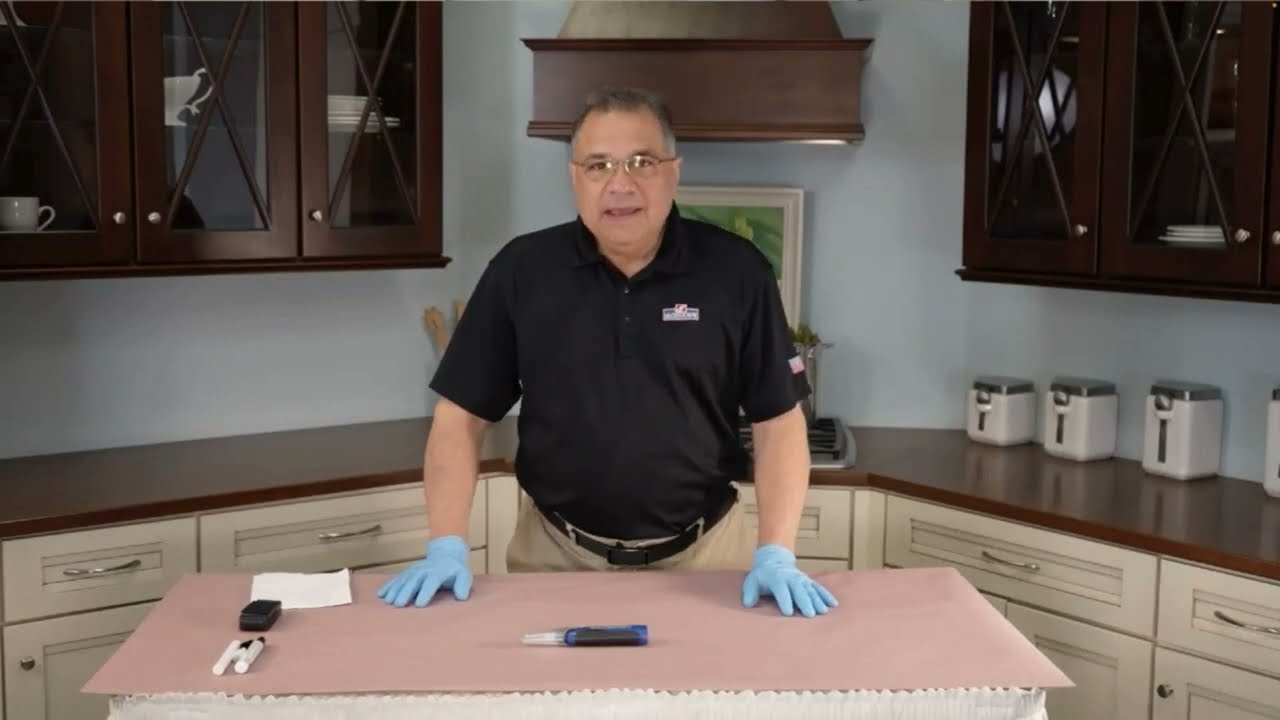
Touching Up Stained Wood Cabinets
Stained cabinets require a bit more care for a natural look.
- Sand the damaged area lightly.
- Apply matching wood filler for deep scratches or chips.
- When dry, sand smooth.
- Use a stain marker or brush to apply stain. Wipe off excess.
- Repeat to deepen color if necessary.
- Finish with a clear topcoat.
Example: Maple cabinets often use a light golden stain. Test the stain on a hidden spot to check color.
Credit: www.kraftmaid.com
Laminate And Veneer Cabinet Repairs
Laminate and veneer surfaces can’t be sanded much, so repairs are mostly on the surface.
- Clean the area well.
- Use a laminate repair paste or putty for chips.
- Smooth with a putty knife.
- Use a paint pen or marker for color touch-up.
- Avoid heavy sanding; it can damage the surface.
For peeling laminate edges, apply wood glue, press down, and clamp until dry.
Blending And Finishing For A Seamless Look
A good touch-up is invisible. Here’s how to blend repairs:
- Always feather new paint or stain into old areas.
- Use a dry brush or sponge to soften edges.
- For stains, start with a light coat and build up. It’s easier to darken than lighten.
- Apply a clear finish over the touched-up area to match the cabinet’s sheen.
Expert advice: Take photos in different lighting to check if repairs are visible. Adjust color as needed before sealing.
Protecting Touch-up Work
After repairs, protect your cabinets to make the touch-up last.
- Avoid harsh cleaners. Use mild soap and water only.
- Add felt pads behind doors to prevent new chips.
- Check for leaks or drips under sinks.
- Reapply clear finish every few years to maintain protection.
Common Mistakes To Avoid
Many beginners make simple errors that ruin their hard work. Here are mistakes to watch out for:
- Skipping cleaning: Paint and filler won’t stick to greasy surfaces.
- Using the wrong color: Test colors in hidden spots before applying.
- Rushing drying times: Wait for each coat to dry fully.
- Over-sanding: Especially dangerous for veneer and laminate.
- Forgetting to seal: Unsealed repairs wear away quickly.

Credit: www.exquisitelyunremarkable.com
Cost Comparison: Diy Vs. Professional Touch-up
How much can you save by doing it yourself? Here’s a quick comparison:
| Task | DIY Cost (Approx.) | Professional Cost (Approx.) |
|---|---|---|
| Small touch-up kit | $15 – $40 | N/A |
| Full cabinet touch-up | $50 – $100 | $300 – $600 |
| Painting cabinets | $100 – $200 | $1,000 – $3,000 |
Key point: DIY touch-up is much cheaper, but large repairs or color changes may require a professional for best results.
Maintaining Touched-up Cabinets
After your cabinets look fresh, keep them that way with simple habits:
- Clean spills quickly to avoid stains.
- Use gentle cleaners; avoid bleach or ammonia.
- Open windows or use a vent when cooking to reduce grease build-up.
- Check for loose hinges or handles every few months.
- Store a touch-up kit for small future repairs.
When To Call A Professional
Some damage is too serious for DIY fixes. Call a pro if you notice:
- Large water damage or swelling
- Deep cracks or splitting wood
- Loose or sagging cabinet frames
- Peeling over large areas
Professionals have tools and skills for big jobs. For most small issues, though, you’ll save money and get good results doing it yourself.
Step-by-step Example: Touching Up A Typical Cabinet Door
Let’s walk through a real-world example to make the process clear.
- Identify Damage: Small chip near the handle and a light scratch below.
- Clean Area: Wipe with mild soap and water. Let dry.
- Repair Chip: Fill with wood putty using a putty knife. Let dry.
- Sand Lightly: Use 220-grit sandpaper for smoothness.
- Touch Up Scratch: Use a matching stain marker to color the scratch.
- Paint Over Putty: Use a small brush and matching paint for the chip.
- Blend Edges: Gently feather paint and stain for a seamless look.
- Seal Repair: Apply a clear finish over the repaired spots.
- Let Dry: Wait 24 hours before using the door.
By following these steps, your cabinet door should look almost new again.
Where To Find Touch-up Products
You can buy most supplies at hardware stores, home improvement centers, or online. Some popular options are:
- Home Depot
- Lowe’s
- Amazon
- Local paint stores
For tough color matches, ask for custom mixing at a paint store. Many brands also sell touch-up kits for their cabinet lines.
Environmental And Safety Tips
Touch-up work is usually safe, but a few simple steps keep your home healthy:
- Always work in a well-ventilated area.
- Wear gloves and a mask when sanding or using chemicals.
- Dispose of rags and brushes safely—oil-based products can self-ignite if left in a pile.
- Store leftover products in sealed containers away from heat.
Summary Table: Cabinet Touch-up Methods
For a quick reference, here’s a summary of methods and best uses:
| Problem | Best Solution | Key Product |
|---|---|---|
| Light scratches | Touch-up marker | Color-matched marker or crayon |
| Deep nicks/chips | Wood filler + paint/stain | Putty, artist’s brush |
| Water stains | Sand, fill, seal | Filler, waterproof sealant |
| Peeling finish | Remove and reapply finish | Putty knife, clear topcoat |
| Laminate damage | Repair paste, paint pen | Laminate repair kit |
Frequently Asked Questions
How Do I Match The Color Of My Cabinet For Touch-up?
Matching cabinet color is often the hardest part. Start by checking for leftover paint or stain from your original project. If you don’t have any, take a cabinet door or drawer to a paint store for a custom match. Many stores use color scanners to create an exact shade.
For wood stains, test different options on a hidden area until you find the right one.
Can I Touch Up Laminate Cabinets, Or Do I Need To Replace Them?
You can touch up laminate cabinets if the damage is small (like chips or scratches). Use a laminate repair paste or a paint pen matched to your cabinet color. Avoid sanding, as it can damage the surface. If large areas are peeling or swollen, replacement may be the best option.
What Is The Fastest Way To Fix Cabinet Scratches?
The fastest way is to use a touch-up marker or crayon. Clean the scratch, then run the marker along it. Buff with a cloth to blend. This works best for shallow scratches and takes just a few minutes.
How Long Should I Wait Before Using Cabinets After Touch-up?
Drying time depends on the product used. Most touch-up paints and fillers dry in 1–2 hours, but it’s best to wait 24 hours before heavy use or cleaning. Check the label for exact times. If you applied a clear finish, give it extra time to cure for full durability.
Where Can I Find More Information On Cabinet Care And Repair?
For more detailed information, check resources like Family Handyman. They offer step-by-step guides, videos, and expert tips for all levels of DIY cabinet repair.
Giving your kitchen cabinets a touch-up is a smart way to keep your kitchen looking fresh and inviting. With a little effort and the right approach, you can extend the life of your cabinets and enjoy a space that feels new again—without the cost or hassle of a full remodel.
Credit: www.lovelyetc.com