Wrapping a cutting board might sound simple, but doing it well can make a big difference. Whether you want to protect your board, keep food safe, or create a clean surface for special tasks, knowing the right techniques is important.
Many people think it’s just a quick step, but there’s more to it if you want the best results every time. In this guide, you’ll learn everything about how to wrap a cutting board—why it matters, what materials to use, and how to do it for different needs.
You’ll also see some tips most beginners miss, and get clear advice for every situation.
Why Wrap A Cutting Board?
Cutting boards are used every day in kitchens around the world. But not everyone wraps their board. So, why should you?
First, wrapping a cutting board can add a layer of protection. If you use a wooden board, wrapping stops juices from soaking into the wood, which helps prevent bacteria. For plastic boards, wrapping can give a fresh, clean surface without stains.
Second, wrapping helps with food safety. If you need to cut raw meat and then switch to vegetables, wrapping your board keeps things separate. It’s easier to change the wrap than to clean and sanitize the entire board each time.
Third, wrapping is helpful for special diets or food allergies. If someone in your family can’t eat gluten, for example, you can wrap your board before slicing bread and avoid cross-contamination.
Finally, wrapping can extend the life of your cutting board. By reducing stains, smells, and water damage, your board will last longer and stay looking new.
Types Of Wrapping Materials
Different materials can be used to wrap a cutting board. Each has its own benefits and drawbacks. Let’s look at the most common options.
1. Plastic Wrap
Plastic wrap is a popular choice because it’s cheap and easy to find. It sticks to the board well and gives a smooth surface. But it’s not very eco-friendly, and it can tear if you cut with a sharp knife.
2. Parchment Paper
Parchment paper is non-stick and heat-resistant. It’s great for baking, but also works for wrapping boards. It protects against juices and keeps food from sticking, but it doesn’t seal as tightly as plastic wrap.
3. Aluminum Foil
Aluminum foil is strong and flexible. It holds up well under sharp knives and is good for protecting wooden boards. However, it can leave small bits of metal if you cut too hard, and it’s not always the best for raw meats.
4. Silicone Mats
Silicone mats are reusable and easy to clean. They provide a non-slip surface, which helps with safety. The downside is that they can be expensive and take up more space.
5. Disposable Cutting Board Sheets
These are thin, single-use sheets made for cutting boards. They are very hygienic and easy to throw away after use. However, they create more waste and can move around if not secured well.
6. Beeswax Wraps
Beeswax wraps are reusable and eco-friendly. They are made from cotton fabric coated with beeswax. They work best for dry foods, but not for raw meat or juicy items.
7. Freezer Paper
Freezer paper is thick and has a plastic coating on one side. It’s good for wrapping when you need extra strength, such as for large cuts of meat. It’s not as flexible as other options, but it gives strong protection.
Material Comparison
To help you choose, here’s a comparison of the most popular wrapping materials.
| Material | Reusable | Best For | Weakness |
|---|---|---|---|
| Plastic Wrap | No | General use, quick tasks | Not eco-friendly, tears easily |
| Parchment Paper | No | Baking, sticky foods | Loose fit, not waterproof |
| Aluminum Foil | No | Sharp knives, strong protection | Leaves bits, can dull knives |
| Silicone Mat | Yes | Reusable, food safety | Expensive, bulky |
| Disposable Sheets | No | Food allergies, hygiene | Moves, wasteful |
| Beeswax Wrap | Yes | Eco-friendly, dry foods | Not for raw meat |
| Freezer Paper | No | Strong protection, meats | Stiff, not flexible |
When Should You Wrap A Cutting Board?
You don’t need to wrap your board every time you cook. But some situations really benefit from it.
- Cutting raw meat or fish: Wrapping prevents juices from soaking in.
- Baking or working with sticky dough: Easier cleanup and less sticking.
- Chopping foods for someone with allergies: Avoid cross-contact.
- Preparing different foods for a party or event: Quick change between tasks.
- Using a shared kitchen: Personal wrap for hygiene.
Knowing when to wrap can save you time and keep your kitchen safer.
Step-by-step: How To Wrap A Cutting Board
Now, let’s walk through how to wrap your cutting board. The process is simple, but a few tips can make a big difference.
Step 1: Clean And Dry Your Cutting Board
Always start with a clean, dry surface. Wash your board with soap and water, then dry it fully. If you wrap a wet board, moisture gets trapped and can cause bacteria or mold.
Step 2: Choose Your Wrapping Material
Pick the right material for your task. For raw chicken, use something waterproof like plastic wrap or freezer paper. For bread, parchment paper is good. If you want to go green, try a silicone mat or beeswax wrap.
Step 3: Cut The Wrapping To Size
Lay out your material and place the cutting board on top. Cut enough to cover the whole surface, with a little extra on each side. For larger boards, you might need to overlap pieces.
Step 4: Wrap The Board
Place the material flat on the counter. Put the board in the center. Fold the edges up and around the board, smoothing out any wrinkles. For plastic wrap or foil, press tightly so it sticks.
If you use parchment or freezer paper, tape the edges under the board or use clips to hold it.
Step 5: Secure The Wrap
Make sure the wrap won’t move while you cut. You can use small pieces of tape on the bottom, or use rubber bands at the ends. For silicone mats, just lay them flat—they won’t move.
Step 6: Check The Surface
Run your hand over the top. The surface should be smooth and tight, with no bumps or gaps. If the wrap is loose, fix it now.
Step 7: Start Cutting
Now you’re ready to use your cutting board. Cut as usual, but don’t press too hard if you use thin wrap like plastic or paper.
Step 8: Clean Up
After you finish, remove the wrap. Throw it away (or wash and reuse, if using silicone or beeswax). Wash your board if needed, especially if juices leaked underneath.
Wrapping For Special Needs
Some tasks need special care. Here’s how to wrap a cutting board for different needs.
For Raw Meat And Fish
Wrap with a waterproof material, like plastic wrap or foil. Make sure the wrap goes over the edges, so juices don’t touch the board.
For Food Allergies
Use disposable sheets or a clean silicone mat. Never reuse the wrap for a different food. Clean the board well before and after.
For Bread And Pastries
Use parchment paper. It stops dough from sticking and makes it easy to lift and move your bread.
For Grilling Or Outdoor Use
Aluminum foil is best for outdoor tasks. It stands up to rough use and keeps the board safe from dirt.
For Eco-friendly Kitchens
Try a silicone mat or beeswax wrap. They’re reusable, so you create less waste.
Practical Tips Most Beginners Miss
Even with clear steps, many people forget some small but important things.
- Don’t wrap a wet board. Moisture under the wrap leads to bacteria and smells.
- Trim excess wrap. Too much wrap hanging off the sides gets in the way and can catch your knife.
- Press out air bubbles. Bubbles make cutting uneven and can cause the wrap to tear.
- Use food-safe tape. If you need to secure the wrap, use tape made for food, not regular office tape.
- Label for allergies. If you’re using multiple wraps for allergy safety, write the food type on the wrap.
- Replace wrap after heavy use. If the wrap tears or gets too wet, change it before cutting more.
- Store wrapped boards upright. This helps air flow and prevents moisture build-up.
Common Mistakes To Avoid
Many people make the same errors when wrapping cutting boards. Here are some to watch out for:
- Using too thin material: It tears easily and doesn’t protect well.
- Not securing the wrap: If the wrap moves, it’s unsafe and annoying.
- Reusing dirty wrap: This spreads germs, especially with raw foods.
- Forgetting to clean the board first: Dirt and smells get trapped under the wrap.
- Overlapping different wraps: Mixed materials can slip and don’t stay tight.
How Wrapping Affects Food Safety
Keeping your kitchen safe is more than just using clean tools. Wrapping your board adds a barrier that stops germs from spreading. For example, the Centers for Disease Control (CDC) reports that cross-contamination is a leading cause of foodborne illness. By wrapping your cutting board for risky foods, you lower this risk.
Some materials, like plastic wrap, are more effective at blocking bacteria. But they also need to be changed often. Reusable wraps, like silicone mats, need to be washed well between uses.
A key detail: Never use the same wrap for raw meat and other foods. This is one mistake even experienced cooks make. Always change the wrap when you switch food types.
Wrapping Boards For Professional Kitchens
In restaurants and catering, wrapping boards is sometimes required by health codes. Chefs often use color-coded wraps or mats to keep different foods separate. This system makes it easy to avoid mistakes, especially in busy kitchens.
If you work in a professional kitchen, check your local rules. Some places require new wrap for each task. Others allow reusable mats if they’re cleaned after each use.
Color coding can also help at home. For example, use red wrap for raw meat, green for vegetables, and blue for fish. This simple system prevents cross-contact.
Cost Comparison Of Wrapping Materials
You might wonder how much wrapping costs over time. Here’s a look at the average price for each material, based on standard sizes.
| Material | Average Cost (per use) | Initial Cost | Reusable? |
|---|---|---|---|
| Plastic Wrap | $0.05 – $0.10 | $2 – $4 per roll | No |
| Parchment Paper | $0.10 – $0.15 | $2 – $5 per roll | No |
| Aluminum Foil | $0.15 – $0.20 | $3 – $6 per roll | No |
| Silicone Mat | $0.02 (after 100 uses) | $10 – $20 per mat | Yes |
| Disposable Sheets | $0.15 – $0.30 | $8 – $12 per box | No |
| Beeswax Wrap | $0.10 (after 50 uses) | $10 – $15 per wrap | Yes |
If you wrap boards every day, reusable mats or wraps save money over time. For occasional use, disposable options are cheaper upfront.
Credit: mountainedgedesigns.com
Wrapping For Outdoor Cooking And Picnics
When you cook outside, wrapping your cutting board is extra important. Dirt, bugs, and outdoor surfaces can quickly contaminate food.
- Use aluminum foil for strong protection. It stands up to outdoor use and is easy to throw away.
- Try parchment paper if you’re working with bread or cheese—no sticking, and easy cleanup.
- For camping, pack a silicone mat—it’s light and reusable, and you can wash it at the end of the trip.
Always wrap your board before leaving home, and bring extra material in case you need to change wraps during your trip.
Cleaning Up After Wrapping
Proper cleanup is just as important as wrapping. Here’s what to do:
- Remove the wrap carefully so you don’t spill juices or crumbs.
- Throw away disposable wraps right after use.
- Wash reusable wraps (silicone, beeswax) with hot, soapy water. Dry fully before storing.
- Clean your cutting board as usual. Even if it looks clean, juices can leak under the wrap.
Never put wet wraps on a board for storage. Moisture is the enemy of all kitchen tools.
Environmental Impact Of Wrapping Materials
Many people want to avoid waste. Here’s how the main materials compare for the environment.
- Plastic wrap is not recyclable and creates a lot of waste.
- Parchment paper is often compostable, but check your brand.
- Aluminum foil can be recycled if clean, but often ends up in the trash.
- Silicone mats and beeswax wraps are reusable for months or years.
- Disposable sheets create more waste, but some are biodegradable.
If you want to reduce waste, choose reusable options whenever possible. For more about eco-friendly kitchen choices, you can check EPA Recycling Guide.
When Not To Wrap Your Cutting Board
Sometimes, wrapping is not needed or even a bad idea.
- When cutting hard items: Like bones, which can tear most wraps.
- For deep cuts: If you need to use a cleaver, skip wrapping.
- On very old or cracked boards: Wrap can trap bacteria in cracks.
In these cases, it’s better to use a fresh, clean board and sanitize it after use.
Wrapping Alternatives
If you don’t want to wrap, there are other ways to keep your board safe.
- Use color-coded boards for different foods.
- Buy boards with built-in antimicrobial layers.
- Cut on plates or trays for small jobs.
These methods work well but don’t offer the quick cleanup and protection that wrapping gives.
How To Store Wrapped Cutting Boards
If you need to prep food ahead or transport a board, storage matters.
- Store wrapped boards upright to avoid moisture buildup.
- If stacking, put a paper towel between boards to soak up moisture.
- Never store a wet board with wrap on it.
If you transport a board for a picnic or event, wrap it tightly and put it in a clean bag.
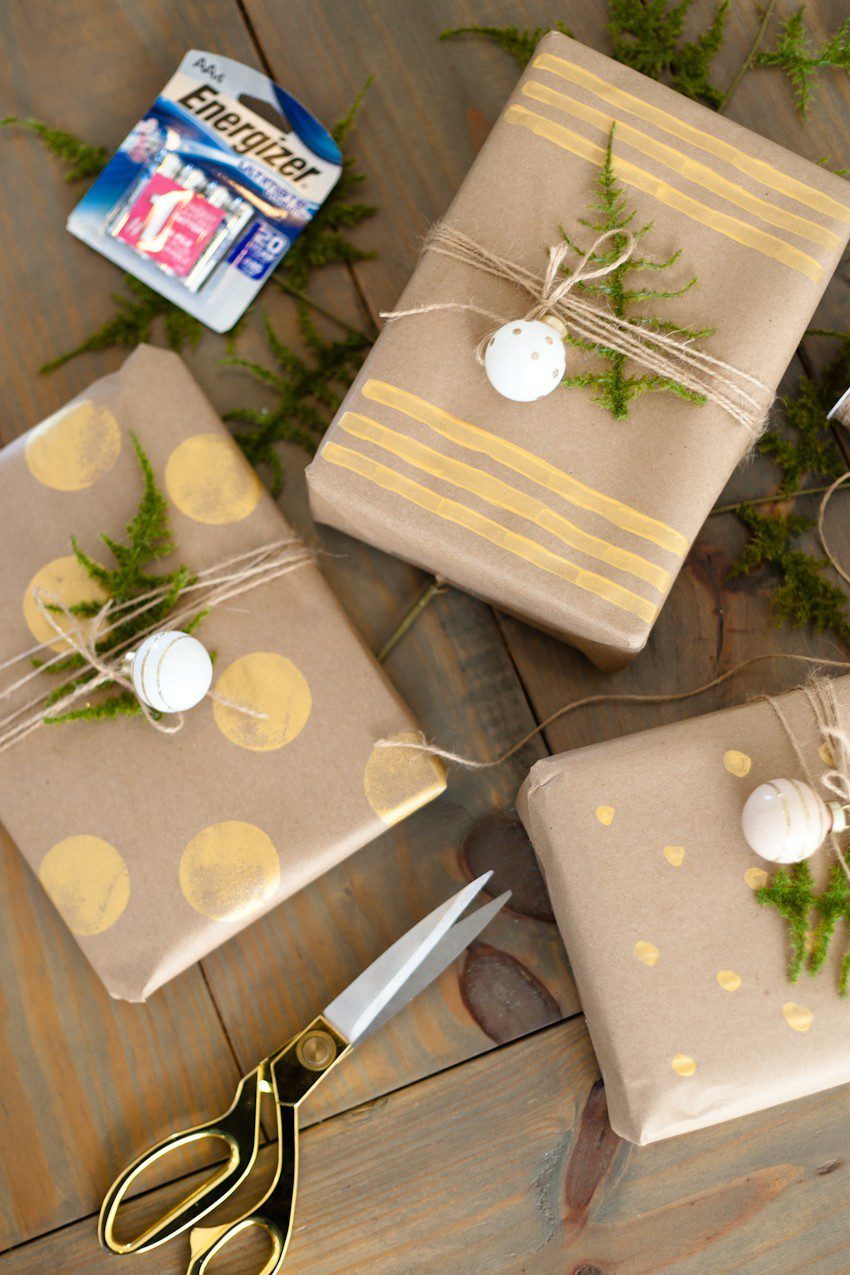
Credit: freshmommyblog.com
Wrapping For Food Photography Or Display
Food bloggers and chefs sometimes wrap boards to create a clean, bright background for photos. Use parchment paper or a thin silicone mat for a smooth look. Make sure the wrap is wrinkle-free and fits the board perfectly, so the background looks professional.
Summary Table: Wrapping Techniques And When To Use Them
Here’s a final look at the most common ways to wrap, and the best time to use each.
| Technique | Best For | Notes |
|---|---|---|
| Plastic Wrap, Tight | Raw meat, quick tasks | Easy, but single-use |
| Parchment Paper, Taped | Baking, sticky dough | Compostable, non-stick |
| Aluminum Foil, Folded | Outdoor, sharp knives | Strong, can dull knives |
| Silicone Mat, Laid Flat | Reusable, allergy safety | Expensive, long-lasting |
| Disposable Sheet, Clipped | Allergy kitchens, events | Very hygienic, more waste |
| Beeswax Wrap, Pressed | Dry foods, eco-friendly | Not for raw meat |
| Freezer Paper, Taped | Large cuts, strong protection | Stiff, holds juices |
Credit: www.etsy.com
Frequently Asked Questions
How Do I Keep The Wrap From Slipping On My Cutting Board?
Make sure the board is dry before wrapping. Press the wrap tightly to the surface. Use a small piece of food-safe tape or a rubber band to hold the wrap in place, especially for smooth materials like parchment paper or disposable sheets.
Can I Reuse Wrapping Materials?
Yes, some wraps like silicone mats and beeswax wraps are designed to be washed and reused. Never reuse plastic wrap, foil, or parchment paper after cutting raw meat or fish. For safe reuse, always wash wraps in hot, soapy water and dry fully before using again.
Is Wrapping Necessary For Wooden Cutting Boards?
Wrapping is not always needed, but it protects wooden boards from stains, odors, and bacteria, especially when cutting raw meat. It can also help the board last longer. For regular use, just clean and oil your board as usual.
What Is The Best Material To Wrap A Cutting Board For Allergies?
Disposable cutting board sheets or a clean silicone mat are best for allergy safety. They prevent cross-contact and are easy to change between foods. Always use a fresh wrap for each type of food to keep things safe.
Does Wrapping Damage Knives Or The Cutting Board?
Most wraps, like plastic wrap and parchment paper, are gentle on knives and boards. Aluminum foil can dull knives if you cut hard. Silicone mats are safe for both. Always check your wrap for tears or bits that could get into food.
Wrapping a cutting board is a small step that brings big benefits—better hygiene, easy cleanup, and longer life for your board. With the right material and technique, you’ll keep your kitchen safer and your meals tastier.