
American Standard Walk in Tub Door Seal Replacement: A Complete Guide
Walk-in tubs have changed how many people experience bathing, especially for those with mobility challenges. Among the most popular brands, American Standard walk-in tubs stand out for their safety, comfort, and reliability. However, even the best equipment needs maintenance. Over time, the door seal—the rubber gasket that keeps water inside the tub—can wear out. When that happens, leaks become a real concern. Replacing the door seal isn’t just about comfort; it’s about safety and protecting your investment.
This guide is here to help you understand everything about American Standard walk-in tub door seal replacement. You’ll learn how to spot problems, pick the right replacement, and install it with confidence. Whether you’re a homeowner, a caregiver, or a contractor, you’ll find practical advice, clear steps, and tips that most manuals leave out. By the end, you’ll be ready to keep your walk-in tub leak-free and working like new.
Why Door Seals Matter In Walk-in Tubs
The door seal is a special gasket, usually made from flexible rubber, that lines the edge of your tub door. Its main job is to keep water inside when the tub is filled. If the seal fails, water leaks out—sometimes in large amounts—causing slippery floors, water damage, and even safety hazards.
Key roles of the door seal:
- Keeps water in the tub during baths
- Prevents damage to floors and nearby walls
- Reduces mold and mildew risk by stopping leaks
- Helps with temperature control by keeping hot water sealed in
Many people don’t realize that a small leak can quickly turn into a big problem. Even a slow drip can cause mold to grow, wood floors to warp, or paint to bubble. That’s why it’s essential to check your door seal regularly and replace it at the first sign of trouble.
Signs Your Walk-in Tub Door Seal Needs Replacement
You don’t need to wait for a major leak to know something’s wrong. Here are clear signs that your American Standard walk-in tub door seal needs attention:
1. Visible Cracks Or Wear
If you see cracks, splits, or pieces missing from the seal, it’s time to replace it. Old seals may look dry, brittle, or faded.
2. Water Leaking During Or After Baths
If you notice water pooling near the tub after use, check the seal first. A good seal should keep all water inside.
3. Difficulty Closing The Door
A seal that’s out of shape can make the door hard to close, or it may not fit evenly all the way around.
4. Musty Or Damp Smell
Even if you don’t see water, a musty smell near the tub can mean slow leaks are soaking into hidden areas.
5. Age Of The Seal
Most seals last 3–5 years with normal use. If your tub is older, consider a replacement even if there’s no visible damage.
Non-obvious insight: Sometimes, leaks only happen during long baths or when you lean on the door. Check the seal under real-life conditions, not just when the tub is empty.
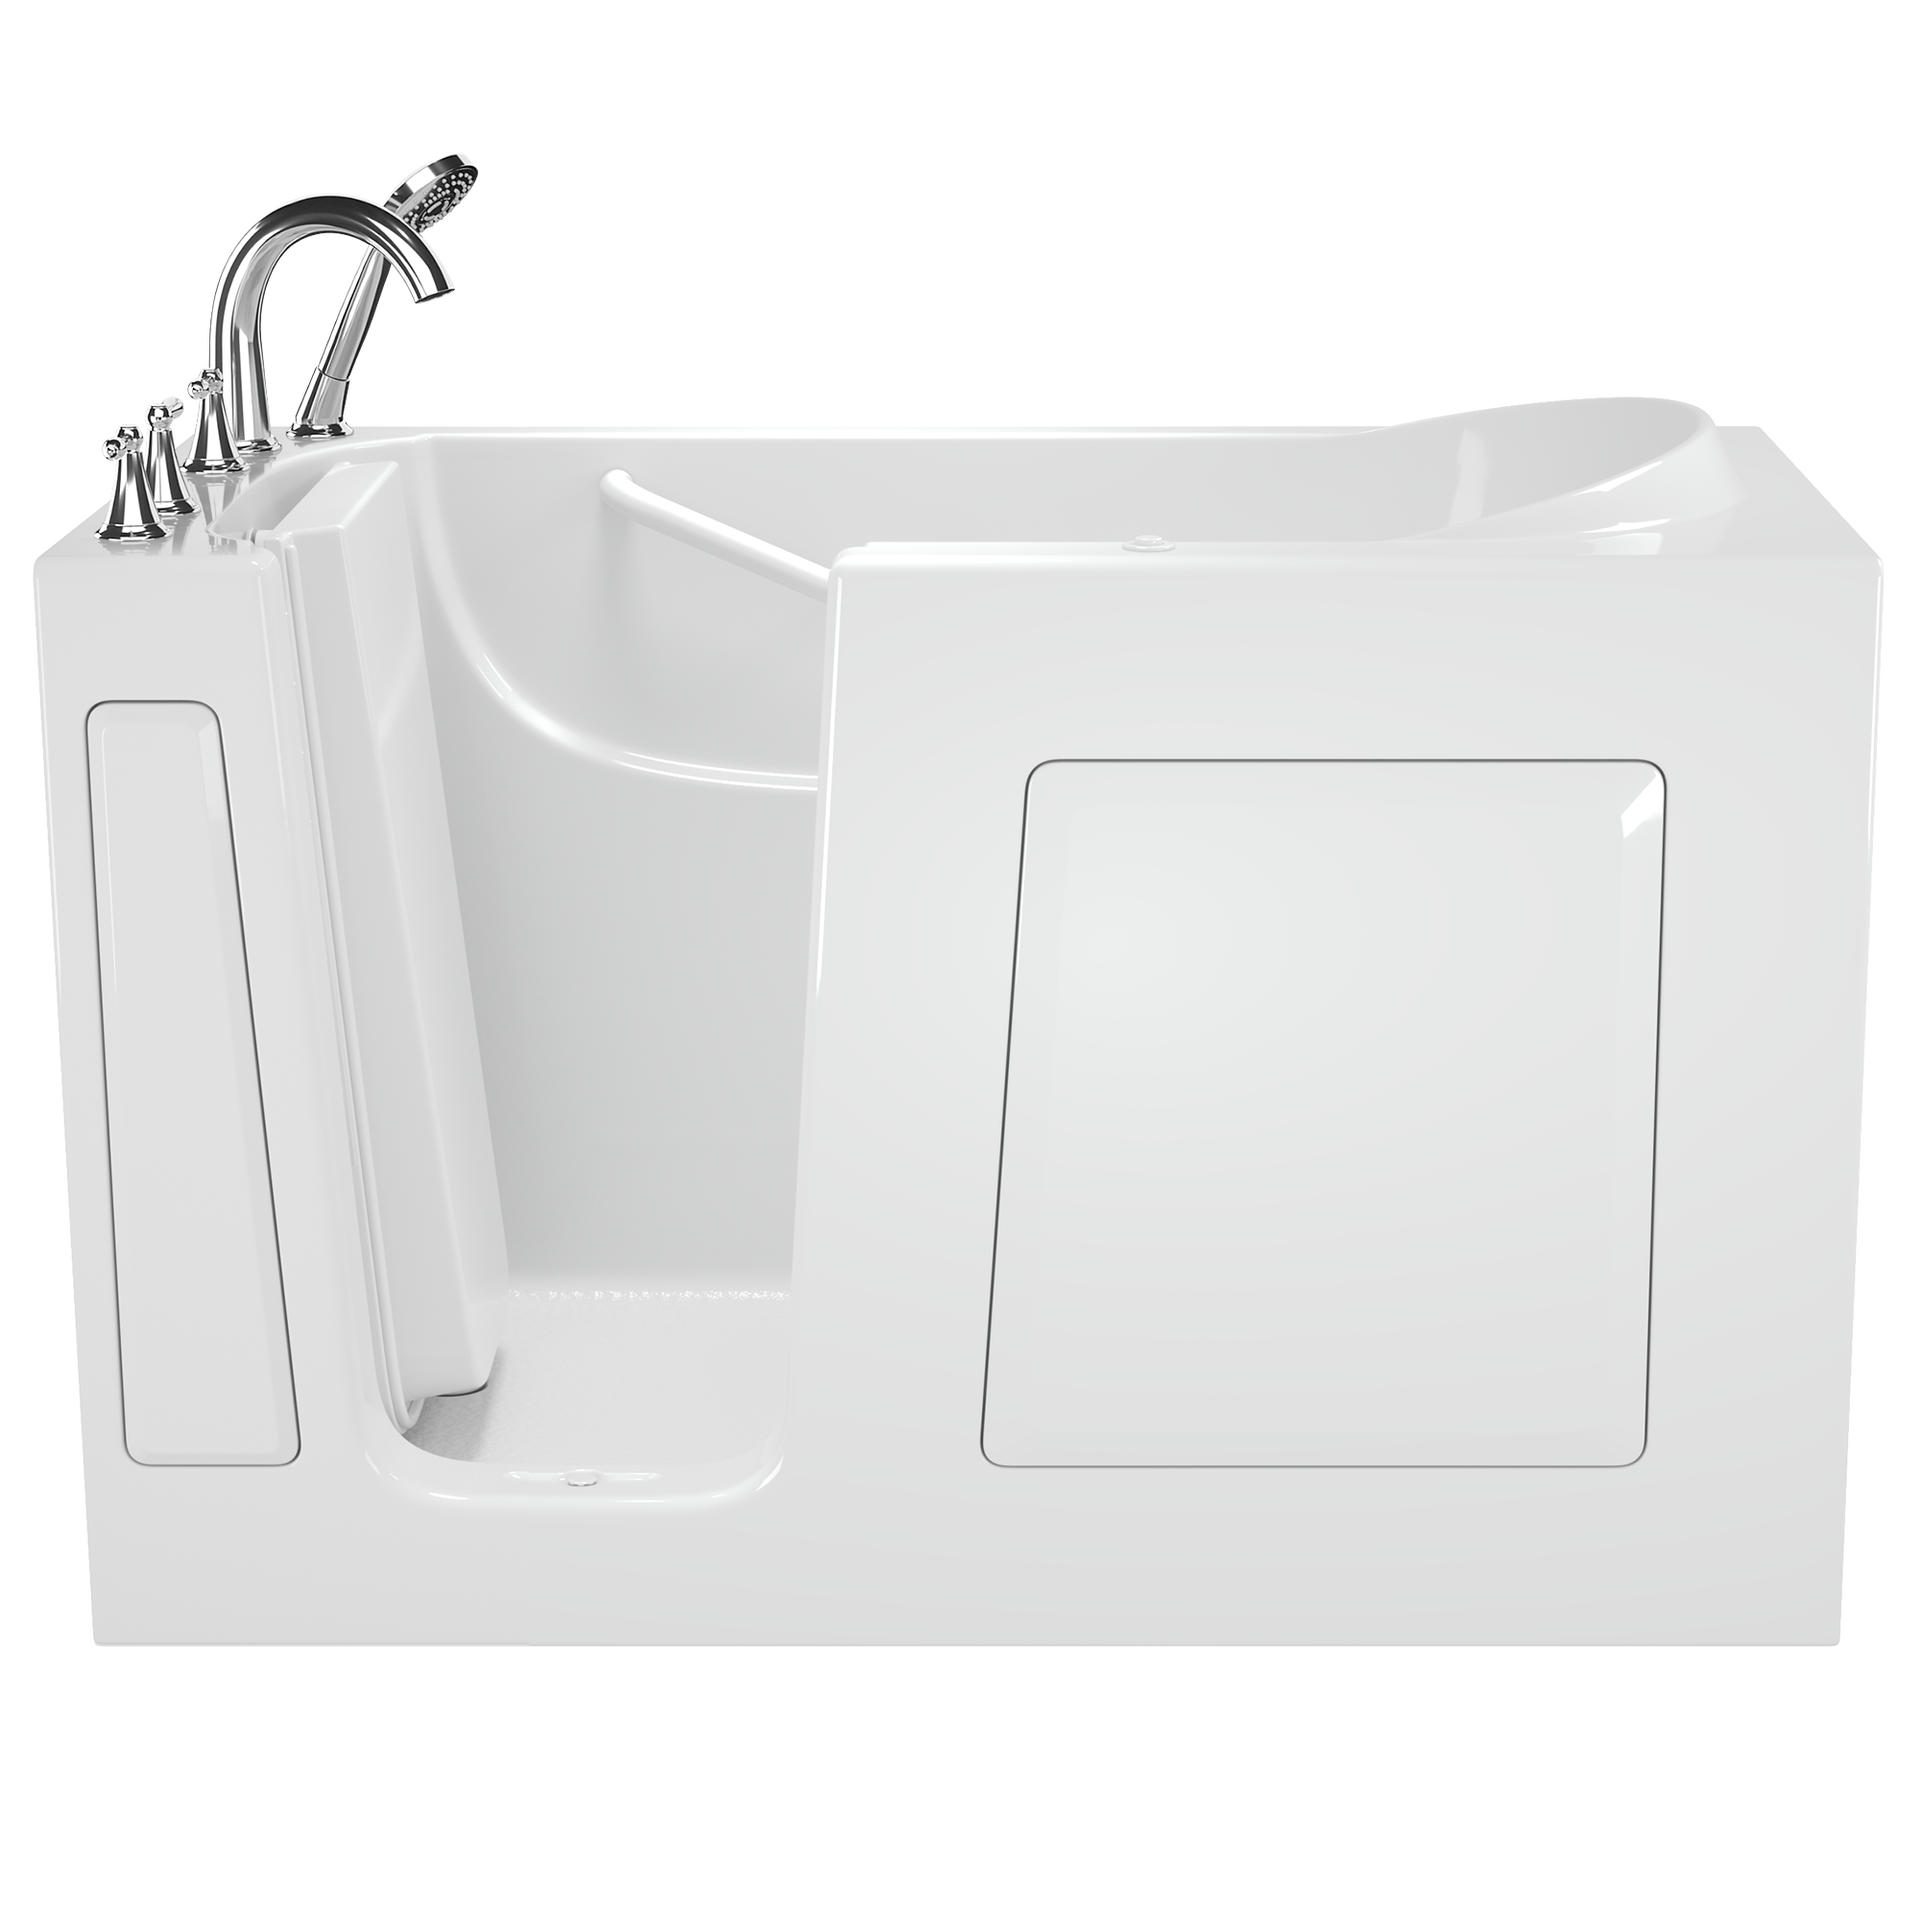
Credit: www.americanstandard-us.com
Choosing The Right Replacement Door Seal
Not all seals are the same. American Standard walk-in tubs have different models, and each may use a specific size, shape, or material for the door seal. Choosing the wrong seal can waste money and won’t fix your leak.
How To Identify Your Seal Type
- Check Your Tub Model Number:
Find the model number on the inside of the tub door, near the hinges, or in your owner’s manual.
- Compare the Old Seal:
If you still have the old seal, measure its length, width, and thickness. Look for part numbers or brand markings.
- Contact American Standard:
Their customer support can help identify the correct part if you give them your tub’s details.
Main Types Of Door Seals
1. Compression Seals
Soft rubber that compresses when the door closes, making a tight barrier.
2. Magnetic Seals
Use magnets inside the rubber to hold the door shut, common in newer tubs.
3. Adhesive-backed Seals
Peel-and-stick style, easy to install but must fit exactly.
Non-obvious insight: Some third-party seals may look the same but have slightly different profiles, causing leaks or making the door hard to close. Always confirm compatibility before buying.
Where To Buy Replacement Seals
- Official American Standard dealers
- Plumbing supply stores
- Online retailers (Amazon, Home Depot)
- Direct from manufacturer
Pro tip: If your tub is under warranty, check if the seal replacement is covered. Using non-original parts can void your warranty.
Tools And Materials Needed For Door Seal Replacement
Before you start, gather everything you’ll need. Having the right tools on hand makes the job faster and reduces mistakes.
Basic tools:
- Screwdriver set (flat and Phillips head)
- Plastic scraper or putty knife
- Clean cloths or rags
- Household cleaner (mild, non-abrasive)
- Scissors or utility knife
- Replacement seal (correct type for your model)
- Adhesive (if required by the seal type)
Optional but helpful:
- Rubbing alcohol (for cleaning the groove)
- Gloves (to protect your hands)
- Small bowl or tray for screws
Important: Some seals are installed with adhesive, while others snap or slide into a channel. Read your tub’s manual or check instructions with the new seal.

Credit: www.reddit.com
Step-by-step Guide: Replacing Your American Standard Walk-in Tub Door Seal
You don’t need advanced plumbing skills to replace a door seal, but attention to detail is important. These steps apply to most American Standard walk-in tubs, but always check your model’s manual for special instructions.
1. Prepare The Area
Turn off water to the tub and make sure the area is dry. Place a towel on the floor to catch any drips and to protect the surface.
2. Remove The Old Seal
Gently open the tub door as wide as possible. Starting at one end, pull the old seal away from the door or frame. If it’s stuck, use a plastic scraper to lift it. Avoid using metal tools—they can scratch the tub or damage the seal groove.
If the seal is glued, you may need to peel it slowly. Remove all old adhesive with your scraper and a little rubbing alcohol.
3. Clean The Seal Groove
Take a damp cloth and household cleaner to wipe the groove or channel where the seal sits. Any dirt or old adhesive can stop the new seal from fitting tightly. Dry the area completely before moving on.
4. Fit The New Seal
Start at one end of the door. Press the new seal into the groove, making sure it sits evenly and isn’t twisted. For adhesive-backed seals, peel a small section of the backing and press it in place, working a few inches at a time.
Continue all the way around the door, pressing firmly to ensure a good fit. Trim any extra length with scissors or a utility knife.
5. Check For Gaps
Run your finger around the seal. There should be no bumps, twists, or gaps. If you find any, lift that section and reposition it.
6. Test The Seal
Close the door and fill the tub with a few inches of water. Watch closely for leaks. If the seal is installed correctly, no water should escape. If you see leaks, double-check the seal’s position and press it more firmly into place.
Quick reference table for common seal problems and solutions:
| Problem | Possible Cause | Solution |
|---|---|---|
| Seal won’t fit in groove | Wrong seal type or size | Check model number and reorder correct seal |
| Seal peels away after a few days | Dirty groove or poor adhesive | Clean groove and reapply with stronger adhesive |
| Door is hard to close | Seal is too thick or twisted | Remove and reposition, or use correct seal |
Common Mistakes To Avoid
Replacing a door seal seems simple, but small errors can lead to big problems. Here are common mistakes and how to avoid them:
1. Skipping The Cleaning Step
Dirt or old adhesive prevents the new seal from sticking or sitting properly.
2. Buying A Generic Seal
Not all seals fit the special groove or curve of American Standard tubs. Always match your model.
3. Stretching The Seal During Installation
Pulling the seal tight can make it shrink back over time, causing gaps.
4. Not Testing For Leaks
Always fill the tub with a little water and check for leaks before regular use.
5. Forgetting To Check Door Alignment
A misaligned door can crush the new seal or stop it from sealing fully.
Non-obvious insight: If you live in a humid area, mold can grow behind a loose seal. Always check for hidden moisture after a leak and dry the area fully before installing a new seal.
Professional Vs. Diy Replacement: Which Is Right For You?
Many homeowners can replace a walk-in tub door seal themselves, but sometimes it makes sense to call a professional.
Diy Replacement
Advantages:
- Saves money on labor
- Quick if you have the right tools
- Satisfying to do it yourself
Best for: People who are comfortable with basic hand tools and can follow instructions carefully.
Professional Replacement
Advantages:
- Guaranteed fit and finish
- Fast, especially if you’re busy or have limited mobility
- Can check for other problems (door alignment, frame cracks)
Best for: Seniors, people with limited hand strength, or anyone who wants a “done for you” solution.
Cost comparison:
| Option | Average Cost | Includes |
|---|---|---|
| DIY | $30–$80 | Seal, basic tools |
| Professional | $150–$300 | Seal, labor, inspection |
Tip: If your tub is under warranty or is part of a senior living facility, professional replacement is often required for insurance reasons.
Caring For Your New Door Seal
A new seal can last years with the right care. Proper cleaning and maintenance prevent early wear and keep your tub leak-free.
Best Practices
- Wipe the seal dry after each use to prevent mold and mildew.
- Clean with mild soap and water once a week. Avoid harsh chemicals that can dry out the rubber.
- Check the seal every 3–6 months for cracks or signs of wear.
- Avoid slamming the door—gentle closing helps the seal last longer.
Products To Avoid
Never use bleach, abrasive powders, or strong solvents on the seal. They can cause the rubber to dry, crack, or lose flexibility.
When To Call For Help
If you notice repeated leaks, even after seal replacement, there may be a problem with the door frame or hinges. At this point, it’s best to call a professional for an inspection.
How American Standard Walk-in Tubs Compare For Seal Replacement
American Standard tubs are known for their quality, but how do they compare to other brands when it comes to replacing the door seal?
Comparison of door seal replacement between popular walk-in tub brands:
| Brand | Seal Availability | Ease of Replacement | Typical Cost |
|---|---|---|---|
| American Standard | High | Easy to Moderate | $30–$80 |
| Kohler | Medium | Moderate | $40–$100 |
| Safe Step | Low (proprietary parts) | Hard (often requires pro) | $70–$150 |
| Independent Living | Medium | Moderate | $35–$90 |
American Standard makes it easier to find replacement seals and often provides better instructions. However, always double-check the part before ordering, as even within one brand, there are differences between models.
Real-world Examples And User Experiences
Many people hesitate to replace a tub seal, worried it’s too technical or will void their warranty. Here are some real-world stories and what you can learn from them:
- Case 1: The Persistent Drip
A retiree noticed a slow leak every time she took a bath. The seal looked fine, but after replacing it, she found a small crack hidden in the lower corner. The new seal solved the problem immediately.
- Case 2: The Hard-to-Close Door
One homeowner bought a generic seal from a hardware store. It looked the same, but after installation, the door was difficult to close, and the seal bunched up in the corners. He replaced it with an official part, and the problem was solved.
- Case 3: Mold Under the Seal
In a humid climate, a user found mold growing under the seal after a leak. He removed the seal, cleaned the area with vinegar, let it dry fully, and installed the new seal. No more smell, and the tub stayed leak-free.
These stories show that even small problems can have simple solutions, and using the right part makes all the difference.
Environmental And Health Considerations
You may not think of a door seal as an environmental issue, but it does make a difference.
- Old seals can be recycled at rubber recycling centers in many areas.
- Leaking water is wasteful and can increase your water bill.
- Mold and mildew from leaks can trigger allergies and breathing problems, especially in older adults.
Always dispose of the old seal properly and fix leaks quickly for a healthier, more eco-friendly home.
Troubleshooting: When A New Seal Still Leaks
If you’ve replaced the seal and still see leaks, it’s time for deeper troubleshooting.
Possible causes:
- Door frame is bent or out of alignment
- Seal is not fully pressed into the groove
- Seal is the wrong size or type
- Tub is not level, causing water to push against the door
What to do:
- Re-check the seal and press it in firmly all around.
- Look at the door from the side—does it close evenly?
- Measure the seal and compare it to the old one.
- Place a level on the top of the tub to check for unevenness.
If these steps don’t solve the problem, call a professional. Sometimes, the door itself needs adjustment or repair.

Credit: apollobath.com
How Often Should You Replace The Seal?
Most seals last 3–5 years, but this can vary. Factors like water quality, cleaning products, and how often you use the tub all play a role.
Best practice: Check the seal twice a year. Replace it at the first sign of cracks, leaks, or trouble closing the door.
Finding Reliable Help And Further Resources
If you’re unsure about any part of the process, American Standard offers customer support and many step-by-step guides online. You can also find videos from home improvement experts on platforms like YouTube. For technical details about different seal types, the Wikipedia gasket page is a good place to learn about materials and how seals work in different devices.
Always use trusted sources, especially when buying replacement parts.
Frequently Asked Questions
How Do I Know If My American Standard Walk-in Tub Seal Is Leaking?
Look for water on the floor near the tub after use, a musty smell, or dampness around the door area. Even a small pool of water can mean the seal is failing.
Can I Use Any Door Seal, Or Does It Have To Be From American Standard?
You should always use a seal made for your specific tub model. Generic seals often don’t fit well and can cause leaks or make the door hard to close.
Is It Safe To Replace The Door Seal Myself, Or Should I Hire A Professional?
Most people can replace the seal with basic tools and careful attention to instructions. If you have limited mobility or the tub is under warranty, hiring a professional is a good idea.
How Long Does It Take To Replace A Walk-in Tub Door Seal?
For most people, the job takes 30–60 minutes. The key is to take your time cleaning the groove and fitting the new seal carefully.
What Should I Do With The Old Seal After Removal?
Dispose of the old seal in regular household waste or, if available, take it to a rubber recycling center. Don’t flush or burn it.
Replacing your American Standard walk-in tub door seal is a simple but important task. Done right, it keeps your bathroom safe, dry, and comfortable for years to come. With the right part, a few tools, and a bit of patience, you can handle the job yourself—or know exactly what to expect from a professional.