
If you own a well, having direct access to water outside your home can make life easier. Whether you want to wash your car, water your garden, or fill a pool, a spigot (also called a hose bib) on your well pump offers a handy solution.
But adding a spigot isn’t as simple as screwing a faucet onto a pipe. Many homeowners worry they’ll damage their well system or risk leaks and contamination. This guide explains, step by step, how to safely add a spigot to your well pump.
We’ll cover planning, choosing the right parts, installation, common mistakes, and how to keep your water safe. By the end, you’ll know exactly what to do—even if plumbing isn’t your main skill.
Understanding Your Well Pump System
Before starting, it’s important to know how your well pump works. Most residential wells use one of two main pump types: jet pumps or submersible pumps.
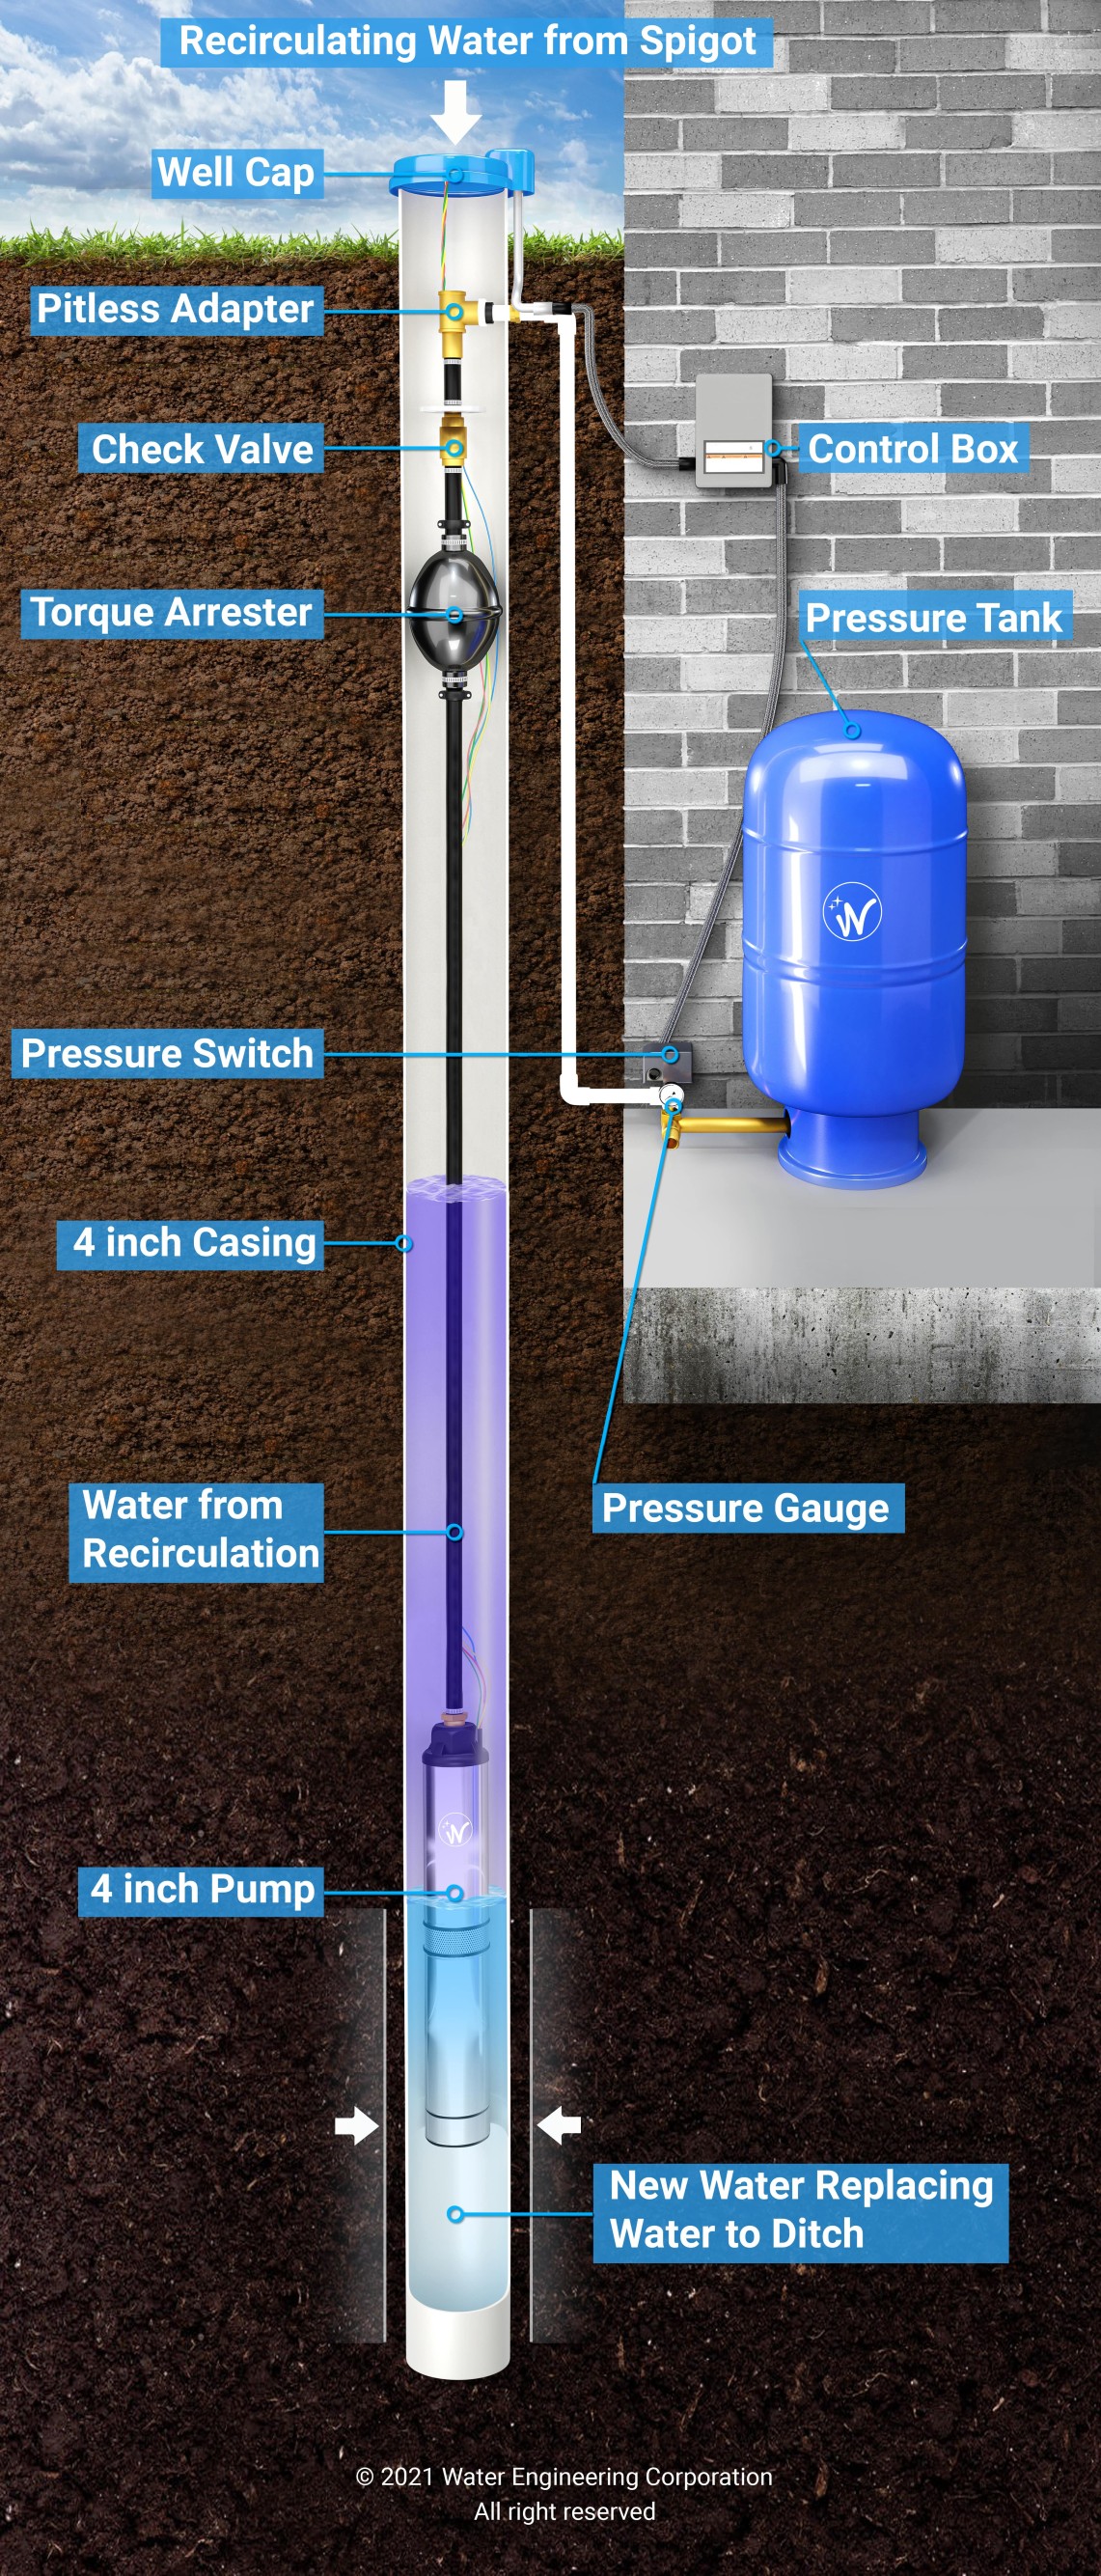
A jet pump sits above ground and draws water using suction. A submersible pump is installed deep in the well and pushes water up. Both types send water through a pipe into a pressure tank inside your home. The pressure tank helps keep water pressure steady and prevents the pump from cycling on and off too often.
The key point: never tap into the well line before the pressure tank. Doing so can damage your pump, lower water pressure, and even allow contaminants into your water supply.
Main Parts Of A Well System
- Well pump
- Well pipe
- Pressure tank
- Pressure switch
- Main supply line into the house
- Drain/faucet points
Knowing where these parts are will help you find the best location for your new spigot.
Planning Your Spigot Location
Choosing where to install your spigot is crucial for both convenience and system safety. Here are the factors to consider:
Proximity To Well Pump And Pressure Tank
The ideal place for your spigot is after the pressure tank, on the main supply line. This ensures the water is already pressurized and filtered (if you use any filters). Tapping in before the pressure tank can cause the pump to run constantly and may lower household water pressure.
Outdoor Access
Think about where you’ll need water most—perhaps near a garden, driveway, or barn. The spigot should be in a place where it won’t freeze in winter (if you live in a cold climate) or get damaged by lawn equipment.
Accessibility For Maintenance
Leave enough space around the spigot for repairs or replacements in the future. Avoid locations that would require digging up landscaping or breaking concrete later.
Local Building Codes
Some areas have rules about backflow prevention, pipe types, and outdoor plumbing. Always check with your local building department before starting work.
Gathering Tools And Materials
You’ll need the right tools and parts for a safe, lasting installation. Here’s a list of what you’ll typically require:
Tools
- Pipe cutter or hacksaw (for cutting pipe)
- Adjustable wrench or pipe wrenches
- Pipe thread sealant or Teflon tape
- Drill and appropriate bits (if mounting spigot to a wall)
- Screwdriver
- Bucket or towels (to catch water)
- Safety glasses
Materials
- Brass or frost-free spigot (hose bib)
- T-fitting (type depends on your pipe material—PVC, copper, PEX, galvanized)
- Pipe adapters (to connect spigot to your main line)
- Pipe and fittings (extra pipe for running the spigot, elbows or couplers as needed)
- Pipe clamps (for PEX or flexible lines)
- PVC primer and cement (for PVC pipe) or solder and flux (for copper)
- Backflow preventer (sometimes required by code)
- Pipe insulation (if in a cold area)
If you’re not sure what pipe material you have, check a visible section near the pressure tank. It’s usually marked or color-coded.
Step-by-step Guide: How To Add A Spigot To Your Well Pump
Let’s walk through the actual installation process. These steps will focus on the most common situation: adding a spigot to a PVC, copper, or PEX line after the pressure tank.
1. Turn Off Power And Water
Safety first. Turn off the power to your well pump at the breaker box. Then, close the valve between the pressure tank and the house to stop water flow. Open a faucet in the house to relieve any pressure in the system.
2. Locate The Main Supply Line After The Pressure Tank
Find the section of pipe that runs from your pressure tank into the house. This is where you’ll tap in for your spigot. Make sure you have enough room to cut and add fittings.
3. Mark And Cut The Pipe
Use a pipe cutter or hacksaw to make a clean, straight cut in the main line. Have a bucket ready to catch any water left in the pipe. Remove a section long enough to fit your T-fitting.
4. Install The T-fitting
Choose a T-fitting that matches your pipe material and size.
- For PVC, use primer and cement to glue the T in place.
- For copper, clean the ends, apply flux, and solder the T-fitting.
- For PEX, use PEX crimp or clamp rings with a PEX tool.
Take your time—leaks usually happen if fittings aren’t installed correctly.
5. Add A Shutoff Valve (strongly Recommended)
Install a ball valve or gate valve between the T-fitting and your spigot. This lets you shut off water to the spigot for repairs or winterizing, without affecting the rest of the house.
6. Connect The Spigot
Run pipe or PEX from the shutoff valve to the outdoor wall where you want your spigot. Use elbows or couplers as needed to reach your chosen spot. Secure the spigot tightly to the wall or post.
Wrap the threads with Teflon tape, then screw the spigot into the adapter. Tighten with a wrench, but don’t over-tighten.
7. Install A Backflow Preventer (if Required)
Many codes require a backflow preventer to stop water from your hose flowing back into the well. This is especially important if you use fertilizers or other chemicals in your garden.
Some spigots have built-in backflow prevention. If not, add one between the spigot and your hose.
8. Test For Leaks
Turn the power and water back on. Open the new spigot and check all connections for leaks. Tighten or re-seal if necessary.
9. Insulate Pipes (if Needed)
If you live in a cold climate, insulate the pipe and spigot to prevent freezing. Foam covers and pipe insulation sleeves are easy to install.
Example: Adding A Spigot To Pvc
Here’s how the process might look for a PVC line:
- Turn off pump and water
- Cut pipe after pressure tank
- Glue in a PVC T-fitting using primer and cement
- Add a threaded adapter and ball valve
- Run PVC or PEX to the outside wall
- Attach the hose bib with Teflon tape
- Turn on water and test
Most jobs take 2–4 hours for someone with basic DIY skills.

Credit: www.reddit.com
Comparing Spigot Types: Standard Vs. Frost-free
Choosing the right spigot type can prevent problems down the road, especially with freezing. Here’s a comparison:
| Feature | Standard Spigot | Frost-Free Spigot |
|---|---|---|
| Best For | Warm climates | Cold climates |
| Design | Simple valve near wall | Valve set deep inside wall |
| Freeze Protection | Poor | Excellent |
| Maintenance | Easy | More parts, harder to repair |
| Cost | Lower | Higher |
A frost-free spigot is usually the best choice if you have cold winters. It prevents burst pipes and expensive repairs.
Pipe Materials: Which One Is Right For You?
Your main supply line could be PVC, copper, PEX, or galvanized steel. Each has its own installation methods and pros/cons.
| Material | Durability | Installation Ease | Common Issues |
|---|---|---|---|
| PVC | Good | Easy (glued joints) | Cracks in freezing temps |
| Copper | Excellent | Moderate (needs soldering) | Corrosion over decades |
| PEX | Very good | Very easy (crimp/clamp) | UV damage, rodents |
| Galvanized | Fair | Hard (threaded joints) | Rust, mineral buildup |
PEX is becoming the most popular for new work due to its flexibility and freeze resistance. For repairs, match your existing pipe.
Safety And Water Quality Considerations
When adding a spigot, protecting your water quality is just as important as getting the job done. Here’s what to keep in mind:
Preventing Contamination
Always install your spigot after the pressure tank and any water treatment equipment. This ensures outdoor water use doesn’t risk contaminating your home supply.
A backflow preventer is essential if you connect hoses for chemical spraying or filling pools. Without one, dirty water could siphon back into your well.
Avoiding Cross-connections
A cross-connection happens when a contaminated source (like a hose sitting in a puddle or bucket) connects to your clean water supply. Proper spigot installation and backflow protection can prevent this risk.
Lead-free Fittings
Modern plumbing codes require lead-free brass for any drinking water connections. Double-check that all fittings and spigots you buy are labeled as lead-free.
Protecting Against Freezing
Burst pipes can cause leaks and water damage. If your spigot is exposed to winter temperatures, always choose a frost-free model and insulate the supply line. Also, shut off and drain the spigot before winter if it’s not frost-free.
Common Mistakes And How To Avoid Them
Even experienced DIYers make errors. Here are some pitfalls to watch for—and how to avoid them:
1. Tapping In Before The Pressure Tank
This is the most frequent mistake. If you install a spigot before the pressure tank, you’ll have poor pressure, pump cycling issues, and risk dirty water entering the system.
Solution: Always add the spigot after the pressure tank.
2. Skipping The Shutoff Valve
Without a shutoff, you can’t isolate the spigot for repairs or winterizing.
Solution: Install a valve right after your T-fitting.
3. Not Using Teflon Tape Or Pipe Dope
Pipe threads can leak if not sealed properly.
Solution: Use Teflon tape (3–4 wraps) or pipe thread sealant on all threaded connections.
4. Forgetting Backflow Prevention
Without a backflow preventer, dirty water can get into your well, especially if using chemicals.
Solution: Use a hose bib with a built-in backflow preventer, or install one separately.
5. Using The Wrong Pipe Fittings
Not all pipe fittings are compatible with every material.
Solution: Match the fitting type (PVC, copper, PEX, or galvanized) to your pipe.
6. Not Checking Local Codes
Some areas have strict plumbing codes. Skipping this step can mean fines or forced rework.
Solution: Call your local building office before you begin.
Credit: www.wecofilters.com
Cost Breakdown: What To Expect
Adding a spigot to your well pump is usually affordable, but costs can vary by material and complexity. Here’s an estimate:
| Item | Low-End Cost | High-End Cost |
|---|---|---|
| Spigot (hose bib) | $10 | $40 |
| T-Fitting | $3 | $15 |
| Shutoff Valve | $7 | $20 |
| Backflow Preventer | $8 | $25 |
| Pipe/Fittings | $10 | $30 |
| Labor (DIY) | $0 | $0 |
| Labor (Pro plumber) | $150 | $350 |
On average, DIY costs range from $50 to $120 for materials. Hiring a plumber may add a few hundred dollars but is a good choice if you’re unsure about your skills.
Real-world Example: Adding A Spigot To A Farm Well
Let’s look at how a rural homeowner added a spigot for livestock watering.
- The well system had a submersible pump and a pressure tank in the barn.
- The owner wanted a spigot next to the barn door, about 20 feet from the pressure tank.
- Using PEX pipe, a T-fitting was installed after the pressure tank, with a ball valve for easy shutoff.
- A frost-free spigot was used to prevent winter freezing.
- The project took about 3 hours, cost $85 in materials, and provided reliable water access for animals.
Key takeaway: Plan your route, use a shutoff valve, and always insulate or use frost-free hardware for outdoor spigots.
Maintenance Tips For Your New Spigot
After your spigot is installed, a little care can keep it working trouble-free for years:
- Check for leaks every few months, especially after winter.
- Winterize by shutting off and draining the spigot if it’s not frost-free.
- Clean the spout to remove dirt or debris that can block water flow.
- Replace washers or packing nuts if you notice drips.
- Inspect insulation annually to prevent freeze damage.
A well-maintained spigot saves water and prevents costly repairs.
Two Insights Most Beginners Miss
- Pressure Loss Can Affect Household Water: If your spigot line is too large or has leaks, you might notice lower water pressure inside your home when using the outdoor spigot. Always test pressure after installation and adjust pipe size if needed.
- Code Violations May Affect Insurance: Some insurance policies won’t cover water damage if outdoor plumbing isn’t up to code. Always install backflow prevention and use proper materials to avoid future headaches.
When To Call A Professional
Not everyone feels comfortable working with plumbing. Call a licensed plumber if:
- You’re unsure where to cut into the main line.
- Your well system has complex filters or treatment devices.
- The installation area is cramped or hard to access.
- You notice rusty water or pressure problems after installation.
A pro can finish the job quickly and safely—and ensure your water stays clean.
Helpful Resources
For more details on well systems and plumbing codes, visit the EPA Private Well Owners Guide. This site covers water safety, maintenance, and legal requirements.

Credit: diy.stackexchange.com
Frequently Asked Questions
What Is The Best Location To Add A Spigot On My Well System?
Always install the spigot after the pressure tank and any water treatment devices. This ensures you get good water pressure and protect your well from contamination.
Do I Need A Plumber, Or Can I Do This Myself?
Many homeowners can do this as a DIY project if they have basic plumbing skills and tools. If you’re unsure, or if your system is complex, hiring a plumber is a smart choice.
Is A Backflow Preventer Really Necessary?
Yes, a backflow preventer is important to keep dirty water from flowing back into your well. Many local codes require it, and it protects your home’s water quality.
What Type Of Spigot Should I Use In Cold Climates?
A frost-free spigot is best for areas with freezing winters. It keeps water out of the exposed part of the spigot, preventing burst pipes.
How Do I Keep My Outdoor Spigot From Freezing?
Use a frost-free spigot and insulate the supply pipe. In very cold areas, also shut off and drain the spigot before winter, unless it’s designed to be freeze-proof.
Adding a spigot to your well pump isn’t hard if you follow the right steps and use the correct materials. With good planning, you’ll have reliable water access outside for years to come.