
Canning ribs in the oven is a skill that brings together old traditions and modern convenience. People often think of canning as something for fruits or vegetables, but with the right method, you can preserve meat like pork ribs safely and enjoy them for months.
The process may sound complicated, but with careful steps, you can achieve tender, tasty ribs that are ready whenever you want. If you have ever wondered how to can ribs in your own kitchen using just your oven, this guide will walk you through everything—from choosing the right ribs and jars to safety checks and storage tips.
Whether you want to save money, prepare for emergencies, or simply enjoy homemade ribs year-round, mastering this technique is both practical and rewarding.
Understanding Oven Canning For Ribs
Oven canning, especially for meats like ribs, is not the same as using a traditional water bath or pressure canner. Here, the oven acts as the heat source to create a vacuum seal inside jars filled with cooked or partially cooked ribs.
The main idea is to kill bacteria and seal the jars, so the food inside stays safe for months.
However, it’s important to note that oven canning is controversial. Most food safety experts, including the USDA, recommend pressure canning for meats because it reliably reaches temperatures high enough to kill dangerous bacteria like botulism. If you choose to can ribs in the oven, you must follow every safety step precisely. For the safest results, always consider using a pressure canner for meat, but this guide will focus on the oven method many home cooks use for convenience.
Why Can Ribs In The Oven?
People can ribs in the oven for several reasons:
- Convenience – Once canned, ribs are ready to heat and eat.
- Preservation – You can store ribs for months without a freezer.
- Emergency Preparation – Canned meat is useful during power outages or disasters.
- Portion Control – You can store ribs in meal-sized jars.
- Flavor Development – Some people believe canning enhances the flavor over time.
Despite these benefits, remember that safety must always come first.
Types Of Ribs For Oven Canning
Not all ribs are the same. The type of rib you choose will affect the taste, texture, and storage.
Pork Ribs
- Baby Back Ribs: Tender, lean, and cook quickly. Fit easily into jars.
- Spare Ribs: Larger and meatier, with more fat. They require more trimming and may need to be cut down to fit jars.
- St. Louis Style Ribs: Trimmed spare ribs with a uniform shape, easier to fit in jars than regular spare ribs.
Beef Ribs
- Short Ribs: Thick and flavorful, but sometimes too large for standard jars. Best for wide-mouth quart jars.
- Back Ribs: Less meat, more bone, and often used when a lighter flavor is preferred.
Other Meats
While this guide focuses on pork and beef ribs, you can use similar methods for lamb or goat ribs, but always follow proper safety guidelines.
Selecting The Right Jars And Lids
Choosing the correct jars and lids is critical for both safety and convenience.
Jar Size
- Pint Jars: Good for single servings or small portions.
- Quart Jars: Best for families or meal prep, as they hold more ribs.
- Wide-Mouth Jars: Easier to pack ribs, especially larger cuts.
Lid Type
- Two-Piece Lids: Standard for canning—metal lid with a separate screw band.
- Reusable Lids: Can be used, but only if they are made for home canning.
Inspect every jar and lid for cracks, chips, or rust. Faulty jars or lids may not seal properly, leading to spoilage.
| Jar Size | Best For | Comments |
|---|---|---|
| Pint | Small portions, single serve | Good for snacks or quick meals |
| Quart | Family meals | Fits more ribs, better for batch cooking |
| Wide-Mouth | Larger rib cuts | Easier to pack and remove ribs |
Tools And Ingredients Needed
Before you start, gather all tools and ingredients:
- Canning jars (pint or quart, wide-mouth preferred)
- New lids and rings
- Oven-safe tray or roasting pan
- Large pot for boiling jars
- Tongs and jar lifter
- Clean towels
- Cutting board and sharp knife
- Aluminum foil or parchment paper
- Thermometer (optional but helpful)
- Kitchen timer
Ingredients
- Fresh ribs (pork or beef)
- Salt (non-iodized, such as canning salt)
- Seasonings (optional: Pepper, garlic, paprika, barbecue rub)
- Sauce (optional: Homemade or store-bought barbecue sauce)
Preparing Ribs For Canning
How you prepare your ribs will impact the final flavor, texture, and safety.
Trimming And Cutting
- Remove excess fat: Too much fat can cause sealing issues or spoilage.
- Cut into sections: Each rib or rib section should fit easily into your chosen jars. For quart jars, 3-5 ribs per jar is typical.
Pre-cooking
While some people can raw ribs, pre-cooking is safer and improves flavor.
- Parboil: Simmer ribs in water for 15-20 minutes to remove excess fat and partially cook.
- Bake or roast: Bake at 350°F (175°C) for 30-40 minutes. This step also adds flavor.
Seasoning
- Lightly season ribs before canning. Too much salt can intensify during storage.
- If using sauce, brush on a thin layer after pre-cooking. Avoid sugary sauces, as they may burn during oven processing.
Packing The Jars
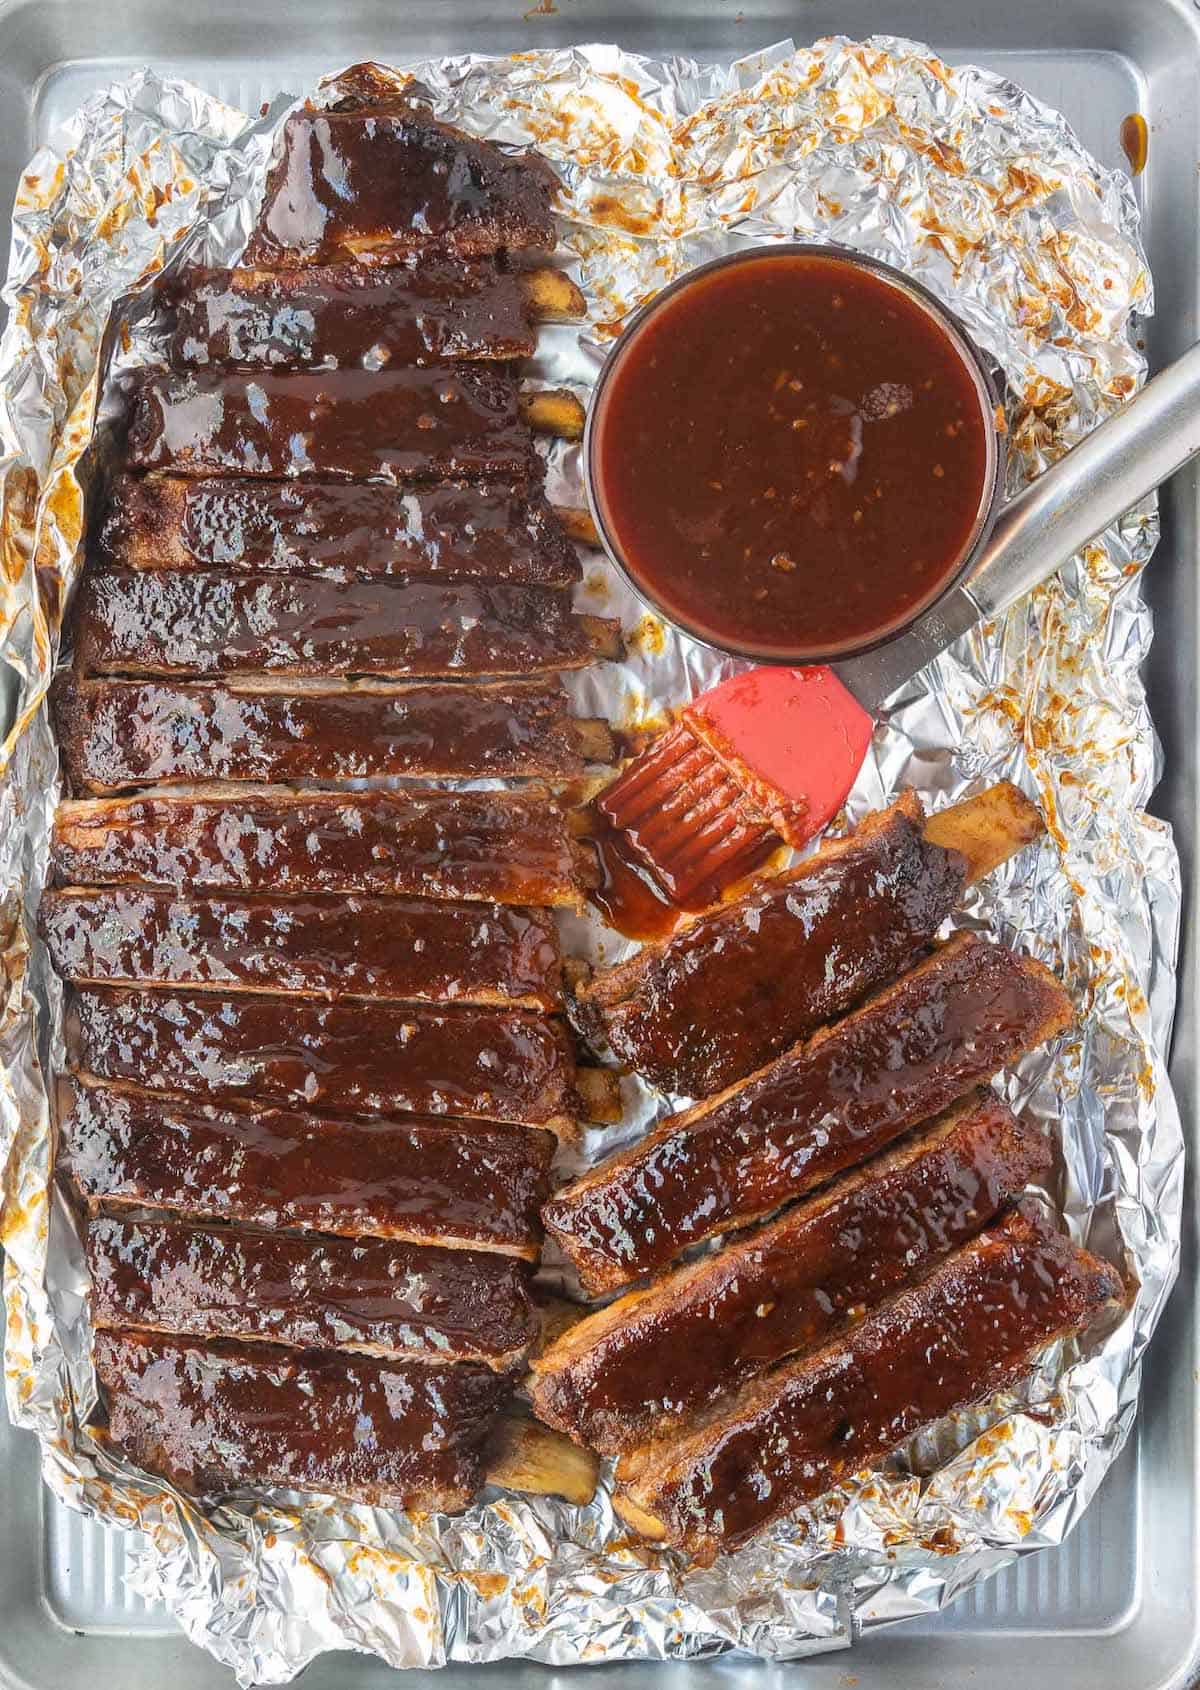
- Place ribs vertically in wide-mouth jars for easier removal.
- Fill jars tightly but do not pack them in; leave room for liquid and steam.
- Add 1/2 teaspoon of canning salt per pint jar, 1 teaspoon per quart.
- You may add a small amount of hot water, broth, or sauce—no more than 1/4 cup—to cover the bottom but do not overfill.
Credit: butteryourbiscuit.com
Sterilizing Jars And Lids
Sterilization is one of the most important steps.
- Wash jars and lids in hot, soapy water. Rinse well.
- Boil jars and lids for 10 minutes, or run through a dishwasher with a sterilize cycle.
- Keep jars hot until ready to use. This prevents cracking when hot food is added.
Filling And Sealing The Jars
- Fill jars with hot, pre-cooked ribs using tongs.
- Wipe rims with a clean, damp towel to remove grease or sauce.
- Place lids on each jar and screw bands on until fingertip tight—do not over-tighten.
Canning Ribs In The Oven: Step-by-step
Here’s the heart of the process. Oven canning is different from water bath or pressure canning.
Setting Up The Oven
- Preheat oven to 250°F (121°C). Do not go higher, as jars can break.
- Place a large roasting pan or baking tray on the middle rack.
- Add a folded towel or silicone mat to the bottom of the pan to prevent jars from sliding.
Placing The Jars
- Arrange filled, sealed jars on the tray, leaving space between each.
- Do not let jars touch each other or the oven walls.
Processing Time
- Bake ribs in jars for 2.5 to 3 hours.
- Do not open the oven during processing.
- After the time is up, turn off the oven and let jars cool inside for 30 minutes.
Removing And Cooling
- Use oven mitts and a jar lifter to remove jars carefully.
- Place jars on a towel-covered countertop, leaving space between each.
- Do not disturb jars for 24 hours.
Checking The Seal
- After 24 hours, press the center of each lid.
- If the lid does not flex or pop, the seal is good.
- Any unsealed jars must be refrigerated and used within 2 days.
Storing Oven-canned Ribs
For best results, follow these storage tips:
- Store jars in a cool, dark place (50–70°F / 10–21°C).
- Avoid direct sunlight or temperature changes.
- Label each jar with the date and contents.
- Use within 6 to 12 months for best flavor and quality.
How To Use Oven-canned Ribs
When you are ready to eat, open a jar and reheat the ribs. The meat will be tender, and the flavor developed.
Reheating Methods
- Oven: Place ribs and juices in a baking dish, cover with foil, and heat at 325°F (163°C) for 20–30 minutes.
- Microwave: Transfer to a microwave-safe plate, cover loosely, and heat on medium for 3–5 minutes.
- Stovetop: Simmer ribs in sauce or broth for 10–15 minutes until hot.
Serve ribs with your favorite sides, such as mashed potatoes, coleslaw, or baked beans.
Safety Tips And Common Mistakes
Canning meat is safe if done correctly, but mistakes can lead to serious health risks.
Essential Safety Tips
- Always sterilize jars and lids.
- Use fresh, high-quality ribs.
- Do not use damaged jars or lids.
- Oven temperature must stay at 250°F (121°C).
- Process for the full recommended time.
Common Mistakes To Avoid
- Skipping Pre-Cooking: Raw ribs can release too much fat and juice, preventing proper sealing.
- Overfilling Jars: Leave headspace (1 inch) to allow for expansion.
- Under-processing: Less than 2.5 hours may not kill bacteria.
- Using old, rusty lids: This can cause seal failure.
- Storing in warm, humid areas: Increases risk of spoilage.
Non-obvious Insights
- Fat is not your friend: Excess fat can go rancid during storage. Trim ribs well.
- Seasoning changes: Flavors intensify during storage, especially salt and spices. Go lighter than you think.
- Liquid matters: Too much liquid in jars can cause siphoning (liquid boiling out), which leads to poor seals.
Credit: www.justataste.com
Comparing Oven Canning To Other Methods
How does oven canning stack up against water bath and pressure canning? Here’s a quick look:
| Method | Safety | Flavor | Ease of Use |
|---|---|---|---|
| Oven Canning | Medium (controversial for meat) | Good | Simple, but riskier |
| Pressure Canning | High | Excellent | Requires special equipment |
| Water Bath | Low (not for meat) | Good for jams/pickles only | Easy, but not for ribs |
Key takeaway: For absolute safety, especially with meat, a pressure canner is best. If you use the oven method, do so with caution and never skip steps.
Troubleshooting Oven-canned Ribs
Even with care, sometimes things go wrong. Here’s how to fix common problems:
Jars Did Not Seal
- Possible causes: Overfilled jars, dirty rims, faulty lids, or not processing long enough.
- Solution: Refrigerate unsealed jars and use within 2 days.
Cloudy Liquid
- Too much fat or minerals in water.
- Solution: Trim ribs well and use filtered water.
Off Smell Or Color
- Signs of spoilage. Do not taste. Discard immediately.
Ribs Are Dry
- Overcooking or not enough liquid in the jar.
- Next time, add 1–2 tablespoons of broth or sauce.
Practical Tips For Best Results
- Use wide-mouth jars for easier packing and serving.
- Label every jar with the date and type of ribs.
- Always rotate your stock—use older jars first.
- For richer flavor, marinate ribs overnight before pre-cooking.
- If you want smoky flavor, add a drop of liquid smoke before canning.
Nutritional Benefits And Considerations
Canning ribs preserves protein and most nutrients, but some vitamins are sensitive to heat. Salt content can increase, so use non-iodized canning salt and avoid extra sodium if you have dietary concerns.
Nutritional Content (per 4 Oz Serving, Oven-canned Pork Ribs):
- Calories: 220
- Protein: 18g
- Fat: 15g
- Carbohydrates: 0g
- Sodium: 340mg (varies with seasoning)
Canned ribs are a good source of protein and iron, but remember to balance your diet with vegetables and grains.
Credit: healthyrecipesblogs.com
Oven Canning Ribs: Myths And Truths
Many people believe oven canning is “just as safe” as pressure canning. This is not entirely true. While many have done it for generations, modern science shows only pressure canning consistently kills all bacteria and spores in meat.
However, oven canning is still widely used for non-commercial, personal use. If you follow every step, keep things clean, and store jars safely, the risks are low—but not zero.
For more on food safety, see this Wikipedia article on food preservation.
Frequently Asked Questions
How Long Do Oven-canned Ribs Last?
If sealed and stored in a cool, dark place, oven-canned ribs can last 6–12 months. For best quality, use within 6 months. Always check for signs of spoilage before eating.
Can I Use Barbecue Sauce In The Jar?
Yes, but use a thin layer. Thick or sugary sauces can burn during oven processing. If you love extra sauce, add it after opening the jar when reheating.
Is Oven Canning As Safe As Pressure Canning?
No. Pressure canning is safer for meat, as it reaches higher temperatures that kill all bacteria. Oven canning is less reliable, so follow every step and inspect jars before eating.
What’s The Best Way To Reheat Canned Ribs?
The oven gives the best texture. Place ribs in a baking dish, cover with foil, and heat at 325°F (163°C) for 20–30 minutes. Add fresh sauce or broth if desired.
Can I Can Leftover Cooked Ribs?
Yes, as long as the ribs are freshly cooked and have not been sitting out for more than 2 hours. Trim off any burnt or dried-out parts and pack into sterilized jars as described.
Bringing It All Together
Canning ribs in the oven is a traditional method that lets you enjoy delicious meat all year long. When done carefully, it’s a rewarding way to preserve flavor, save money, and prepare for emergencies. Always use clean jars, trim fat, avoid over-seasoning, and process jars long enough at the right temperature.
Remember, safety comes first—if you ever feel unsure, choose a pressure canner or ask a local expert. With patience and practice, you’ll soon have jars of tender, flavorful ribs ready for any meal or occasion.