Cleaning kitchen cabinets can be a big task, but it does not have to feel overwhelming. Grease, fingerprints, and food splatters make cabinets look dirty over time. Many people want a method that is safe, effective, and gentle, especially for wood cabinets. That is where Murphy’s Oil Soap comes in. This classic cleaner has been trusted for generations to clean wood surfaces without damage. But how do you use Murphy’s Oil Soap for kitchen cabinets correctly? There are some important steps, tips, and things to avoid if you want your cabinets to look their best.
In this guide, you will learn everything you need to know. You will discover what makes Murphy’s Oil Soap special, the supplies you need, step-by-step cleaning instructions, and how to deal with tough stains. If you have wood, laminate, or even painted cabinets, you will find advice that fits.
There are also tips for keeping your cabinets clean longer, fixing common mistakes, and answers to questions people often ask. Whether your cabinets are very dirty or just need a refresh, you will walk away ready to clean with confidence.
Why Choose Murphy’s Oil Soap For Kitchen Cabinets?
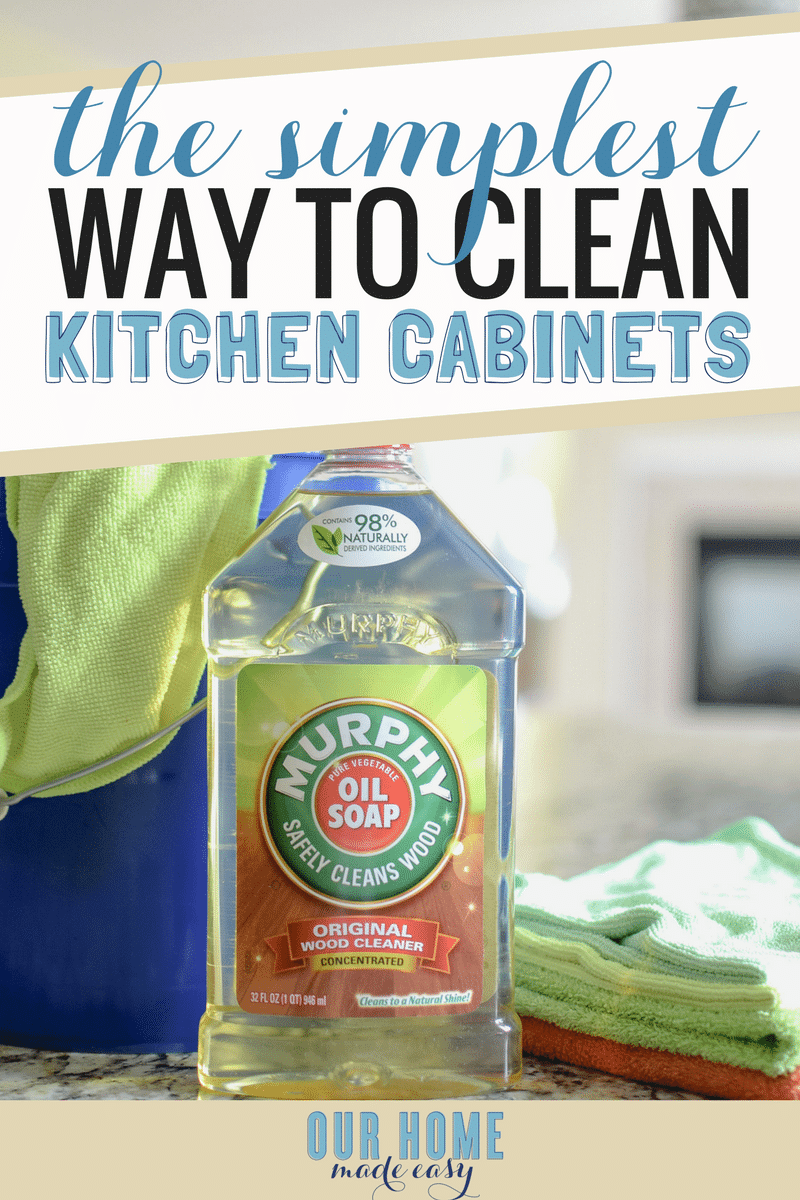
Murphy’s Oil Soap is not just another household cleaner. It is famous for cleaning wood without stripping away natural oils or leaving harmful residues. The main ingredient is natural vegetable oil, usually derived from plants like coconut and palm. This makes it gentle, but still strong enough to cut through grease. Many people like that it is biodegradable and does not contain harsh chemicals like ammonia or bleach.
Murphy’s Oil Soap is especially good for wood cabinets. It cleans, shines, and helps maintain the wood’s natural finish. Even if you have painted or laminate cabinets, Murphy’s Oil Soap is usually safe, as long as you follow the right method. The light, fresh scent is a bonus for many users.
Some key reasons people choose Murphy’s Oil Soap:
- Gentle on wood: Helps prevent drying and cracking.
- Removes grease: Cuts through oily buildup common in kitchens.
- No strong chemicals: Safer for families, pets, and the environment.
- Economical: A small amount goes a long way.
However, it is not just about safety. Many cleaning experts and homeowners report better results with Murphy’s Oil Soap compared to harsh degreasers or all-purpose sprays.
Supplies You Will Need
Before you start, gather all your supplies. Having everything ready makes the process faster and prevents mistakes.
You will need:
- Murphy’s Oil Soap (liquid concentrate or ready-to-use spray)
- Warm water
- Two buckets (one for the cleaning solution, one for rinsing)
- Soft microfiber cloths (at least three)
- Soft-bristle brush (optional, for grooves or heavy buildup)
- Dry towels for buffing
- Rubber gloves (optional, for sensitive skin)
- Step stool (if your cabinets are high up)
Do not use rough sponges or steel wool. These can scratch the cabinet finish.

Credit: www.reddit.com
Preparing Cabinets For Cleaning
Proper preparation saves time and helps you get better results. Do not skip these steps.
- Empty the cabinets: Remove all dishes, food, and liners. This prevents anything from getting wet or damaged.
- Open windows: Murphy’s Oil Soap has a mild scent, but good airflow is always best.
- Dust first: Wipe off loose dust with a dry cloth. This stops dust from turning into mud when wet.
- Check your cabinet type: Most wood, laminate, and painted cabinets are safe. But if you have unfinished or waxed cabinets, test a small area first.
A small amount of planning makes cleaning easier and prevents sticky or streaky results.
How To Mix Murphy’s Oil Soap For Kitchen Cabinets
You do not need to use Murphy’s Oil Soap straight from the bottle. In fact, using it undiluted is a common mistake. Here is how to mix it correctly:
- For regular cleaning: Mix 1/4 cup of Murphy’s Oil Soap in 1 gallon of warm water.
- For heavy grease: You can use up to 1/2 cup per gallon, but test first.
- For light touch-ups: Use a ready-to-use spray, or mix a few drops in a spray bottle with water.
Stir the solution gently to avoid suds. Too many bubbles can leave streaks on cabinets.
Comparison Of Cleaning Solutions
Here is a quick look at how Murphy’s Oil Soap compares to other common kitchen cabinet cleaners:
| Cleaner Type | Main Ingredient | Safe for Wood | Removes Grease | Residue Risk |
|---|---|---|---|---|
| Murphy’s Oil Soap | Vegetable oil soap | Yes | Yes | Low |
| All-purpose Spray | Varies (often chemicals) | Often no | Some | Medium/High |
| Vinegar Solution | Vinegar + water | Sometimes (can dull wood) | Mild | Low |
| Degreaser | Strong chemicals | No | Yes | High |
Murphy’s Oil Soap offers a good balance of safety and cleaning power.
Credit: www.ourhomemadeeasy.com
Step-by-step Guide: Cleaning Kitchen Cabinets With Murphy’s Oil Soap
Cleaning your kitchen cabinets with Murphy’s Oil Soap is easy if you follow the right steps. Here is a complete process that works for most cabinets:
1. Dip And Wring Your Cloth
Soak a microfiber cloth in your Murphy’s Oil Soap solution. Wring it out well so it is damp, not dripping. Excess water can damage wood or seep into cracks.
2. Wipe Cabinet Surfaces
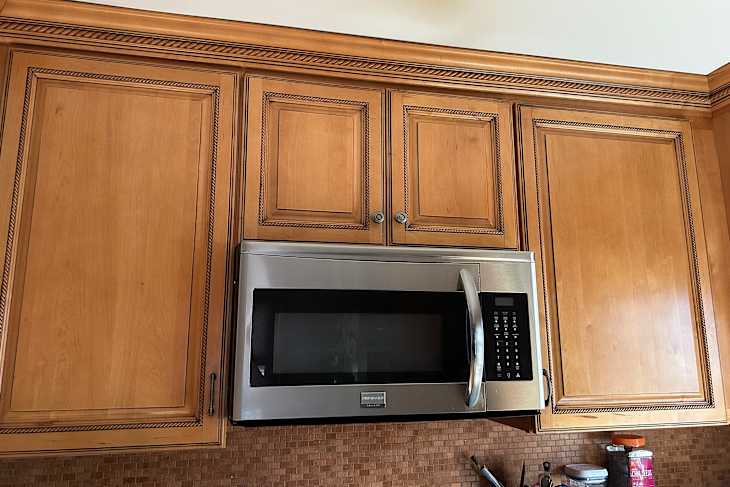
Start at the top of each cabinet and wipe down in gentle, circular motions. Pay extra attention to areas near handles, edges, and above the stove. These spots collect more grease.
3. Scrub Crevices And Trim
Use a soft-bristle brush for grooves, raised panels, or detailed trim. Dip the brush in the solution and gently scrub. Do not use too much force.
4. Rinse With Clean Water
Take a new cloth and dip it in clean, warm water. Wring it out well. Wipe down all surfaces you cleaned to remove any soap residue.
5. Dry Immediately
Use a dry towel to buff and dry the cabinet surface. This step is important to prevent water spots and streaks.
6. Repeat If Needed
For heavy buildup, you may need to repeat the process. Always start gentle and increase strength if needed.
Pro tip: For sticky handles or stubborn spots, let the damp cloth sit on the area for a minute before wiping. This helps soften the grime.
How Often Should You Clean Kitchen Cabinets?
The best cleaning schedule depends on your cooking habits and cabinet type. Here are some guidelines:
- Light cooking/rare use: Deep clean with Murphy’s Oil Soap every 3-6 months.
- Moderate cooking: Wipe down monthly and deep clean every 2-3 months.
- Heavy cooking (frying, lots of splatters): Wipe down weekly, deep clean monthly.
Frequent light cleaning makes deep cleaning faster and easier. Do not wait for cabinets to look dirty before cleaning.
Tackling Tough Stains And Grease
Some kitchen cabinets get stubborn stains that regular wiping does not remove. Here’s how to use Murphy’s Oil Soap for tough spots:
Grease Buildup
- Mix a stronger solution (up to 1/2 cup per gallon).
- Let the damp cloth sit on grease for 1-2 minutes.
- Gently scrub with a soft brush.
- Rinse and dry.
Sticky Residue
Sticky spots from syrup or dried sauces can be stubborn. After washing, use a bit of baking soda on a damp cloth and gently rub the area, then rinse. Do not use abrasive powders or pads.
Old, Dull Finish
If cabinets look dull, cleaning with Murphy’s Oil Soap can help restore shine. For extra shine, follow up with a cabinet-safe polish, but only after all residue is gone.
Stains On Painted Cabinets
Test a small area first. If the paint is strong, Murphy’s Oil Soap is usually safe. Do not scrub too hard. For deep stains, a bit of diluted dish soap may help before rinsing with Murphy’s Oil Soap.
Special Tips For Different Cabinet Materials
Not all cabinets are the same. Murphy’s Oil Soap works on most surfaces, but a few small changes can help:
Wood Cabinets
- Always wring out your cloth well.
- Dry immediately to prevent swelling.
- Polish with a wood conditioner every few months for extra protection.
Laminate Cabinets
- Murphy’s Oil Soap is safe, but do not soak the edges.
- Avoid letting solution pool at seams.
Painted Cabinets
- Use a very soft cloth.
- Do not scrub hard, especially on old or chipped paint.
Glass Inserts
- Clean the frame with Murphy’s Oil Soap first.
- Use a glass cleaner for the insert, wiping away any drips from the frame.
Comparison: Cabinet Material Sensitivity
Here’s a summary for how different cabinet materials react to cleaning:
| Cabinet Material | Murphy’s Oil Soap Safe? | Special Care |
|---|---|---|
| Solid Wood | Yes | Avoid excess water, dry quickly |
| Laminate | Yes | Do not let water pool at seams |
| Painted Wood | Yes (test first) | Avoid scrubbing, use soft cloth |
| Veneer | Yes | Gentle pressure, avoid soaking |
| Metal | Not recommended | Use a metal cleaner instead |
| Glass | Frame only | Use glass cleaner for glass parts |
Always check your cabinet manufacturer’s instructions before using any cleaner.
Common Mistakes To Avoid
Even a gentle cleaner like Murphy’s Oil Soap can cause problems if used incorrectly. Watch out for these mistakes:
- Using too much water: Water can seep into wood or under laminate, causing swelling or peeling.
- Not rinsing: Soap residue can leave a sticky film that attracts dirt.
- Scrubbing with rough materials: Always use a soft cloth or brush. Hard scrubbers scratch finishes.
- Skipping drying: Leaving surfaces wet can cause water spots and damage.
- Mixing with other cleaners: Do not add bleach, vinegar, or other chemicals. This can damage cabinets or reduce cleaning power.
- Ignoring test patches: Always test a hidden area first, especially on painted or old cabinets.
Non-obvious insight: Even small spills or drips left behind from cleaning can attract more dirt quickly. Always wipe every surface dry for best results.
How To Keep Cabinets Clean Longer
Regular cleaning is important, but small habits also keep your cabinets looking good. Here are some tips:
- Wipe spills immediately: Do not let grease or sauces dry on surfaces.
- Use cabinet hardware: Open doors with handles, not by touching the wood.
- Clean hands before cooking: Fingerprints leave oils that attract dirt.
- Install a range hood: It reduces grease buildup on cabinets.
- Add shelf liners: These make cleaning inside cabinets faster.
- Deep clean seasonally: Even if cabinets look clean, a deep clean every few months prevents buildup.
A regular routine prevents the need for harsh scrubbing or strong chemicals.
Credit: www.thekitchn.com
When Not To Use Murphy’s Oil Soap
Murphy’s Oil Soap is great for most cabinets, but there are some exceptions:
- Unfinished wood: The soap can soak in and raise the grain.
- Waxed surfaces: Murphy’s Oil Soap may strip wax.
- Metal cabinets: Use a dedicated metal cleaner.
- High-gloss acrylic: It may leave a haze.
If you are unsure, check your cabinet warranty or ask the manufacturer. Most modern cabinets are compatible, but older or specialty finishes may not be.
Safety And Environmental Benefits
Many people choose Murphy’s Oil Soap because it is biodegradable and does not release harsh fumes. It is safer for people with allergies or sensitive skin. Always rinse and dry to prevent slips and keep pets and children away from wet floors.
Murphy’s Oil Soap is also a better choice for the environment than cleaners with ammonia or bleach. According to the manufacturer, it breaks down naturally and does not pollute water supplies when used as directed.
If you want more details about the product’s ingredients or safety data, you can read the official information at Colgate-Palmolive.
Real-life Example: Cleaning A Greasy Kitchen Cabinet
Let’s look at a real-life cleaning scenario. Imagine you have upper cabinets above your stove that have not been cleaned in six months. There is visible grease and dust.
- Mix 1/2 cup Murphy’s Oil Soap in 1 gallon warm water.
- Use a microfiber cloth, wring out well.
- Wipe the cabinet doors, focusing on the area above the stove.
- For heavy grease, let the damp cloth sit for 2 minutes, then scrub with a soft brush.
- Rinse with a clean damp cloth.
- Dry with a towel immediately.
- Inspect for missed spots and repeat if needed.
After cleaning, the cabinets look brighter, feel smooth, and the kitchen smells fresh. This process takes about 10-15 minutes per cabinet section.
Non-obvious insight: Often, the area above the stove or near the sink needs more attention than other cabinets. Plan extra time for these spots.
How Murphy’s Oil Soap Compares To Other Cabinet Cleaners
Some people wonder if Murphy’s Oil Soap is better than other cleaners. Here is a quick comparison.
| Feature | Murphy’s Oil Soap | Vinegar Solution | Commercial Degreaser |
|---|---|---|---|
| Safe for wood | Yes | Sometimes | No |
| Removes grease | Yes | Light grease | Yes |
| Leaves shine | Yes | No | No |
| Harsh chemicals | No | No | Yes |
| Odor | Mild, pleasant | Strong | Chemical |
Murphy’s Oil Soap is a good choice for people who want safe, effective cleaning with a pleasant scent.
Troubleshooting: If Cabinets Feel Sticky Or Look Streaky
Sometimes, after cleaning, cabinets may feel sticky or look streaky. This usually happens if:
- Too much soap was used
- Cabinets were not rinsed well
- The cleaning cloth was too wet
To fix it:
- Rinse cabinets with a cloth dampened in clean water.
- Dry with a towel.
- If streaks remain, wipe with a mixture of 1 part vinegar to 10 parts water, then dry.
Always use the correct soap-to-water ratio and rinse well to avoid this problem.
How To Clean Cabinet Interiors
Murphy’s Oil Soap is safe for most cabinet interiors unless they are unfinished wood or particleboard.
- Remove all items and shelf liners.
- Vacuum crumbs or dust.
- Wipe with a lightly damp microfiber cloth using a very diluted solution (1/8 cup per gallon).
- Dry completely before replacing items.
Do not soak interior surfaces, especially at seams or edges.
Maintaining Cabinet Hardware
Do not forget about the hardware. Handles, knobs, and hinges also get greasy.
- Remove hardware if possible for deep cleaning.
- Soak in Murphy’s Oil Soap solution for 5-10 minutes.
- Scrub gently with a soft brush.
- Rinse with clean water and dry.
- Reattach when fully dry.
For hardware that cannot be removed, wipe with a damp cloth and dry well.
Seasonal Deep Cleaning Routine
Every few months, a deep clean keeps cabinets looking new.
- Empty all cabinets.
- Clean interiors and exteriors with Murphy’s Oil Soap.
- Wash hardware.
- Polish wood if needed.
- Replace shelf liners.
This routine prevents long-term buildup and keeps your kitchen healthier.
Frequently Asked Questions
What Is Murphy’s Oil Soap Made Of?
Murphy’s Oil Soap is made mainly from vegetable oil soap, water, and a small amount of fragrance. It contains no ammonia, bleach, or harsh chemicals, making it gentle on wood and safe for most homes.
Can I Use Murphy’s Oil Soap On Painted Cabinets?
Yes, you can use Murphy’s Oil Soap on most painted cabinets, but always test a small hidden area first. Use a soft cloth and do not scrub hard to protect the paint finish.
Will Murphy’s Oil Soap Remove Sticky Grease From Cabinets?
Yes, Murphy’s Oil Soap is designed to cut through kitchen grease and sticky residue. For tough spots, let the damp cloth sit on the stain for a minute before wiping and rinse well.
Is Murphy’s Oil Soap Safe For The Environment?
Murphy’s Oil Soap is biodegradable and does not contain strong chemicals that pollute water. It is a more environmentally friendly option compared to many commercial kitchen cleaners.
How Often Should I Clean My Kitchen Cabinets With Murphy’s Oil Soap?
For most homes, deep cleaning every 2-3 months is enough. In busy kitchens, clean monthly or as needed for best results.
Cleaning kitchen cabinets does not have to be stressful or risky for your wood. With Murphy’s Oil Soap, you get a safe, reliable, and time-tested solution. Follow these steps and tips to keep your kitchen looking beautiful with less effort, and enjoy cabinets that shine for years.