
Mullein is a plant that has been used for centuries in herbal medicine. Its soft, fuzzy leaves are especially popular for teas, tinctures, and herbal remedies. To enjoy mullein’s benefits year-round, many people want to dry the leaves at home.
While air drying is common, using an oven is often faster and more convenient, especially in humid climates or when you need dried leaves quickly. If you want to learn how to dry mullein leaves in the oven—and do it right—this guide will walk you through everything you need to know, from harvesting to storage, with practical tips that even experienced herbalists sometimes overlook.
Why Dry Mullein Leaves?
Before you start, it helps to understand why dried mullein leaves are so valued. Drying preserves the plant’s medicinal properties and makes storage easy. Dried mullein can be used for:
- Herbal teas for soothing the throat and lungs
- Infusions and tinctures
- Crafting homemade herbal blends
- Natural remedies for coughs and colds
Fresh mullein leaves spoil quickly, losing their potency and growing mold. Drying locks in their benefits and allows you to use them throughout the year.
Choosing The Right Mullein Leaves
Quality starts with what you pick. Look for healthy, mature leaves—usually those that are medium to large in size, with a rich green color and no signs of disease or insects. Avoid leaves that are yellowing, have brown spots, or are overly tough and woody.
When To Harvest
The ideal time to harvest mullein is in the late morning after dew has dried but before the midday sun gets too hot. This timing helps prevent mold and keeps the leaves flavorful. Young plants (before flowering) typically have the softest, most potent leaves.
How To Harvest
Use clean, sharp scissors or garden shears. Cut the leaves close to the main stem, but avoid taking more than one-third of the plant at a time. This ensures the plant stays healthy and continues to grow.
Prepping The Leaves For Drying
Proper preparation is key to high-quality dried mullein. Start by gently shaking the leaves to remove insects or debris. Do not wash the leaves unless absolutely necessary; excess moisture can cause mold during drying. If you must wash them, pat gently with a clean towel and allow to air dry completely before proceeding.
Next, remove any thick stems. These take longer to dry and can hold extra moisture, increasing the risk of spoilage.
Setting Up Your Oven For Drying
Many people worry about using an oven for drying herbs, fearing it will destroy delicate properties. The truth is, if you follow the right steps, an oven can be a safe, efficient method.
Temperature Matters
The most important factor is low heat. Set your oven to its lowest possible temperature, typically between 100°F (38°C) and 170°F (77°C). Many ovens start at 170°F, which is still suitable if you monitor the process closely.
If your oven has a “keep warm” setting, use it. Some people even leave the oven door slightly open to lower the temperature further and allow moisture to escape.
Tools And Equipment
You don’t need special tools, but a few simple items will make the process smoother:
- Baking sheets or trays
- Parchment paper or a silicone baking mat (to prevent sticking)
- Oven thermometer (if your oven isn’t reliable at low temps)
- Tongs or a spatula for turning leaves
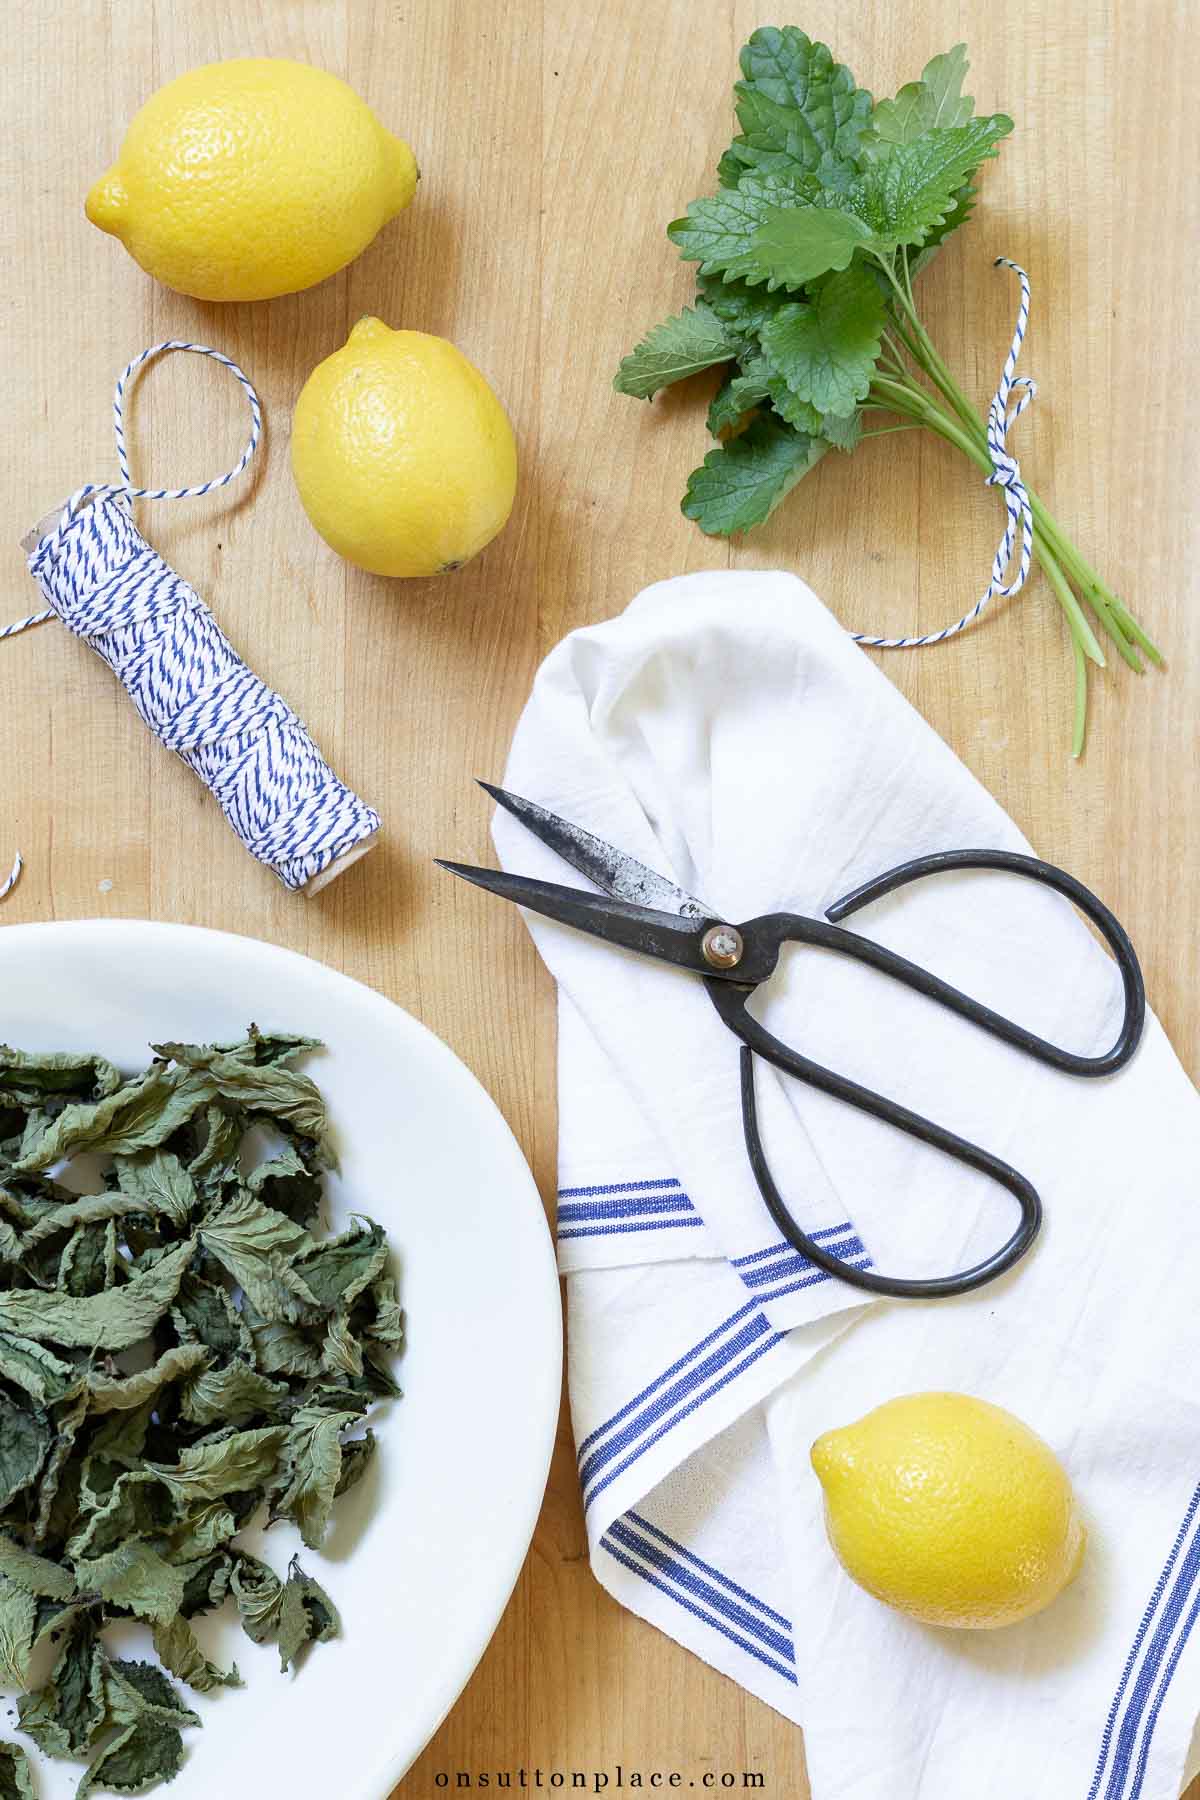
Lining your trays with parchment paper also helps keep the leaves clean and makes removal easier.
Credit: www.onsuttonplace.com
How To Arrange The Mullein Leaves
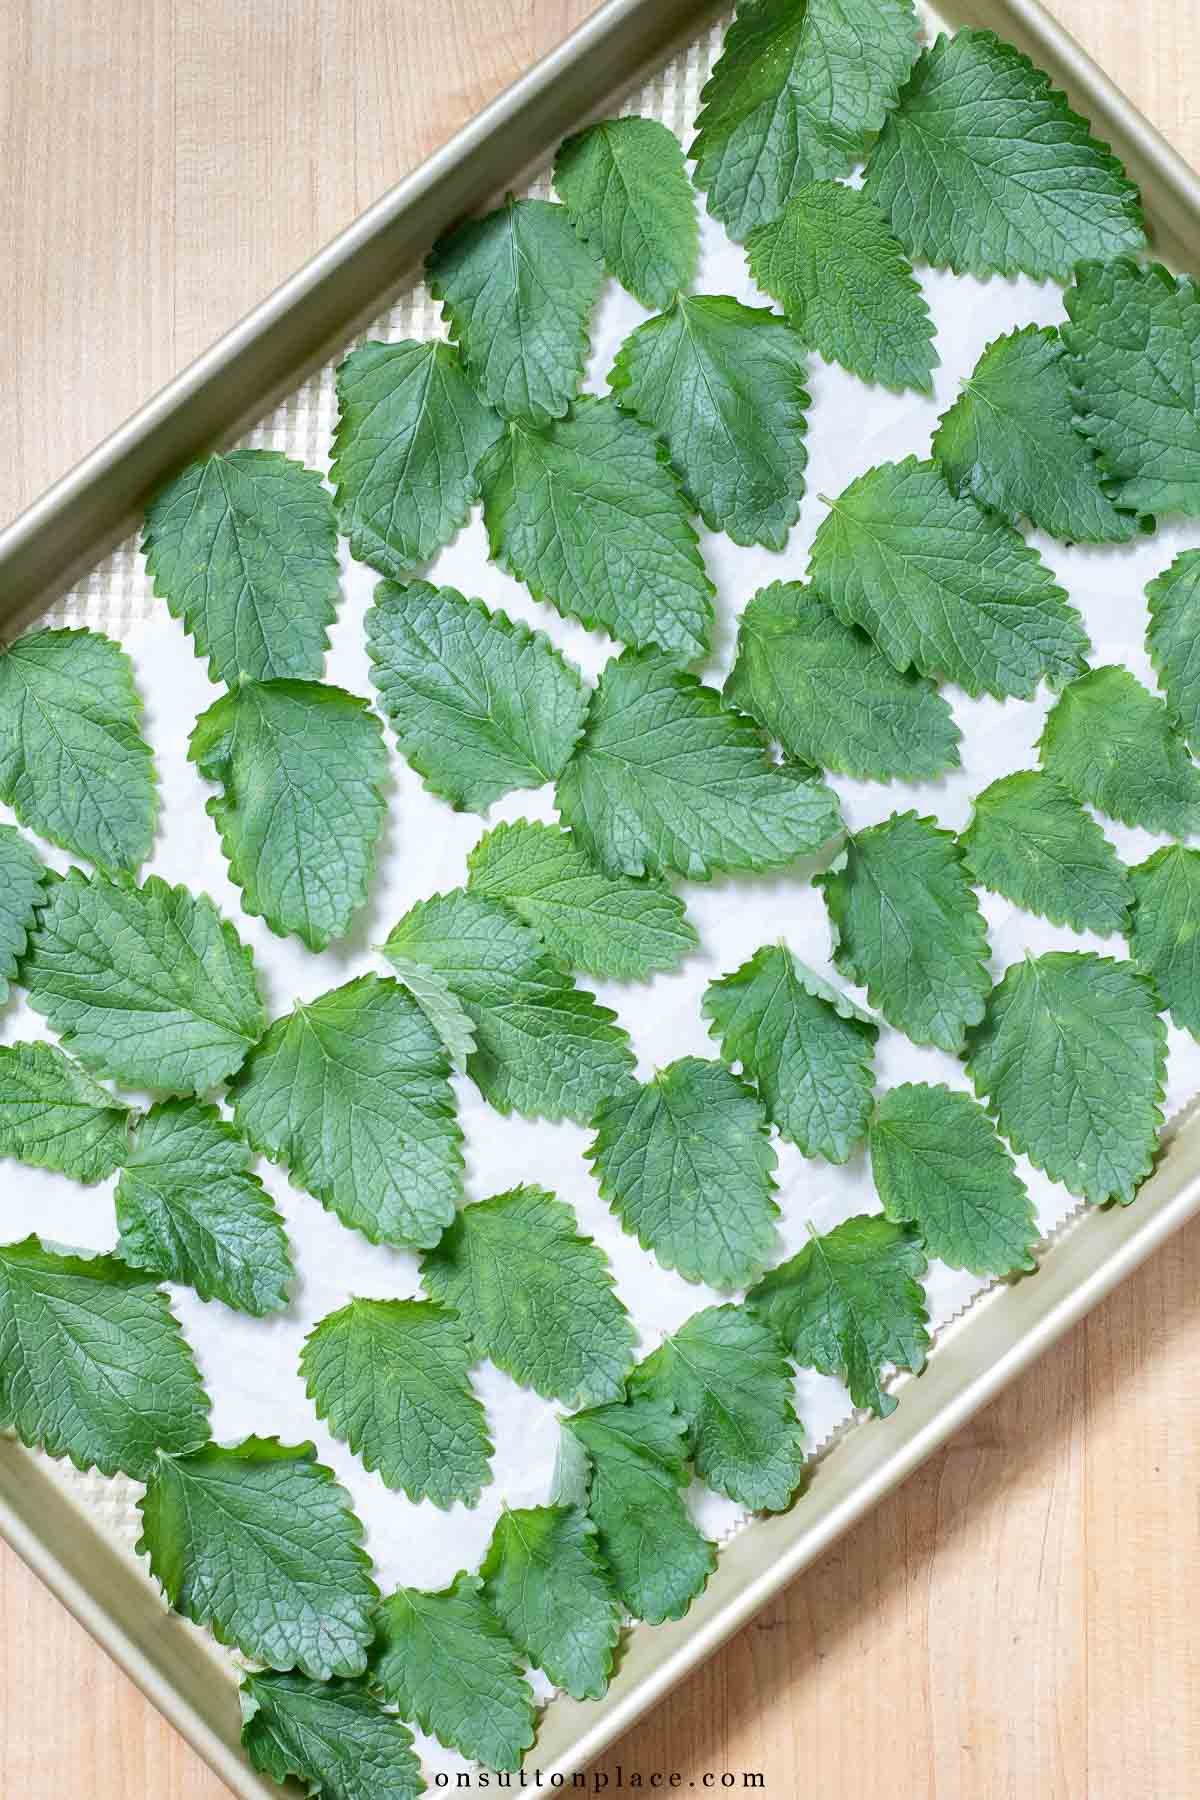
Spread the leaves in a single layer on the prepared baking sheets. Make sure they are not overlapping; crowded leaves dry unevenly and can trap moisture.
If you have a lot of leaves, dry them in batches. Overloading the oven can raise humidity and slow down drying.
Step-by-step: Drying Mullein Leaves In The Oven
- Preheat the oven to its lowest setting (ideally 100–170°F/38–77°C).
- Line baking sheets with parchment paper or a silicone mat.
- Spread the leaves in a single, even layer, avoiding overlap.
- Place trays in the oven on the center rack. For large batches, use multiple racks and rotate halfway through.
- Leave the oven door slightly open (about 2 inches) to allow moisture to escape. Use a wooden spoon to prop the door if needed.
- Check the leaves every 20–30 minutes. Turn them gently to ensure even drying.
- Drying time varies from 1 to 3 hours, depending on leaf thickness, oven temperature, and humidity.
- Leaves are ready when they feel dry, crispy, and easily crumble between your fingers.
- Remove from oven and let cool on the tray for 10–15 minutes before storing.
How To Tell When Leaves Are Fully Dry
This is a common stumbling block. Many people remove the leaves too early, leading to mold in storage. Properly dried mullein leaves should:
- Be crispy and break easily
- Not feel cool or damp to the touch
- Crush into powder with gentle pressure
If in doubt, err on the side of slightly over-drying. Mullein can lose some aroma but will store better.
Common Mistakes When Drying Mullein In The Oven
Even with simple methods, mistakes happen. Here are some pitfalls to avoid:
- Using too high a temperature: This can cook the leaves instead of drying, ruining their medicinal properties.
- Overlapping leaves: Leads to uneven drying and a higher risk of mold.
- Not monitoring closely: Leaves can burn or become bitter if left unattended.
- Storing before fully cool: Residual heat causes condensation, which leads to spoilage.
How Oven Drying Compares To Other Methods
Some people wonder whether oven drying is as good as air drying or using a dehydrator. Here is a comparison to help you decide:
| Method | Time Required | Flavor & Aroma | Risk of Mold | Convenience |
|---|---|---|---|---|
| Oven Drying | 1–3 hours | Good (if low temp) | Low (if monitored) | High |
| Air Drying | 5–14 days | Excellent | Medium–High (humidity issues) | Medium |
| Dehydrator | 2–8 hours | Excellent | Low | High (if available) |
Oven drying is the best choice when you need dried leaves fast or live in a humid area where air drying is impractical.
Storing Dried Mullein Leaves
How you store your dried mullein can make the difference between fresh, usable leaves and a musty, useless batch.
Best Storage Containers
Use airtight containers like glass jars with tight-fitting lids, vacuum-sealed bags, or food-safe metal tins. Avoid plastic bags, which can let in air and moisture.
Ideal Storage Conditions
Keep your dried mullein in a cool, dark, and dry place. Light and heat can degrade the leaves’ potency over time.
Labeling
Always label your containers with the date and contents. Dried mullein keeps its best quality for up to 1 year, though it can last longer if stored well.
Using Dried Mullein Leaves
Once your mullein is dried and stored, it’s ready for a range of uses. The most common is making herbal tea. To do this, use about one tablespoon of crumbled dried leaves per cup of hot water. Steep for 10–15 minutes, then strain through a fine mesh or cheesecloth to remove the tiny, irritating hairs.
Other ways to use dried mullein include:
- Adding to homemade cough syrups
- Making infused oils for chest rubs
- Mixing into herbal smoking blends (traditional use)
Always consult a healthcare professional before using mullein medicinally, especially if you have allergies or are pregnant.
Credit: www.onsuttonplace.com
Practical Tips For The Best Results
Drying herbs like mullein may seem simple, but a few insider tricks can help you get the most out of each batch:
- Use an oven thermometer: Many ovens run hotter than their settings. A thermometer helps you stay below 170°F for best quality.
- Rotate trays: If you’re drying a large amount on multiple racks, switch the trays halfway through for even drying.
- Check humidity: On very humid days, oven drying is much more reliable than air drying.
- Wear gloves: Mullein leaves have tiny hairs that can irritate the skin. Gloves make handling more comfortable.
- Crush leaves just before use: This preserves aroma and potency longer than pre-crushing for storage.
The Science Behind Drying Herbs
Drying is not just about removing water—it’s about preserving volatile compounds that give herbs their flavor and medicinal value. Too much heat or exposure to sunlight can break down these compounds.
Research shows that low-temperature drying (below 170°F/77°C) best preserves antioxidants and essential oils in herbs. That’s why careful oven drying is nearly as good as air drying and much better than high-heat methods.
Troubleshooting: What If Something Goes Wrong?
Even with the best preparation, sometimes things don’t go as planned. Here’s what to do if you encounter issues:
- Leaves feel leathery, not crisp: Return to the oven for 15–30 more minutes, checking often.
- Leaves turn brown or black: The temperature was too high. Discard and start over with a lower setting.
- Mold appears during storage: Leaves were not fully dried. Throw away the batch to avoid health risks.
Remember, quality over quantity. It’s better to dry a small batch perfectly than to rush and waste your harvest.
Advanced Oven Drying: Maximizing Quality
Once you’re comfortable with the basics, you can try more advanced techniques to get the highest quality:
Using A Convection Oven
If your oven has a convection setting, it helps circulate air, speeding up drying and reducing the risk of “hot spots” that can burn leaves. Use the lowest fan setting and watch closely, as convection ovens dry herbs about 20% faster.
Batch Testing
Not all ovens are created equal. For the first batch, try drying just a handful of leaves. This allows you to fine-tune your process without risking your entire harvest.
Combining Methods
Some herbalists start the drying process in the oven, then finish with air drying to improve aroma. This hybrid approach can give you the best of both worlds, especially if you’re drying large quantities.
Mullein Leaf Drying: Oven Vs. Dehydrator Vs. Microwave
Many people ask whether a dehydrator or even a microwave is better than the oven for mullein leaves. Here’s a quick comparison:
| Method | Pros | Cons |
|---|---|---|
| Oven | Fast; widely available; good control over temperature | Risk of overheating; must monitor closely |
| Dehydrator | Best for large batches; precise temperature control; even drying | Requires special equipment; can be noisy |
| Microwave | Very fast (minutes); good for tiny batches | High risk of burning; uneven drying; loss of quality |
For most home users, the oven is the best all-around choice—fast, accessible, and reliable for small to medium batches.
Safety Precautions When Drying Mullein Leaves
Drying herbs in the oven is generally safe, but there are a few things to keep in mind:
- Never leave the oven unattended: Herbs dry quickly and can scorch or catch fire if forgotten.
- Use a timer: Set reminders to check your leaves every 20–30 minutes.
- Ventilate your kitchen: Keeping the oven door open can raise kitchen humidity. Use a fan or open a window if needed.
- Clean up after drying: Fine hairs and leaf crumbs can accumulate in your oven. Wipe down surfaces after each batch.
Two Key Insights Beginners Often Miss
- Don’t rush the drying process: Many beginners try to speed things up by turning up the heat. This leads to poor-quality leaves and wasted effort. Low and slow is always better for herbs.
- Watch for “hidden moisture”: Even if leaves feel dry on the surface, thick midribs or stacked leaves can trap moisture inside. Always check by breaking a few leaves in half to confirm they’re truly dry before storing.
Creative Ways To Use Dried Mullein
Most people use dried mullein for tea, but there are other interesting uses:
- Natural pillow stuffing: Dried mullein leaves add a soft, calming touch to homemade pillows.
- Herbal baths: Add dried leaves to a muslin bag and steep in your bath for a soothing, aromatic soak.
- Potpourri: Combine with other dried herbs for a fragrant, rustic air freshener.
Get creative—mullein is safe for many purposes as long as you avoid ingesting large amounts or using it if you have plant allergies.
Sustainable Harvesting: Protecting Wild Mullein
Mullein is common and often considered a weed, but ethical harvesting still matters. Always:
- Take only what you need, leaving enough for wildlife and regrowth
- Avoid harvesting in polluted or treated areas
- Harvest from multiple plants, not just one, to prevent overharvesting
By practicing sustainable harvesting, you help ensure mullein remains available for future herbalists and wildlife alike.
Learning More About Mullein
If you’re interested in the science and history behind mullein, there are excellent resources available. Botanical references, herbal guides, and research papers offer deeper insight. For a thorough overview, check out this Wikipedia entry on Verbascum thapsus, the scientific name for common mullein.

Credit: www.reddit.com
Frequently Asked Questions
How Long Does It Take To Dry Mullein Leaves In The Oven?
It usually takes 1 to 3 hours to dry mullein leaves in the oven at low temperatures. The exact time depends on your oven, the thickness of the leaves, and humidity. Check every 30 minutes and remove when leaves are crisp and brittle.
Can I Dry Mullein Leaves In A Microwave?
While it’s possible to dry small amounts in a microwave, it’s not recommended. The high heat can burn the leaves quickly, and it’s difficult to control the process. Oven or air drying gives much better results.
What Is The Best Way To Store Dried Mullein Leaves?
Store them in airtight containers (like glass jars) in a cool, dark, and dry place. Label with the date. Avoid plastic bags, which can let in moisture and reduce shelf life.
How Do I Use Dried Mullein Leaves For Tea?
Steep one tablespoon of crumbled dried leaves in a cup of hot water for 10–15 minutes. Strain well before drinking to remove fine hairs, which can irritate the throat.
What Should I Do If My Dried Mullein Leaves Get Moldy?
If you notice any mold on your dried leaves, discard the entire batch. Mold can produce toxins that are unsafe for consumption. To prevent this, make sure leaves are fully dry before storing.
Drying mullein leaves in the oven is a practical and rewarding skill for anyone interested in herbal remedies. With patience and care, you can preserve this valuable plant and enjoy its benefits all year long. Whether you are a beginner or an experienced herbalist, the right technique makes all the difference in quality and safety.