Engraving a cutting board turns a simple kitchen tool into something special. It can be a gift, a decoration, or a way to add your own style. But many people feel unsure about how to start. With the right tools, some patience, and clear steps, anyone can engrave a cutting board—even if you are a beginner.
In this guide, you’ll learn everything you need to know, from choosing the right board to adding the perfect finishing touches. We’ll go deep into each step, share practical tips, and help you avoid common mistakes. By the end, you’ll feel ready and confident to create a beautiful, long-lasting engraving.
Why Engrave A Cutting Board?
Personalized cutting boards are more than just useful kitchen items. When you engrave a design, name, or message, the board becomes a memory or a unique gift. Many people engrave cutting boards for weddings, anniversaries, or housewarming presents. It can also be a fun DIY project to try something new.
Besides looks, engraving also has practical value. If you label boards for meat, vegetables, or bread, you can prevent food mixing and improve kitchen hygiene. Engraving a logo or brand name is popular for small businesses, too.
Choosing The Right Cutting Board
Before you start engraving, you need the right board. The material, shape, and finish all make a difference.
Material Matters
Cutting boards come in several materials, but not all are good for engraving.
- Wood: The best choice for engraving. It’s soft enough for tools to cut, but hard enough to last. Woods like maple, cherry, and walnut are top picks. Bamboo is common, but its grain is tough and can splinter.
- Plastic: Not ideal. It melts or chips under engraving tools.
- Glass or stone: Too hard. These materials can ruin engraving bits and do not hold detail well.
Grain And Finish
Pay attention to the wood’s grain. Boards with a tight, even grain (like maple) give smooth results. Avoid boards with deep grooves or uneven surfaces. If the board has a thick finish or coating, sanding it off before engraving helps the design stick.
Size And Shape
Think about your design and how much space you need. For a family name or long message, a rectangular board works well. For monograms or small art, a round or paddle shape may look better.
Food Safety
If the board will be used for food, make sure it’s food-safe. Avoid boards with heavy varnish or glue seams that are not rated for food contact.
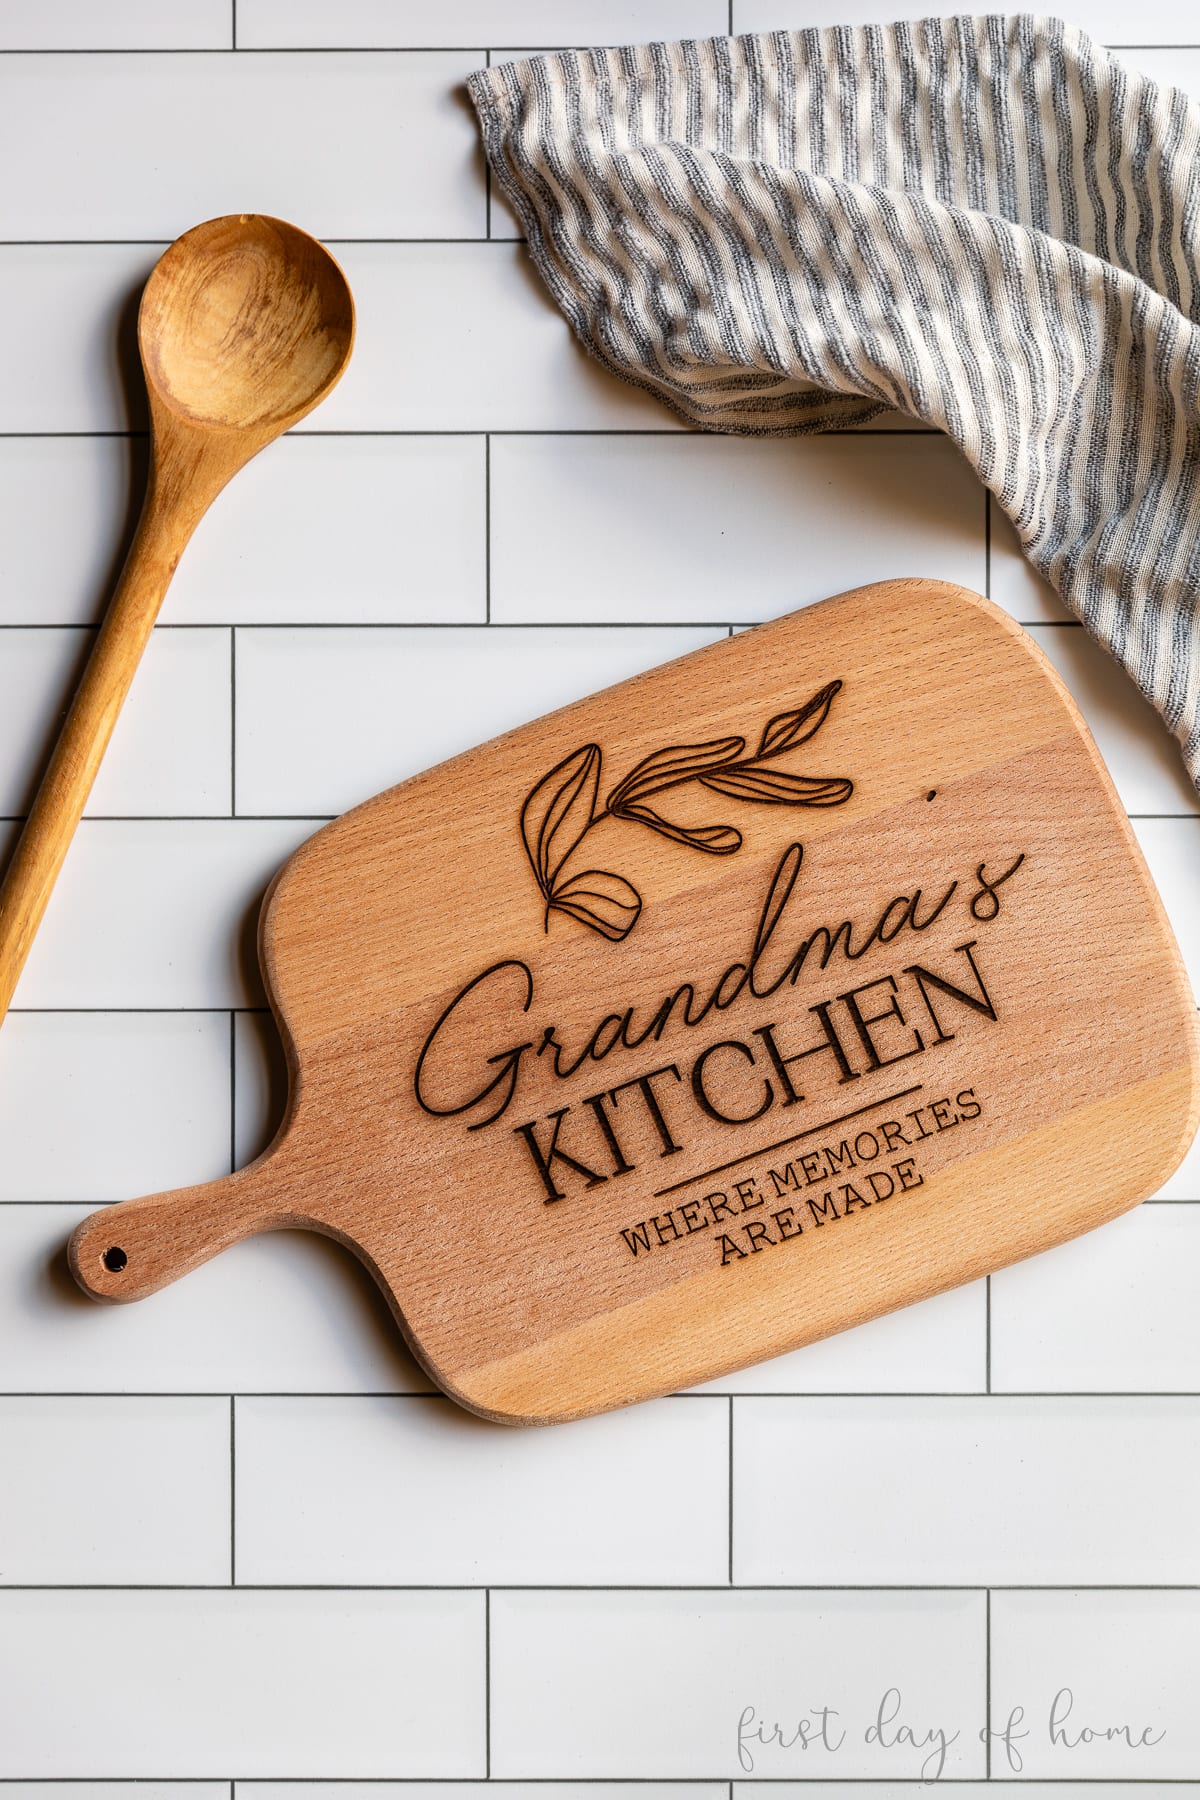
Credit: www.firstdayofhome.com
Tools And Materials Needed
Engraving does not always need expensive equipment. The right tools depend on how detailed you want your design to be.
Manual Tools
- Woodburning pen (pyrography tool): Uses heat to burn the design into the wood. Good for hand-drawn images or writing.
- Carving knives or chisels: Great for deep, bold letters or simple shapes. Needs a steady hand and practice.
- Stencil and pencil: For outlining your design before you start engraving.
Power Tools
- Rotary tool (like Dremel): Most popular for beginners. Comes with different bits for various effects.
- Laser engraver: For very detailed, precise designs. Costs more, but gives professional results.
Other Materials
- Sandpaper (medium and fine grit) for smoothing the wood.
- Ruler and masking tape for marking and holding your design.
- Transfer paper or carbon paper for moving your design onto the board.
- Pencil and eraser.
- Clamps to hold the board steady.
- Food-safe mineral oil or wax for finishing.
Comparing Engraving Tools
Below is a comparison of common engraving tools:
| Tool | Cost | Skill Needed | Best For | Finish Quality |
|---|---|---|---|---|
| Woodburning Pen | Low | Beginner | Lettering, simple art | Medium |
| Carving Knife/Chisel | Low | Intermediate | Bold designs | Medium |
| Rotary Tool | Medium | Beginner/Intermediate | Detailed designs | High |
| Laser Engraver | High | Advanced | Complex, fine art | Very High |
Creating Your Engraving Design
The design is the heart of your project. You don’t need to be an artist to create a great engraving, but some planning helps.
Brainstorming Ideas
Think about:
- Names or monograms: Classic choice for gifts.
- Special dates: Wedding, birthday, anniversary.
- Quotes or messages: Short phrases look neat and are easy to read.
- Simple art: Line drawings, hearts, or kitchen-themed icons (fork, spoon, etc. ).
- Logos: For business or personal branding.
Choosing The Style
Keep your design simple, especially if you’re new. Thin lines or tiny details can be hard to engrave. Bold, clear shapes work best.
Sizing And Layout
Measure the area you want to engrave. Use a ruler to check what will fit. Leave space around the edges—crowded designs look messy.
Using Templates And Fonts
You can print out templates or use stencils. For text, pick clear fonts. Avoid script or thin letters unless you’re using a laser engraver.
Transferring The Design
Here are some ways to move your design onto the board:
- Pencil drawing: Draw directly on the wood.
- Stencil: Tape a paper or plastic stencil and trace.
- Carbon paper: Place carbon paper under your design, then trace with a pencil to transfer the outline.
Non-obvious insight: Test your transfer on scrap wood first. Sometimes pencil marks are hard to erase if pressed too hard.
Preparing The Cutting Board
Good preparation makes engraving easier and neater.
Cleaning And Sanding
Wash the board with mild soap and let it dry fully. Sand the engraving area with medium-grit sandpaper (around 120 grit), then finish with fine (220 grit). This makes the surface smooth and helps your design stick.
Marking The Area
Use masking tape to mark the edges of your design area. This keeps your lines straight and avoids mistakes.
Securing The Board
Clamp the board to your work table. Movement during engraving can ruin your design or even cause injury. If you don’t have clamps, use a non-slip mat.
Tip: If you’re left-handed, start engraving on the right side and move left. This keeps your hand off finished work.
How To Engrave A Cutting Board: Step-by-step
Now comes the main part. These steps work for most tools, but always read your tool’s manual for safety.
Step 1: Trace Or Outline Your Design
With your design transferred, lightly outline it with a pencil. If using a woodburning pen or rotary tool, this gives you a clear path to follow.
Step 2: Start Engraving
Using A Woodburning Pen
- Let the pen heat up (usually 3–5 minutes).
- Hold it like a pencil. Don’t press too hard—let the heat do the work.
- Trace outlines first. For shading, use the side of the tip.
- Take breaks. The pen gets very hot and your hand may get tired.
Using A Rotary Tool
- Choose a fine bit for detail or a round bit for thick lines.
- Set the speed low at first. Fast speeds can burn or jump.
- Use two hands for control. One holds the tool, one guides your wrist.
- Move slowly. Rushing leads to mistakes.
Using Carving Knives/chisels
- Hold the knife at a low angle.
- Make shallow cuts first, then deepen as needed.
- For curves, make small straight cuts instead of trying to turn the blade.
Step 3: Deepen And Clean Up
After your first pass, check the depth. For woodburning, a single pass is enough. For carving, you may want to go over lines twice for a bolder look.
Use a small brush or vacuum to remove wood dust or debris. Erase any visible pencil marks.
Step 4: Sand The Edges
Lightly sand the engraved area with fine sandpaper. This removes splinters and smooths the surface without erasing your work.
Step 5: Finish And Seal
For food-safe boards, use food-grade mineral oil or beeswax. Do not use vegetable or olive oil—they can go rancid. Wipe the oil over the whole board, wait 20 minutes, then buff with a clean cloth.
Non-obvious insight: Let the board rest overnight after oiling before using it for food. This gives the oil time to soak in fully.

Credit: www.creativeramblingsblog.com
Adding Color Or Extra Detail
Want your engraving to stand out? You can add safe color or shading.
Coloring The Engraving
- Use food-safe wood stain or natural dyes (like coffee).
- For dark lines, fill carved areas with a non-toxic marker before sealing.
- Avoid acrylic paint unless the board is only for display.
Shading And Texture
With a woodburning tool, use different tips for shading. With a rotary tool, vary the bit for wide or thin lines.
Inlay Techniques
Advanced users may fill grooves with colored resin or crushed stone. This adds a luxury look, but only use food-safe products.
Finishing Touches
Little details can make your board look professional.
Cleaning Up
Wipe the board with a damp cloth to remove dust. Do not soak the board or put it in a dishwasher—this can warp the wood.
Final Sanding
Gently sand the edges and back. This removes any rough spots and helps the board feel smooth in the hand.
Adding A Hanging Hole
If you want to hang the board, drill a small hole at the top and thread a leather loop or rope.
Applying A Second Oil Coat
For extra protection, add a second coat of mineral oil or wax after a few days.
Common Mistakes And How To Avoid Them
Even careful crafters make mistakes. Here are the most frequent errors and how to prevent them.
Going Too Deep
Engraving too deeply can crack the board or make it hard to clean. Start shallow; you can always make lines deeper later.
Rushing The Design
Not taking time to plan or outline your design leads to uneven or crooked results. Always draw and check before starting.
Wrong Tool For The Wood
Hardwoods need sharp tools; softwoods can chip with heavy pressure. Test on a scrap piece if unsure.
Skipping Sanding
Not sanding before or after engraving leaves rough spots. This can trap food or bacteria.
Using Unsafe Finishes
Some oils and paints are unsafe for food. Always check the label for “food-safe” or “food-grade. ”
Comparing Engraving Methods
To help choose the best method for you, here’s a quick side-by-side look at the main engraving styles:
| Method | Time Required | Cost | Best For | Drawbacks |
|---|---|---|---|---|
| Woodburning | 1–2 hours | Low | Personalized gifts | Limited detail |
| Carving | 2–3 hours | Low | Rustic look | Takes practice |
| Rotary Tool | 1–2 hours | Medium | Detailed art | Noisy, dust |
| Laser Engraving | 30–60 mins | High | Professional finish | Expensive, fumes |
Credit: www.firstdayofhome.com
Safety Tips For Engraving
Working with wood and tools can be safe if you follow these rules:
- Wear eye protection when using power tools.
- Work in a well-ventilated area—especially for woodburning or laser engraving.
- Keep your hands dry and away from moving parts.
- Let tools cool before changing tips or bits.
- Never leave tools plugged in unattended.
Non-obvious insight: Power tools can throw fine dust in the air. Wear a dust mask, especially if you engrave often.
Caring For Your Engraved Cutting Board
A good engraved board can last for years with the right care.
Washing
Hand wash only, with mild soap and warm water. Never soak the board or put it in the dishwasher.
Drying
Stand the board on its edge to dry. This prevents water from pooling and warping the wood.
Oiling
Reapply mineral oil or wax every few weeks, or whenever the wood looks dry or pale.
Stain Removal
For tough stains, sprinkle salt on the board and rub with half a lemon. Rinse and dry.
Storing
Store the board upright or hang it. Avoid placing heavy things on top, which can warp the wood.
Creative Project Ideas
Looking for inspiration? Here are some ideas:
- Family recipe board: Engrave a loved one’s handwriting or recipe.
- Wedding gift: Add the couple’s names and date.
- Restaurant branding: Engrave a logo for serving cheese or bread.
- Holiday art: Try seasonal shapes—pumpkins for fall, snowflakes for winter.
- Kids’ art: Transfer a child’s drawing onto a board for a keepsake.
Pro tip: Combine engraving with other craft methods—like painting or woodburning—to create layered effects.
When To Use A Professional
While DIY is fun, some projects need a pro. Consider hiring an expert if:
- The design is very detailed or large.
- You need many boards (for a wedding, business, etc. ).
- You want a laser-engraved photo.
- You lack the tools or time.
Check local woodworking shops or online services for custom engraving. Many use high-quality lasers for perfect detail.
For more information about wood engraving and food safety, check Wikipedia’s wood engraving page.
Frequently Asked Questions
How Long Does It Take To Engrave A Cutting Board?
It usually takes 1 to 3 hours to engrave a cutting board by hand, depending on the design and your skill. Simple names or monograms can be finished in about an hour. Detailed art or large boards take longer. Using a laser engraver is much faster, but setup can still take some time.
Is It Safe To Use An Engraved Cutting Board For Food?
Yes, as long as you use food-safe finishes like mineral oil or beeswax, and the engraving is not too deep. Deep grooves can collect food particles and bacteria. Keep the board clean and re-oil it regularly.
What’s The Best Wood For Engraving A Cutting Board?
Maple, cherry, and walnut are the top choices. They have tight grain, are hard enough to last, and look beautiful after engraving. Bamboo works, but it’s harder to engrave cleanly and can splinter.
Can I Use Paint Or Color On An Engraved Board?
You can use food-safe dyes or stains if the board will touch food. For boards used only as decoration, acrylic paint is fine. Always seal the paint with food-grade oil or wax if you plan to use the board in the kitchen.
How Do I Transfer A Photo Or Handwriting Onto A Cutting Board?
Print the image in black and white. Use carbon paper to trace the design onto the board. Then engrave over the lines. For very detailed photos, a laser engraver works best.
Engraving a cutting board is a rewarding project that leaves you with a lasting, useful piece of art. With the right tools, a bit of patience, and these clear steps, you’ll create something you can be proud of. Whether it’s a heartfelt gift or a statement for your kitchen, the result is always worth the effort.