
Making chicken drumsticks on the stove is more than just a quick dinner fix. It can deliver juicy meat, crispy skin, and layers of flavor—all without turning on the oven or firing up the grill. For many home cooks, mastering this stove-top method means you can enjoy delicious chicken any day, even if you don’t have fancy equipment or much time.
Whether you are new to cooking or have tried before and ended up with dry, undercooked, or bland drumsticks, this guide will help you get it right. By the end, you’ll know exactly how to pick, season, cook, and finish chicken drumsticks on the stove, plus how to avoid common mistakes that ruin the meal.
This article will walk you through every step, from choosing the right chicken to adding finishing touches. You’ll discover smart tips, easy-to-follow instructions, and answers to the most common questions. If you want a simple yet complete recipe for stove-top chicken drumsticks, keep reading.
Why Cook Chicken Drumsticks On The Stove?
Many people wonder why they should cook chicken drumsticks on the stove instead of baking or grilling. The answer is simple: control and convenience. When you cook on the stove, you can adjust the heat instantly, watch the process closely, and add flavors at just the right time. This method is perfect for small kitchens, busy weeknights, or when you want to avoid heating up the house.
Stove-top cooking also tends to keep the meat juicier. The direct heat means you can create a crispy crust while keeping the inside moist. Another benefit is versatility: you can use different pans and mix in sauces or vegetables as you go.
One common mistake is thinking stove-top chicken must be bland or greasy. In reality, with the right technique, you can achieve restaurant-quality results at home.
Choosing The Best Chicken Drumsticks
The foundation of great stove-top chicken is starting with the right drumsticks. Not all chicken is the same, and making a good choice here improves both taste and safety.
Fresh Vs. Frozen Drumsticks
- Fresh drumsticks cook more evenly and tend to be juicier.
- Frozen drumsticks are convenient and last longer but must be thawed fully before cooking to avoid uneven results.
If using frozen chicken, place it in the refrigerator 24 hours before cooking, or use the cold-water method for faster thawing. Never cook drumsticks directly from frozen on the stove, as this leads to burnt outsides and raw insides.
Size And Quality
Look for drumsticks that are similar in size so they cook evenly. Avoid pieces with broken skin, bruises, or a slimy texture.
- Organic or free-range chicken often has better flavor and texture but can be more expensive.
- For budget-friendly options, supermarket drumsticks work well if they are fresh and handled properly.
How Much To Buy
Plan for about 2-3 drumsticks per adult. For a family of four, 8-12 drumsticks is usually enough. If you want leftovers, add a few extra.
Essential Ingredients And Equipment
Having the right ingredients and tools is key for both safety and flavor. Here’s what you’ll need:
Main Ingredients
- Chicken drumsticks: 8 pieces (about 1.5–2 pounds)
- Salt: 1–2 teaspoons
- Black pepper: ½ teaspoon
- Paprika (optional): 1 teaspoon for color and mild flavor
- Garlic powder: 1 teaspoon
- Onion powder: 1 teaspoon
- Cooking oil: 2–3 tablespoons (vegetable, canola, or olive oil)
- Water or chicken broth: ½ cup (for steaming, optional)
- Fresh herbs (optional): Rosemary, thyme, or parsley for garnish
Optional Flavors
- Lemon juice: For brightness
- Soy sauce or Worcestershire sauce: For umami
- Chili flakes: For heat
- Honey or brown sugar: For a sweet glaze
Equipment Needed
- Large skillet or sauté pan with lid (non-stick or stainless steel preferred)
- Tongs for turning the chicken
- Meat thermometer (optional but recommended)
- Paper towels for drying the chicken
- Plate for resting cooked drumsticks
Why Paper Towels Matter
Drying the drumsticks before seasoning helps the skin get crispy. Any moisture will create steam and prevent browning.
The Step-by-step Cooking Process
Cooking drumsticks on the stove involves several stages. Each step makes a difference in the final taste and texture.
1. Prepare The Drumsticks
Take the drumsticks out of the fridge 20–30 minutes before cooking. Letting them come closer to room temperature helps them cook more evenly.
- Pat dry with paper towels.
- Trim any excess fat or loose skin if needed.
- Place in a bowl or on a plate.
2. Season Generously
Sprinkle salt, pepper, paprika, garlic powder, and onion powder evenly over the drumsticks. Rub the spices into the skin and meat for better flavor.
If you like, add a squeeze of lemon juice or a splash of soy sauce for extra depth.
3. Heat The Pan
Place your skillet on the stove over medium-high heat. Add 2–3 tablespoons of oil and let it get hot—but not smoking. To test, drop a tiny bit of water into the pan; it should sizzle and evaporate right away.
4. Sear The Drumsticks
Carefully add the drumsticks to the hot pan, skin side down. Arrange them in a single layer with space between each one. Don’t overcrowd the pan—work in batches if needed.
- Cook for 4–5 minutes without moving, until the skin is golden brown and releases easily from the pan.
- Turn with tongs and brown the other sides for 2–3 minutes each.
5. Lower The Heat And Cover
Once all sides are browned, lower the heat to medium or medium-low. If your pan has a lot of fat, you can spoon some out, but leave enough to keep the chicken moist.
Add ½ cup of water or chicken broth to the pan. This creates steam, helping the chicken cook through without drying out.
Cover with a lid and let the drumsticks cook for 15–20 minutes. Turn them every 5 minutes to ensure even cooking.
6. Finish With High Heat
Remove the lid and turn the heat up to medium-high again. Let the remaining liquid evaporate while the drumsticks crisp up for 5–7 minutes, turning often.
7. Check For Doneness
Use a meat thermometer to check the thickest part of the drumstick. The internal temperature should reach 165°F (74°C). If you don’t have a thermometer, cut into one drumstick near the bone—the juices should run clear, not pink.
8. Rest And Serve
Let the drumsticks rest on a plate for 5 minutes. This helps the juices settle and keeps the meat moist.
Sprinkle with fresh herbs if you like, and serve immediately.
Timing And Temperature Guide
Getting the timing right is crucial for stove-top chicken drumsticks. Here’s a helpful chart to guide you:
| Step | Temperature | Time | Key Tip |
|---|---|---|---|
| Searing | Medium-high | 4–5 min/side | Don’t move too soon |
| Covered cooking | Medium/low | 15–20 min | Flip every 5 min |
| Crisping | Medium-high | 5–7 min | Let liquid evaporate |
The main thing beginners miss is that cooking times vary based on the size of the drumsticks and the type of pan. Always check doneness, not just the clock.
Common Mistakes And How To Avoid Them
Even experienced cooks sometimes make errors when cooking chicken on the stove. Here are the most frequent pitfalls:
Overcrowding The Pan
If the pan is too full, the chicken will steam instead of sear. This leads to pale, rubbery skin. Always leave space around each drumstick. If you have a lot of chicken, cook in batches.
Not Drying The Chicken
Moisture on the skin prevents browning. Always pat the drumsticks dry before seasoning and cooking.
Cooking On Too High Heat
While high heat is needed for searing, leaving the stove too hot during the covered phase can burn the skin and dry out the meat. Once seared, reduce the heat.
Skipping The Resting Step
Many people skip letting the chicken rest before serving. Resting allows the juices to redistribute, so the meat stays moist.
Not Checking Temperature
Guessing if chicken is done often leads to undercooked or overcooked meat. Use a meat thermometer for best results.
Adding Sauces Too Early
If you add sweet or sticky sauces (like honey or barbecue) before the chicken is cooked through, they can burn. Wait until the last few minutes to brush on glazes.
Flavor Variations And Marinades
Stove-top drumsticks are a blank canvas for flavors. Here are some popular variations you can try:
Lemon-garlic Drumsticks
Mix lemon juice, minced garlic, olive oil, salt, and pepper. Marinate the drumsticks for at least 30 minutes before cooking. This gives a bright, fresh flavor.
Spicy Buffalo Drumsticks
Toss cooked drumsticks in a mixture of melted butter and hot sauce after cooking. Serve with celery and blue cheese dip.
Teriyaki Glaze
Brush drumsticks with teriyaki sauce during the last 5 minutes of cooking. Sprinkle with sesame seeds and green onions.
Mediterranean Style
Use oregano, thyme, garlic, lemon, and a touch of olive oil. Add sliced olives and cherry tomatoes to the pan for a one-pan meal.
Honey-mustard Finish
Mix equal parts honey and Dijon mustard. Brush on in the last 3 minutes of cooking for a sticky, tangy finish.
Marinating the chicken for at least 30 minutes (or up to 8 hours in the fridge) gives even more flavor. If you’re in a hurry, dry rubs work well too.
How To Make A Complete Stove-top Chicken Drumstick Meal
Chicken drumsticks go well with many sides. Here are some easy ideas to create a balanced meal without extra fuss.
Quick Side Dishes
- Steamed rice: Absorbs juices and sauces.
- Mashed potatoes: Creamy texture matches crispy chicken.
- Simple salad: Greens, tomatoes, and a light vinaigrette.
- Sautéed vegetables: Carrots, bell peppers, or green beans cook fast in the same pan.
One-pan Meals
You can add vegetables to the pan with the chicken during the last 15 minutes of cooking. Try baby potatoes, sliced carrots, or zucchini. They soak up the flavors and make cleanup easier.
Sauces And Dips
Serve with classic sauces like ketchup, ranch, or garlic yogurt dip. For a healthier option, try Greek yogurt mixed with lemon juice and herbs.
Nutrition Information
Chicken drumsticks are a good source of protein, iron, and B vitamins. The skin adds fat, but also contributes flavor and crispiness.
Here’s a nutrition breakdown for one medium drumstick (about 80g, cooked with skin):
| Nutrient | Amount | % Daily Value* |
|---|---|---|
| Calories | 120 | 6% |
| Protein | 15g | 30% |
| Total Fat | 6g | 9% |
| Saturated Fat | 1.7g | 8% |
| Cholesterol | 65mg | 22% |
| Sodium | 180mg | 8% |
*Percent daily values are based on a 2,000 calorie diet.
Removing the skin lowers the fat and calorie content, but also reduces crispiness and flavor. For a lighter meal, you can serve with extra vegetables and use less oil.
The Science Of Crispy Skin
Achieving crispy chicken skin on the stove is not just about heat. Here are two insights many people miss:
- Dry Skin = Crispy Skin: Moisture is the enemy of crispiness. Patting drumsticks dry and salting them helps draw out extra water.
- Don’t Rush the Sear: Leaving the chicken undisturbed during the initial browning phase lets the skin form a crust. Moving or flipping too soon will tear the skin and prevent crisping.
If you want ultra-crispy results, try this advanced tip: After seasoning, leave the drumsticks uncovered in the fridge for 1–2 hours. This air-dries the skin even more.
Safety Tips For Cooking Chicken On The Stove
Chicken can carry bacteria if not cooked or handled properly. Protect yourself and your family with these key safety practices:
- Wash hands and all surfaces after touching raw chicken.
- Use separate utensils for raw and cooked chicken.
- Cook until the internal temperature is at least 165°F (74°C).
- Refrigerate leftovers within 2 hours to prevent bacterial growth.
Never use leftover marinade as a sauce unless you boil it for at least 3 minutes to kill any bacteria.
Cleaning Up After Cooking
Cooking chicken on the stove can leave behind greasy pans and splatters. Here are some smart ways to make cleanup easier:
- Wipe down surfaces with hot, soapy water right after cooking.
- Soak the pan with hot water and a little dish soap for 10 minutes before scrubbing.
- For stuck-on bits, add a splash of vinegar or baking soda to help lift residue.
If you use a non-stick pan, avoid metal scrubbers to keep the coating in good shape.
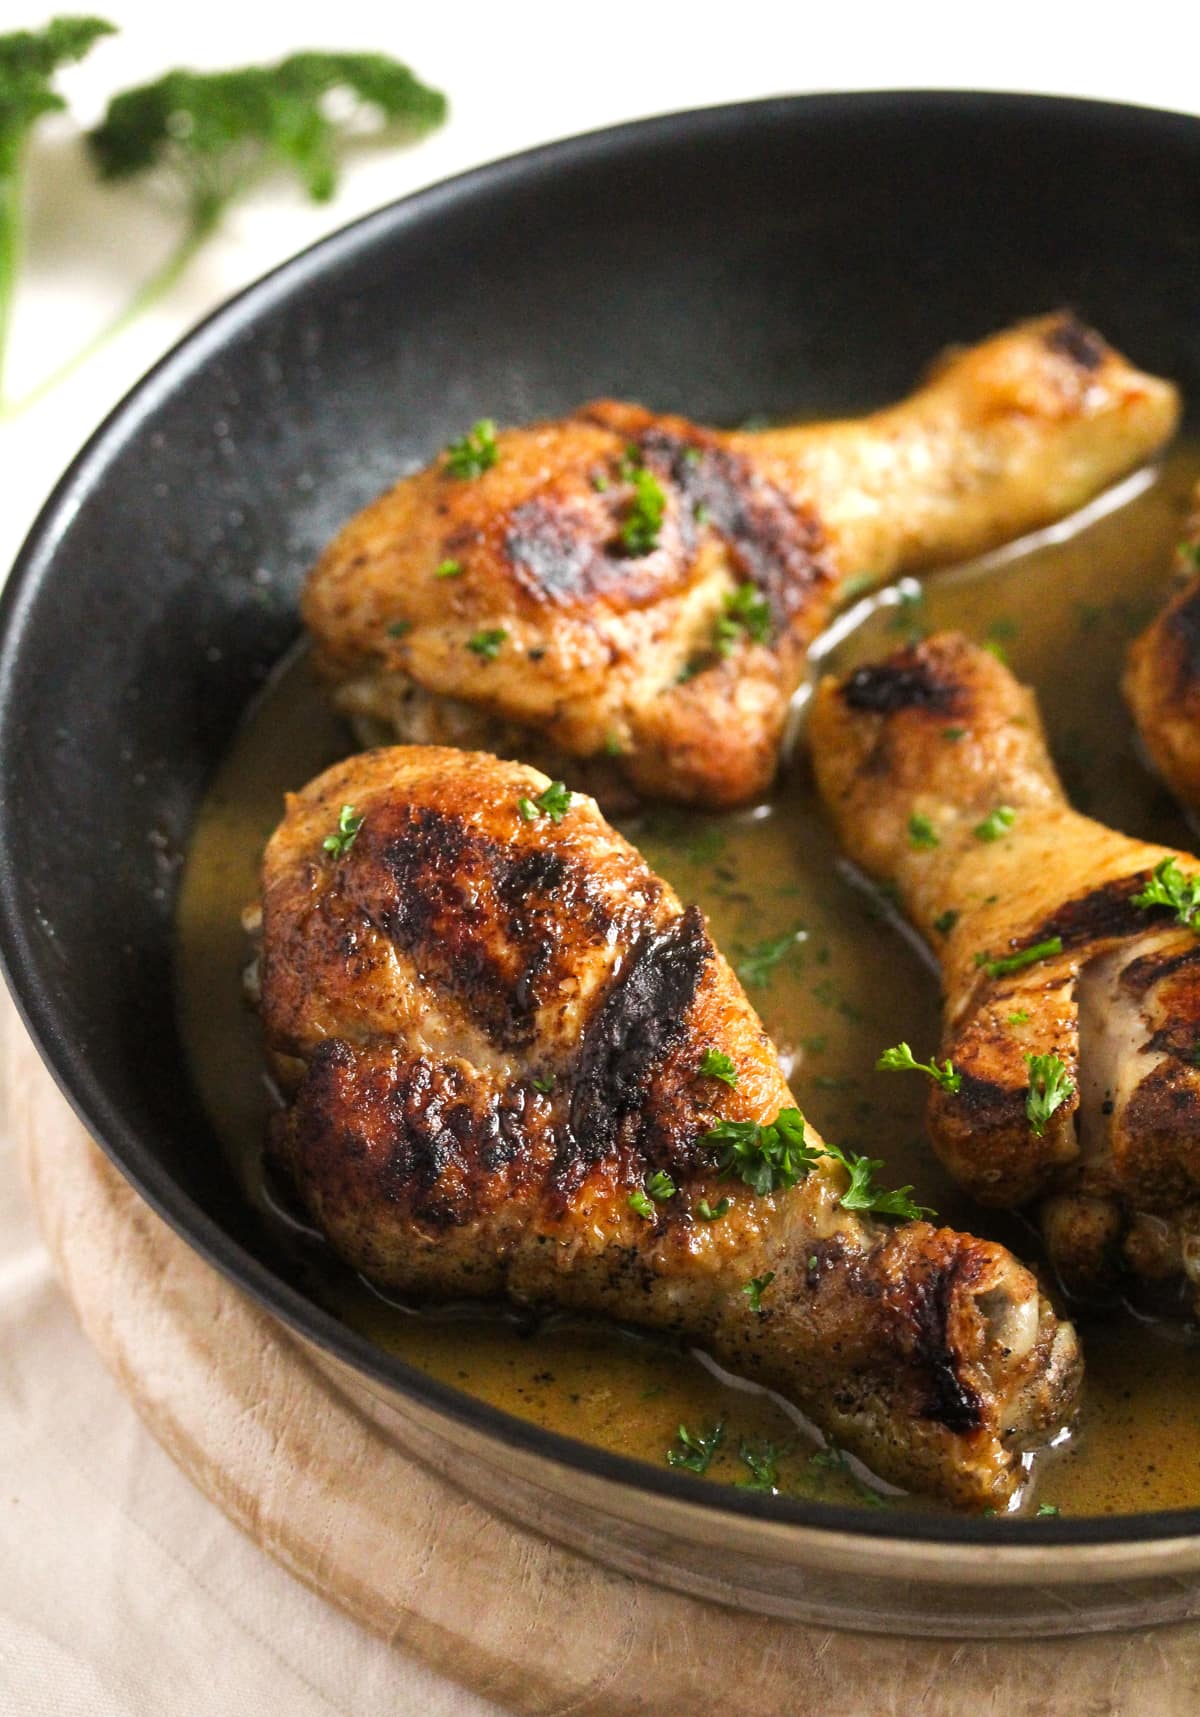
Credit: whereismyspoon.co
Troubleshooting: What To Do If Things Go Wrong
Even with the best planning, things can sometimes go off track. Here’s how to fix common problems:
Drumsticks Are Too Pale
Turn up the heat for the last few minutes and cook uncovered until browned. Make sure the pan isn’t too crowded.
Chicken Is Undercooked
Return the drumsticks to the pan, add a splash of water, and cover. Cook on low for a few more minutes, checking the temperature often.
Skin Is Soggy
Remove the lid and let the drumsticks cook over medium-high heat, turning until the skin crisps up.
Meat Is Dry
This often happens from overcooking or cooking at too high a temperature. Next time, use a thermometer and don’t skip the resting step.
Sauce Burned
Add sauces only in the last 3–5 minutes. If the sauce has burned, quickly remove the drumsticks and wipe out the pan before finishing.
Stove-top Drumsticks Vs. Other Cooking Methods
Wondering how stove-top drumsticks compare to baking, grilling, or air frying? Here’s a quick overview:
| Method | Texture | Time | Pros | Cons |
|---|---|---|---|---|
| Stove-top | Crispy outside, juicy inside | 30–35 mins | Fast, easy, great control | Can splatter, watch closely |
| Baked | Even, less crispy | 35–45 mins | Hands-off, less mess | Slower, less crispy |
| Grilled | Smoky, charred | 20–30 mins | Great flavor, outdoor | Weather, equipment needed |
| Air fryer | Very crispy | 20–25 mins | Low oil, fast | Small batches, need air fryer |
Stove-top is the most flexible and works in any kitchen. If you want a fast, flavorful meal, it’s a great choice.
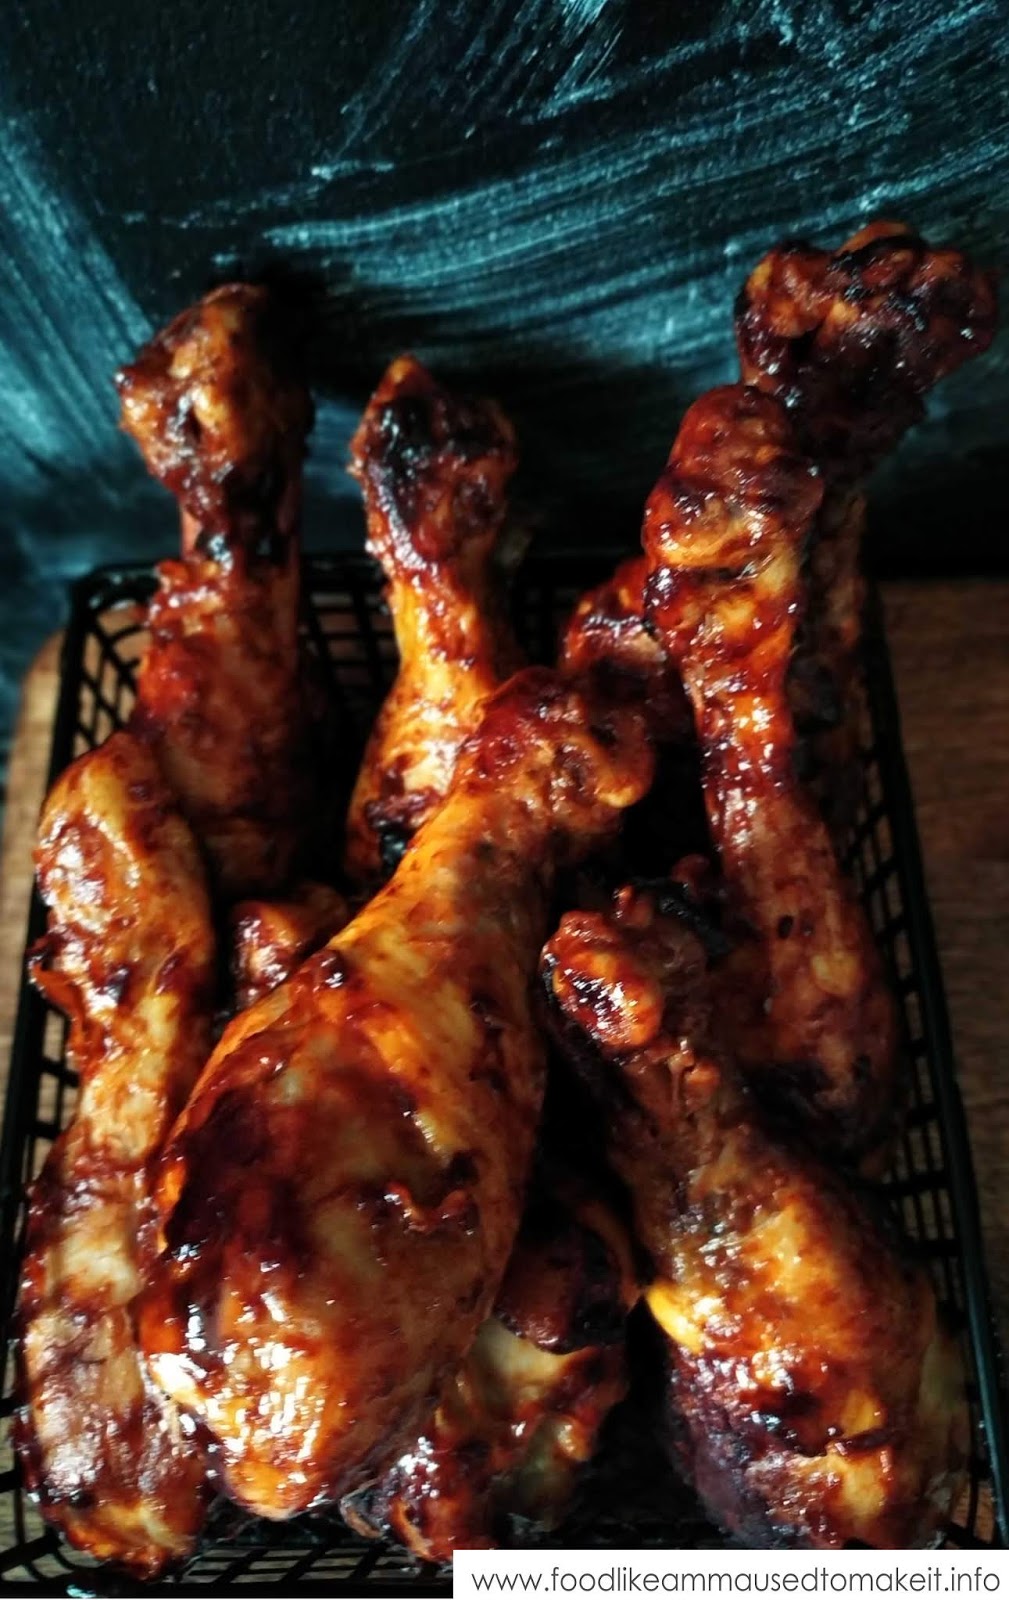
Credit: foodlikeammausedtomakeit.info
Make-ahead And Leftover Tips
You can prep drumsticks ahead of time for even easier meals:
- Marinate or season the drumsticks up to 24 hours in advance. Store covered in the fridge.
- Cook extra drumsticks and refrigerate for up to 3 days. Reheat in a pan with a splash of water, covered, until hot.
- Leftovers are great in salads, wraps, or shredded for tacos.
Never leave cooked chicken at room temperature for more than 2 hours.
How To Serve For Parties Or Family Dinners
Stove-top drumsticks are a hit for both casual family dinners and parties. Here’s how to present them:
- Arrange on a platter with fresh herbs and lemon wedges.
- Offer a variety of dips and sides.
- For parties, use toothpicks for easy grabbing.
If you want to make a bigger batch, cook in two pans or in batches, then keep warm in a low oven (about 200°F/93°C) until ready to serve.
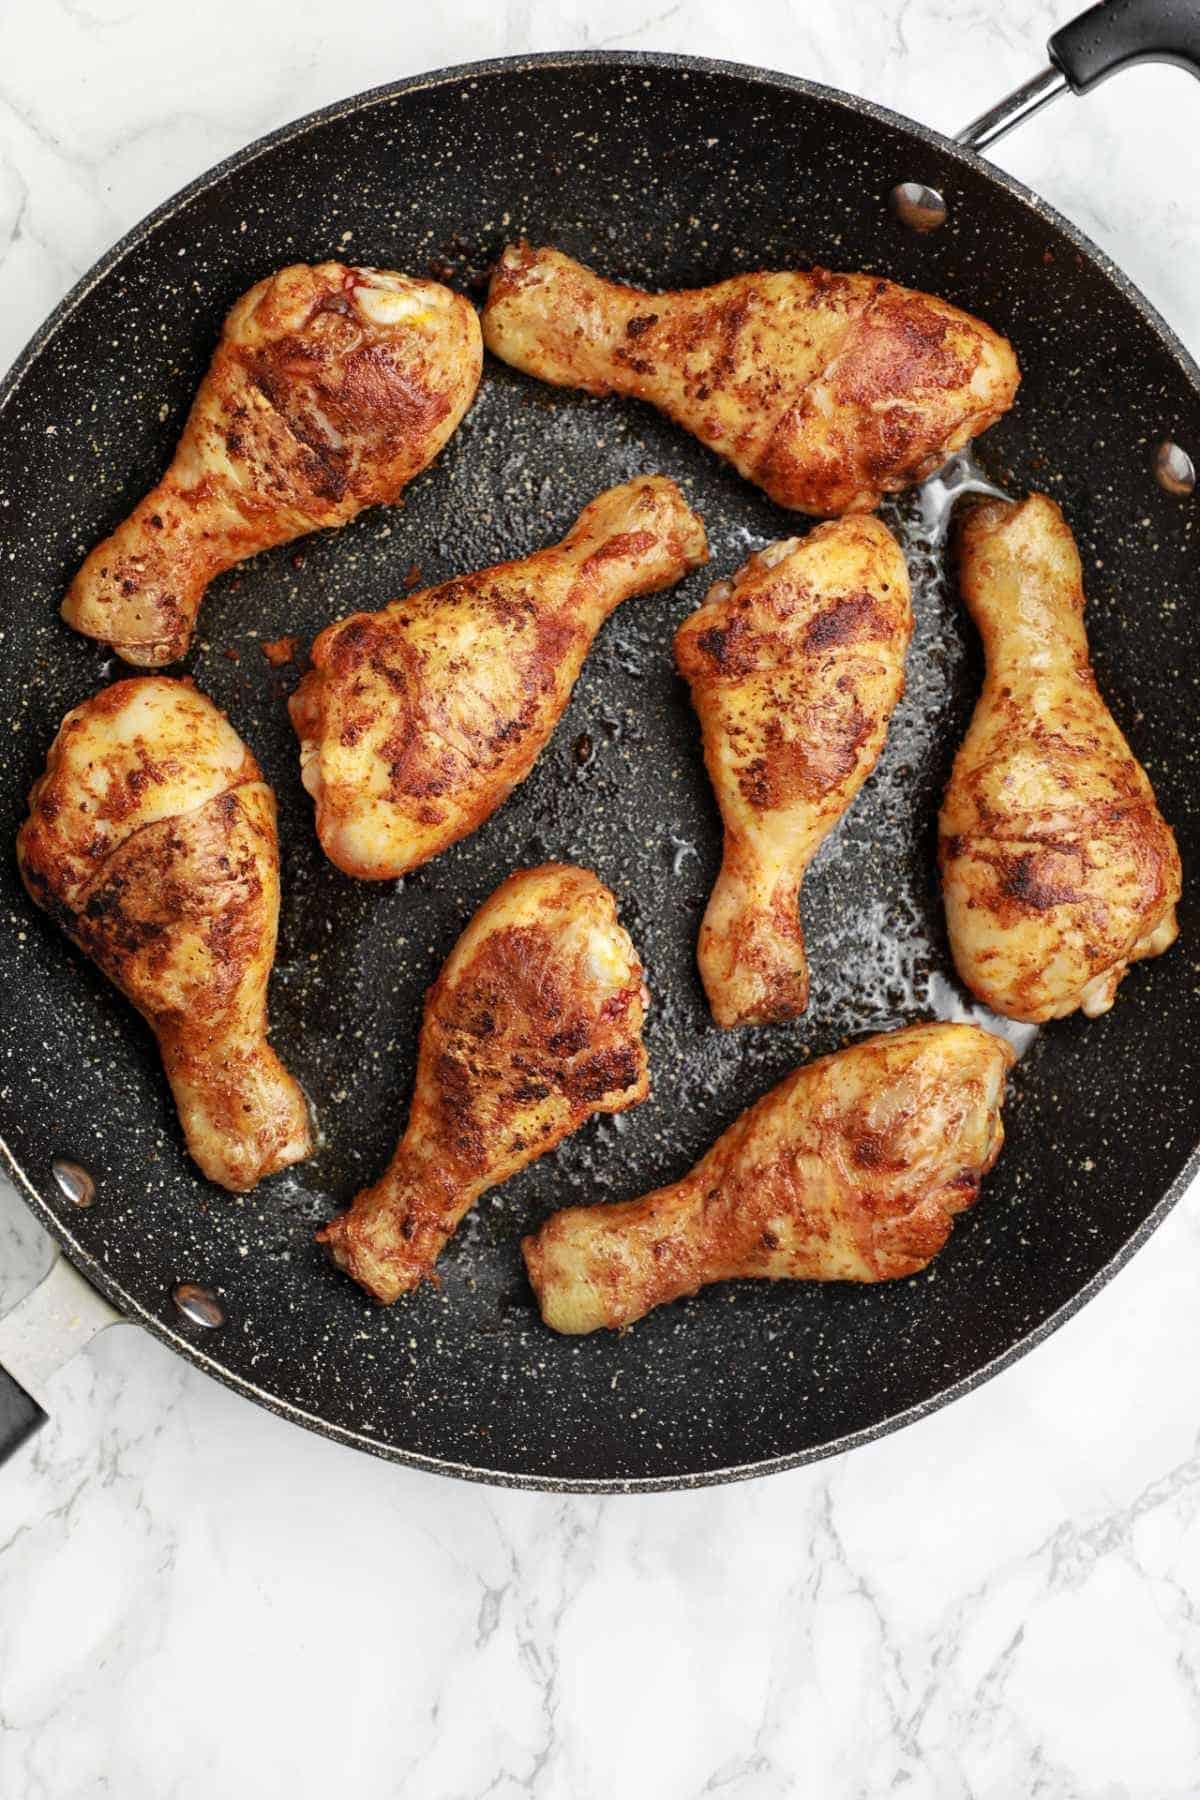
Credit: www.recipevibes.com
Frequently Asked Questions
How Do I Know When Chicken Drumsticks Are Fully Cooked?
The best way is to use a meat thermometer. Insert it into the thickest part of the drumstick, avoiding the bone. The temperature should reach 165°F (74°C). If you don’t have a thermometer, cut into the meat near the bone; it should be white and the juices should run clear.
Can I Use Boneless Chicken For This Recipe?
Yes, you can use boneless thighs or drumsticks, but they cook faster and can dry out more easily. Reduce the covered cooking time by about 5–7 minutes, and check for doneness earlier.
How Do I Keep The Drumsticks From Sticking To The Pan?
Make sure the pan and oil are hot before adding the chicken. Don’t move the drumsticks until they release easily (about 4–5 minutes). Using a non-stick pan also helps.
What Is The Best Oil For Stove-top Chicken?
Canola, vegetable, or olive oil are all good choices. They have high smoke points and add a mild flavor. Avoid butter alone, as it burns quickly at high temperatures.
Can I Make This Recipe With Other Sauces?
Absolutely. You can use barbecue, teriyaki, or even curry sauces. Just add them during the final 3–5 minutes of cooking to avoid burning. For inspiration, see recipes on Bon Appétit.
Cooking chicken drumsticks on the stove is a skill every home cook should have. With these tips and techniques, you can serve up juicy, crispy, and flavorful drumsticks any night of the week. Enjoy experimenting with flavors and sides, and soon you’ll have your own signature stove-top chicken recipe.