Making things by hand can bring joy and a sense of achievement. If you enjoy crafts, you may have heard of mug rugs. These small, practical mats are bigger than coasters but smaller than placemats. They protect surfaces from hot drinks and can even hold a cookie or snack next to your cup.
Unlike large quilting projects, mug rugs are quick and simple to make, but they still let you show your style. Whether you’re new to sewing or a seasoned crafter, you can create unique mug rugs for your home or as gifts.
In this guide, you’ll learn everything needed to design, sew, and finish beautiful mug rugs from start to end.
What Is A Mug Rug?
A mug rug is a small mat, usually rectangular or square, that sits under your mug and a treat. It combines the function of a coaster and a placemat. Most mug rugs measure about 4 x 6 inches to 6 x 8 inches, but there is no strict rule. They can be simple or decorated with patchwork, embroidery, or quilting. Mug rugs protect your table from heat, spills, and scratches, and they add a cozy, handmade touch to your coffee or tea routine.
Mug rugs are easy to wash and reuse, making them a practical item for daily use. They are also a great way to use leftover fabric from bigger sewing projects. Many people start with mug rugs because they are a perfect way to learn quilting, binding, and decorating techniques on a small scale.
Why Make Mug Rugs?
People love making mug rugs for many reasons:
- Quick projects: You can finish a mug rug in an afternoon, even if you are new to sewing.
- Creative freedom: Try new patterns, colors, and techniques without big costs.
- Great gifts: Mug rugs are popular handmade gifts for birthdays, holidays, or housewarmings.
- Useful and decorative: They keep tables clean and add personality to your space.
- Practice skills: Mug rugs are ideal for practicing sewing, quilting, or embroidery.
Many crafters use mug rugs to test out ideas before making larger quilts. If you want to try a new stitch or fabric combination, a mug rug is less risky than a big project. And if you make a mistake, it’s easy to fix or start again.
Materials And Tools You Need
Before you start, gather the right supplies. You don’t need fancy tools, but good materials will help your mug rug look and last better.
Fabric
Choose two or three types of cotton fabric. Quilting cotton is best because it holds its shape and is easy to sew. You’ll need:
- Top layer: The main design fabric (can be plain or patterned)
- Backing: The fabric for the bottom (can match or contrast)
- Binding (optional): A strip of fabric to finish the edges, if you want a professional look
Batting
Batting is the soft layer inside. It gives your mug rug thickness and absorbs moisture. Use cotton or polyester batting—both work well for small mats. Cut batting a little smaller than your fabric to avoid bulky edges.
Thread
Choose cotton or polyester thread in a color that matches or contrasts with your fabric. Quality thread helps your stitches stay strong.
Tools
You’ll need:
- Sewing machine (or needle for hand sewing)
- Scissors or rotary cutter and mat
- Pins or fabric clips
- Ruler or measuring tape
- Iron and ironing board
- Fabric marker or chalk
- Seam ripper (in case of mistakes)
If you want to add embroidery, you may want a hoop and embroidery floss. For extra decorations, have buttons, lace, or ribbon ready.
Planning Your Mug Rug Design
One of the best things about mug rugs is the creative freedom. You can make them simple or fancy, modern or classic. Start by thinking about:
- Size: Standard is about 5 x 7 inches, but you can adjust.
- Shape: Most mug rugs are rectangles or squares, but you can try circles, hearts, or other shapes.
- Color scheme: Choose colors that match your kitchen, a holiday, or a person’s favorite colors.
- Style: Solid, patchwork, appliqué, or quilted.
- Decorations: Embroidery, lace, or buttons can add interest.
It helps to sketch your idea on paper before cutting fabric. If you’re making a set, plan to use coordinating fabrics for a tidy look.
Common Mug Rug Sizes
Here’s a quick comparison of popular mug rug sizes:
| Shape | Common Size (inches) | Best For |
|---|---|---|
| Rectangle | 5 x 7, 6 x 8 | Mug and snack |
| Square | 6 x 6, 7 x 7 | Mug only |
| Circle | 6 diameter | Modern look |
| Heart | Varies | Gifts or themed sets |
How To Make A Basic Mug Rug: Step-by-step
Now let’s make a simple, classic mug rug. This example uses basic quilting cotton and is perfect for beginners.
Step 1: Cut The Fabric And Batting
Cut the following pieces:
- Top fabric: 6 x 8 inches
- Backing fabric: 6 x 8 inches
- Batting: 5.5 x 7.5 inches
Cutting the batting slightly smaller keeps the edges neat. If you want a different size, adjust the measurements.
Step 2: Layer The Pieces
Lay your backing fabric right side down on your workspace. Center the batting on top. Place the top fabric right side up on the batting. The layers should look like a sandwich: backing, batting, top.
Pin or clip the layers together so nothing shifts when you sew.
Step 3: Quilt The Layers
Quilting holds the layers together and adds texture. You can:
- Sew straight lines across the mug rug
- Try diagonal or zigzag lines
- Stitch around shapes in the fabric pattern
Use a walking foot if you have one; it helps feed all layers evenly. Start in the center and work outward to avoid wrinkles.
Step 4: Trim The Edges
After quilting, the layers may shift a bit. Trim the edges so everything is even and square. A rotary cutter and ruler make this easy, but scissors work too.
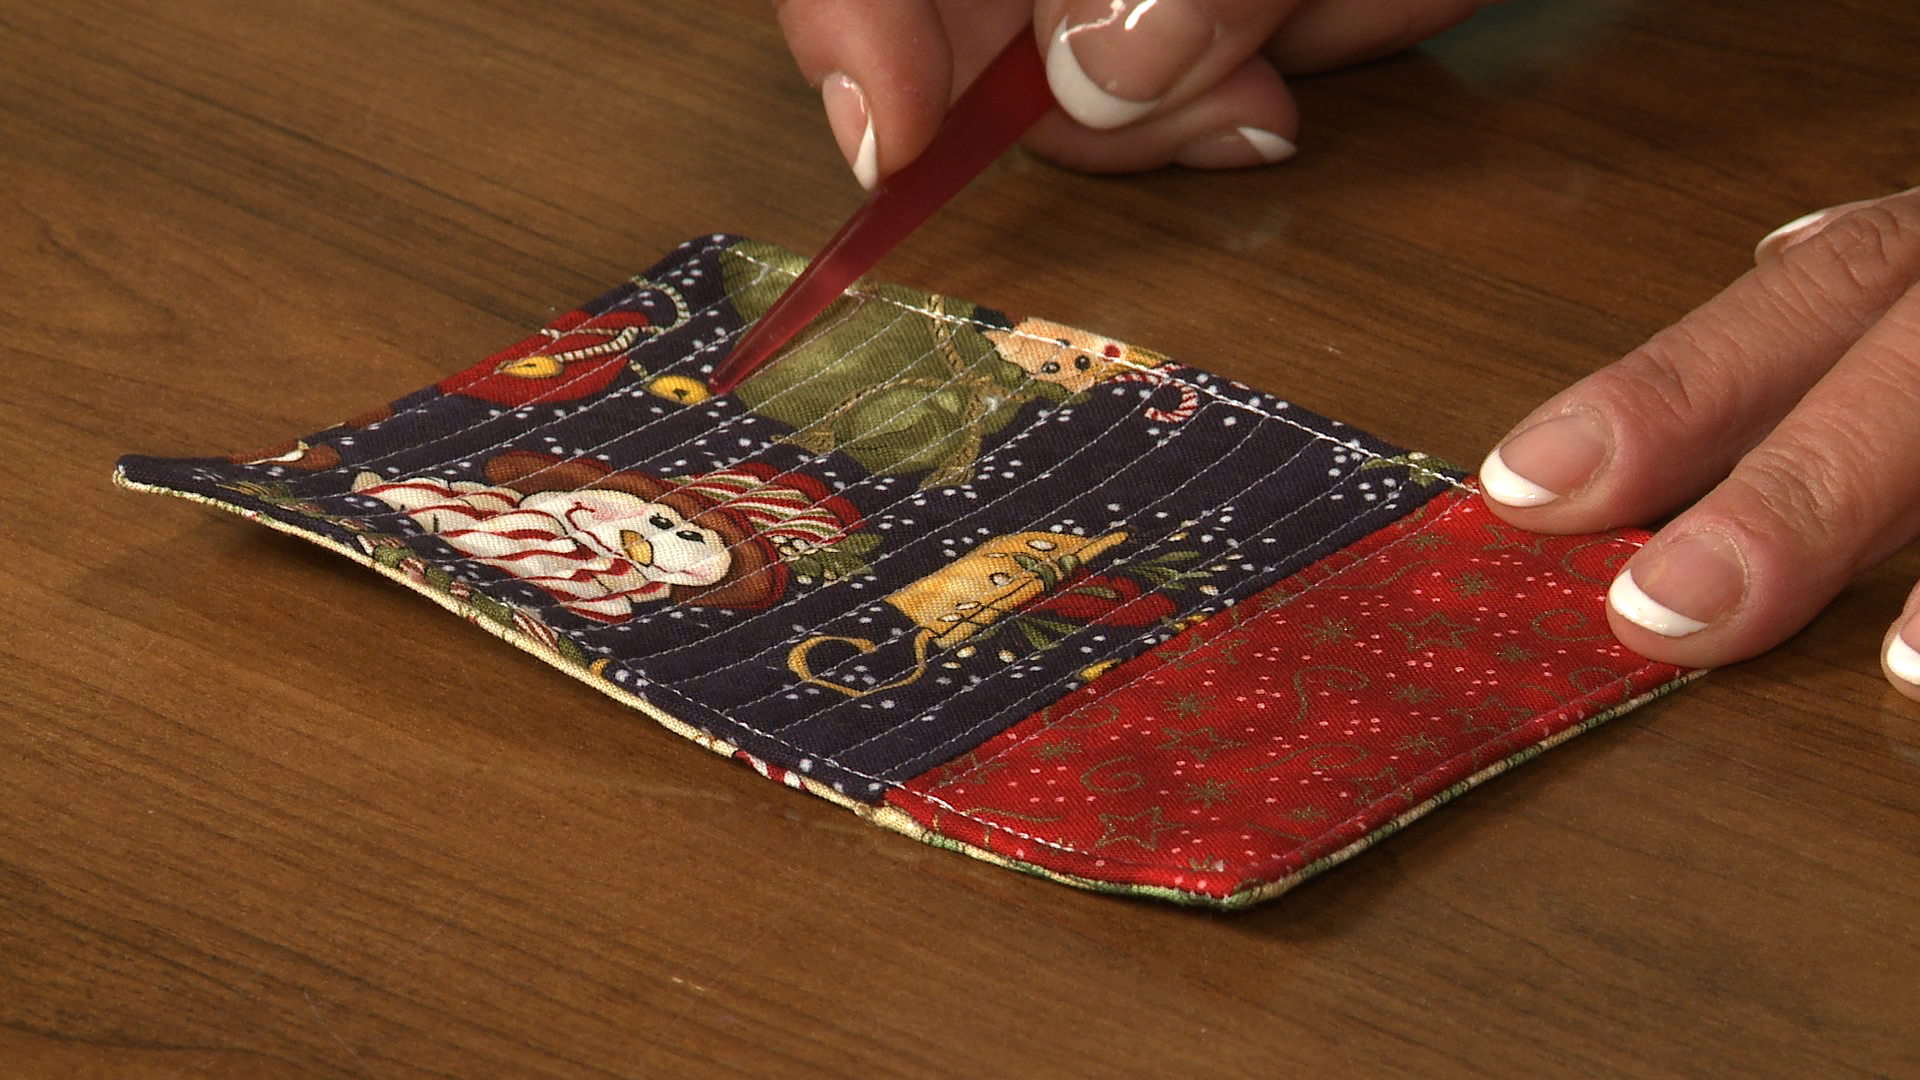
Step 5: Bind The Edges
Binding covers the raw edges and gives a finished look. You can buy pre-made binding or cut your own:
- Cut a strip of fabric about 2 inches wide and long enough to go around the mug rug.
- Fold the strip in half lengthwise and iron.
- Align the raw edge of the binding with the edge of the mug rug, right sides together.
- Sew around the edges with a 1/4-inch seam, mitering the corners if possible.
- Fold the binding over the edge to the back side and hand stitch or machine stitch in place.
If you want a fast finish, you can use the “envelope” method: Place top and bottom fabric right sides together, add batting on top, sew around the edge (leave a small opening), turn inside out, press, and stitch the opening closed.
Step 6: Final Touches
Give your mug rug a good press with the iron. Check the seams and trim any loose threads. Now your mug rug is ready to use!
Creative Mug Rug Ideas
Once you master the basic mug rug, try these creative options to add extra fun and style:
1. Patchwork Mug Rugs
Sew together small squares or strips of different fabrics for a colorful patchwork effect. This is a great way to use up scraps. Try a simple checkerboard, stripes, or even triangles.
2. Appliqué Designs
Cut shapes like hearts, stars, or letters from fabric and stitch them onto your mug rug before quilting. Appliqué lets you personalize gifts or create holiday themes.
3. Embroidered Mug Rugs
Add a name, message, or design with hand or machine embroidery. Embroidery makes each mug rug unique and special. You can use embroidery floss and a simple backstitch for words or outlines.
4. Seasonal Or Holiday Mug Rugs
Make mug rugs in festive colors for Christmas, Halloween, or other holidays. Use themed fabrics or add small decorations like buttons shaped as pumpkins or snowflakes.
5. Quilted Patterns
Try more advanced quilting, such as free-motion swirls or echoing shapes in your fabric. This adds texture and shows off your sewing skills.
6. Reversible Mug Rugs
Use one fabric on each side so your mug rug has two looks. This is easy—just choose different backing fabric and bind as usual.
7. Shaped Mug Rugs
Instead of rectangles, cut your mug rug into circles, ovals, or even animal shapes. Use a template to keep the shape even.
8. Personalized Photo Mug Rugs
Print a photo onto special fabric sheets (available at craft stores) and sew it as the top layer. These make wonderful keepsakes.
9. Kids’ Art Mug Rugs
Scan a child’s drawing, print it on fabric, and use it as the mug rug top. This is a great gift for parents or grandparents.
10. Mug Rugs With Pockets
Sew a small pocket on the side for a tea bag or treat. To do this, cut an extra rectangle, hem the top edge, and sew it to the mug rug before adding binding.
Comparing Mug Rug Techniques
How you finish a mug rug can change the look and difficulty. Here’s a comparison:
| Technique | Skill Level | Time Needed | Look |
|---|---|---|---|
| Binding | Intermediate | 45-60 min | Professional |
| Envelope (Turned) | Beginner | 30-45 min | Simple, soft edge |
| Raw Edge | Beginner | 20-30 min | Casual, rustic |
Choose the finish that matches your style, skill, and time.
Tips For Success
Making mug rugs is easy, but a few tips help avoid common mistakes:
- Pre-wash your fabric: This stops shrinking and color bleeding when you wash the mug rug later.
- Press as you go: Iron each layer and seam for neat, flat results.
- Use matching thread: If you’re new to sewing, matching thread hides small mistakes.
- Trim corners and seams: If you use the envelope method, trim corners before turning for sharp points.
- Don’t overstuff with batting: Too much batting makes mug rugs lumpy.
- Pin well: Keep layers from shifting during sewing.
- Test stitches: Try a small scrap to check your machine settings before sewing the real thing.
- Label your mug rug: Add a small tag with your name or date for a personal touch.
A common beginner mistake is pulling fabric too tightly when turning inside out—be gentle to avoid stretching the seams.

Credit: www.neverskipbrunch.com
Caring For Your Mug Rug
Mug rugs are meant to be used, so they will need cleaning. Most can go in the washing machine with regular laundry, especially if made from cotton. Use mild detergent and a gentle cycle. Air-drying helps them keep their shape, but you can iron them flat if they wrinkle.
If your mug rug has delicate decorations like buttons or beads, hand wash and lay flat to dry. Avoid bleach, which can weaken threads and fade colors.
How To Gift And Package Mug Rugs
Mug rugs make thoughtful, affordable gifts. Here’s how to present them beautifully:
- Tie with ribbon: Stack a few mug rugs and tie with a pretty ribbon or twine.
- Add a mug: Place a mug rug inside a new mug, fill with tea bags or coffee, and wrap in cellophane.
- Gift set: Make a matching set of two or four mug rugs for a family or couple.
- Include a treat: Add a cookie or chocolate for a sweet surprise.
If you’re selling mug rugs at a craft fair or online, package them neatly with a care card. This tells the buyer how to wash and use their mug rug.
Credit: www.nationalquilterscircle.com
Using Mug Rugs In Your Home
Mug rugs aren’t just for coffee or tea. Use them in many ways around your house:
- Desk mat: Under your water glass at work or your home office.
- Snack mat: For small bites or sandwiches.
- Plant mat: Under a small potted plant.
- Candle mat: Under a candle to protect surfaces.
- Jewelry mat: On your dresser to hold rings or earrings.
Because mug rugs are quick to make, you can swap them out for seasons, holidays, or just for a fresh look.
Advanced Mug Rug Projects
As you gain confidence, try more challenging ideas:
Foundation Paper Piecing
This quilting method lets you sew precise shapes, like stars or animals, using a paper pattern. Remove the paper when finished. It’s good for sharp corners and detailed designs.
English Paper Piecing
Sew small hexagons or other shapes by hand, wrapping fabric around paper templates. This is relaxing and portable—great for TV or travel projects.
Free-motion Quilting
Drop your sewing machine feed dogs and move the fabric by hand to draw swirls, leaves, or other patterns with thread. It takes practice but looks very professional.
Metallic Threads And Specialty Fabrics
Add sparkle or shine with metallic thread, velvet, or faux leather. These materials need a sharp needle and slow sewing but make striking mug rugs.
Adding Beads Or Buttons
Hand-sew beads, sequins, or buttons for decoration. Make sure they’re secure, and avoid putting them where the mug will sit.
Creating Matching Sets
Make matching mug rugs, placemats, and coasters for a coordinated kitchen or dining set. Use the same fabrics and thread for a polished look.
Credit: thecraftyquilter.com
Common Mug Rug Problems And How To Fix Them
If you run into trouble, here’s how to solve common issues:
- Wavy edges: Too much batting or pulling fabric can cause waves. Use thinner batting and don’t stretch fabric.
- Crooked stitching: Go slowly and use a seam guide. Practice on scraps.
- Batting poking out: Cut batting smaller than fabric, and check all edges before binding.
- Colors bleed in wash: Pre-wash all fabrics before sewing.
- Mug rug won’t lie flat: Iron after each step. If it’s still lumpy, try topstitching around the edge.
If a mug rug is badly crooked or bumpy, it’s often faster to start over than to fix everything. Small mistakes, though, can add charm and show it’s handmade.
Mug Rug Patterns: Where To Find Inspiration
If you want more ideas, look for free patterns online, in quilting books, or on sewing blogs. Many websites offer step-by-step photos, printable templates, or video tutorials. For example, you can find inspiration and guides at Sew Can She, a popular sewing site.
You can also design your own by drawing shapes on graph paper and coloring in fabric choices. Save your favorite designs in a notebook for future projects.
Comparing Mug Rugs To Other Table Mats
How does a mug rug differ from a coaster or placemat? Here’s a comparison:
| Item | Size Range (inches) | Main Use | Typical Material |
|---|---|---|---|
| Mug Rug | 5 x 7, 6 x 8 | Mug + snack | Cotton, batting |
| Coaster | 4 x 4, 4 diameter | Drink only | Cork, fabric, wood |
| Placemat | 12 x 18 | Full meal | Cotton, vinyl, bamboo |
Mug rugs fill the gap between a tiny coaster and a big placemat. They’re ideal for drinks and small treats.
Non-obvious Insights For Beginners
Many beginners overlook these tips:
- Fabric direction matters: Some prints look best in one direction. Before cutting, make sure your design will face the right way when finished.
- Test batting thickness: Mug rugs don’t need thick batting. Too much can make your mug tip over.
- Binding joins: When binding, join the ends on a diagonal, not straight, to avoid a bulky seam.
- Use fabric scraps: You can make mug rugs from old shirts, jeans, or leftover quilt pieces.
- Keep a template: After making your first mug rug, save a cardboard template for tracing future projects.
Frequently Asked Questions
What Is The Best Size For A Mug Rug?
Most mug rugs are about 5 x 7 inches or 6 x 8 inches. This gives enough space for a mug and a snack. You can make them bigger or smaller based on your needs or the space on your table.
Can I Make Mug Rugs Without A Sewing Machine?
Yes, you can sew mug rugs by hand. Use a strong hand-sewing needle and backstitch for strong seams. It takes more time, but it’s relaxing and a good way to practice stitches.
What Batting Is Best For Mug Rugs?
Use thin cotton or polyester batting. Thin batting keeps the mug rug flat and easy to use. Avoid thick or high-loft batting, which can make the mug tip over.
How Do I Wash A Mug Rug?
Most mug rugs can go in the washing machine. Use cold water and gentle detergent. Air dry and iron flat if needed. If your mug rug has beads or buttons, hand wash and lay flat to dry.
Where Can I Find More Mug Rug Patterns?
You can find free and paid patterns on many sewing websites, blogs, and YouTube channels. For example, Wikipedia has a helpful overview of patchwork quilting at Wikipedia Patchwork.
Making mug rugs is a fun, creative, and practical hobby. With a few simple materials, you can create something beautiful and useful for yourself or as a heartfelt gift. Each mug rug is a chance to try new techniques, play with colors, and add a bit of handmade warmth to your daily life.
Start with a simple design, and soon you’ll have a whole stack of unique mug rugs to enjoy and share.