
Stainless steel pans are loved by many home cooks and professionals. They are durable, beautiful, and versatile. But there’s one common complaint: food can stick to them, making cooking and cleaning frustrating. Some people even give up and use non-stick pans, missing out on the benefits of stainless steel.
What if you could make your stainless steel pans non stick? The good news is, you can. With the right methods, your stainless steel pan can give you a smooth cooking experience, almost like a non-stick pan. In this guide, you’ll learn everything you need: why food sticks, how to fix it, step-by-step instructions, and tips that even experienced cooks often miss.
Why Food Sticks To Stainless Steel Pans
Understanding why food sticks is the first step. Stainless steel pans have a smooth surface, but they are not coated. When you cook, food proteins and sugars react with the metal. If the pan isn’t prepared well, these particles bond tightly, causing sticking.
A few common reasons for sticking are:
- Cooking with a cold pan
- Using too little oil
- Adding food too soon
- Cooking wet or damp food
Another thing people often miss is the type of food being cooked. Delicate foods like fish or eggs have more proteins that bond to the metal, while vegetables or fattier meats are less likely to stick.
Temperature control is also essential. If you heat the pan too quickly or too slowly, you don’t get an even surface temperature. Hot spots can cause burning and sticking in those areas.
Knowing these causes helps you fix the problem. Let’s dive into the science behind a non-stick effect.
The Science Of Making Stainless Steel Non Stick
Stainless steel can become non stick through a simple process called seasoning or by using the right cooking technique. When you heat oil in the pan, it fills tiny gaps in the metal. As the oil gets hotter, it forms a thin layer that acts as a barrier. This stops food from sticking.
The “Leidenfrost effect” is another reason. When a pan is hot enough, water dances on the surface instead of sticking. This effect can be used for oil, too.
It’s not just about oil. The way heat is distributed in the pan matters. Stainless steel does not hold heat as evenly as cast iron unless it has an aluminum or copper core. An evenly heated pan lets oil spread and bond properly, making a better non stick surface.
Not all oils behave the same way, and pan temperature matters. Even the tiniest drop of water left on the pan can cause splattering and sticking. Let’s look at how to prepare your pan for non stick cooking.
Preparing Your Stainless Steel Pan
Before you start, your pan needs to be clean. Any leftover food or oil can ruin the non stick effect. Here’s how to get ready:
- Wash the pan: Use warm water, dish soap, and a soft sponge. Avoid steel wool, which can scratch.
- Dry completely: Use a towel or paper towel. Water droplets can create steam and cause sticking.
- Remove stains: If there are stuck-on stains, make a paste with baking soda and water. Scrub gently.
If you see a rainbow-colored stain (known as heat tint), don’t worry. This is harmless and can be removed with vinegar or a stainless steel cleaner. These stains won’t affect the non stick effect but can make the pan look less shiny.
A well-prepared pan is the base for a non stick result. Now, let’s talk about the seasoning process.
Seasoning A Stainless Steel Pan
Seasoning is not just for cast iron. You can season stainless steel too. Here’s a step-by-step guide:
- Place the dry pan on your stove. Heat it over medium heat for about 2 minutes.
- Add 1-2 teaspoons of high smoke point oil (like grapeseed, canola, or avocado oil). Swirl to coat the bottom.
- Heat the oil until it starts to shimmer (not smoking). This usually takes 2-3 minutes.
- Turn off the heat and let the pan cool.
- Wipe out excess oil with a paper towel. Leave a thin, even layer.
Repeat this process 2-3 times for best results. Over time, the pan will develop a natural non stick surface.
If you want a stronger non stick effect, season your pan after every deep cleaning for the first month. This helps build up more layers. Some professional chefs season their pans after every use for the first week, then as needed.
Oils For Seasoning
Not all oils work the same. Here’s a comparison of popular oils:
| Oil | Smoke Point (°C) | Best For |
|---|---|---|
| Canola | 220 | General cooking, seasoning |
| Grapeseed | 215 | Seasoning, sautéing |
| Avocado | 270 | High-heat cooking, seasoning |
| Olive (refined) | 240 | Light sautéing, seasoning |
| Butter | 150 | Low-heat cooking only |
Choose an oil with a smoke point above 200°C for seasoning. Avoid butter or extra virgin olive oil for seasoning because they burn easily.
Another thing to remember: some oils, like coconut oil, have a medium smoke point and can be used, but may leave a flavor. If you’re sensitive to taste, stick with neutral oils.
The Water Drop Test: Finding The Right Pan Temperature
A common mistake is cooking with a pan that’s not hot enough. The water drop test helps you know when your pan is ready:
- Heat your clean, dry pan over medium heat for 2-3 minutes.
- Flick a few drops of water into the pan.
- If the water sizzles and evaporates, it’s not ready.
- If the water forms small balls that “dance” around, the pan is at the right temperature.
This is the moment to add your oil, swirl to coat, and then add your food. This simple test makes a big difference in preventing sticking.
Many beginners don’t realize that heating the pan evenly is key. If you rush and turn the heat to high, you’ll get hot spots. Medium heat, with patience, works best. If your stove’s burner is smaller than the pan, rotate the pan during preheating for more even heat.
Step-by-step: Cooking Without Sticking
Here’s a complete guide to cooking with your stainless steel pan for a non stick experience:
- Preheat the pan using the water drop test.
- Add oil and let it heat until shimmering.
- Pat food dry with paper towels. Moisture causes sticking.
- Place food gently in the pan. Don’t overcrowd.
- Do not move the food immediately. Let it cook for 1-2 minutes.
- Check release: When the food is ready, it will naturally release from the pan. If it sticks, give it more time.
- Flip or stir once the food releases easily.
This method is especially useful for foods like eggs, fish, and chicken breasts, which are known to stick.
One more tip: if you notice oil pooling at the edges, your pan may be warped or not perfectly flat. In this case, gently tilt the pan so oil covers the cooking surface evenly.
Common Foods And How To Prevent Sticking
Some foods need extra care. Here’s how to handle them:
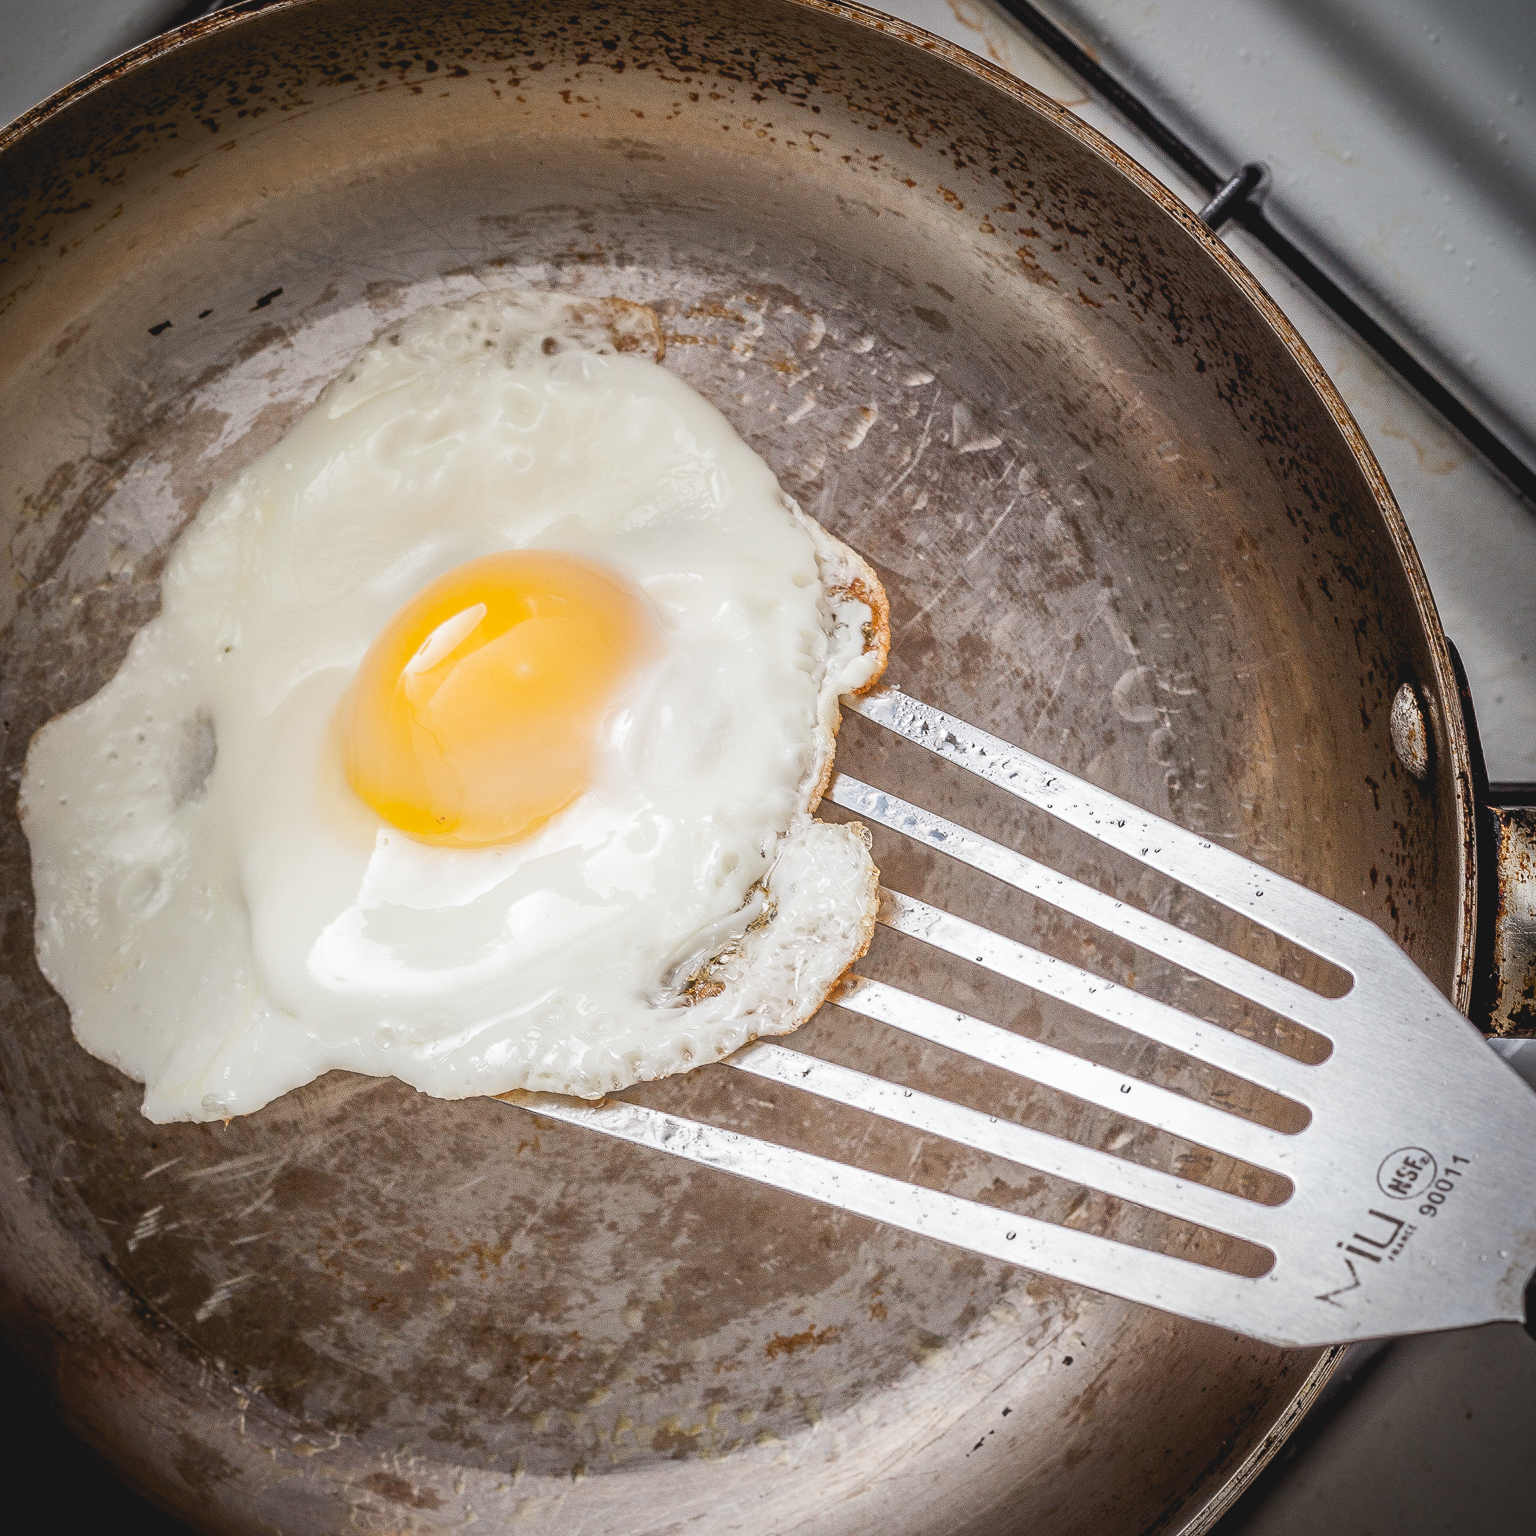
Eggs
- Always use a well-seasoned pan.
- Heat the pan, add oil, then lower the heat before adding eggs.
- Wait until the eggs firm up before trying to flip or move.
- For omelets or fried eggs, a small non stick spatula helps lift the edges without tearing.
If your eggs stick, try using a little more oil or lowering the heat next time. Even a tiny bit of sugar in the eggs (from milk or sauces) can cause them to stick more.
Fish
- Dry the fish well.
- Use high-heat oil and avoid moving the fish early.
- A thin spatula helps lift the fish when it’s ready.
- Score the skin of fish fillets with a knife for better contact and less curling.
Fish is delicate. If you try to flip too soon, the flesh will tear and stick. Let the pan do the work.
Chicken
- Let chicken come to room temperature.
- Don’t crowd the pan. Cook in batches if needed.
- Wait for a golden crust before turning.
- Season the chicken right before cooking—salt draws out moisture if left too long.
If you’re cooking skin-on chicken, press the chicken down gently with a spatula for the first minute to help crisp the skin.
Cleaning After Cooking
Proper cleaning helps keep your pan non stick. Here’s how:
- Let the pan cool a little, but not completely.
- Add a bit of hot water and scrape gently with a wooden spoon.
- Wash with mild soap and a soft sponge.
- Dry right away. Water left on the pan can cause spots.
If you have stubborn bits, fill the pan with water and bring it to a boil. This loosens stuck food. For burnt-on residue, sprinkle baking soda, add a little water, and simmer for a few minutes, then scrub gently.
Avoid dishwashers if you want to keep the seasoning layer. If the pan loses its non stick property, simply repeat the seasoning process.

Credit: thatothercookingblog.com
Mistakes To Avoid
Even experienced cooks can make errors. Here are mistakes to watch for:
- Overheating: This burns oil and ruins the non stick layer.
- Wrong oil: Using low smoke point oil causes sticky residue.
- Cooking cold food: Brings down pan temperature and leads to sticking.
- Not drying food: Water interferes with the non stick layer.
- Scrubbing too hard: Removes seasoning and can scratch the surface.
Another mistake is adding salt to the pan before oil. Salt can pit the surface if it sits on hot, dry steel. Always add oil first, then salt your food.
Learning from these mistakes saves time and effort.
Stainless Steel Vs. Non-stick Pans: What’s The Difference?
It’s easy to wonder why not just use a non-stick pan. Here’s a quick comparison:
| Feature | Stainless Steel | Non-Stick |
|---|---|---|
| Durability | Very high | Moderate |
| High-heat cooking | Excellent | Poor (can damage coating) |
| Oven use | Safe | Often unsafe |
| Metal utensils | Safe | Not recommended |
| Non stick ability | With technique | Easy, but temporary |
Stainless steel pans last longer and can handle higher heat, making them a better investment for serious cooks.
Another difference: stainless steel pans can go from stovetop to oven to table, while non-stick pans often have plastic handles or coatings that limit their use.
Non-obvious Insights Most People Miss
Many guides stop at the basics, but here are two powerful tips even advanced cooks might miss:
- Oil after heating, not before: Always heat your pan first, then add oil. This closes the metal’s pores and stops food from sticking.
- Let food release naturally: Food (especially meat and fish) will stick at first, but as it forms a crust, it naturally releases. If it’s stuck, give it more time.
A third tip: After cooking, don’t shock your hot pan with cold water. This can warp the steel and ruin the flat surface, making sticking worse in the future.
These small changes make a big difference in your cooking.
Advanced Tips For A Super Non Stick Surface
If you want to go beyond, try these advanced strategies:
- Use clarified butter (ghee): Ghee has a higher smoke point than regular butter and adds flavor. It’s great for eggs and pancakes.
- Build up layers: Season the pan several times before first use. Each layer adds to the non stick effect.
- Don’t store food in the pan: Acids (like tomato sauce) can break down the seasoning layer.
- Polish with oil: After cleaning, rub a tiny amount of oil on the pan before storing. Wipe away excess.
If you want an even smoother surface, use a little salt as a scrub before seasoning. This removes microscopic roughness. Always rinse and dry well before oiling.
Credit: thatothercookingblog.com
How To Rescue A Sticky Stainless Steel Pan
If your pan becomes sticky or patchy, don’t worry. Here’s how to fix it:
- Deep clean: Scrub with baking soda and water to remove residue.
- Boil water and vinegar: Fill the pan with water and a splash of vinegar. Boil for 5 minutes, then wash and dry.
- Re-season: Repeat the seasoning process as above.
For stubborn burnt spots, sprinkle baking soda, add a splash of hydrogen peroxide, and let it fizz. Scrub gently with a non-abrasive pad.
With a little effort, even old pans can feel brand new.
How To Store And Maintain Seasoned Stainless Steel
Proper storage keeps your pan working well:
- Hang pans or store with paper towels between them to prevent scratches.
- Keep out of humid places to avoid rust spots (rare, but possible with poor drying).
- Don’t stack with heavy cookware on top.
If you live in a humid climate, leave the pan in a warm oven (after use) for a few minutes to make sure it’s dry. This avoids water spots and keeps the seasoning in good shape.
Well-maintained pans can last for decades.

Credit: www.theminichef.com
When To Re-season Your Stainless Steel Pan
You don’t need to season after every use. Here are signs it’s time:
- Food starts sticking more than usual
- The surface looks dull or patchy
- After deep cleaning or using the dishwasher
Re-season as needed to keep performance high.
If you cook a lot of acidic foods (tomato sauce, lemon juice), you may need to season more often. Acid can slowly wear away the oil layer.
Comparing Stainless Steel Brands For Non Stick Cooking
Not all stainless steel pans are equal. Some brands and types work better. Here’s a quick comparison:
| Brand | Construction | Heats Evenly | Best For Non Stick |
|---|---|---|---|
| All-Clad | 3-ply/5-ply | Yes | Eggs, meats, fish |
| Cuisinart | 3-ply | Good | General use |
| Calphalon | Impact-bonded | Moderate | Sautéing, sauces |
| Zwilling | 5-ply | Excellent | Professional use |
Multi-ply pans (with layers of aluminum or copper) heat more evenly and give better non stick results. Single-ply pans can have hot spots, which may cause sticking.
Heavier pans hold heat better and are less likely to warp, leading to a more consistent non stick surface.
Environmental And Health Benefits
Choosing stainless steel over traditional non-stick pans has some important benefits:
- No chemical coatings: You avoid possible toxins from Teflon or PFAS.
- Longer lifespan: Less waste because you don’t need to replace pans often.
- Safe at high heat: No risk of coating breakdown or fumes.
Another benefit: Stainless steel can be recycled, making it a more eco-friendly choice. Non-stick pans often end up in landfills due to their coatings.
For more about cookware safety, check reliable resources like Wikipedia.
Frequently Asked Questions
How Often Should I Season My Stainless Steel Pan?
You only need to season when food starts to stick or after deep cleaning. For most people, this means once every few weeks or after cooking acidic foods.
Can I Use Olive Oil To Season My Pan?
It’s better to use oils with a high smoke point, like canola or grapeseed. Olive oil can be used for cooking, but it may leave sticky residue if used for seasoning.
Why Does My Food Still Stick After Seasoning?
Common reasons are a pan not hot enough, not enough oil, or food that is too wet. Make sure to dry your food, use the water drop test for the right temperature, and add enough oil.
Is Stainless Steel Cookware Safe?
Yes, stainless steel is safe. It does not react with most foods or release chemicals. However, avoid storing salty or acidic foods in the pan for long periods.
Can I Use Metal Utensils On A Seasoned Stainless Steel Pan?
Yes, metal utensils are safe to use. Just be gentle to avoid scratching the surface. Seasoning on stainless steel is not as delicate as on cast iron.
Stainless steel pans can be transformed into non stick tools with the right care and technique. With these tips, you’ll enjoy easy cooking and cleaning, better flavor, and a healthier kitchen. Give your stainless steel pan a second chance, and you may never go back to regular non-stick cookware again.