
Many pool owners face the problem of a leaking or damaged skimmer hole. This small opening, found in the wall of your swimming pool, is critical for filtering water and keeping your pool clean. But when it breaks, cracks, or needs to be closed off—especially during repairs or pool conversions—it can cause headaches. Knowing how to plug a skimmer hole can save you time, money, and stress, and it is a task that many handy pool owners can do themselves with the right approach.
In this guide, you will learn everything about plugging a skimmer hole, from understanding why and when to do it, to step-by-step instructions, material choices, advanced tips, and troubleshooting. Whether you are preparing for winter, fixing leaks, or converting your pool, this guide provides clear, practical advice to help you get the job done confidently.
Understanding The Skimmer Hole
Before you start plugging, it’s important to know what the skimmer hole is and why it’s so important to your pool system.
The skimmer is a rectangular or round opening on the side of your pool. Its job is to pull water from the surface, along with leaves, dirt, and floating debris, so your filter system can clean it. The hole itself allows water to flow from the pool into the skimmer box.
If the skimmer or the hole is damaged, or if you need to close it for maintenance, the pool can lose a lot of water quickly. Sometimes, you may want to plug it when converting your pool to a different system or when decommissioning an old skimmer.
A skimmer hole is usually designed to move a specific volume of water, so any blockage, crack, or leak can impact the entire pool circulation. When water escapes through the skimmer hole, it not only wastes water but also pool chemicals, which can increase costs and affect the pool’s balance.
If the water level drops too low, your pump can run dry and get damaged.
Non-obvious insight: Even a hairline crack around the skimmer hole can cause significant water loss over time. Many pool leaks are traced back to this area.
Another detail is that skimmer holes are often sealed with gaskets or faceplates, especially in vinyl and fiberglass pools. These seals can dry out, shrink, or crack, leading to hidden leaks that are hard to spot until you notice the water level dropping.
Regular inspection around the skimmer can help you catch these problems early.
Reasons To Plug A Skimmer Hole
You may need to plug a skimmer hole for different reasons:
- Leak Repair: If the skimmer or surrounding area is leaking, plugging can stop water loss until a permanent fix.
- Winterizing: In cold climates, plugging prevents freeze damage to pipes and skimmer boxes during winter.
- Pool Conversion: When changing to a different filtration system or removing the skimmer, plugging is needed.
- Decommissioning: For abandoned or unused pools, plugging the skimmer helps avoid long-term leaks.
- Maintenance Work: Sometimes, plugging is necessary during repairs or resurfacing.
Sometimes, plugging is used as a diagnostic step. For example, if you suspect a leak but are unsure where it is, plugging the skimmer can help you see if the water loss stops, isolating the problem area. In some cases, pool owners plug a skimmer temporarily during painting or resurfacing to keep debris out of the lines.
Practical tip: Always confirm the real reason for plugging. For example, if you are winterizing, you’ll also need to blow out and plug other lines, not just the skimmer.
A less obvious but important reason to plug a skimmer hole is when you are switching to a different pool design, such as a natural swimming pond or an above-ground conversion. In these cases, leaving skimmer holes open can cause unexpected leaks and long-term damage to the pool structure.
Credit: zambiaclimatenetwork.com
Choosing The Right Plugging Method
There are several ways to plug a skimmer hole. The best method depends on your pool type, the reason for plugging, and whether the fix is temporary or permanent.
Temporary Plugging
Temporary solutions are good for short-term needs, like quick repairs or seasonal changes.
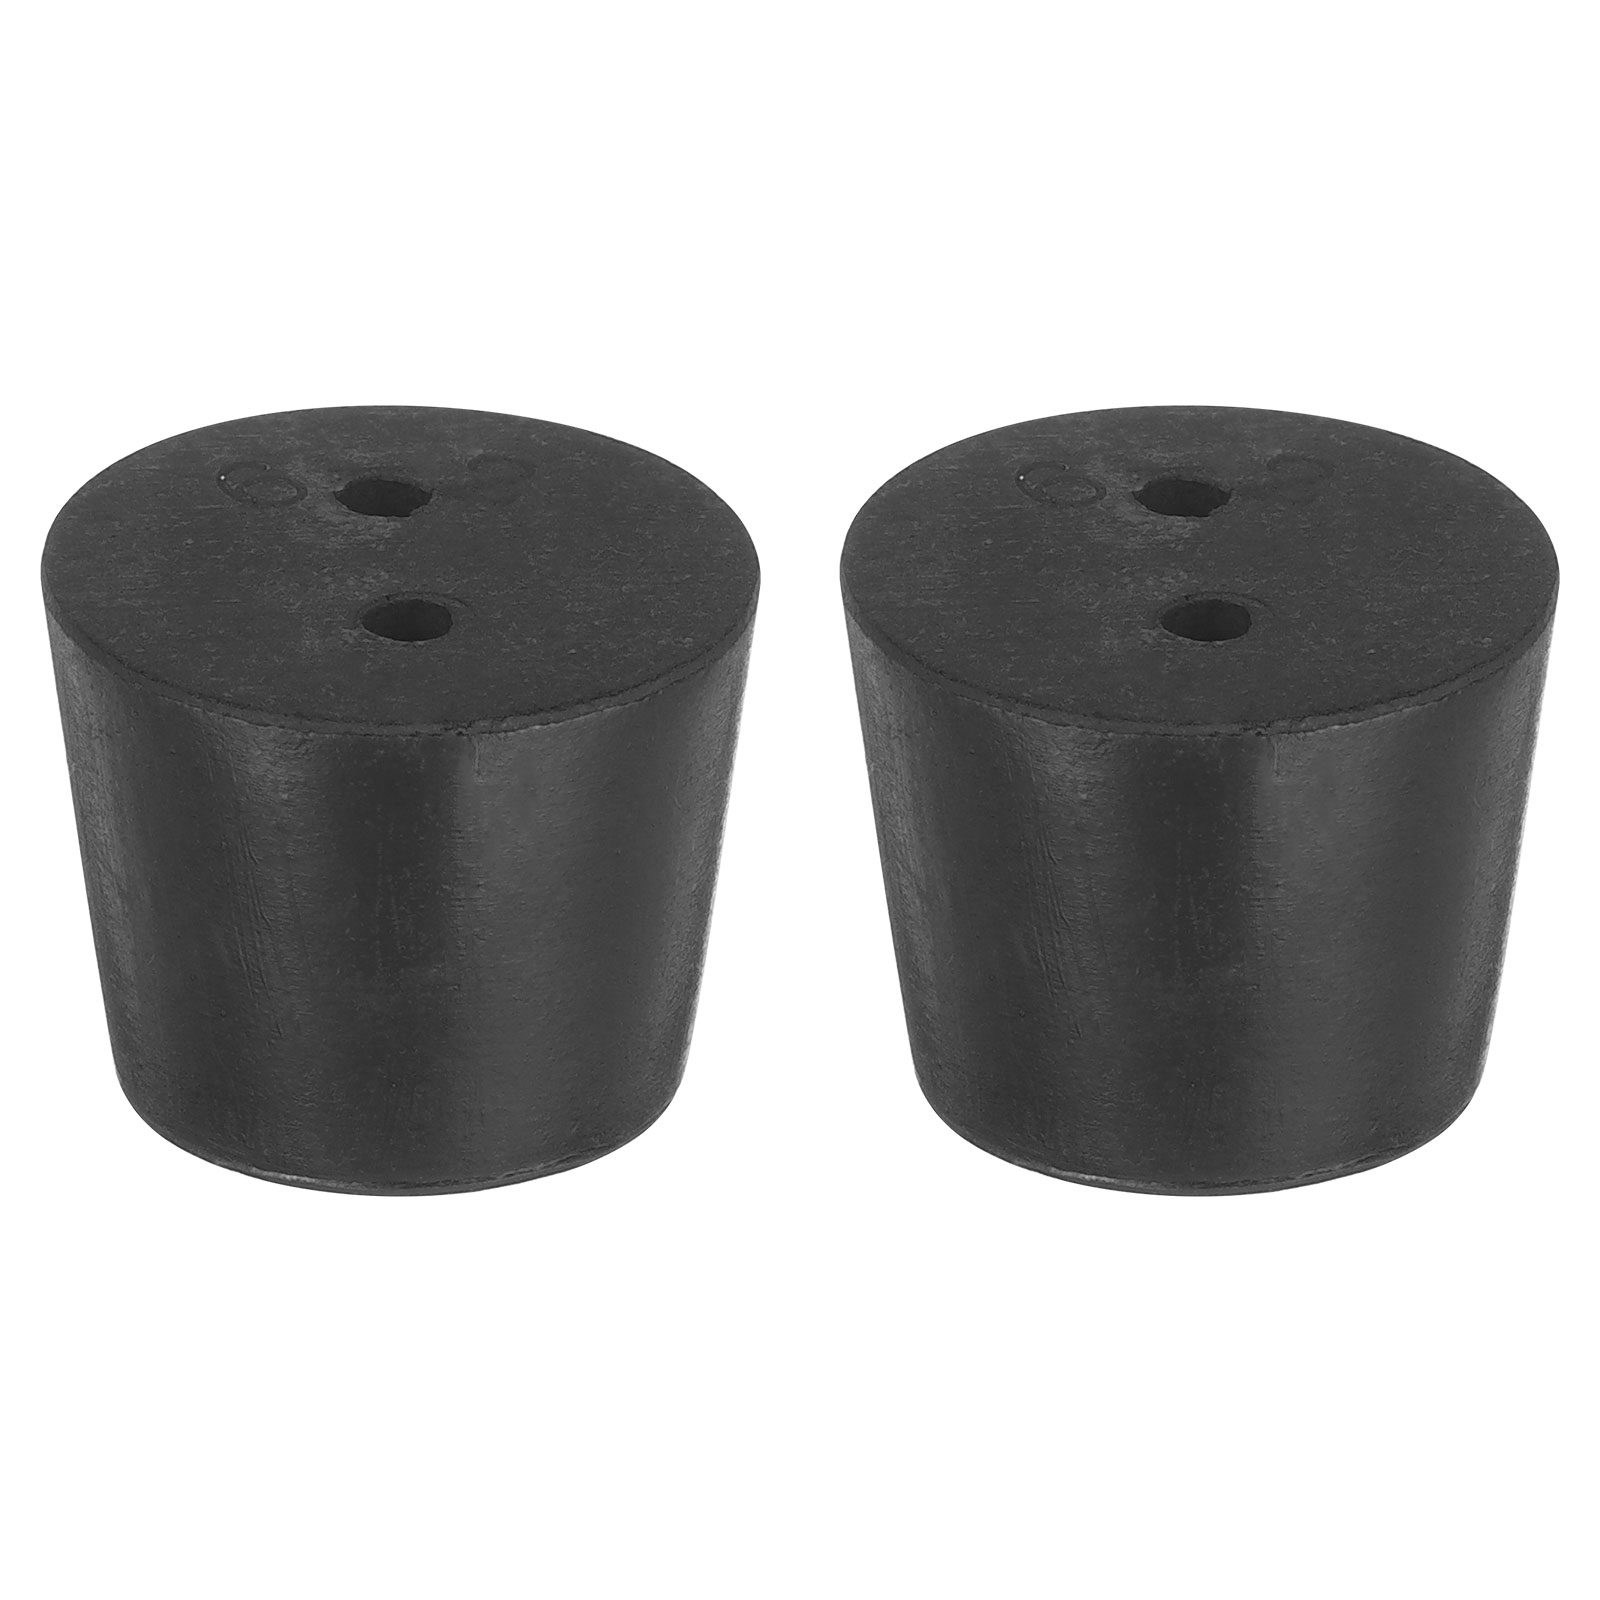
- Expansion Plugs (Winterizing Plugs): Rubber plugs that fit into the hole and expand as you tighten them.
- Threaded Plugs: Screw-in plugs for skimmers with internal threads.
- Duct Tape and Plastic Sheets: Not recommended except as a last resort for very short-term fixes.
For example, if you need to winterize your pool and only want to keep water out of the skimmer for a few months, an expansion plug is often enough. Some pool owners add a layer of Teflon tape around the plug to help it seal better, especially if the skimmer hole is old or slightly out of round.
Non-obvious insight: Expansion plugs can sometimes leak if not installed tightly enough or if the surface is dirty. Always clean the hole first.
Permanent Plugging
If you want to permanently close the skimmer, stronger methods are needed.
- Hydraulic Cement: Seals the hole with a waterproof, hard surface.
- Epoxy Putty: Good for smaller holes or cracks.
- PVC Cap and Cement: For plugging the plumbing line inside the skimmer.
- Masonry or Concrete: For in-ground pools, especially when removing the skimmer completely.
Permanent plugging is often required when you are removing an old skimmer during a pool renovation or when a pool is being abandoned. Hydraulic cement is ideal because it expands slightly as it cures, helping to seal even small gaps.
For plumbing lines, using a PVC cap and solvent cement ensures that no water can move through the pipe, protecting your pool from unexpected leaks.
Expert advice: For a long-lasting seal, always use materials that are compatible with your pool’s construction (vinyl, fiberglass, or concrete).
A common mistake is using regular concrete or mortar instead of hydraulic cement. Regular cement can crack when wet, leading to leaks down the line. Always check product labels and ask for help at your local pool store if you are unsure.
Tools And Materials Needed
Before starting, gather the right tools and materials. The list will depend on the plugging method.
Basic tools:
- Flathead screwdriver
- Utility knife
- Wire brush or sandpaper
- Clean rags
- Bucket and sponge
For temporary plugging:
- Expansion plug or threaded plug (correct size)
- Silicone sealant (optional, for extra seal)
For permanent plugging:
- Hydraulic cement (for concrete pools)
- Epoxy putty
- PVC cap and primer/cement (for pipes)
- Trowel or putty knife
- Protective gloves
You might also need a measuring tape to get the diameter of the skimmer hole, and a flashlight to check for hidden cracks or damage. For vinyl pools, a liner patch kit is a handy backup in case you accidentally nick the liner while working.
Data Table: Common Plugging Materials and Their Uses
| Material | Best For | Estimated Lifespan | Waterproof |
|---|---|---|---|
| Expansion Plug | Winterizing, temporary repair | 1-2 years | Yes |
| Hydraulic Cement | Permanent plugging (concrete) | 10+ years | Yes |
| Epoxy Putty | Crack repair, small holes | 5-10 years | Yes |
| PVC Cap | Pipes inside skimmer | 10+ years | Yes |

Credit: www.amazon.com
Step-by-step Guide: How To Plug A Skimmer Hole
Plugging a skimmer hole isn’t difficult, but it needs careful work and the right steps.
1. Assess The Skimmer And Pool Type
First, check what kind of pool you have—concrete, vinyl liner, or fiberglass. Look at the size and shape of the skimmer hole, and check if there are cracks or damage around it.
Pay attention to any old repairs or patches. If you see stains or mineral buildup, it may be a sign of a slow leak. For fiberglass pools, check for spider cracks around the skimmer, as these can be weak points.
Tip: Take clear photos for reference, especially if you need to ask for advice at a pool supply store.
2. Turn Off The Pool Pump
Always turn off the pool pump before working on the skimmer. This prevents water from moving and keeps you safe.
If your pool has an automatic timer, make sure it’s set to “off” so it doesn’t turn on while you’re working. Lockout the breaker if you’re worried about someone turning it back on by mistake.
3. Lower The Water Level (if Needed)
For most repairs, you need to lower the water below the skimmer hole. Use a submersible pump or let the pool drain until the hole is exposed. This step is critical for permanent fixes like hydraulic cement or epoxy.
Be careful not to lower the water too much, especially in vinyl pools, as the liner can shrink or shift. Only drain as much as you need to expose the area you’ll be working on.
4. Clean The Area Around The Skimmer Hole
Dirt, algae, or old sealant can prevent a good seal. Use a wire brush, sandpaper, or a cleaning solution to remove all debris. Wipe dry with a clean rag.
For stubborn buildup, a diluted vinegar solution can help remove calcium deposits without damaging pool surfaces. Make sure the area is completely dry before applying any cement or epoxy.
5. Choose And Size Your Plug Or Patch
- For expansion or threaded plugs: Measure the hole diameter and buy the right size.
- For cement or putty: Make sure you have enough material to fill the hole plus any cracks around it.
Bring your measurements and photos to the pool store if you are unsure. Staff can help you choose the right size and type of plug or patch for your pool’s skimmer.
6. Apply The Plug Or Patching Material
For Temporary Plug (expansion/threaded Plug)
- Insert the plug into the hole.
- Tighten or twist until snug. For expansion plugs, turn the wing nut until you feel resistance.
- Wipe away any water and check for leaks.
If using silicone sealant, apply a thin bead around the edge before inserting the plug. This helps create a better seal, especially in older skimmers.
For Permanent Plug (hydraulic Cement Or Epoxy)
- Mix the cement or putty as directed.
- Push the material firmly into the hole and press out air bubbles.
- Shape and smooth with a trowel or putty knife.
- Allow to cure for the time given in the instructions (usually 1–2 hours for hydraulic cement).
For large holes, apply the material in layers, allowing each layer to set before adding more. This prevents sagging and creates a stronger seal.
For Plugging The Pipe (inside The Skimmer)
- Dry-fit a PVC cap over the pipe.
- Use PVC primer and cement for a strong, waterproof bond.
- Hold in place for 30 seconds to set.
Double-check that you are plugging the correct line. Some pools have multiple pipes running through the skimmer, such as main drain and equalizer lines.
Data Table: Plugging Methods vs. Pool Types
| Method | Concrete Pool | Vinyl Liner Pool | Fiberglass Pool |
|---|---|---|---|
| Expansion Plug | Yes | Yes | Yes |
| Hydraulic Cement | Yes | No | No |
| Epoxy Putty | Yes | Yes (limited) | Yes |
| PVC Cap | Yes | Yes | Yes |
7. Test For Leaks
After installing the plug or patch, fill the pool back up to just above the skimmer and wait 24 hours. Check for any drop in water level or dampness around the skimmer.
If you see bubbles or feel moisture, the seal may not be tight. Remove the plug and inspect for debris or rough areas that might prevent sealing, then repeat the process.
Practical tip: Mark the water level with tape or a pencil to easily check for changes.
8. Finish And Clean Up
Once you’re sure the plug is holding, clean up your tools and dispose of any leftover material safely. If you used temporary plugs, remember they need to be checked or replaced each season.
Take photos of the finished repair for your records. If you have a maintenance log, note the date, method used, and any materials for future reference.
Special Cases And Advanced Tips
Not all pools are the same, and not all skimmer holes are easy to plug. Here are some advanced tips for tricky situations.
Plugging Skimmer Holes In Vinyl Liner Pools
Vinyl liners can tear easily. Avoid sharp tools and use epoxy putty or a liner patch kit for small holes. Do not use hydraulic cement directly on the liner.
If you need to repair a crack at the edge of the skimmer plate, gently peel back the liner and place a patch behind it for extra support. Always smooth out air bubbles to prevent wrinkles that can lead to future leaks.
Dealing With Multiple Skimmer Holes
Some pools have more than one skimmer. Always plug every skimmer hole, or water will still leak out.
For example, if your pool has a main skimmer and an overflow skimmer, both need to be addressed. Missing one could make your repair useless.
Old Or Cracked Skimmer Mouths
If the mouth (opening) is cracked, you may need to rebuild it with pool putty or even replace the skimmer faceplate. Large cracks may need professional help.
Try using a two-part marine epoxy for wide cracks, as it’s designed to cure underwater and offers strong adhesion to most pool surfaces.
Underwater Plugging
Some products, like certain epoxy putties, can be applied underwater. This is helpful if you cannot lower the water level.
Non-obvious insight: Underwater epoxy cures best if you knead it until it feels warm before pushing it into the hole.
Also, press the putty into place and hold it for a few minutes to ensure a strong bond. Underwater repairs are trickier but can save time if draining is not possible.
Sealing The Skimmer Lid
Don’t forget to seal the skimmer lid or cover when decommissioning the skimmer. Use a waterproof sealant or a heavy-duty cover to keep out debris and rainwater.
For extra protection, add a brick or weight on top of the lid to prevent wind or animals from knocking it off.
Professional Vs. Diy Plugging
Most simple plugging jobs can be done by handy owners. However, if you see large cracks, shifting concrete, or continuous leaks after plugging, call a pool professional.
Pros can use dye testing, pressure testing, and even small cameras to find leaks that are invisible to the naked eye.

Credit: www.reddit.com
Common Mistakes To Avoid
Plugging a skimmer hole is not hard, but there are mistakes that can cause problems later.
- Wrong Plug Size: Too small or too big plugs won’t seal well.
- Poor Cleaning: Dirt or algae can weaken the bond of cement or putty.
- Wrong Material: Using cement on a vinyl pool, for example, can cause damage.
- Ignoring Leaks: If you still lose water, check for leaks around the plug or elsewhere in the pool.
- Not Testing: Always check for leaks before refilling the pool.
Another common mistake is not reading the manufacturer’s instructions for mixing or applying plugging materials. Each product is a little different, and skipping steps can cause failures.
Practical tip: Never rush the curing time. Many leaks start because owners add water too soon.
Also, don’t forget to check for leaks at other pool fittings, such as return jets or main drains, if plugging the skimmer does not solve your problem.
Maintenance After Plugging
After plugging the skimmer hole, some simple steps keep your pool safe and leak-free.
- Check the plug or patch each season for wear or cracks.
- Keep the area clean and clear of debris.
- Watch water levels closely for the first few weeks after repair.
- For permanent plugs, repaint or resurface the area if needed to match your pool.
If you notice discoloration or rough texture around the patch, it may be time for a touch-up. Keeping a record of repairs helps track when maintenance is due.
For above-ground pools, inspect the area around the skimmer regularly for rust or corrosion, as these can weaken the wall and lead to new leaks.
Cost Of Plugging A Skimmer Hole
How much will you spend? It depends on the method and material.
Average costs:
- Expansion or threaded plug: $5–$20 per plug
- Hydraulic cement: $10–$30 per container
- Epoxy putty: $8–$25 per tube
- PVC cap and cement: $5–$15 per fitting
Professional repair: If you hire a pool service, expect $100–$300 depending on the pool and work needed.
It’s wise to buy a little extra material in case you need to reapply or make a second attempt. Some owners find it helpful to keep spare plugs on hand for emergencies, especially before winter.
Data Table: DIY vs. Professional Plugging Costs
| Method | DIY Cost | Professional Cost | Time to Complete |
|---|---|---|---|
| Expansion Plug | $5–$20 | $100–$150 | 15–30 min |
| Hydraulic Cement | $10–$30 | $150–$250 | 1–2 hours |
| Epoxy Putty | $8–$25 | $100–$200 | 30–60 min |
| PVC Cap & Cement | $5–$15 | $100–$200 | 15–30 min |
When To Call A Professional
While many skimmer hole plugs are DIY-friendly, there are times when you should call for help:
- If the pool is losing water fast, even after plugging
- Large cracks or structural damage around the skimmer
- In-ground concrete pools with shifting or settling
- If you feel uncomfortable with any step
A professional can use pressure testing and other advanced tools to find and fix leaks you might miss.
If you see water running along the outside of the pool shell, or if you notice the ground becoming saturated near the skimmer, it’s a sign that the leak is more serious. In these cases, delaying repair can lead to costly damage.
Environmental And Safety Considerations
Plugging a skimmer hole might seem simple, but you should think about safety and the environment.
- Always wear gloves and eye protection when using cement, epoxy, or strong cleaners.
- Dispose of unused chemicals and old plugs according to local rules.
- Never drain pool water into storm drains or natural waterways, as it can harm local ecosystems.
Be careful with chemical fumes from sealants and cements. Work in a well-ventilated area, and store products out of reach of children and pets.
For more about safe pool chemical disposal, see this helpful guide on EPA Pool and Spa Safety.
Frequently Asked Questions
How Do I Know If My Skimmer Hole Needs Plugging?
If you see water loss, cracks, or are preparing your pool for winter, check your skimmer hole. If it is leaking or you need to close it for repairs, plugging is a good idea.
Other signs include air bubbles in the return jets, wet spots near the pool, or difficulty keeping the water level stable.
Can I Plug A Skimmer Hole Without Lowering The Pool Water?
Some epoxy putties are designed to work underwater, so you can sometimes plug small holes without draining. However, for the best seal, lowering water is usually safer and gives better results.
For larger repairs or when using cement, always lower the water. For small, urgent leaks, underwater epoxy is a good temporary solution.
What Is The Best Material For Permanent Plugging?
For concrete pools, hydraulic cement is the best choice. For vinyl or fiberglass, use epoxy putty or a PVC cap on the line. Always match the material to your pool type.
If you are unsure, consult your pool’s manufacturer or bring a photo to your local pool supply store for advice.
How Long Does A Skimmer Hole Plug Last?
Temporary plugs like expansion plugs last 1–2 years. Permanent plugs with cement or epoxy can last 10 years or more if installed correctly.
However, regular inspection is still important, as changes in temperature, ground movement, or pool chemicals can affect the plug over time.
What Should I Do If The Skimmer Hole Plug Still Leaks?
Check that the plug is the right size, installed tightly, and the surface is clean. If leaks continue, look for cracks around the skimmer or consider calling a pool professional for pressure testing.
Sometimes, replacing the gasket or faceplate can solve leaks that seem to come from the skimmer hole but are actually from the surrounding seal.
Plugging a skimmer hole may seem small, but it can make a big difference in your pool’s health and your peace of mind. With the right tools, materials, and guidance, you can tackle this job safely and effectively, whether you need a quick fix or a permanent solution.