
Removing a kitchen cabinet door might sound simple, but doing it the right way makes a real difference. Whether you want to paint, replace hardware, repair damage, or clean behind the doors, knowing the correct steps keeps your cabinets in good condition.
Many people rush this process, making mistakes that lead to scratches, stripped screws, or even broken hinges. With careful preparation and attention to detail, anyone can remove a kitchen cabinet door safely—even without experience.
This guide gives you a complete walkthrough. It covers different cabinet types, hinge styles, the right tools, and all the details that most people overlook. If you want your kitchen to look neat and avoid costly errors, take your time with each step.
Let’s get started with everything you need to know about removing a kitchen cabinet door.
Why Remove A Kitchen Cabinet Door?
People remove kitchen cabinet doors for many reasons. Understanding your goal helps you approach the task better.
- Painting or Refinishing: Removing doors before painting makes the job cleaner and results in a smoother finish.
- Repair or Replacement: Damaged doors or hinges often need to come off for repair or to swap for new models.
- Changing Hardware: Upgrading handles, knobs, or hinges is easier with the doors off.
- Deep Cleaning: Dust, grease, or mold can collect behind doors—removal gives full access for cleaning.
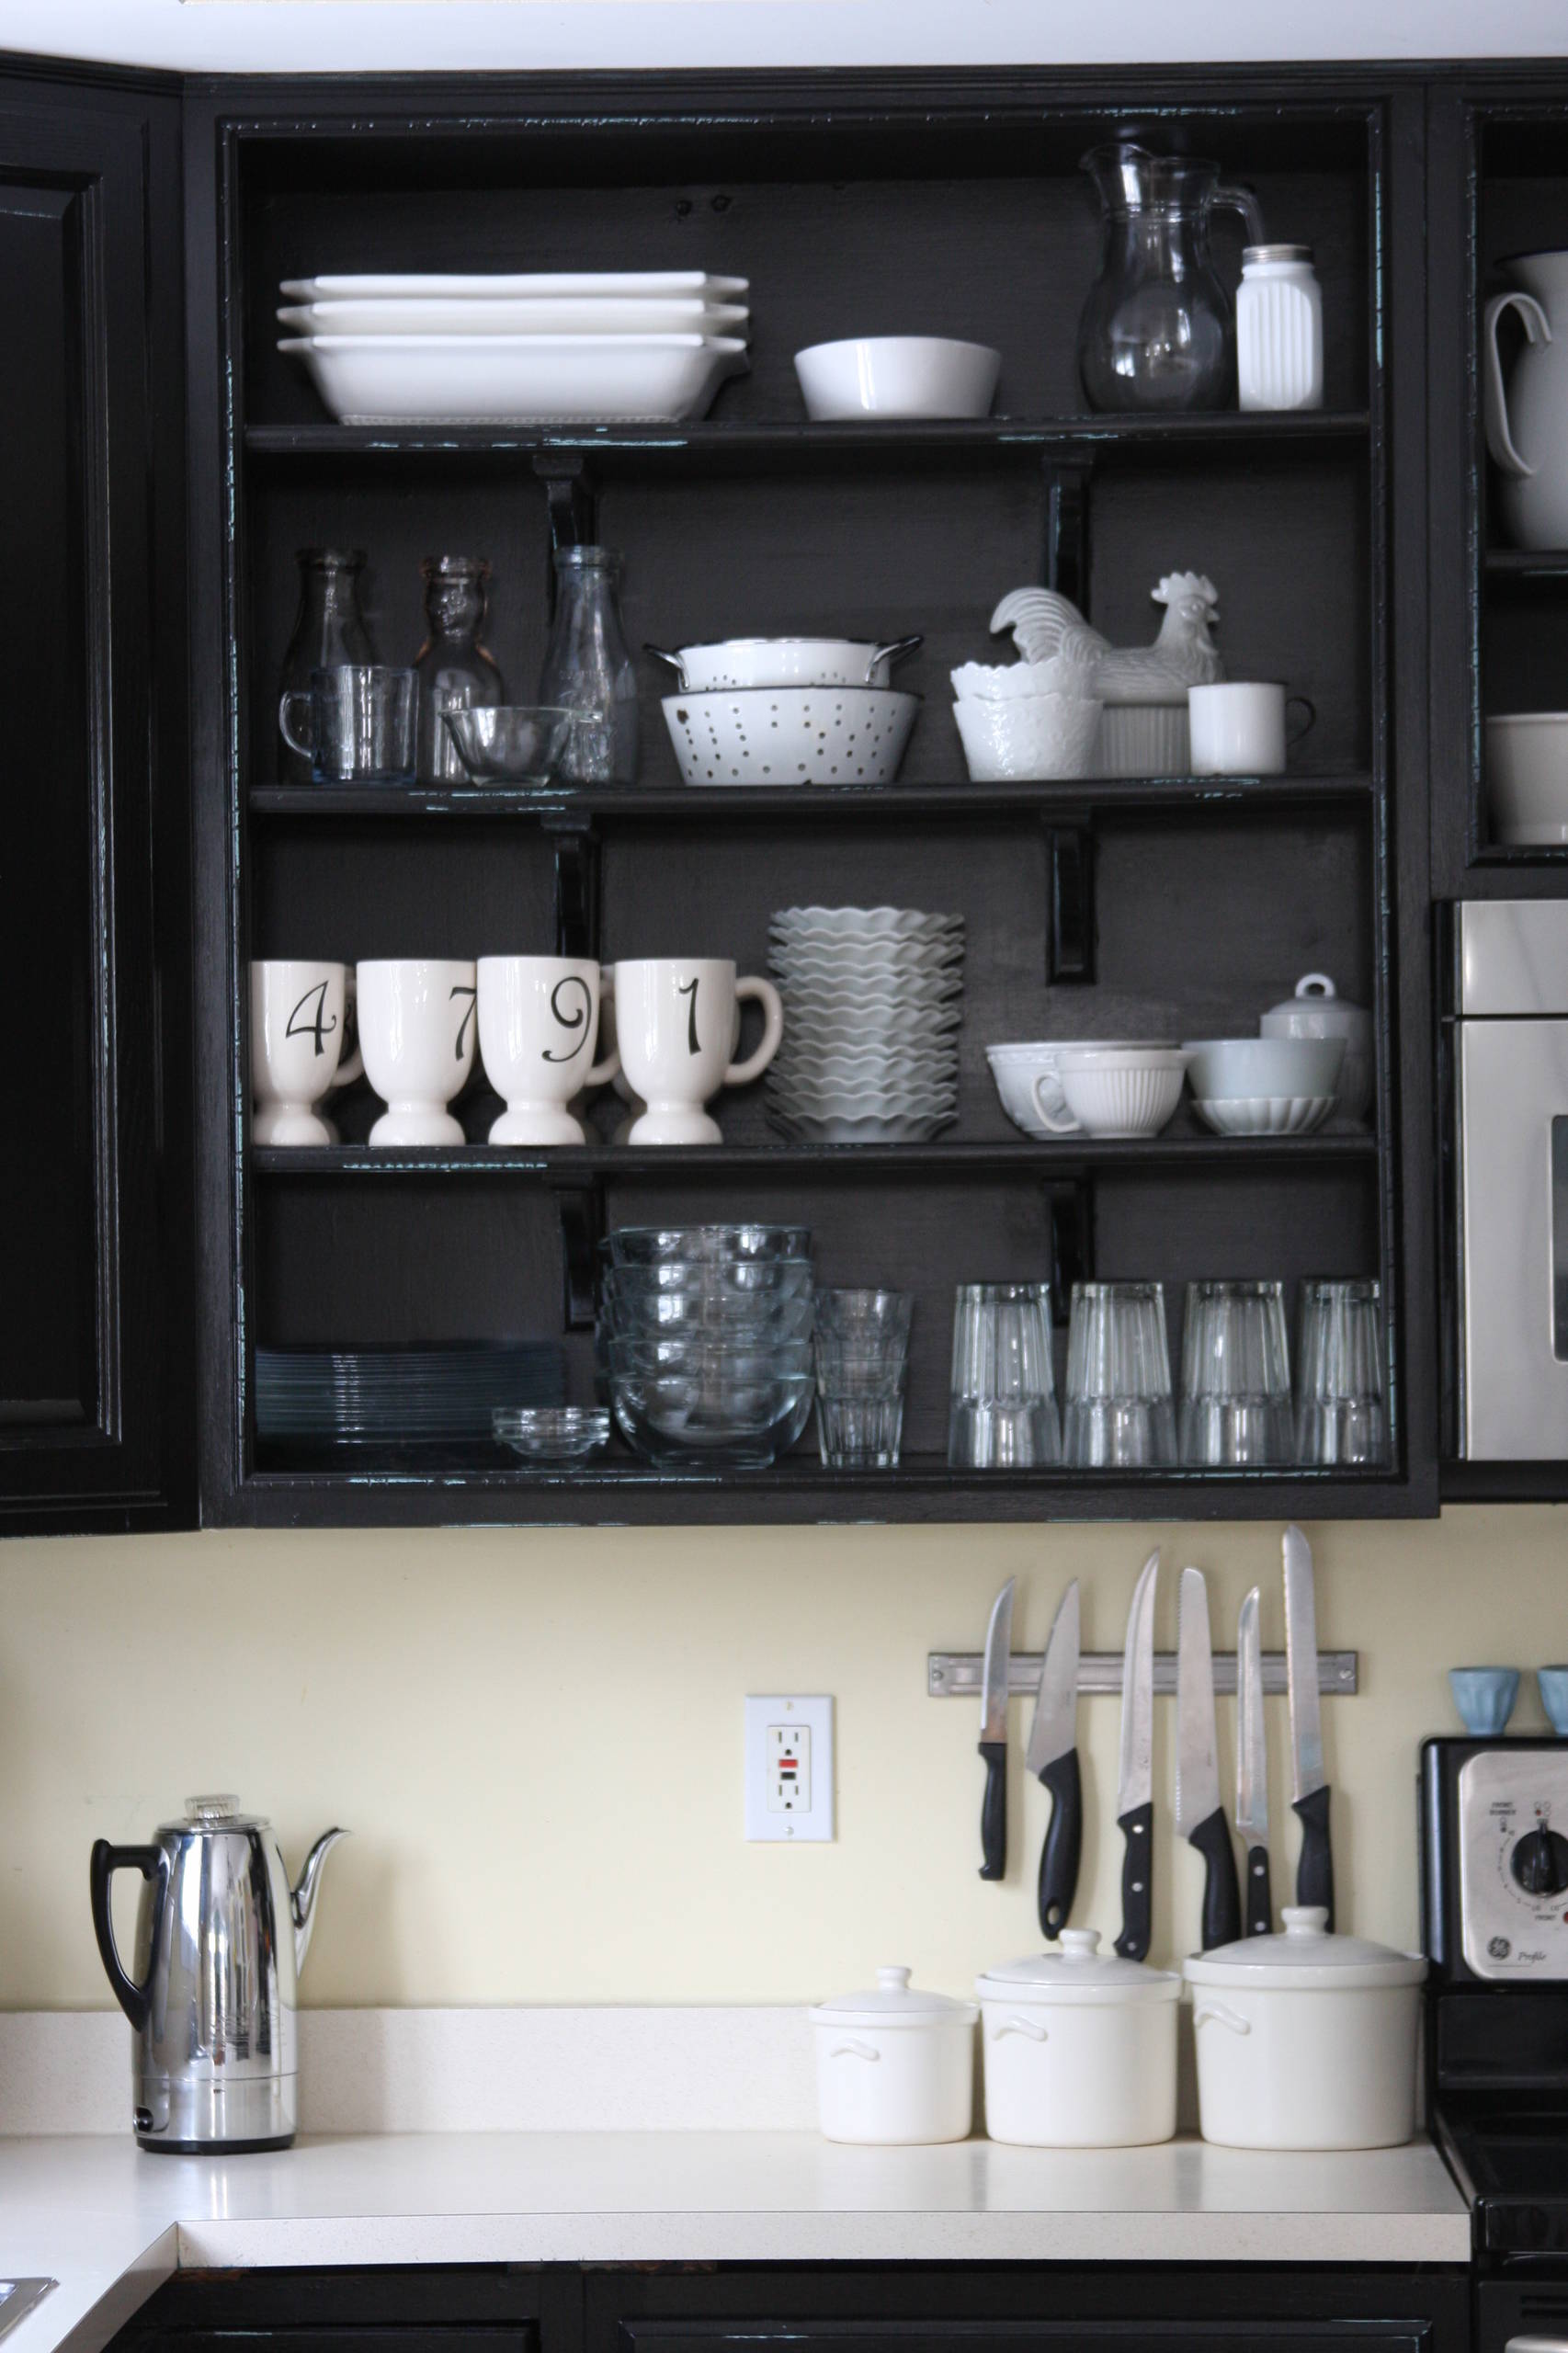
- Open-Shelf Look: Some homeowners like a modern, open-shelf style and remove doors for aesthetics.
No matter your reason, following the correct steps keeps your cabinets looking their best.
Understanding Your Cabinet Door Type
Before you start, it’s important to know which type of cabinet door you have. This affects how you remove it and which tools you’ll use.
Types Of Cabinet Doors
- Overlay Doors: These doors cover the cabinet frame completely or partially. Most modern kitchens use this style.
- Inset Doors: These sit flush inside the cabinet frame—common in traditional or high-end kitchens.
- Partial Overlay Doors: These only cover part of the frame, leaving some of it visible.
Each type may require a slightly different approach, especially with hinge removal.
Hinge Types Matter
There are several types of cabinet hinges. Identifying yours saves time and avoids mistakes.
- Concealed (European) Hinges: Hidden from view when the door is closed. They usually have a simple clip-on/off mechanism or screws.
- Exposed Hinges: Visible from the outside. These are screwed directly to the door and frame.
- Mortise Hinges: Recessed into the door and frame, usually older cabinets.
- Surface Mount Hinges: Attached directly to the surface; common in inexpensive or vintage cabinets.
Check your hinge type before starting, as removal steps can change.
Tools And Supplies You’ll Need
Gathering the right tools before you start makes the process faster and safer.
| Tool | Purpose | Tips |
|---|---|---|
| Screwdriver (Phillips or flat-head) | Removing hinge screws | Choose the correct size for your screws |
| Drill (optional) | Faster screw removal | Use with caution to avoid stripping |
| Step ladder | Reach upper cabinets safely | Check for stability before use |
| Painter’s tape | Label doors and hinges | Helps with re-installation |
| Plastic bag or small container | Hold screws and hardware | Prevents losing small parts |
| Soft cloth or towel | Protect countertops and floors | Prevents scratches or dents |
| Pen or marker | Label doors and hardware | Write directly on tape |
Having these items ready avoids interruptions and reduces the risk of damaging your cabinets.
Preparation Steps Before Removing The Door
A little preparation prevents accidents and confusion later. Many beginners skip these, but they are essential.
1. Clear The Area
Remove items from the counter, nearby shelves, or inside the cabinet. This gives you space to work and prevents anything from falling.
2. Protect Surfaces
Lay a soft cloth or towel on countertops and the floor under your work area. Cabinet doors are heavier than you might think—dropping one can cause dents or scratches.
3. Label Everything
Use painter’s tape and a marker to label the cabinet door and its hinges. For example, write “Top Left” or “Pantry Door 2.” This helps you put everything back in the right place, especially if you are removing multiple doors.
4. Take Photos
Snap a few quick photos of the door and hinge placement before you start. This is a lifesaver if you forget how things were attached, especially with European hinges.
5. Gather Your Tools
Set all your tools and supplies within easy reach. This keeps the process smooth and safe.
Credit: www.houzz.co.nz
Step-by-step: How To Remove A Kitchen Cabinet Door
Now that you’re prepared, follow these steps carefully. This section covers the process for most cabinet types, with extra notes for special cases.
Step 1: Support The Door
Cabinet doors can be heavy, especially solid wood. Support the door with one hand or ask someone to help hold it while you work. This prevents stress on the hinges and avoids dropping the door.
Step 2: Locate The Hinge Screws
Most hinges have two sets of screws:
- Frame screws: Attach the hinge to the cabinet frame.
- Door screws: Attach the hinge to the cabinet door.
You usually remove the door screws first. On some European hinges, you may see a release clip instead.
Step 3: Remove The Screws Or Release The Clip
Using the correct screwdriver, remove the screws holding the hinge to the door. If you have a European-style hinge with a release clip, press the clip to release the door from the hinge—no screws required.
If removing with a drill, use low speed and gentle pressure to avoid stripping the screws.
Step 4: Detach The Door
Once the screws (or clips) are released, gently pull the door away from the cabinet. Support it with both hands. For tall or wide doors, ask for help.
Step 5: Remove Hinges (optional)
If you plan to paint, refinish, or replace the hinges, remove the screws attaching the hinge to the cabinet frame. Keep all screws and hardware in a labeled bag or container.
Step 6: Store The Door Safely
Lay the door flat on a soft surface. Stack multiple doors with towels between them to prevent scratches. Store hinges and screws together with each door for easy re-installation.
Special Cases: Different Hinge And Door Types
Not every cabinet door comes off the same way. Here are extra tips for less common styles.
European (concealed) Hinges
Many modern cabinets use European-style hinges. These often have a quick-release tab—just press to detach the door. Be careful not to force it, as the plastic parts can break.
Surface Mount Hinges
For surface mount hinges, remove screws both from the door and the frame. These are visible and often found on older or budget cabinets.
Inset Doors
Inset doors sit inside the cabinet frame. Removal is similar, but be careful not to chip the frame edges when pulling the door away.
Glass-front Doors
Glass doors are heavier and more fragile. Always support from the bottom and avoid twisting the door as you remove it.
Bi-fold Or Double Doors
Remove both doors at the same time, supporting each one. These are usually found on corner cabinets.
Common Mistakes And How To Avoid Them
Learning from others’ mistakes saves you time and frustration.
- Stripping Screw Heads: Using the wrong screwdriver or too much force can strip screws. Always match the screwdriver to the screw type and size.
- Forgetting to Label: When re-installing, many people mix up doors or hinges. Label everything before removal.
- Dropping the Door: Cabinet doors can be heavier than expected. Support them with one hand or ask for help.
- Losing Hardware: Screws and small parts easily roll away. Store them in a labeled bag or container.
- Damaging Finish: Avoid using power tools at high speed. Lay doors on a soft surface to prevent scratches.
- Skipping Photos: If you forget how things fit together, photos are an excellent guide during re-installation.
- Forcing Hinges: Some hinges have hidden clips or special release mechanisms. If it won’t come off easily, double-check the hinge type.
Comparing Different Hinge Removal Methods
Below is a comparison of how various hinge types are removed.
| Hinge Type | Removal Difficulty | Tools Needed | Special Notes |
|---|---|---|---|
| European (Concealed) | Easy | Screwdriver or none (clip) | Quick release tab on most models |
| Surface Mount | Moderate | Screwdriver | Visible screws; support door during removal |
| Mortise | Hard | Screwdriver, patience | Often painted over; may need extra effort |
| Butt Hinges | Moderate | Screwdriver | Check for paint or debris around hinge |
Understanding your hinge type before starting helps you choose the right method and avoid damage.
Reinstalling The Cabinet Door
After cleaning, painting, or replacing hardware, you’ll need to put the door back. Doing this carefully ensures smooth operation.
1. Align Hinges
Position the hinges in their original locations. Use your labels or photos as a reference.
2. Attach Screws By Hand
Start all screws by hand to avoid cross-threading. Tighten them enough to hold the door, but don’t overtighten.
3. Check Door Movement
Open and close the door a few times. Make adjustments before tightening screws fully.
4. Final Tightening
Once the door is aligned, finish tightening all screws. For European hinges, make micro-adjustments as needed.
5. Test For Smooth Operation
Check that the door swings freely and lines up with the others. Adjust hinges if necessary.
Troubleshooting Common Problems
Sometimes, problems appear after re-installing the door. Here’s how to fix them.
Door Doesn’t Close Properly
- Check for debris around the hinges.
- Loosen the screws slightly, adjust the door, and retighten.
Door Is Crooked
- Adjust hinge screws. European hinges often have side-to-side, up-down, and in-out adjustments.
Door Won’t Stay Closed
- Check if the magnetic or roller catch is misaligned or worn out. Replace if needed.
Squeaky Hinges
- Apply a drop of light oil to the hinge pin.
Stripped Screw Holes
- Fill the hole with a wooden toothpick and wood glue, then re-insert the screw.

Credit: www.youtube.com
Maintenance Tips After Door Removal
Keeping your doors and hardware in good shape extends their life and keeps your kitchen looking fresh.
- Clean Hinges and Hardware: Soak in warm, soapy water, then dry thoroughly. Avoid harsh chemicals on brass or antique parts.
- Inspect for Damage: Check for cracks or warping in doors and hinges. Replace damaged parts promptly.
- Lubricate Hinges: Use a small amount of oil or silicone spray to keep hinges silent and smooth.
- Tighten Screws Periodically: Over time, screws can loosen. Check and tighten them every few months.
- Avoid Excess Moisture: Wipe up spills quickly to prevent swelling or warping.
When To Call A Professional
Some situations are best handled by an expert.
- Heavy or Large Doors: Very large or glass-front doors can be dangerous to handle alone.
- Custom or Antique Cabinets: Unique or valuable cabinets may require special tools or care.
- Broken Hinges or Frames: If you discover structural damage, a professional can make safe repairs.
- Multiple Door Removal: If you’re removing every door in a large kitchen, consider hiring help to save time and prevent mistakes.
Safety Tips
Never compromise on safety when removing a kitchen cabinet door.
- Always support the door, especially when removing the last screw.
- Use a sturdy ladder for upper cabinets—never stand on a chair.
- Wear gloves if hinges are rusty or sharp.
- Keep children and pets out of the work area.
- Handle glass-front doors with extra care.
Real-world Example
Consider Sarah, a homeowner who wanted to repaint her kitchen cabinets. She skipped labeling her doors and hinges, thinking she’d remember where everything went. After painting, she found it almost impossible to match each door to its original spot. Many doors were crooked, and some wouldn’t close.
She spent hours adjusting them—most of the frustration could have been avoided by simply labeling each door and taking photos. Small preparation steps save hours later.
Environmental Impact: Reuse And Recycling
If you’re replacing cabinet doors, don’t just throw the old ones away. Many local recycling centers accept wood or particle board. Some creative people turn old cabinet doors into chalkboards, serving trays, or wall art. Reusing or donating old doors is better for the environment than sending them to a landfill. To find recycling options in your area, check with your local waste authority or visit EPA’s recycling page.
Cost And Time Estimates
Removing a single kitchen cabinet door is a quick job for most people.
| Task | Estimated Time | Estimated Cost |
|---|---|---|
| Remove one door | 5–10 minutes | Free (if you have basic tools) |
| Remove all doors in medium kitchen (10–15 doors) | 60–90 minutes | Free–$10 (for labels, bags, etc.) |
| Professional removal | 30–60 minutes | $50–$150 |
DIY removal is usually fast and affordable, but professional help is worth considering for tricky jobs.

Credit: www.reddit.com
Non-obvious Insights That Make A Difference
Many guides miss these helpful tips:
- Match the Screwdriver Exactly: Even a small size mismatch can strip screws. Check the head carefully—sometimes Phillips and Pozidriv look similar but are not the same.
- Hinge Placement Can Shift: If your doors are old, wood can swell or shrink. Mark not just the door but also the exact hinge location on the frame to make re-installation easy.
- Test All Doors After One: If you plan to remove all doors, do a trial run with one first. This helps you spot unique challenges, like hidden screws or painted-over hinges.
Frequently Asked Questions
What Tools Do I Need To Remove A Kitchen Cabinet Door?
Most jobs require a screwdriver (Phillips or flat-head, depending on your screws). You may also need a drill for quicker removal, painter’s tape and a marker for labeling, a step ladder for upper cabinets, and a small bag for screws. For fragile or glass doors, consider gloves for extra grip and protection.
How Do I Know Which Hinge Type My Cabinet Has?
Look at the hinge when the door is open. If it’s hidden inside, it’s likely a European (concealed) hinge. If you see the hinge plates outside, it’s probably a surface mount or butt hinge. Mortise hinges are set into a slot in both the door and frame, often found in older homes. If you’re unsure, check the manufacturer’s website or compare with photos online.
Can I Reuse The Hinges After Removing The Door?
Yes, most hinges can be reused if they are in good condition. Clean them with warm, soapy water, check for rust or damage, and lubricate if needed. If you notice any cracks, loose pins, or squeaks that don’t go away, it’s best to replace the hinge for smooth operation.
What If The Screws Are Painted Over Or Stuck?
If screws are painted over, carefully scrape away the paint with a utility knife or small flat screwdriver. For stuck screws, tap gently with a hammer to loosen them, or apply a drop of penetrating oil and wait a few minutes. Always use the correct screwdriver and avoid forcing the screw, as this can strip the head.
Is It Necessary To Remove The Cabinet Door For Painting?
For the best results, yes. Removing the door lets you paint all surfaces evenly and avoid drips or missed spots. It also makes sanding and cleaning easier. If you paint with the door attached, you may get paint on the hinges and have an uneven finish.
Removing a kitchen cabinet door is a small task that makes a big difference in kitchen maintenance, repair, or renovation. With the right tools, good preparation, and careful steps, anyone can do it safely and successfully. Remember to label, support, and store everything carefully to avoid the most common mistakes. If you ever feel unsure, don’t hesitate to ask for help or check reliable resources like Family Handyman for more details. With patience, your kitchen will look better than ever.