
Removing a kitchen sink strainer may seem like a small job, but it often becomes frustrating for many homeowners. The strainer is the part that sits in the drain, catching food scraps and preventing clogs. Over time, it can get stuck due to rust, old putty, or mineral buildup.
If you want to replace a leaky strainer, clear a clog, or upgrade your kitchen, knowing how to remove the strainer safely is essential. Many people try to pry it out with brute force, but this can damage the sink or pipes.
With the right steps and a little patience, you can do this job smoothly, even if you have never done plumbing before.
This guide will walk you through everything you need to know about removing a kitchen sink strainer. You’ll learn about the tools required, different types of strainers, step-by-step removal instructions, troubleshooting difficult cases, and tips to avoid common mistakes. With clear language and practical advice, you’ll feel confident tackling the job yourself.
Understanding Kitchen Sink Strainers
Before you start, it helps to know what a kitchen sink strainer is and why it matters. The strainer is a metal or plastic basket that fits into the drain opening. It lets water pass through while catching food and debris. Underneath, it’s held in place by a nut, washer, and often plumber’s putty for a watertight seal.
Most kitchen sinks have one of these types:
- Locknut strainer: Secured with a large locknut under the sink.
- Spin-and-seal strainer: Uses a threaded body and a rubber gasket.
- Snap-in strainer: Pops in and out for easy cleaning.
Knowing your strainer type helps you choose the right tools and removal method.
Why Remove A Sink Strainer?
Homeowners remove sink strainers for several reasons:
- To replace a leaking or corroded strainer
- To clear blockages stuck beneath the strainer
- When upgrading or changing the sink
- If the strainer is loose or damaged
If your sink leaks or drains slowly, the strainer might be the problem. Replacing it is often cheaper than calling a plumber.
Tools And Supplies Needed
Before starting, gather all the tools and materials. This saves time and reduces frustration.
- Adjustable wrench: For loosening nuts under the sink.
- Channel-lock pliers: Helpful for turning stubborn nuts.
- Plumber’s putty knife: To scrape away old putty.
- Bucket: To catch water and debris.
- Screwdriver: Flathead or Phillips, depending on the screws.
- Penetrating oil: For rusted or stuck parts.
- Rags or towels: To wipe up spills.
- Work gloves: Protect your hands from sharp edges.
- Flashlight: To see under the sink.
If you plan to install a new strainer, have plumber’s putty or silicone caulk ready.
Optional Tools
- Basin wrench: Reaches hard-to-access nuts.
- Hacksaw: Cuts off old, stuck nuts (only if necessary).
- Plastic scraper: For delicate sink surfaces.
Safety Precautions
Working under the sink can be awkward. A few safety steps make the process easier and safer:
- Turn off water supply: While not always necessary for just the strainer, this prevents accidents if you bump a supply line.
- Unplug garbage disposal: If you have one, disconnect it to avoid shocks.
- Clear out under the sink: Remove cleaning products and supplies for more space.
- Wear gloves and eye protection: Old metal can be sharp, and debris may fall during removal.
- Use a sturdy light: Good lighting prevents mistakes and injuries.
Many beginners forget to clear out the cabinet, making the job much harder. Take a few minutes to prepare your workspace for a smoother experience.
Step-by-step Guide: How To Remove A Kitchen Sink Strainer
The actual removal process depends on your strainer type and how long it’s been in place. The steps below cover most situations and highlight tips for common problems.
1. Prepare The Area
Start by removing everything from under the sink. Place a bucket directly beneath the drain to catch any water or debris. Lay down rags to protect the cabinet base.
Use your flashlight to check the strainer assembly. Identify the locknut, washers, and any other connections.
2. Disconnect The Drain Pipe
The strainer connects to the sink’s P-trap (the curved drain pipe). Use channel-lock pliers or an adjustable wrench to loosen the slip nut holding the P-trap to the strainer tailpiece. Slide the P-trap away and set it aside. Some water may spill, so use your bucket.
If you have a garbage disposal, remove it according to the manufacturer’s instructions. Usually, it twists off from the mounting bracket.
3. Loosen The Locknut
Look for a large, round nut at the base of the strainer underneath the sink. This locknut holds the strainer tight against the sink.
- Use pliers or a basin wrench to grip the locknut.
- Turn the nut counterclockwise to loosen.
- If the nut is stuck due to rust or mineral deposits, spray with penetrating oil and wait 10-15 minutes before trying again.
If the nut will not budge, tap it gently with a hammer and screwdriver to help break the seal. Do not force it too hard, as you could damage the sink.
4. Remove The Strainer Assembly
Once the locknut is off, slide off any washers or gaskets. Go to the top of the sink and try to lift the strainer straight up. If it’s stuck due to old putty, wiggle it gently or tap the side with a rubber mallet.
For very stubborn strainers, run a putty knife around the edge to break the seal. Avoid using metal tools on delicate sinks, as they can scratch the surface.
5. Clean The Sink Opening
After the strainer is out, you’ll notice old plumber’s putty or caulk around the opening. Use your putty knife or plastic scraper to remove all residue. Clean with a rag and mild cleaner so the new strainer will seal well.
If you see rust or corrosion on the sink hole, scrub gently with a pad or brush. This extra step helps prevent leaks with your new installation.
6. Inspect And Troubleshoot
Check the removed strainer for signs of wear, corrosion, or cracks. If it’s badly damaged, it was likely causing leaks. Also, inspect the sink opening for chips or dents that could affect sealing.
If the locknut or tailpiece is stuck to the drain, use a hacksaw to carefully cut it off. Always protect the sink surface with a towel before sawing.
7. Optional: Install A New Strainer
If you’re replacing the old strainer, now is the perfect time. Apply plumber’s putty under the rim of the new strainer and press it into the sink opening. From underneath, install the washer, gasket, and locknut. Tighten securely, but do not overtighten.
Reconnect the drain pipe or garbage disposal and check for leaks by running water.
Common Problems And Solutions
Many homeowners face the same issues when removing kitchen sink strainers. Here’s how to solve them without calling a plumber.
Strainer Nut Won’t Loosen
- Apply penetrating oil and wait.
- Use a basin wrench for better grip.
- If still stuck, carefully use a hacksaw to cut the nut, making sure not to damage the sink.
Strainer Stuck By Putty
- Slide a putty knife under the rim and twist gently.
- For tough putty, use a hair dryer to soften it before prying.
Rusted Or Corroded Parts
- Spray with penetrating oil.
- Use a wire brush to remove rust.
- Replace any parts that look weak or thin.
Plastic Strainers
Plastic strainers usually pop out more easily. If stuck, heat with a hair dryer for a few minutes to soften the plastic and try again.
Leaks After Reinstallation
- Clean all surfaces thoroughly.
- Use fresh plumber’s putty or silicone.
- Tighten locknut evenly, but do not overtighten.
Many beginners miss the importance of cleaning the sink opening well. Old putty or debris can stop the new strainer from sealing, causing leaks.
Types Of Kitchen Sink Strainers
Not all sink strainers are the same. Knowing the type in your kitchen helps you choose the right removal method and replacement part.
| Strainer Type | How It’s Installed | Removal Difficulty |
|---|---|---|
| Locknut Strainer | Large locknut and washers | Moderate |
| Spin-and-Seal Strainer | Threaded body, rubber gasket | Easy |
| Snap-in Strainer | Pops in/out, no nut | Very Easy |
| Basket Strainer with Flange | Flange, nut, and putty | Moderate |
If you’re unsure, take a photo of the underside of your sink and compare it with images online or at a hardware store.
When To Call A Professional
Most kitchen sink strainers can be removed as a DIY project. However, certain cases may require expert help:
- The strainer is fused to the sink by heavy corrosion
- The sink is made of fragile material (glass, stone)
- You notice cracks or damage to the sink
- Water leaks persist after replacement
Trying to force a stuck strainer can lead to expensive damage. If you’re unsure, it’s better to call a plumber than risk breaking your sink.
Comparing Removal Methods
Different tools and approaches can make the job easier or harder, depending on your situation. Here’s a quick comparison of methods for loosening a stubborn strainer locknut:
| Method | Best For | Pros | Cons |
|---|---|---|---|
| Channel-lock pliers | Standard nuts | Easy, common tool | Can slip, limited reach |
| Basin wrench | Tight spaces | Access hard-to-reach nuts | Less torque, can be tricky |
| Penetrating oil | Rusted parts | Reduces friction | Requires wait time |
| Hacksaw | Frozen nuts | Last resort, always works | Time-consuming, risk of damage |
Choose the method that fits your tool collection and the condition of your sink.

Credit: www.wikihow.com
Practical Tips For Success
- Photograph each step as you go. If you’re unsure about reassembly, photos help you put everything back together correctly.
- Label small parts like washers, nuts, and gaskets in separate containers. This prevents losing pieces, which is a common beginner mistake.
- Work with a helper if possible. An extra set of hands can hold the strainer in place or hand you tools, making the process smoother.
- Check pipe alignment before reconnecting. Misaligned pipes can cause leaks or make reassembly difficult.
- Test for leaks by filling the sink with water and letting it drain. Check under the sink for any drips.
Many first-timers forget to test for leaks before cleaning up, only to find water under the sink later.
Mistakes To Avoid
- Forcing stuck parts: This can damage the sink or plumbing.
- Skipping cleanup: Old putty or dirt prevents a good seal.
- Reusing old gaskets: Always use new gaskets and washers for the best seal.
- Ignoring leaks: Even a small drip can lead to cabinet damage and mold.
- Using too much putty: Excess putty can squeeze into the drain and cause clogs.
How To Remove A Sink Strainer With A Garbage Disposal
If your sink has a garbage disposal, the removal process includes a few extra steps:
- Unplug the disposal and remove it according to the manual. Most twist off with a locking ring.
- Disconnect the drain pipes as usual.
- Remove the mounting bracket holding the disposal to the sink.
- Proceed with strainer removal as described above.
Disposals are heavy, so support the unit as you detach it. If you’re unsure, check the manufacturer’s instructions or look up a video.
How To Remove A Stuck Or Rusted Sink Strainer
Some strainers are very old and corroded. Here’s how to tackle a tough case:
- Apply penetrating oil liberally and wait up to an hour.
- Tap the locknut gently with a hammer and screwdriver to break the rust.
- Use a hacksaw to carefully cut through the nut if it won’t turn.
- Protect the sink surface with towels while sawing.
- Clean the area thoroughly before installing a new strainer.
Rusted strainers may break as you remove them, so wear gloves and eye protection.

Credit: www.reddit.com
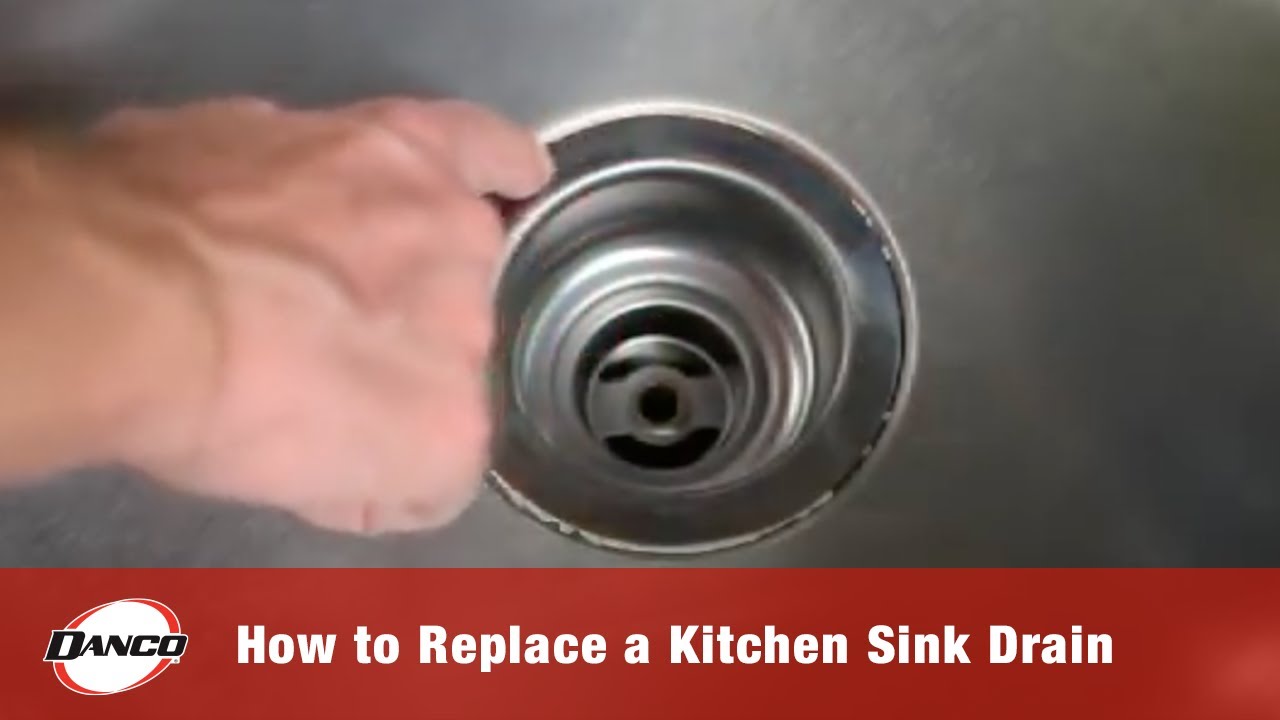
How To Remove A Snap-in Strainer
Some modern sinks use snap-in strainers. These require less effort:
- Grip the strainer basket firmly.
- Twist and pull upward. Most snap out with a little force.
- If stuck, use a plastic scraper to pry gently.
Snap-in strainers are popular in stainless steel and composite sinks.
Installing A New Sink Strainer (quick Overview)
While this guide focuses on removal, most users want to install a new strainer afterward. Here’s a quick overview:
- Roll a rope of plumber’s putty and press it under the rim of the new strainer.
- Insert the strainer into the sink hole and press firmly.
- From below, attach the gasket, washer, and locknut.
- Tighten the locknut evenly while holding the strainer in place from above.
- Reconnect the drain pipe and check for leaks.
For detailed installation steps, check the instructions with your new strainer or visit an authoritative plumbing guide like Family Handyman.
Maintenance Tips To Prevent Future Problems
A little care can extend the life of your kitchen sink strainer and make future removal easier:
- Clean the strainer regularly to prevent buildup.
- Avoid harsh chemicals that can corrode metal parts.
- Inspect for leaks every few months.
- Re-tighten locknut if the strainer feels loose.
- Replace washers if you see drips under the sink.
These simple steps can save you time and money later.
Cost And Time Considerations
Removing a kitchen sink strainer is usually a low-cost task. Here’s a rough breakdown:
- DIY removal: $0 (if you have basic tools)
- New strainer: $10–$30 for standard models
- Plumber visit: $100–$250 depending on region
Most people can complete the job in 30–60 minutes, unless the parts are very old or rusted.
Hiring a plumber is smart if you’re short on time, tools, or confidence. But for most, this is a manageable DIY project.
Environmental Considerations
When removing your old sink strainer, consider these tips:
- Recycle metal strainers if possible. Many towns accept them with scrap metal.
- Dispose of old putty and plastic properly. Do not wash putty down the drain.
- Use non-toxic cleaners to avoid harming pipes and the environment.
These small actions help reduce waste and protect your plumbing system.
Frequently Asked Questions
How Do I Know What Type Of Sink Strainer I Have?
Look under your sink and check how the strainer is attached. If you see a large metal nut, it’s likely a locknut strainer. If it pops in and out, it’s a snap-in strainer. Spin-and-seal types have a threaded body and a rubber gasket. If you’re unsure, take a photo to your hardware store for help.
Can I Reuse The Old Strainer After Removal?
You can reuse a strainer if it’s in good shape and not leaking. However, most experts recommend replacing old strainers, especially if they show rust, cracks, or wear. New gaskets and washers are also important for a watertight seal.
What Should I Do If The Strainer Is Rusted Solid?
Apply penetrating oil and wait at least 30 minutes. Try loosening the nut again with pliers or a basin wrench. If it won’t move, use a hacksaw to carefully cut through the nut. Always protect the sink from scratches.
Do I Need Plumber’s Putty For Reinstallation?
Yes, plumber’s putty helps seal the new strainer to the sink and prevents leaks. If your sink material is not compatible with putty (like stone or composite), use silicone caulk instead. Check the instructions for your new strainer.
How Do I Test For Leaks After Installation?
Fill the sink with water, then let it drain while watching under the sink. Check for drips around the strainer and pipe connections. If you see leaks, tighten the connections a little more or add more putty. Wipe up any water to keep the area dry.
Removing a kitchen sink strainer doesn’t have to be stressful. With the right tools, preparation, and step-by-step instructions, you can finish the job confidently. Remember to clean everything well, use new gaskets and putty, and test for leaks before putting your tools away.
These simple habits will help your kitchen sink stay trouble-free for years to come.
Credit: www.youtube.com