
Testing a Studor vent may not sound exciting, but it’s a task that can protect your home from costly plumbing issues and unpleasant smells. Many homeowners and even some professionals overlook this simple device, yet it plays a vital role in keeping your plumbing system healthy and efficient.
If you’ve ever wondered why your bathroom sometimes smells bad, or you’ve noticed slow drains, your Studor vent could be the reason. This guide will show you, step by step, how to test a Studor vent, what tools you need, and how to decide if it’s time for a replacement.
Studor vents, also known as air admittance valves (AAVs), are designed to let air into your plumbing system when water flows through the pipes. They prevent sewer gases from escaping into your home. When these vents fail, you might face persistent odors, gurgling drains, or even slow water flow.
Testing your Studor vent is not just about solving minor annoyances—it can prevent major plumbing emergencies. This article will walk you through everything you need to know, from understanding how these vents work to diagnosing problems and performing a thorough test.
What Is A Studor Vent And Why Does It Matter?
A Studor vent is a type of air admittance valve used in modern plumbing. Instead of traditional roof vent pipes, Studor vents are installed in places where venting to the outside is difficult or impossible. They open when negative pressure builds up (such as when you flush a toilet or drain a sink), allowing air to enter the pipe. When not needed, they close, stopping any air or gas from coming back into your home.
Without a functioning vent, your plumbing system can’t balance air pressure. This can lead to:
- Slow drainage: Water drains slowly because the pipes form a vacuum.
- Sewer odors: Bad smells enter your home because gases can’t escape.
- Gurgling sounds: You may hear strange noises when using sinks or toilets.
- Possible water trap siphoning: This can allow sewer gases to bypass your plumbing traps.
Understanding this device helps you realize why regular testing is important, especially in homes where plumbing systems rely heavily on AAVs.
Signs Your Studor Vent Might Be Failing
It’s easy to ignore a Studor vent—until you experience problems. Here are some clear signs that your vent might need testing or replacement:
- Unpleasant odors: If you smell sewer gas in your bathroom or kitchen, your vent could be stuck closed or leaking.
- Gurgling noises: Bubbling or gurgling sounds in the drain often mean air isn’t entering the system as it should.
- Slow drainage: If sinks or tubs drain slowly, even after cleaning, the vent might be blocked.
- Water backup: Persistent backup or standing water in drains can signal a venting issue.
- Dripping water near the vent: This can indicate condensation or a malfunction.
If you notice any of these signs, don’t ignore them. Testing your Studor vent should be your next step.
Tools And Materials Needed For Testing
Before you start, gather the following tools:
- Adjustable wrench: For removing the vent if needed.
- Flashlight: To inspect hard-to-see areas.
- Spray bottle with soapy water: Helps check for leaks.
- Gloves: Protect your hands from grime and bacteria.
- Bucket or bowl: To catch any water or debris.
- Step ladder: If the vent is installed in a high place.
- Towels or rags: For cleanup.
Having these tools ready will save time and make the process smoother.
Safety Precautions Before Testing
Testing a Studor vent is usually safe, but a few simple steps can prevent problems:
- Turn off water flow: Don’t run water into the system while working.
- Work in a well-ventilated area: Sewer gases can be harmful if inhaled.
- Wear gloves and eye protection: Plumbing systems can harbor bacteria.
- Have a helper nearby: If you need to test multiple fixtures.
These steps are especially important if you’re working in a tight space or near electrical outlets.
Step-by-step Guide: How To Test A Studor Vent
Testing a Studor vent is not complicated, but it requires careful attention to detail. Here’s a clear, experience-based process to help you check if your vent is working as it should.
1. Locate The Studor Vent
Studor vents are often found under sinks, behind washing machines, or in other hidden areas. They look like small, round caps screwed onto a vertical pipe. Sometimes they’re installed inside walls with an access panel.
Pro tip: If you can’t find the vent, look for where the drain pipe leaves the fixture but doesn’t continue up through the roof.
2. Inspect The Vent Visually
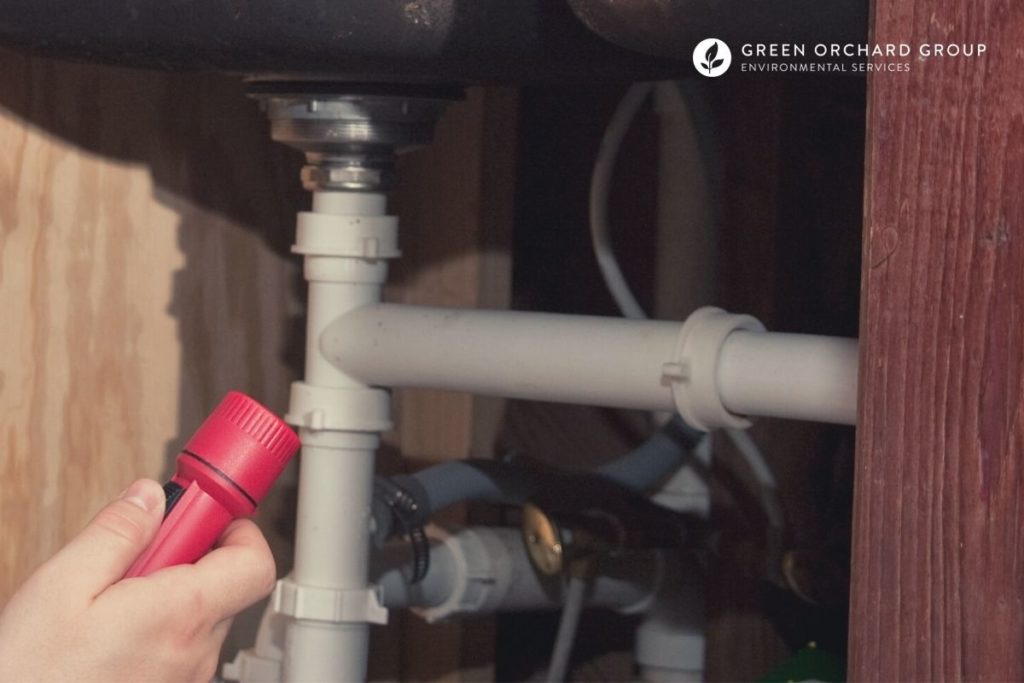
Use a flashlight to check for cracks, discoloration, or water stains around the vent. Any visible damage is a sign the vent may need replacing.
- Check for dust or debris: These can block the vent’s opening.
- Look for water stains: Indicates possible leaks.
3. Listen For Unusual Sounds
Flush the nearest toilet or drain the sink while observing the vent. Listen for:
- Clicking or popping: This is normal as the vent opens and closes.
- Hissing or whistling: May indicate air is leaking around the seal.
- No sound at all: The vent may be stuck closed.
If the vent is silent during heavy water flow, it may not be working.
4. Perform A Water Flow Test
With the vent in place, run water down the drain for several seconds. Watch for:
- Slow draining or bubbling: Could mean the vent is blocked or stuck.
- Gurgling in other fixtures: Suggests a venting problem.
- Immediate flow without noise: Usually indicates the vent is working.
If you notice problems, it’s time to test further.
5. Remove The Studor Vent
Using an adjustable wrench (if needed), unscrew the vent from the top of the pipe. Place a bucket or towel underneath to catch any water.
- Check for stuck debris inside the vent.
- Look at the rubber diaphragm: It should be flexible, not cracked or brittle.
A stiff or cracked diaphragm means the vent can’t open and close properly.
6. Test The Vent Mechanism By Hand
With the vent off, gently push on the rubber diaphragm with your finger.
- Smooth movement: The diaphragm should move easily and snap back into place.
- Stiffness or resistance: Indicates the vent is old or damaged.
- No movement: The vent is definitely faulty.
If the vent fails this test, it’s time to replace it.
7. Check For Leaks With Soapy Water
Spray soapy water around the base and threads of the vent. Reinstall it loosely, then run water through the drain again. Watch for bubbles forming around the vent.
- Bubbles: Air or gas is leaking.
- No bubbles: The seal is good.
Leaks mean the threads or seals may be damaged.
8. Reinstall Or Replace The Studor Vent
If the vent passes all tests, screw it back onto the pipe tightly, but don’t overtighten. If it fails, replace it with a new vent of the same size and type.
Insight: Always buy a vent rated for your local plumbing code. Not all AAVs are the same, and cheap units may not seal properly.
9. Final System Check
Run water through all nearby fixtures again. Listen and watch for any changes. If everything drains smoothly and no odors return, your Studor vent is working.
Common Problems Found During Testing
During your test, you might discover a few common problems. Here’s how they compare:
| Problem | Signs | Solution |
|---|---|---|
| Blocked Vent | Slow drainage, gurgling, odors | Clean or replace vent |
| Cracked Housing | Leaks, visible cracks | Replace vent |
| Stuck Diaphragm | No air entry, no noise | Replace vent |
| Poor Seal | Bubbles with soapy water test | Reseat or replace vent |

Credit: www.reddit.com
When Should You Replace A Studor Vent?
A Studor vent can last between 10–15 years, but heavy use or poor quality can shorten its lifespan. Here are key times to consider replacement:
- After a failed hand test: If the diaphragm feels stiff or stuck.
- After repeated leaks: Especially if water stains are present.
- Visible damage: Cracks, broken parts, or missing pieces.
- Persistent odors: Even after cleaning and retesting.
- During a major remodel: Replace old vents for peace of mind.
Non-obvious tip: If you live in an area with hard water, mineral buildup can cause vents to stick. Regular checks help avoid surprise failures.
Studor Vent Vs. Traditional Venting
Many people wonder if a Studor vent is as reliable as a traditional vent pipe. Here’s a quick comparison:
| Feature | Studor Vent | Traditional Vent Pipe |
|---|---|---|
| Installation | Easy, no roof work | Requires roof penetration |
| Maintenance | Needs testing/replacement | Rarely needs attention |
| Cost | Lower upfront | Higher due to labor |
| Lifespan | 10–15 years | Decades |
| Code Approval | May vary | Universally accepted |
Insight: Studor vents are ideal for renovations or additions where installing a new vent stack is difficult or expensive.
Mistakes To Avoid When Testing A Studor Vent
Even experienced DIYers make errors with air admittance valves. Here are common mistakes and how to avoid them:
- Ignoring obvious signs: Don’t dismiss odors or slow drains as “normal.”
- Testing with strong chemicals: Drain cleaners can harm the vent’s rubber parts.
- Over-tightening the vent: This can crack the housing or deform the seal.
- Forgetting to test all fixtures: Plumbing systems are interconnected; a problem in one area can affect others.
- Not checking local codes: Some places restrict or ban certain types of AAVs.
Always check for your specific model’s instructions and follow all safety guidelines.
How To Maintain A Studor Vent After Testing
Proper maintenance can extend the life of your Studor vent and reduce future problems. Here’s what to do:
- Clean the vent area twice a year to remove dust and debris.
- Check for leaks after heavy use or plumbing changes.
- Test function every 12 months, especially in older homes.
- Replace at the first sign of failure—don’t wait for a major backup.
Pro tip: Label the installation date on the vent with a marker. This helps you track its age easily.

Credit: www.researchgate.net
Real-world Example: Diagnosing A Persistent Odor
Let’s look at a real example. A homeowner noticed a rotten egg smell in their laundry room, especially after running the washing machine. They had cleaned the trap and pipes, but the smell returned. After following the steps above, they discovered the Studor vent was stuck closed due to lint buildup.
Replacing the vent solved the problem instantly.
Lesson: Sometimes, simple, hidden devices cause big headaches. Testing the Studor vent first could have saved time and money.
How To Choose A Replacement Studor Vent
If your vent fails, picking the right replacement is essential. Here’s what to consider:
- Size and thread type: Most residential vents are 1.5” or 2” diameter. Check your existing vent.
- Brand reputation: Stick with well-known brands like Studor for proven reliability.
- Certification: Look for UPC, NSF, or other code approvals.
- Max fixture units: Some vents are rated for more drains than others.
- Warranty: A good vent should offer at least a few years of coverage.
Here’s a side-by-side look at two common options:
| Feature | Studor Mini-Vent | Generic AAV |
|---|---|---|
| Brand | Studor | Various |
| Certification | UPC, NSF | Varies |
| Warranty | 5 years | 1–2 years |
| Typical Lifespan | 10–15 years | 5–10 years |
| Price | Higher | Lower |
Non-obvious tip: Avoid buying the cheapest vent. Poor-quality units may fail quickly and can cause code violations.
Credit: greenorchardgroup.com
Troubleshooting: What If The Problem Persists?
If your drains still smell or run slow after testing and replacing the Studor vent, consider these possibilities:
- Clogged drain lines: Debris further down the pipe could be the cause.
- Multiple vent failures: Some homes have more than one AAV.
- Improper installation: The vent may not be installed vertically or could be too close to elbows.
- Blocked main vent stack: If you have a hybrid system, the main stack could be blocked.
If you’re stuck, a plumber’s camera inspection can identify hidden blockages.
When To Call A Professional
Testing a Studor vent is a good DIY task, but call a plumber if:
- You smell strong, persistent sewer gas.
- You find mold or large water leaks near the vent.
- You’re unsure about plumbing codes in your area.
- You replace the vent, but problems remain.
A professional can test the entire system, check for other venting issues, and ensure your home is safe.
Frequently Asked Questions
What Is The Main Function Of A Studor Vent?
A Studor vent lets air into your plumbing system when needed, preventing vacuums that could slow drainage or allow sewer gases into your home. It closes when not in use to block bad smells.
How Often Should I Test My Studor Vent?
Test your Studor vent at least once a year, or any time you notice slow drains or odors. Frequent checks help catch problems early.
Can I Clean A Studor Vent, Or Must I Replace It?
You can remove dust or debris from the outside and gently clean the rubber diaphragm. However, if the vent is stuck, cracked, or leaking, it’s best to replace it.
Are Studor Vents Allowed Everywhere?
Some plumbing codes restrict or prohibit air admittance valves. Always check your local building codes before installing or replacing a Studor vent. For more details, see the Wikipedia entry on air admittance valves.
What Happens If I Ignore A Faulty Studor Vent?
Ignoring a faulty vent can lead to sewer gas leaks, slow drains, water damage, and even health issues. Address problems promptly to avoid bigger repairs.
Testing a Studor vent isn’t complicated, but it’s a key part of keeping your plumbing system safe and odor-free. With the right tools and steps, you can quickly diagnose problems and enjoy peace of mind, knowing your home is protected from hidden plumbing dangers.