
Many kitchens today have a hidden secret: the oven warming drawer. If you’ve ever wondered about the slim compartment under your oven, or struggled to keep dishes warm while cooking, this feature can change the way you prepare meals and entertain guests. Still, most people don’t use their warming drawer to its full potential. Whether you’re new to this appliance or want to improve your skills, learning how to use an oven warming drawer can make your kitchen more efficient, your meals tastier, and your gatherings smoother.
This guide will help you understand the warming drawer’s functions, settings, safety tips, and practical uses. You’ll find detailed steps for keeping food warm, proofing dough, serving large meals, and more. Along the way, I’ll share practical advice and insights that beginners often miss, so you can avoid common mistakes and get the best results every time.
What Is An Oven Warming Drawer?
An oven warming drawer is a shallow compartment located below the main oven. Its main job is to keep food warm until you’re ready to serve. Unlike the main oven, a warming drawer uses gentle heat, usually between 80°F and 200°F (27°C–93°C). It’s not meant for cooking, but for maintaining food temperature, proofing dough, and warming plates.
Most warming drawers are electric and have adjustable temperature settings. Some models include humidity control or timers. While the basic purpose is simple, the warming drawer can do much more than just hold finished dishes.
Key Features
- Temperature control: Adjustable, often with low, medium, and high settings.
- Humidity settings: Some drawers let you add moisture to prevent food drying.
- Timer: Helps you track warming time.
- Size: Typically holds several plates or pans, but capacity varies.
Not all ovens have warming drawers. If your oven has a pull-out compartment under the main cavity, check your manual or look for controls labeled “warming drawer. ” If you’re unsure, ask your appliance dealer or look up your model online.
Why Use An Oven Warming Drawer?
You may think warming drawers are just for keeping food warm, but they offer several benefits that can improve your kitchen routine.
Benefits
- Keeps food at safe temperatures: Prevents bacteria growth by holding food above 140°F (60°C).
- Improves meal timing: Allows you to prepare dishes ahead and serve everything hot.
- Reduces stress: No need to rush or reheat food. Perfect for large gatherings.
- Maintains food quality: Gentle heat preserves texture and moisture.
- Versatile uses: Can warm plates, proof dough, melt chocolate, and more.
Real-life Example
Imagine you’re hosting a dinner. The main dish is ready, but your guests are running late. With a warming drawer, you can keep the meal hot and fresh without overcooking or drying it out. No more last-minute microwaving or cold plates.
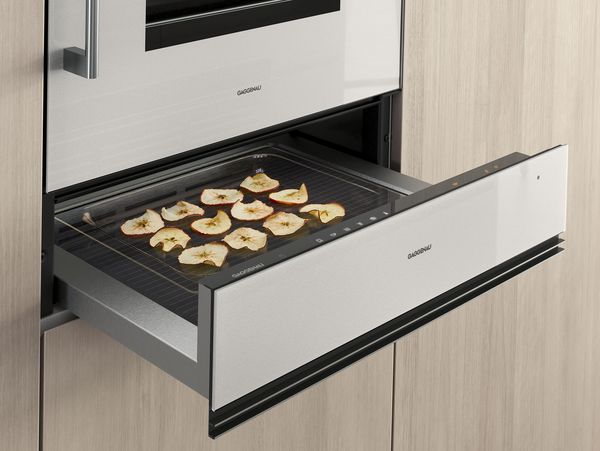
Credit: www.gaggenau.com
How Does A Warming Drawer Work?
The warming drawer uses a low-wattage heating element and sometimes a fan to circulate warm air. You can set the temperature using a dial or touch controls. Most drawers have three basic settings:
- Low (80–120°F): For proofing dough or keeping delicate foods warm.
- Medium (120–150°F): For warming plates or holding most foods.
- High (150–200°F): For keeping meats, casseroles, and hearty dishes hot.
Humidity controls, when available, let you add water to a reservoir or adjust a vent. This prevents foods like bread from drying out.
Heating Compared To Oven
The warming drawer is not a mini oven. It cannot roast, bake, or cook raw food. Its temperature is too low for cooking. Instead, it’s designed for gentle holding and warming.
Setting Up Your Warming Drawer
Before you use your warming drawer, follow these steps for safe and effective operation.
1. Read The Manual
Every model is different. Check your oven’s manual for instructions and safety warnings. Look for temperature recommendations and maximum capacity.
2. Clean The Drawer
Remove any dust, crumbs, or old food. Wipe with a damp cloth. Avoid harsh chemicals.
3. Check Controls
Find the temperature settings. Some drawers have a simple dial, others have digital controls. Learn how to set the temperature and timer.
4. Test The Drawer
Turn it on and let it heat for 10–15 minutes. Place an empty plate inside to check the warmth. This helps you understand how fast it heats and how hot it gets.
Using The Warming Drawer: Step-by-step
Whether you’re keeping food warm or proofing dough, these steps will help you get the best results.
1. Preheat The Drawer
Always preheat before placing food inside. Most drawers need 10–20 minutes to reach the set temperature. Preheating avoids cold spots and uneven warming.
2. Use Proper Containers
Use oven-safe dishes, such as ceramic, glass, or metal. Avoid plastic or paper. Cover food loosely with foil or lids to retain moisture.
3. Arrange Food Wisely
Don’t overcrowd the drawer. Leave space for air circulation. Place heavier dishes near the center, lighter items toward the sides.
4. Set The Right Temperature
Use these guidelines:
- Low (80–120°F): Delicate items, bread, or dough.
- Medium (120–150°F): Vegetables, side dishes, plates.
- High (150–200°F): Meats, casseroles, stews.
Check your food every 30–60 minutes.
5. Cover Food
Covering food prevents drying. Use foil, lids, or oven-safe covers. For moist foods, add a small amount of water to the dish.
6. Monitor Time
Most foods stay safe and tasty for 1–2 hours. Avoid keeping food longer than 3 hours, unless your drawer has humidity control.
7. Serve When Ready
Remove dishes carefully; they will be hot. Serve immediately for best flavor and texture.
Practical Uses For Your Warming Drawer
The warming drawer is more versatile than many realize. Here are some practical uses.
1. Keeping Food Warm Before Serving
This is the main purpose. Place finished dishes in the drawer while you finish cooking or wait for guests. For example, keep roast chicken, mashed potatoes, or steamed vegetables warm without overcooking.
2. Warming Plates And Bowls
Serving hot food on cold plates can ruin the meal. Place plates and bowls in the drawer 10–15 minutes before serving. Use the medium setting.
3. Proofing Dough
Bakers love warming drawers for proofing dough. The gentle warmth helps yeast grow, making bread rise faster and more evenly. Set the drawer to low (about 90°F), place covered dough inside, and wait 30–60 minutes.
4. Melting Chocolate Or Butter
For recipes needing melted chocolate or butter, the warming drawer offers gentle heat. Place the ingredient in a heat-safe bowl, set to low, and check every 10–15 minutes.
5. Holding Breakfast Foods
Keep pancakes, waffles, bacon, or eggs warm while you prepare the rest of breakfast. Cover items loosely and set the drawer to medium.
6. Serving Large Meals
During holidays or parties, use the warming drawer to hold several dishes. This lets you serve everything hot, even if you cook in stages.
7. Warming Tortillas Or Bread
Warming tortillas or bread improves flavor and texture. Place them wrapped in foil or a towel, set to low or medium.
8. Slow-roasting Garlic
Some warming drawers can slow-roast garlic or onions. Place them in a heat-safe dish, set to high, and leave for 1–2 hours.
9. Making Yogurt
Advanced users can use the warming drawer for homemade yogurt. The low, steady heat is ideal for fermenting milk. Set to low, use a thermometer to check temperature, and let jars sit for 6–8 hours.
10. Dehydrating Herbs
If your drawer has a vent, use it to dehydrate herbs. Place washed herbs on a tray, set to low, and leave for several hours.
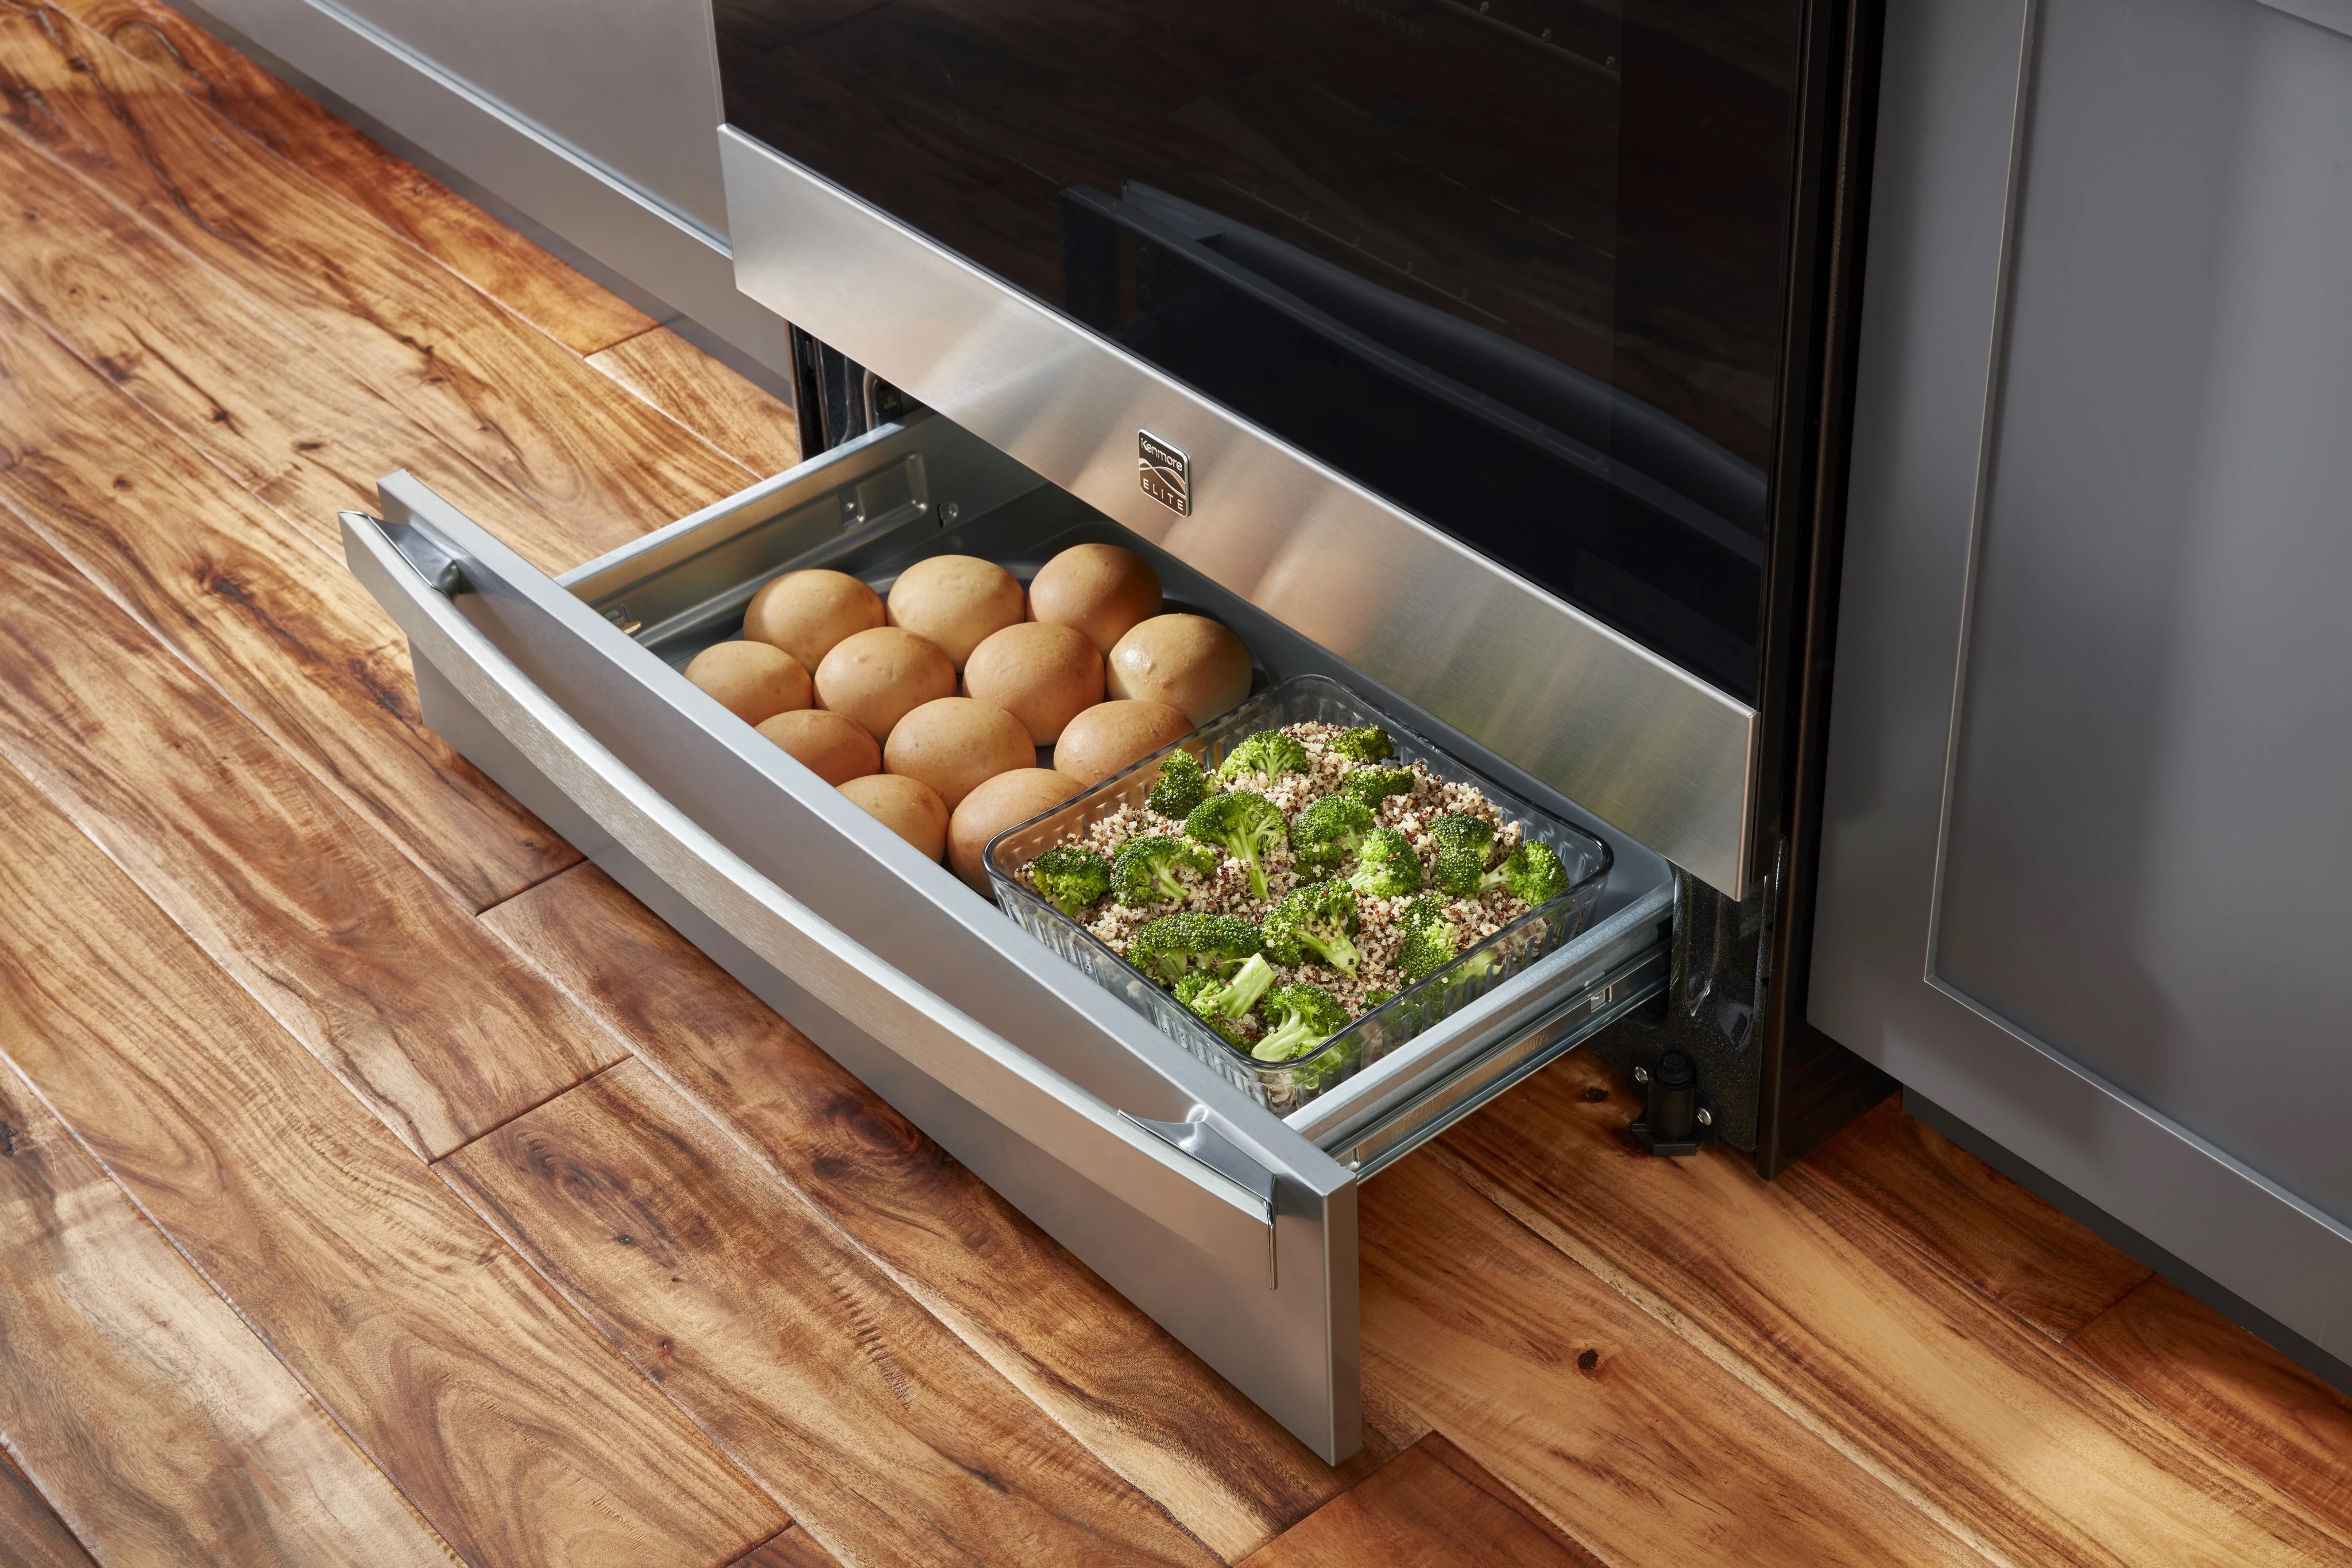
Credit: www.daviesappliance.com
Safety Tips For Using A Warming Drawer
Safety is important when using any kitchen appliance. Follow these tips to avoid accidents and keep food safe.
1. Avoid Plastic And Paper
Only use oven-safe containers. Plastic and paper can melt or catch fire.
2. Don’t Cook Raw Food
The warming drawer is not designed for cooking. Only use it for holding cooked food, warming, or proofing.
3. Monitor Food Temperature
Keep food above 140°F (60°C) to prevent bacteria growth. Use a food thermometer if unsure.
4. Don’t Leave Food Unattended
Check food regularly. If you need to leave, turn off the drawer.
5. Prevent Burns
The drawer and dishes can get hot. Use oven mitts and handle carefully.
6. Keep Children Away
Warming drawers are often at child level. Teach kids not to touch or open the drawer.
Common Mistakes And How To Avoid Them
Even experienced cooks can make mistakes with warming drawers. Here are some common errors and how to fix them.
1. Using The Wrong Temperature
Setting the drawer too high can dry out food, while too low can lead to unsafe temperatures. Always check your manual and use a thermometer if possible.
2. Overcrowding
Packing too many dishes into the drawer blocks air circulation, causing uneven warming. Leave space between dishes.
3. Forgetting To Preheat
Putting food in a cold drawer leads to uneven temperature and longer warming times. Always preheat.
4. Leaving Food Too Long
Food left for hours can dry out or lose flavor. Try to keep food in the drawer for less than 2 hours.
5. Not Covering Food
Uncovered food dries quickly. Always use foil, lids, or covers.
6. Using Plastic Containers
Plastic can melt, even at low temperatures. Stick to glass, ceramic, or metal.
7. Not Cleaning Regularly
Old spills or crumbs can cause odors. Clean the drawer after each use.
Comparing Warming Drawers To Other Warming Methods
You may wonder how a warming drawer compares to other ways of keeping food warm. Here’s a simple comparison.
| Method | Temperature Control | Food Quality | Safety | Best Use |
|---|---|---|---|---|
| Warming Drawer | Excellent | High | Safe (if used correctly) | Dishes, bread, plates |
| Microwave | Poor | Medium | Safe, but uneven | Reheating only |
| Oven (low heat) | Good | Medium | Safe | Large dishes |
| Slow Cooker | Good | Medium | Safe | Soups, stews |
The warming drawer stands out for temperature control and food quality, especially for delicate items and plates.
Choosing The Right Settings For Different Foods
Not all foods need the same temperature or time in the warming drawer. Here’s a quick guide.
| Food Type | Recommended Setting | Maximum Time | Tips |
|---|---|---|---|
| Meats | High (170–200°F) | 2 hours | Cover with foil |
| Bread | Low (80–120°F) | 1 hour | Use humidity control |
| Vegetables | Medium (120–150°F) | 1.5 hours | Cover, add moisture |
| Plates | Medium (120–150°F) | 30 minutes | Stack loosely |
| Dough (proofing) | Low (90°F) | 1 hour | Cover with towel |
If your drawer has humidity control, use it for bread, dough, and vegetables.
Cleaning And Maintaining Your Warming Drawer
A clean warming drawer works better and lasts longer. Follow these steps for proper care.
1. Cool Down
Always let the drawer cool before cleaning.
2. Wipe Regularly
After each use, wipe with a damp cloth. For spills, use mild soap. Avoid abrasive cleaners.
3. Remove Odors
If odors linger, place a dish of baking soda or coffee grounds in the drawer overnight.
4. Check Vents
If your drawer has vents, make sure they are clean and clear.
5. Inspect Seals
Check the drawer seals for cracks or damage. Replace if needed.
6. Annual Deep Clean
Once a year, remove the drawer (if possible) and clean all parts. Check your manual for instructions.
Using The Warming Drawer For Entertaining
Warming drawers shine during parties and holidays. Here’s how to use yours for events.
1. Plan Ahead
Decide which dishes will go in the drawer. Prepare serving dishes and covers.
2. Stagger Cooking Times
Cook dishes in stages. Move finished items to the drawer while you finish others.
3. Keep Multiple Dishes Warm
If your drawer is large, you can hold several dishes at once. Place heavier dishes in the center and lighter items on the sides.
4. Use For Buffets
Keep food warm during buffets or potlucks. Guests can serve themselves without worrying about cold food.
5. Warm Plates And Cups
Warm plates and cups before serving, for a restaurant-style touch.
6. Avoid Overcrowding
If space is tight, prioritize the most important dishes.
Expert Tips And Non-obvious Insights
Most people use warming drawers for basic warming, but there are advanced uses and tips that can improve your results.
1. Use Humidity Settings Wisely
If your drawer has humidity control, experiment with it. For moist foods, keep humidity high. For crispy items, use low humidity.
2. Rotate Dishes
For even warming, rotate dishes halfway through the warming time.
3. Use A Food Thermometer
A food thermometer can help you check temperatures, especially for meats and casseroles.
4. Keep Food Safe
Never use the warming drawer to store leftovers. Only use it for holding freshly cooked food.
5. Proof Dough Faster
Cover dough with a damp towel for better proofing. The warmth and moisture speed up yeast activity.
6. Warm Cups For Hot Drinks
If you serve coffee, tea, or hot chocolate, warm cups in the drawer. This keeps drinks hot longer.
7. Use For Gentle Reheating
You can gently reheat leftovers in the drawer, but avoid using it for dense or large portions.
8. Make Chocolate-dipped Fruit
Melt chocolate in the drawer, then dip fruit for desserts. The gentle heat prevents burning.
9. Hold Fried Foods
Keep fried foods crispy by placing them on a wire rack in the drawer, set to medium.
10. Experiment With New Uses
Try new recipes or uses. The warming drawer is flexible and can handle many tasks.
Troubleshooting: Solving Common Issues
If your warming drawer isn’t working as expected, here’s how to fix common problems.
1. Food Not Warm Enough
Check the temperature setting. Preheat longer, or use a food thermometer.
2. Food Drying Out
Use covers, add moisture, or use humidity control.
3. Uneven Warming
Don’t overcrowd the drawer. Rotate dishes halfway.
4. Drawer Won’t Turn On
Check power connection and controls. If still not working, contact service.
5. Odors Or Residue
Clean the drawer thoroughly. Remove old spills and use baking soda for odors.
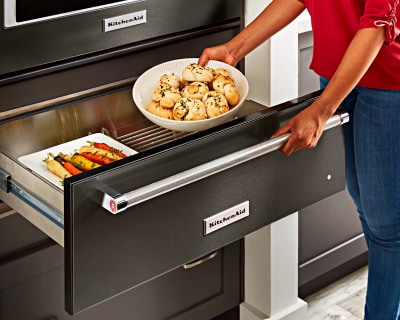
Credit: www.kitchenaid.com
Upgrading Your Kitchen: Choosing A Warming Drawer
If you’re planning to add or upgrade a warming drawer, consider these factors.
1. Size And Capacity
Choose a drawer that fits your kitchen and needs. Measure your available space.
2. Temperature Range
Look for adjustable settings (80–200°F).
3. Humidity Control
Humidity settings are useful for bread and vegetables.
4. Timer And Controls
Digital controls and timers are more precise.
5. Build Quality
Choose a reliable brand. Stainless steel drawers are durable.
6. Installation
Some drawers are built-in, others are freestanding. Choose what works for your kitchen.
7. Price
Warming drawers range from $500 to $2,000. Compare features and reviews.
For more information on warming drawer models and features, visit Wikipedia.
Frequently Asked Questions
How Long Can Food Stay In The Warming Drawer?
Most food can stay in the warming drawer for 1–2 hours. After that, food may dry out or lose flavor. Some models with humidity control can hold food longer, but always check the temperature to keep food safe.
Can I Cook Food In The Warming Drawer?
No, the warming drawer is not for cooking. It’s designed to hold cooked food, warm plates, proof dough, or melt ingredients. Cooking raw food requires higher temperatures.
What Types Of Dishes Can Go In The Warming Drawer?
Use oven-safe containers: ceramic, glass, or metal. Avoid plastic or paper, which can melt or catch fire. You can place plates, bowls, baking dishes, and trays.
Is It Safe To Leave The Warming Drawer On For Hours?
It’s safe for short periods (1–3 hours), but avoid leaving it unattended. Check the manual for maximum recommended time. Always monitor food and use covers.
How Do I Clean My Warming Drawer?
Let the drawer cool down first. Wipe with a damp cloth, use mild soap for spills, and avoid abrasive cleaners. For odors, place baking soda or coffee grounds inside overnight.
Final Thoughts
An oven warming drawer is a valuable tool in any kitchen. Whether you’re preparing family meals, baking bread, or hosting a party, it helps keep food hot, fresh, and safe. By learning how to use the warming drawer correctly—setting the right temperature, using proper containers, and avoiding common mistakes—you can make your cooking routine smoother and your meals tastier.
Remember to clean and maintain your drawer, experiment with new uses, and enjoy the benefits of perfectly warm food every time. With practice, you’ll discover even more ways to use this hidden kitchen helper.