
Replacing a one piece tub shower unit can seem like a big task. Maybe your old unit is cracked, stained, or just doesn’t fit your style anymore. Or perhaps you want to upgrade for better comfort or safety. No matter your reason, making this change can improve the look and function of your bathroom.
It can also add value to your home. But, the process involves more than simply swapping out the old for the new. You need to plan each step, choose the right materials, and avoid common mistakes.
This guide will walk you through everything you need to know, from deciding if you should replace your tub shower unit yourself, to picking the best replacement, removing the old unit, installing the new one, and finishing the job. We’ll also cover costs, safety, and expert tips that many beginners miss.
If you want clear, real-world advice with no fluff, keep reading.
Understanding One Piece Tub Shower Units
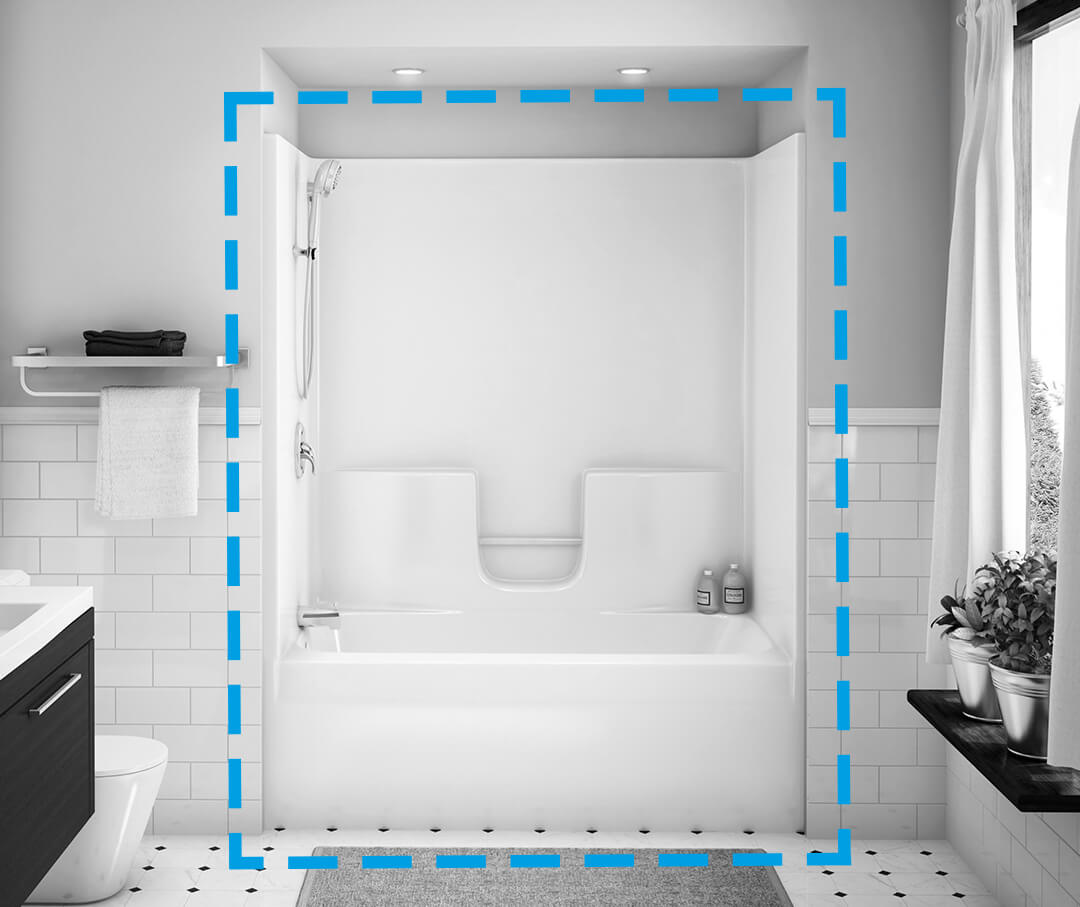
A one piece tub shower unit is a bathtub and shower combo made from a single molded piece, usually fiberglass or acrylic. These units are popular because they are watertight, easy to clean, and reduce the chance of leaks. They are often found in newer homes, apartments, and remodels where quick installation is important.
Why People Replace Them
Several reasons can push homeowners to replace these units:
- Cracks or leaks: Over time, the surface can crack, letting water get behind the walls.
- Outdated style: Many one piece units from the 80s and 90s look dated.
- Difficult cleaning: Stained or textured surfaces can trap grime.
- Accessibility needs: Some families need walk-in tubs or grab bars.
- Better features: Modern units offer shelves, seats, and easier entry.
How They Differ From Multi-piece Units
Multi-piece units come in sections (usually three to five). They are easier to fit through doors and tight spaces, but have seams that must be sealed to prevent leaks.
Should You Replace It Yourself Or Hire A Pro?
Before you start, decide if this is a DIY project or if you need a professional. Removing and installing a one piece tub shower unit is a big job. Here’s what to consider:
Diy
- Pros: Save money, learn new skills, full control over the project.
- Cons: Physically demanding, risk of mistakes, may need special tools.
- Best for: Handy homeowners with experience in plumbing, demolition, and carpentry.
Professional
- Pros: Faster, safer, comes with a warranty, proper disposal of old unit.
- Cons: Higher cost, need to schedule, less hands-on control.
- Best for: People with limited time, mobility, or those who want guaranteed results.
Non-obvious insight: The biggest challenge for DIYers is often *removal*—getting the old one piece unit out of the house. These units are large and rarely fit through doors without being cut apart.
Planning Your Replacement
Success starts with good planning. Rushing leads to expensive mistakes.
Measure Your Space
Get precise measurements:
- Length, width, and height of the existing unit
- Doorway and hallway sizes (can the new unit fit through?)
- Distance from floor to ceiling
Write down all measurements. If you miss even an inch, your new unit might not fit.
Choose The Right Replacement
There are two main options:
- Another one piece unit: Great for new construction or if you can get it inside.
- Multi-piece unit: Easier for remodels since each piece is smaller.
Pro tip: Most remodels use multi-piece units because they fit through doors and stairs.
Material Choices
Common materials:
- Fiberglass: Lightweight, affordable, but can scratch.
- Acrylic: More durable, resists stains, keeps color longer.
- Composite stone: Expensive, heavy, luxury look.
Features To Consider
- Built-in shelves
- Slip-resistant floors
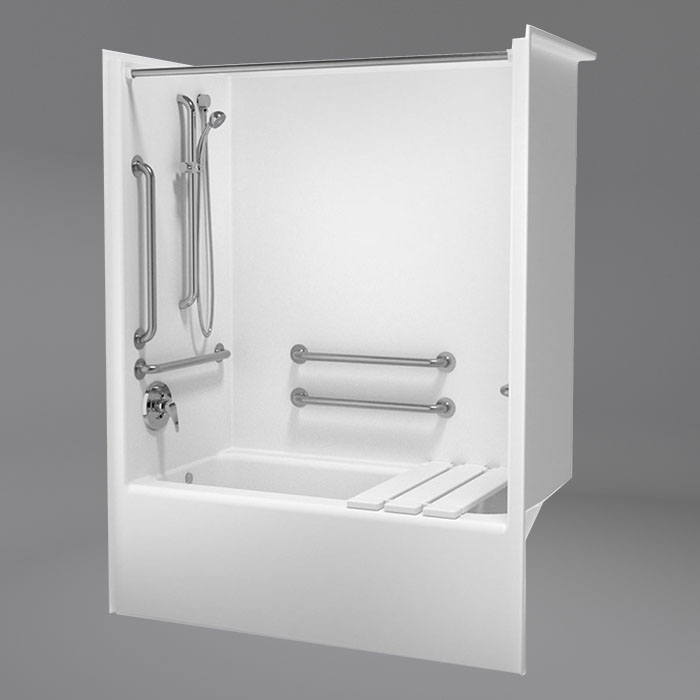
- Grab bars or handrails
- Low threshold (for easy entry)
- Shower doors vs. curtains
- Color and finish
Removing The Old Tub Shower Unit
This is the messiest and most challenging part. Here’s how to do it safely and efficiently.
Tools You’ll Need
- Screwdrivers
- Pry bar
- Utility knife
- Reciprocating saw (for cutting the unit)
- Adjustable wrench
- Hammer
- Work gloves
- Safety goggles
Shut Off Water Supply
Before you start, turn off the water. Open the faucet to relieve any pressure.
Remove Fixtures And Trim
- Take off the shower head, faucet, and spout.
- Remove any handles or escutcheon plates.
- Unscrew and take out the drain cover and overflow plate.
Disconnect Plumbing
You may need to access the plumbing from behind the wall or from a basement/crawl space. Disconnect the drain and overflow tubes. If you are not sure, take photos before you disconnect anything.
Cut Out The Old Unit
Most one piece units are too big to pull out in one piece. Use a reciprocating saw to cut it into sections. Be careful not to cut into plumbing or electrical lines.
Non-obvious insight: Check if your local area requires special disposal for fiberglass or acrylic. Some landfills do not accept these materials.
Remove Debris
Carry out all pieces. Clean up any leftover caulk, glue, or debris.
Preparing The Space
Now your bathroom is empty, and it’s time to get ready for the new unit.
Inspect For Damage
Look for mold, rot, or water damage in the wall and subfloor. Fix any problems now, before installing the new unit.
Check Wall Studs
Make sure wall studs are solid and in the right places for the new unit. You may need to add blocking for grab bars or seats.
Level The Floor
The floor under the tub must be flat and level. Use a long level to check. If it’s uneven, add shims or repair as needed.
Update Plumbing And Electrical
If you want a new faucet style or add a shower light, now is the time. Move pipes if the new unit needs them in a different spot.
Installing The New Tub Shower Unit
This is where your bathroom starts to look like a bathroom again. Take your time with each step.
Dry Fit First
Before you glue or screw anything, put all pieces in place to make sure they fit. Check:
- The drain lines up
- The faucet holes are in the right place
- The unit is level
Secure The Tub
- Set the tub in place.
- Some units require you to set the base in mortar for extra stability. Follow the manufacturer’s instructions.
- Make sure the tub is level front to back and side to side.
- Attach the tub flange to the wall studs with screws.
Connect The Plumbing
- Attach the drain and overflow.
- Connect the faucet, spout, and shower head.
- Test for leaks before closing the wall.
Install The Wall Panels
If using a multi-piece unit:
- Start with the back panel, then sides.
- Caulk all seams with waterproof silicone.
- Secure panels to the studs as directed.
- Install any shelves, seats, or accessories.
Seal Everything
Use high-quality 100% silicone caulk around the tub, walls, and any seams. This prevents water from getting behind the unit.
Common Mistakes To Avoid
- Wrong measurements: Double-check every number before buying your new unit.
- Skipping dry fit: Always test fit before final install.
- Ignoring water damage: Fix all problems before covering them up.
- Poor sealing: Cheap or missing caulk leads to leaks and mold.
- Forgetting permits: Some areas require permits for bathroom remodels.
- Using wrong drain kit: Make sure the drain kit matches your new tub.
- Rushing the job: Take your time, especially with plumbing connections.
Cost Breakdown
The price to replace a one piece tub shower unit can vary widely. Here is a typical cost comparison:
| Item | DIY Cost (USD) | Pro Install Cost (USD) |
|---|---|---|
| New Tub Shower Unit | $600 – $1,500 | $600 – $1,500 |
| Additional Plumbing | $100 – $300 | $200 – $500 |
| Demolition & Disposal | $50 – $200 | $200 – $400 |
| Labor | Free | $800 – $2,000 |
| Permit (if needed) | $0 – $100 | $0 – $100 |
| Total | $750 – $2,100 | $1,800 – $4,500 |
Note: Costs vary by location and the quality of materials.
Credit: www.freedomshowers.com
Choosing The Best Replacement Unit
Not all units are equal. Here’s what to look for when shopping:
Size
Match your existing space. Standard tubs are 60” long, but measure to be sure.
Material
Acrylic is a top choice for most homeowners. It’s durable, easy to clean, and keeps its shine.
Features
Consider:
- Built-in shelves for shampoo and soap
- Footrests for shaving
- Slip-resistant floors for safety
- Integrated grab bars for support
Brand Reputation
Stick with well-known brands for better warranty and support. Read reviews and ask for recommendations.
Warranty
A good unit should have at least a 5-year warranty. Some offer up to 10 years.
Example Comparison
Here’s a comparison of three popular options:
| Brand/Model | Material | Size (inches) | Warranty | Special Features |
|---|---|---|---|---|
| American Standard Ovation | Acrylic | 60 x 32 x 75 | 10 Years | Shelves, slip-resistant floor |
| Kohler Sterling Ensemble | Vikrell | 60 x 30 x 72 | 10 Years | Easy install, curved back |
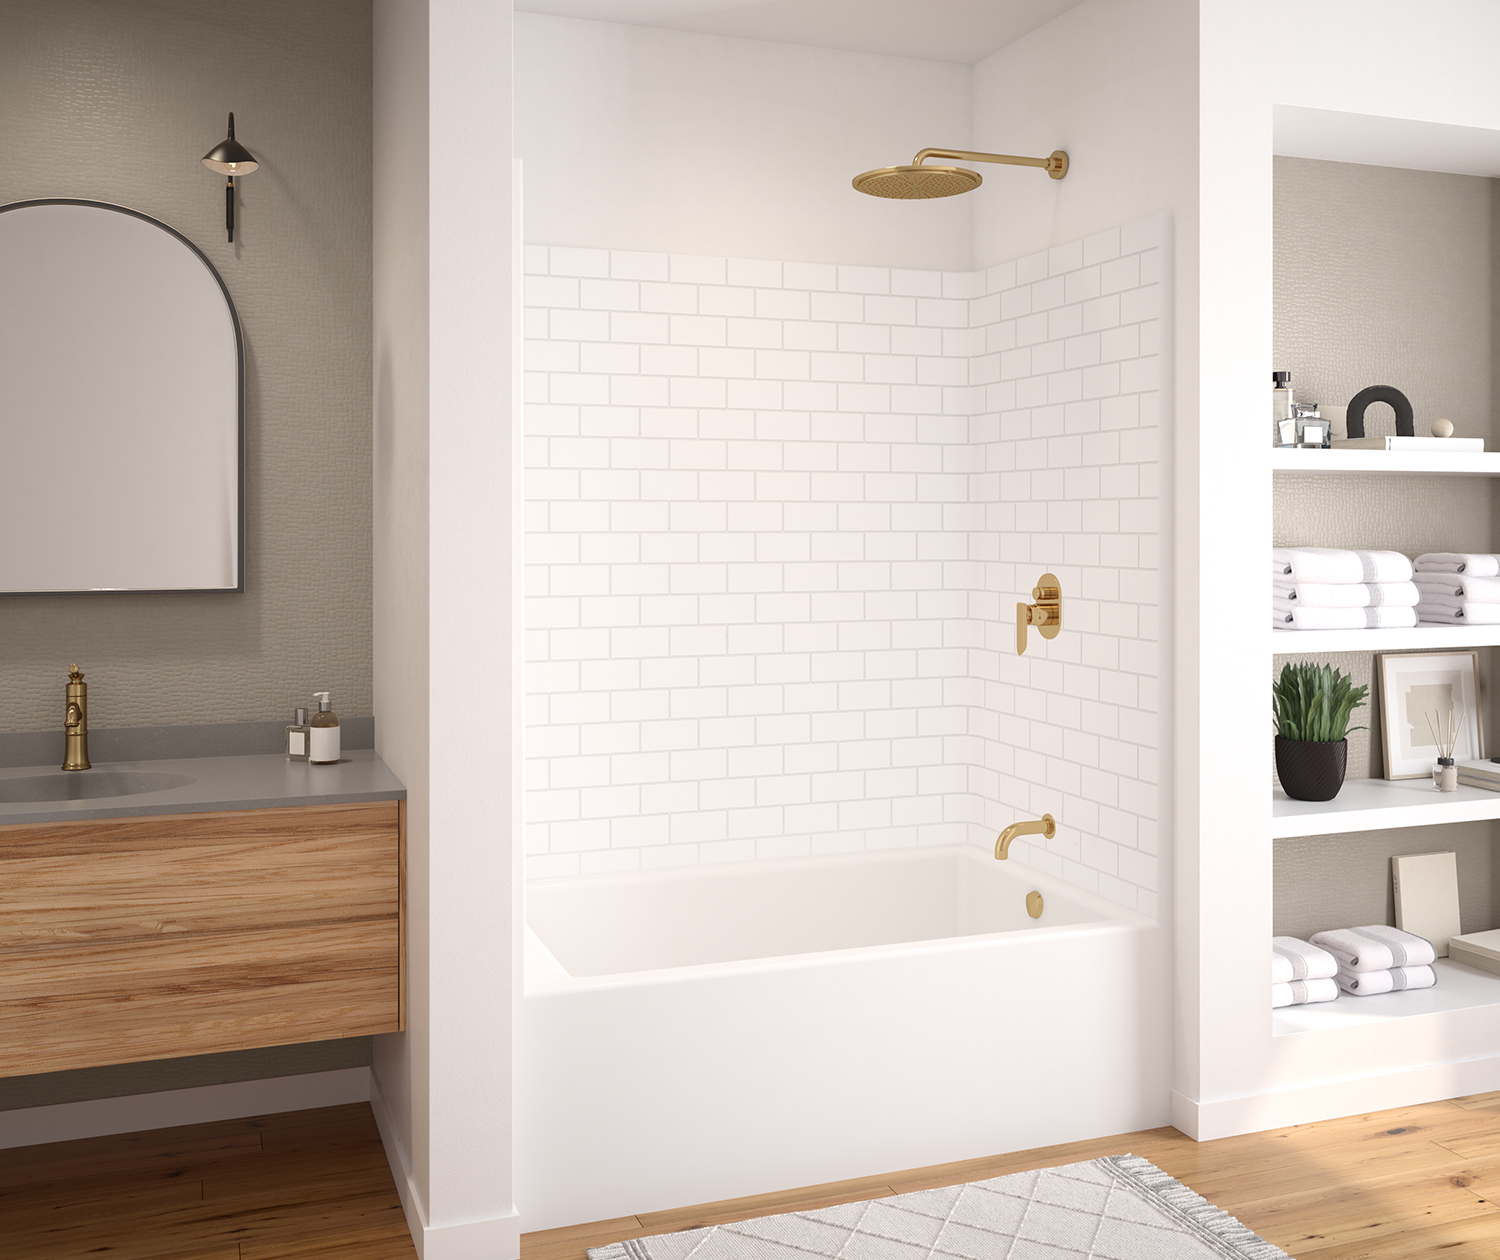
| Maax Utile | Composite | 60 x 32 x 78 | 10 Years | Tile look, easy maintenance |
Safety Tips During Replacement
Replacing a tub shower unit involves tools, heavy lifting, and sometimes working with plumbing or electricity. Here’s how to stay safe:
- Wear gloves and goggles for protection from sharp edges and debris.
- Use a mask if cutting fiberglass (it creates fine dust).
- Never lift heavy pieces alone. Get help to avoid injury.
- If you are unsure about wiring or plumbing, call a licensed professional.
- Shut off power if working near electrical outlets.
Finishing Touches
With the new unit in place, finish the job so your bathroom looks and feels new.
Paint And Patch Walls
Patch any drywall damage from removal. Paint the walls before installing shower doors or curtains.
Install Shower Doors Or Curtain Rod
Shower doors look modern, but curtains are easier to change and clean. Install according to the instructions.
Add Accessories
Install grab bars, towel hooks, or shelves as needed. Choose rustproof materials for wet areas.
Clean Up
Remove all tools, vacuum debris, and wipe down the new tub and walls.
Maintenance Tips For Your New Unit
A new tub shower unit will last for years if you take care of it.
- Clean weekly with mild cleaners (avoid harsh chemicals).
- Rinse after each shower to reduce soap scum.
- Check caulk lines every few months. Reseal if you see gaps or cracks.
- Avoid abrasive sponges that can scratch the surface.
- Use a bath mat with suction cups to protect the floor.
Credit: akerbymaax.com
When To Call A Professional
Sometimes, even experienced DIYers need help. Call a pro if:
- You find major mold or rot in the walls or floor.
- Plumbing needs to be moved more than a few inches.
- You want to change from a tub to a shower-only setup.
- Electrical work is required for new lights or fans.
Professional help can save time and prevent costly mistakes, especially in old homes.
Environmental Considerations
Disposing of an old one piece tub shower unit is not always simple. Check with your local waste authority. Some recycling centers accept fiberglass or acrylic, but many do not. Never dump old units illegally. If possible, donate usable units to salvage organizations.
Real-life Example: Sarah’s Remodel
Sarah lives in a 1970s house with a stained, cracking one piece tub shower unit. She measured her space and found a modern multi-piece acrylic unit that would fit. She cut out the old unit in sections, fixed a small area of water damage in the wall, and installed the new unit with her partner.
The hardest part was getting the drain to line up, but she watched videos and took her time. The total cost was about $1,300, and she saved over $2,000 by doing the work herself. Now, her bathroom looks new and is much easier to clean.
Expert Tips For A Smooth Project
- Take photos of every step during removal. These help when you install the new unit.
- Keep all screws and small parts in a labeled bag.
- Buy extra caulk. It’s cheap and you’ll need more than you think.
- If your house is old, be ready to update plumbing to modern standards.
- Check for local rebates or tax credits for water-saving fixtures.
Useful Resources
For more in-depth tutorials and planning guides, you can visit the This Old House website. They offer step-by-step videos and tips from real pros.
Frequently Asked Questions
What Is A One Piece Tub Shower Unit?
A one piece tub shower unit is a bathtub and shower made as a single molded piece. It’s designed to be watertight, easy to clean, and fast to install, making it popular in many homes.
Can I Replace A One Piece Unit With A Multi-piece Unit?
Yes, you can. In fact, most remodels use multi-piece units because the smaller sections fit through doors and stairs more easily. Make sure to seal all seams well to prevent leaks.
How Long Does It Take To Replace A One Piece Tub Shower Unit?
If you have all the tools and materials ready, a skilled DIYer can finish in 2–3 days. Hiring a pro is usually faster, sometimes just one day, but scheduling can add time.
What Should I Do If My New Unit Does Not Fit Through The Door?
If your new unit is too large, you have two options: return it for a multi-piece unit or remove a door frame (or even a wall section) to make space. Most people choose multi-piece units for this reason.
How Do I Maintain My New Tub Shower Unit To Keep It Looking New?
Clean with mild cleaners and a soft cloth. Rinse after each use, check and reseal caulk lines, and avoid abrasive cleaning pads. This helps prevent stains, scratches, and leaks.
Replacing a one piece tub shower unit is a big job, but with careful planning, the right tools, and a little patience, you can give your bathroom a fresh, modern look that lasts for years.
Credit: akerbymaax.com