
Preparing your above ground pool for a Minnesota winter is not just a seasonal task—it’s a must if you want to avoid costly damage and make reopening in spring easy. Minnesota’s harsh winters come with heavy snow, freezing temperatures, and strong winds. If your pool is not protected, you may end up with cracked walls, torn liners, or broken equipment. This guide gives you everything you need to know about winterizing an above ground pool in Minnesota. With clear steps, expert tips, and a focus on what really matters, you’ll finish with confidence, knowing your pool is safe until next season.
Why Winterizing Matters In Minnesota
Winterizing is more than putting a cover on your pool. In Minnesota, the freeze-thaw cycle can destroy a pool if water remains in the wrong places. Ice expands, and that expansion can split hoses, break pumps, or tear seams. The cost of repairing a damaged pool can be thousands of dollars.
More importantly, skipping proper winterizing can shorten the life of your pool by years.
Minnesota’s winters also bring a lot of debris—leaves, branches, even animals looking for shelter. If you don’t close your pool correctly, you might find a mess or even a wildlife surprise in spring.
When To Start Winterizing
The timing for winterizing your above ground pool is key. Most pool professionals recommend closing the pool when the water temperature is consistently below 65°F (18°C). In Minnesota, this usually means late September to mid-October. Waiting too long risks ice forming before you finish, while closing too early can lead to algae growth if the weather warms up again.
Keep an eye on the forecast. If a cold snap is coming, start the process sooner rather than later. It’s better to be done a little early than too late.
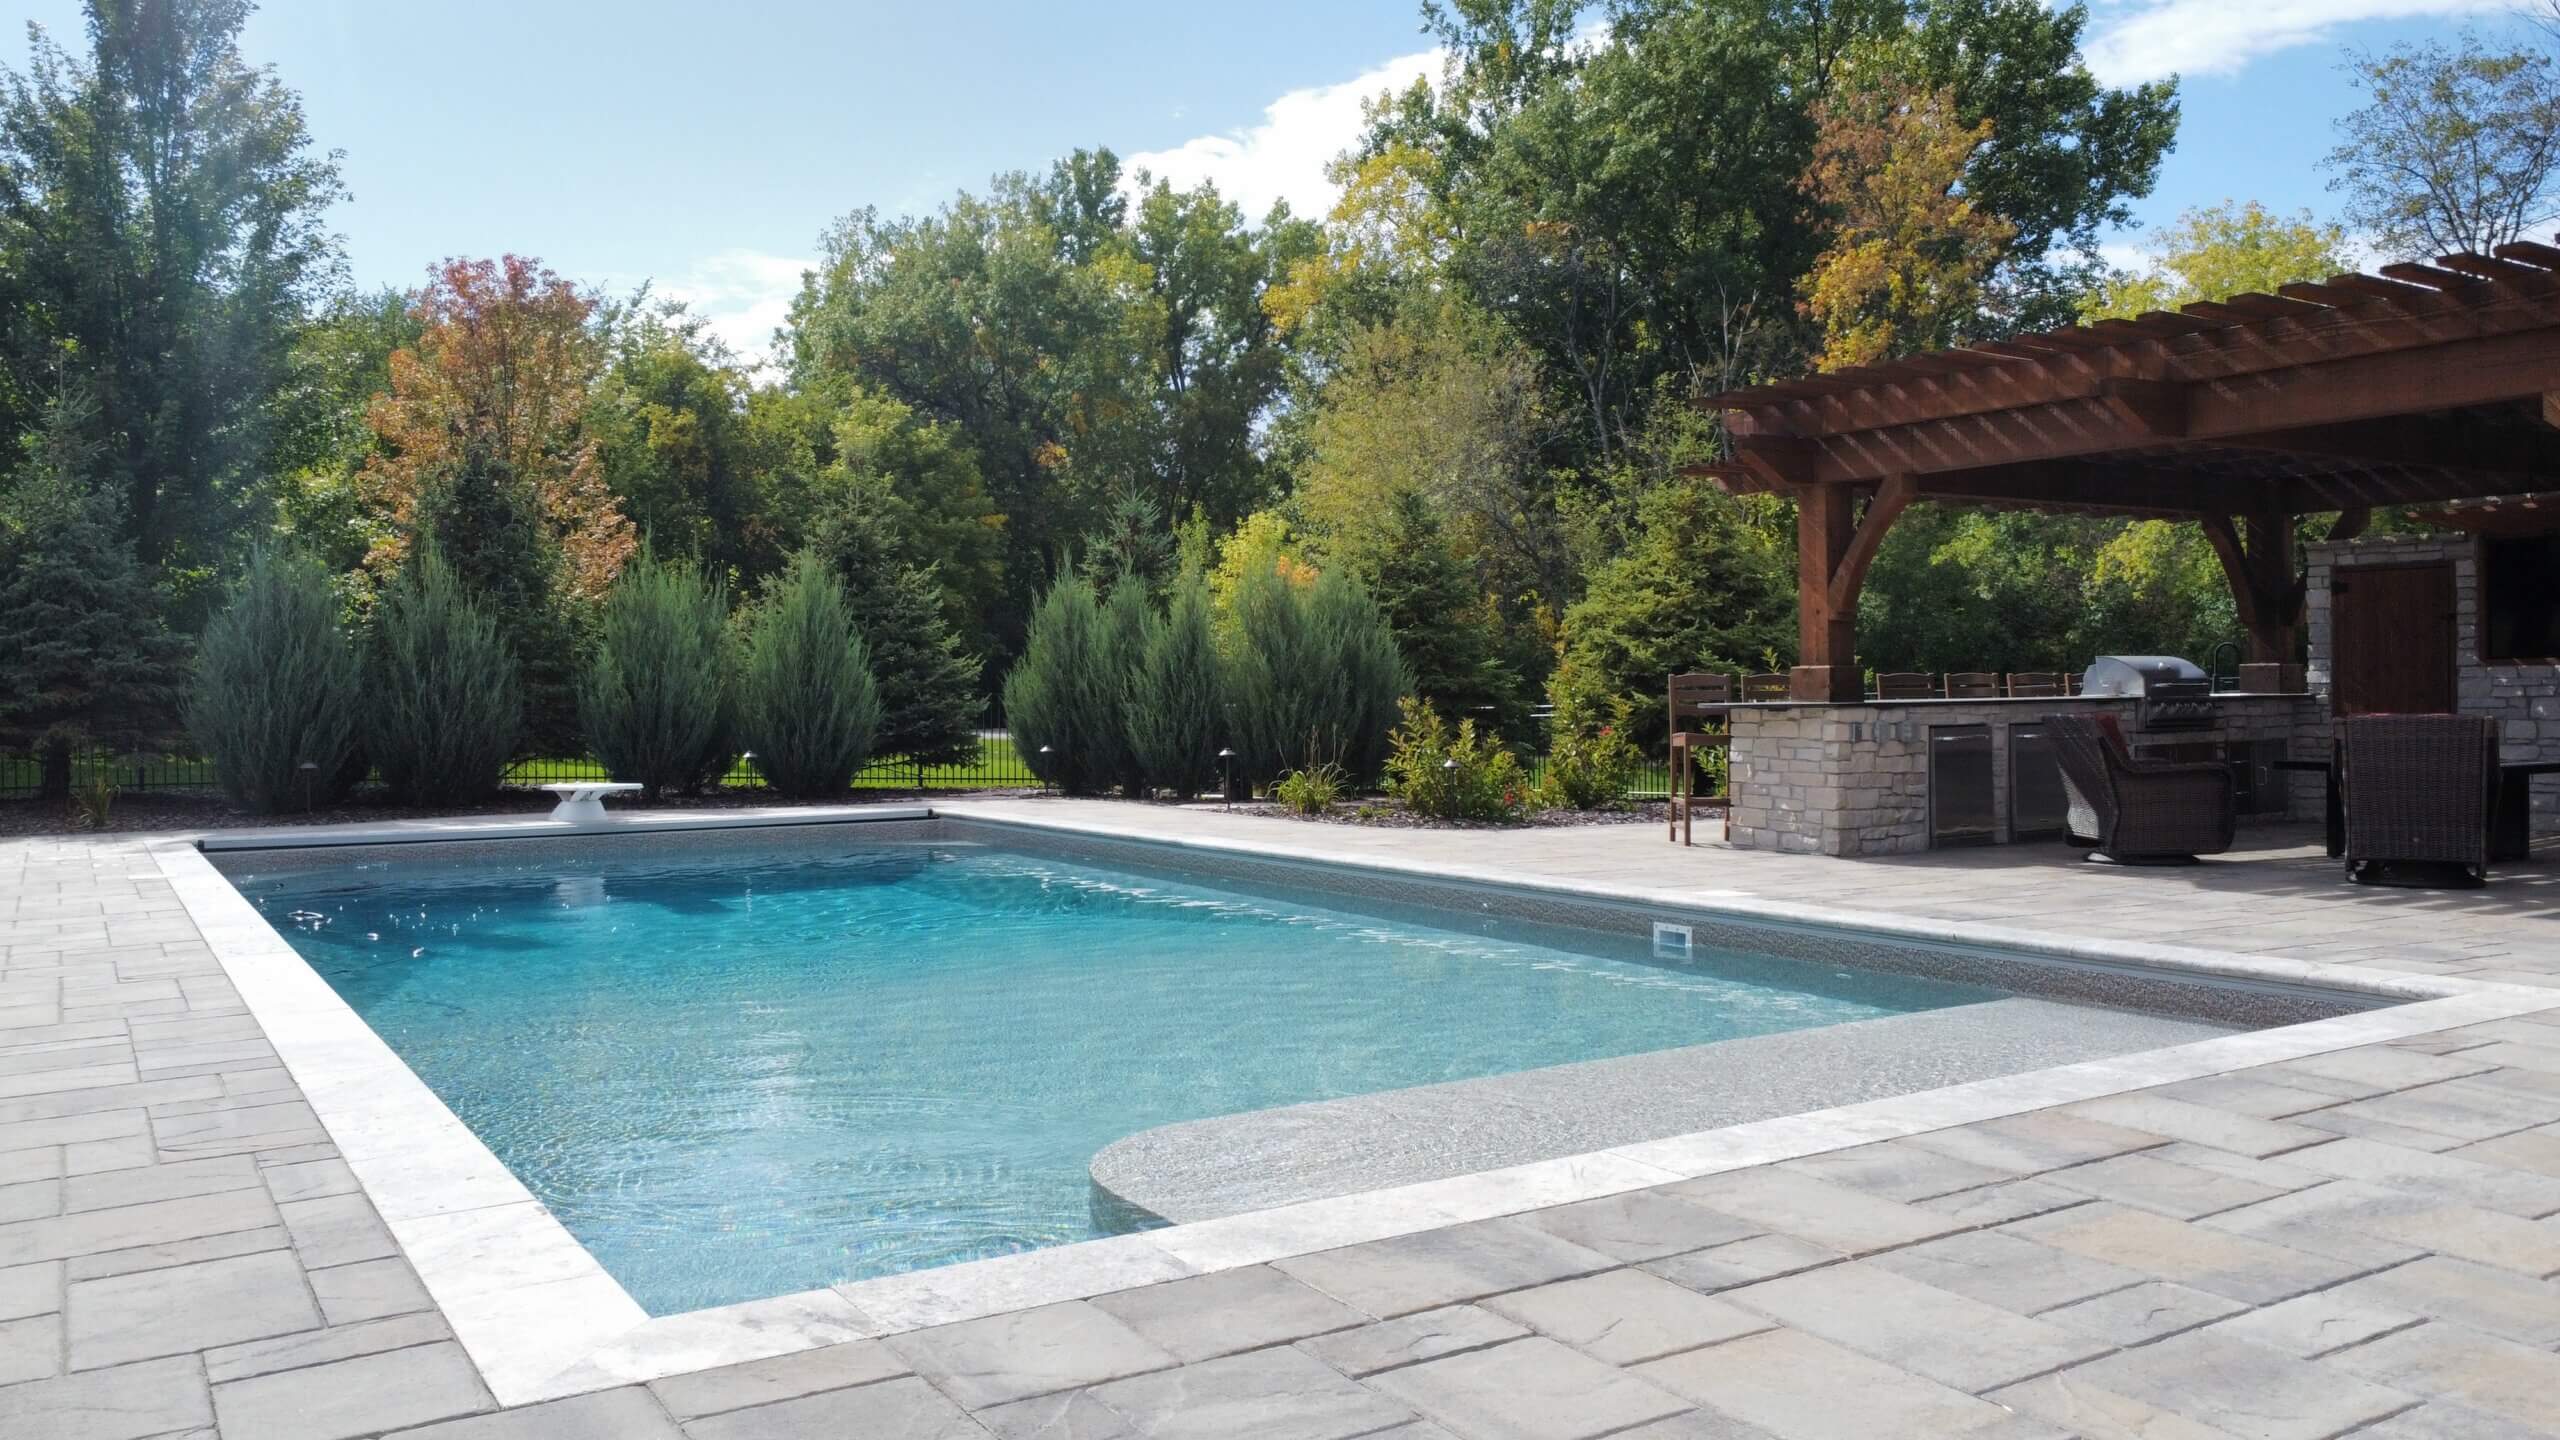
Credit: prestigepools.com
Essential Supplies And Tools
Before you begin, gather all necessary tools and supplies. Having everything ready will save you time and prevent mistakes.
- Winter pool cover (sized for your pool)
- Air pillow (for round or oval pools)
- Pool cover clips or cable and winch
- Skimmer cover or winter plate
- Return jet plugs or gizmos
- Non-toxic pool antifreeze (for plumbing)
- Water testing kit
- PH increaser and decreaser
- Algaecide (non-copper based is best)
- Shock treatment
- Pool brush and vacuum
- Leaf net (optional)
- Submersible pump or siphon hose
- Duck plugs (for threaded pool fittings)
- Bucket and garden hose
Many pool owners miss the importance of the air pillow—it prevents ice from pressing outward and damaging the pool walls. Also, using the right type of antifreeze is critical; never use automotive antifreeze, which is toxic and can harm your pool and the environment.
Step-by-step: How To Winterize Your Above Ground Pool
1. Clean The Pool Thoroughly
Debris left in the water can cause stains, algae growth, and even damage the liner. Start by skimming the surface to remove leaves, insects, and other floating debris. Next, brush the walls and floor to loosen dirt and algae.
Vacuum the pool carefully, paying special attention to corners and seams. If you have a sand or cartridge filter, backwash or clean it after vacuuming. This step ensures all waste is out of the system before you close it.
2. Balance The Water Chemistry
Proper water balance is your best defense against stains, liner damage, and algae. Use a water testing kit to check and adjust the following:
- PH: 7.2 to 7.6
- Alkalinity: 80 to 120 ppm
- Calcium hardness: 175 to 250 ppm
- Chlorine: 1 to 3 ppm
If your water is not balanced, add the necessary chemicals in small amounts, retesting after each addition. Never mix chemicals directly together—always add them separately and allow time for circulation.
Non-obvious tip: If your city water is very hard, adjust calcium hardness carefully. Too much can cause scaling over winter.
3. Add Winterizing Chemicals
Once your water is balanced, add a winter algaecide and a shock treatment. The shock will kill any remaining bacteria or algae spores. Use the type and amount recommended for your pool size. Run your pump for at least 6-8 hours to spread the chemicals evenly.
Avoid copper-based algaecides as they may stain the liner over winter.
4. Lower The Water Level
In Minnesota, you need to lower the water below the skimmer and return jets. This prevents water from entering these parts, freezing, and causing cracks.
- For most above ground pools, drain water to about 4-6 inches below the skimmer.
- Use a submersible pump or a siphon hose.
- Never drain the pool completely; this can damage the liner and structure.
If your pool has a main drain, you can use it to lower the water, but always monitor carefully.
5. Protect The Skimmer And Return Jets
Remove all fittings from the skimmer and return. Install a skimmer plate or a gizmo to protect the skimmer from ice damage. For the return jet, screw in a threaded plug or use a rubber expansion plug.
If you’re unsure which plug fits, bring your old one to a pool store for an exact match.
6. Drain And Store Equipment
Disconnect the pump, filter, and heater (if you have one). Drain all water from these devices. If water remains inside, it can freeze and crack the housing.
- For sand filters, set the multiport valve to “winterize” or remove the drain plug.
- For cartridge filters, remove the cartridge and store it indoors.
- Store all hoses, pumps, and small equipment indoors in a dry place.
Never leave the pump or filter out in the elements; even a small amount of water inside can cause expensive damage.
7. Add Non-toxic Pool Antifreeze
To protect plumbing, pour non-toxic pool antifreeze into the skimmer and return lines. This step is especially important in Minnesota, where deep freezes are common.
Do not use automotive antifreeze—it is toxic and will harm your pool and pets.
8. Install The Air Pillow
Place the air pillow in the center of the pool, inflating it about 60-70%. Do not overinflate; the pillow needs to compress slightly to absorb ice pressure.
Secure the pillow with string or pillow loops to keep it centered. The air pillow helps keep the cover up and prevents ice from forming a solid sheet that presses on the walls.
9. Cover The Pool
Spread the winter cover over the pool, making sure it is even and there are no gaps at the edges. Use the cable and winch to secure the cover, or use cover clips for extra hold, especially in windy areas.
If you live in an area with heavy leaves or pine needles, a leaf net on top of the cover makes spring cleanup much easier.
10. Check And Secure The Perimeter
Walk around the pool and check that the cover is tight and secured. Add water bags or cover weights if needed, especially if you have high winds. Make sure the air pillow stays in the center.
Trim back any overhanging branches or shrubs. They can drop debris or even tear the cover during a snowstorm.
Common Mistakes To Avoid
Many pool owners in Minnesota make mistakes that can lead to trouble. Here are some to avoid:
- Not lowering the water enough: This can lead to cracked skimmers and broken return lines.
- Skipping antifreeze in the lines: Even a small amount of water can freeze and expand.
- Using a cheap cover: Thin covers tear easily under snow load; invest in a good one.
- Leaving equipment outside: Pumps and hoses should be stored inside.
- Forgetting the air pillow: This small item prevents major wall damage.
- Not cleaning well: Debris left in the pool makes for a nasty spring opening.
- Overtightening the cover: This can pull on the walls or snap the cover in a storm.
- Using the wrong chemicals: Some algaecides can stain; always use products marked for winterizing.
Special Minnesota Concerns
Minnesota’s climate makes winterizing above ground pools more challenging than in milder areas. Here are some factors unique to the region:
- Heavy snow loads: Snow can weigh hundreds of pounds on a pool cover. Remove snow regularly with a broom or roof rake—never use sharp tools.
- Deep freezes: Temperatures can drop below -20°F (-29°C). Use extra antifreeze and make sure all water is out of pipes.
- Wind: High winds can lift and tear covers. Use extra clips, water bags, or weights to keep everything in place.
- Spring thaw: Rapid warming can create pools of water on your cover. Pump off standing water to prevent it from sinking the cover or getting into the pool.
Comparing Pool Covers: Which Is Best For Minnesota?
Choosing the right pool cover can make a big difference. Here’s a comparison of common cover types for above ground pools:
| Cover Type | Protection Level | Durability | Ease of Use | Best For |
|---|---|---|---|---|
| Standard Tarp Cover | Basic | 1-2 winters | Easy | Budget-minded owners |
| Heavy-Duty Winter Cover | Good | 3-5 winters | Moderate | Snowy, windy areas |
| Mesh Cover | Prevents debris, not water | 3-4 winters | Easy | Leafy areas |
| Safety Cover | Excellent (child/pet safe) | 8-10 winters | Harder to install | Families, maximum protection |
While safety covers offer the best protection and last the longest, they are also more expensive and harder to install on above ground pools. For most Minnesota owners, a heavy-duty winter cover with a leaf net is the best value.
Comparing Chemical Costs For Winterizing
It’s helpful to know what you might spend on chemicals for closing your pool. Here’s a typical cost breakdown for a 24-foot round above ground pool:
| Chemical | Amount Needed | Estimated Cost | Purpose |
|---|---|---|---|
| Shock (chlorine or non-chlorine) | 2 lbs | $10-$20 | Sanitizes water |
| Winter algaecide | 1 qt | $15-$25 | Prevents algae growth |
| pH/Alkalinity adjusters | As needed | $10-$15 | Balances water |
| Pool antifreeze | 1-2 gallons | $10-$16 | Protects plumbing |
Total cost for chemicals usually ranges from $45 to $75 per winter.

Credit: www.youtube.com
Storage And Maintenance During Winter
Winterizing does not end after you put on the cover. Here are some key things to do during the Minnesota winter:
- Remove snow: Use a broom to gently push snow off the cover after heavy storms. Do not use a shovel, which can tear the material.
- Check cover tension: After strong winds, make sure the cover, cables, and clips are secure.
- Pump off water: If water pools on the cover, use a submersible pump to remove it. Too much water can cause the cover to sink.
- Inspect air pillow: If the air pillow pops or shifts, try to reposition or replace it if safe to do so.
- Look for animal damage: Squirrels and mice sometimes chew holes; patch small tears quickly to prevent them from growing.
Reopening Tips: Preparing For Spring
Minnesota’s spring can arrive quickly or slowly. Here’s how to open your pool safely:
- Remove debris: Take off leaf net and clear off all debris before removing the cover.
- Check water level: Add water if needed before starting the pump.
- Reconnect equipment: Reinstall pump, filter, and hoses.
- Test water: Before swimming, balance pH and chlorine.
- Inspect for damage: Look for liner tears, rust spots, or cracks. Address issues before swimming.
Non-obvious tip: If you see green water in spring, act fast with shock and algaecide while the water is still cold—algae grows quickly as temperatures rise.
Professional Help Vs. Diy
Should you hire a pro or do it yourself? Here’s a look at the pros and cons:
| Option | Cost | Pros | Cons |
|---|---|---|---|
| DIY | $75-$200 (supplies only) | Lower cost, learn your pool, flexible timing | Time-consuming, risk of mistakes |
| Professional Service | $250-$500 | Expert care, less hassle, guarantees work | Higher cost, must schedule in advance |
For first-time owners, watching a pro can be a great learning experience. If you have a complex setup or are unsure, hiring help may be worth the peace of mind.
Two Things Most Owners Overlook
- Gasket and O-ring Lubrication: Before storing your pump and filter, lubricate all rubber gaskets and O-rings with a silicone-based lubricant. This prevents them from cracking or drying out over winter, extending their life.
- Labeling Parts: As you disconnect hoses and equipment, label each piece. This makes spring reassembly much easier and prevents lost or mixed-up parts.

Credit: allpoolside.com
Environmental Tips For Minnesota Pool Owners
Minnesota prides itself on clean water and green practices. Here’s how to winterize responsibly:
- Use only non-toxic pool antifreeze.
- Dispose of old pool water in your yard (if allowed), not in storm drains.
- Recycle old pool covers at proper facilities if possible.
- Store chemicals safely away from children and animals.
For more information on environmental best practices, visit the Minnesota Pollution Control Agency.
Frequently Asked Questions
Why Is An Air Pillow Important For Above Ground Pools In Minnesota?
An air pillow sits under the winter cover in the center of the pool. It helps distribute the pressure of ice as it forms. Without it, ice will press outward, which can damage or even collapse the pool walls. The air pillow also helps keep water and debris away from the center, making spring cleanup easier.
What Happens If I Forget To Add Pool Antifreeze?
If you skip pool antifreeze, any water left in the plumbing can freeze, expand, and break the pipes or fittings. Minnesota’s deep freezes make this a big risk. Using non-toxic antifreeze is a simple, effective way to prevent expensive repairs.
How Do I Keep My Pool Cover From Blowing Away?
To keep your pool cover in place, use a cable and winch system, cover clips, and water bags or weights around the edges. Check the cover after each windstorm to tighten or adjust as needed. For areas with strong winds, consider extra clips or a double cable for added security.
Can I Leave My Pool Filled All Winter?
Yes, you should leave your above ground pool partially filled during winter. Draining it completely can make the liner shrink or crack and may cause the pool structure to shift or collapse. Always lower the water below the skimmer and returns, but never drain the pool dry.
Is It Safe To Use A Tarp Instead Of A Pool Cover?
While a tarp is better than nothing, it is not designed for pool use and may not hold up to snow and ice. Pool covers are made to resist UV rays, chemical exposure, and the weight of snow. Tarps often tear, leak, or blow away, risking damage to your pool and more work in spring.
Protecting your above ground pool through Minnesota’s winter may take time, but it pays off. With careful preparation, the right supplies, and smart choices, you can relax all winter knowing your pool will be ready for fun when the ice melts.