
Testing an Instant Pot is an essential step before you start cooking your favorite meals. This process is not just for first-time users—anyone with a new or recently cleaned Instant Pot should test it. A proper test ensures the device works safely, seals correctly, and heats as expected.
Many users skip this step and later face problems like leaks or error messages. By learning how to test an Instant Pot thoroughly, you can avoid headaches and cook with confidence every time.
Most people only think of testing the Instant Pot when they see a problem, but smart cooks know prevention is best. In this guide, you will learn everything you need to check, from the water test to advanced safety features. You will also find tips for troubleshooting, cleaning, and maintaining your Instant Pot for years of safe, reliable cooking. If you want to enjoy stress-free meals, follow this step-by-step approach.
Why Test An Instant Pot Before Use?
Testing your Instant Pot before actual cooking is not just a manufacturer’s recommendation—it is a smart safety measure. The water test, the most common method, helps confirm that all parts are working and there are no leaks or sealing issues.
Many people think, “It’s new, so it must work,” but factory errors or shipping damage can happen. Even if the Instant Pot looks perfect, a hidden problem could cause undercooked food or even unsafe pressure buildup.
Another reason for testing is to get familiar with the device. The Instant Pot has several modes and buttons, which can feel confusing, especially for beginners. Running a test cycle helps you learn how to use the lid, the sealing ring, and the steam release.
It’s also a chance to see if the display, sounds, and pressure indicators are working. In short, a simple test can save time, food, and worry.
What You Need For Testing
Before starting the test, make sure you have everything ready:
- The Instant Pot, completely assembled
- The inner stainless steel pot
- The sealing ring installed on the lid
- The lid with all parts attached (float valve, anti-block shield)
- The steam release handle or switch
- Water (at least 3 cups / 750 ml)
- Power outlet nearby
- Clean towel for any spills
You do not need any food for the test. It is also helpful to have your Instant Pot manual nearby in case you need to check the location of parts.
Step-by-step Water Test
The water test, sometimes called the “Initial Test Run,” is the best way to make sure your Instant Pot is ready for cooking. Follow these steps carefully:
1. Check All Parts
First, take a close look at all the pieces. The sealing ring should sit snugly inside the lid, with no tears or twists. The float valve should move up and down freely. The anti-block shield (a small metal cap) should cover the steam release area. If anything looks damaged, contact the seller before use.
2. Place The Inner Pot
Put the clean inner pot into the base. Never run the Instant Pot without the inner pot, as this can damage the device.
3. Add Water
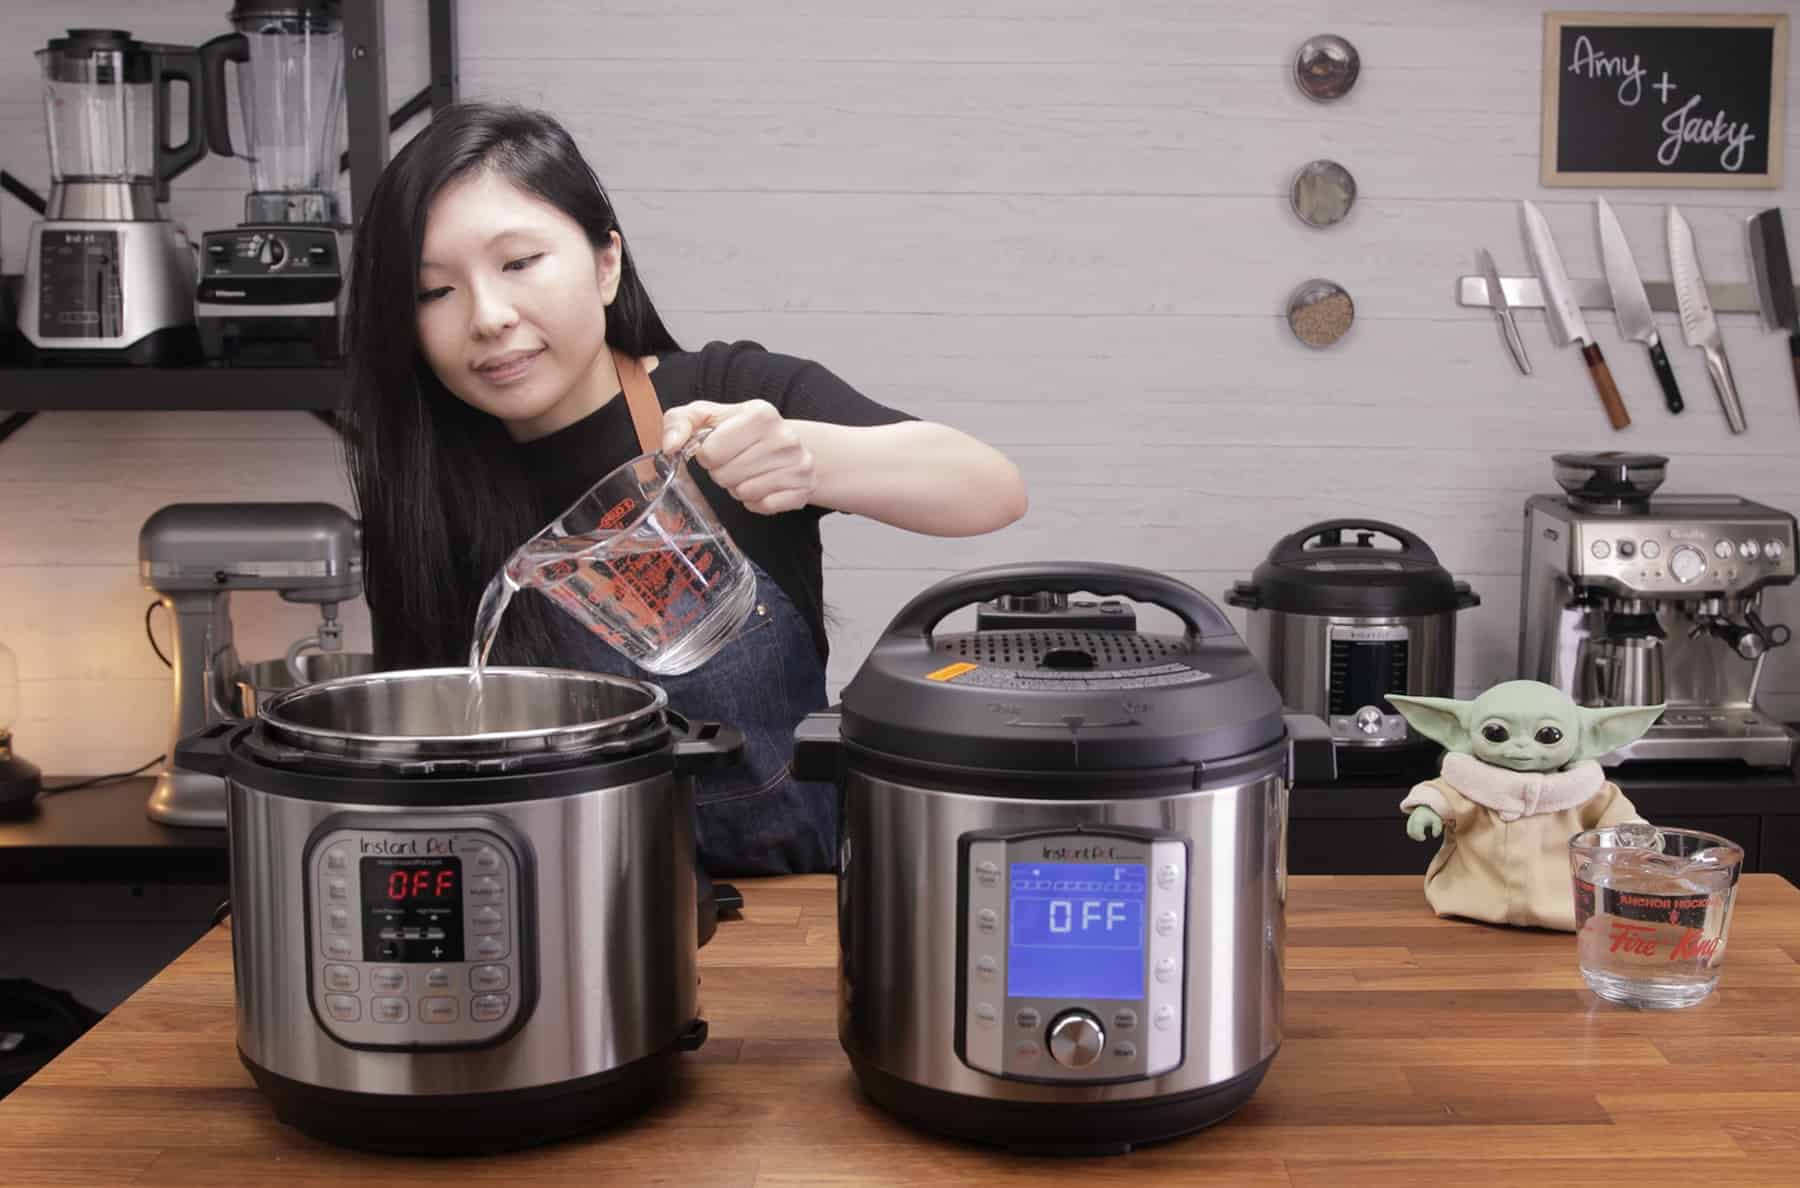
Pour 3 cups (750 ml) of water into the inner pot. This amount is enough to build pressure without overflowing.
4. Close The Lid
Align the lid with the base and turn it clockwise until you hear the click. The Instant Pot will play a chime if the lid is locked correctly (on most models).
5. Set The Steam Release
Make sure the steam release handle or switch is set to “Sealing.” On newer models, this may be a button or knob. This step is crucial—if the valve is left on “Venting,” pressure will not build, and the test will fail.
6. Select The Steam Program
Press the “Steam” or “Pressure Cook” button. Set the timer for 5 minutes, using the “+” or “-” buttons. On some models, you may need to select “High Pressure. ”
7. Start The Test
Wait for the Instant Pot to beep or display “On.” The pot will take 5–10 minutes to build pressure. You will see some steam escaping, then the float valve will pop up. Once the float rises, the timer will count down from 5 minutes.
8. Let It Finish
When the timer reaches zero, the Instant Pot will beep. You can let the pressure release naturally (wait 10–15 minutes for the float to drop), or carefully turn the steam release handle to “Venting” for a quick release. Always keep your hands and face away from the steam vent.
9. Open And Check
Once the float valve drops, open the lid. Check inside for leaks, strange smells, or error messages. The water should still be inside, only slightly less due to steam.
10. Dry And Inspect
Wipe out any leftover water and inspect the sealing ring and lid again. If everything looks good, your Instant Pot is ready for real cooking.
What To Look For During The Test
While testing, pay attention to these points:
- No steam leaks around the lid (a little steam from the float valve is normal at first)
- Float valve pops up within 10–15 minutes
- No error messages appear on the display
- No burning smells or odd noises
- No water leaks from the base or sides
If you notice any of these problems, stop and check the manual. Do not use the Instant Pot for cooking until the issue is fixed.
Credit: www.pressurecookrecipes.com
Common Instant Pot Problems And How To Fix Them
Even new Instant Pots can have issues. Here are some common problems and solutions:
1. Steam Leaking From Lid
If you see steam leaking from around the lid, check the sealing ring. It may not be installed correctly or could be damaged. Remove, inspect, and reposition the ring. Replace it if there are cracks or stretching.
2. Float Valve Not Rising
If the float valve does not pop up, pressure is not building. Make sure there is enough water, and the steam release is set to “Sealing.” Check that the lid is locked fully.
3. Error Codes
Instant Pots show error codes like “Lid,” “Burn,” or “C5. ” “Lid” means the lid is not closed properly. “Burn” means the pot is too hot—check for food stuck to the bottom or not enough liquid. “C5” refers to a sensor problem; unplug and restart the device.
4. No Sound Or Display
If the Instant Pot is silent and the display is blank, check the power outlet and cord. Try another outlet to rule out home wiring issues.
5. Water Under The Pot
If water leaks under the Instant Pot, dry all parts and check for cracks in the inner pot. Never put water between the inner pot and the base.
Advanced Safety And Function Testing
Testing with water covers most safety issues, but there are more features to check if you want full confidence.
Float Valve And Steam Release Function
Open and close the float valve by hand after the water test. It should move smoothly and not stick. The steam release should rotate or move easily.
Lid Lock Mechanism
Try to open the lid while the Instant Pot is under pressure. The lid lock should prevent this. If you can open it, stop using the device and contact support.
Keep Warm And Saute Modes
Test other modes like “Keep Warm” and “Saute. ” Add a cup of water and select “Saute. ” The water should start to boil in a few minutes. This confirms the heating element works.
Cleaning Your Instant Pot Before First Use
Cleaning is part of testing. A new Instant Pot may have a factory smell or oil. Wash these parts with warm, soapy water:
- Inner pot
- Sealing ring
- Lid
- Steam rack (if included)
Wipe the base with a damp cloth only—never submerge the base in water.
How Instant Pot Models Compare For Testing
Different Instant Pot models have unique features, but the basic testing steps are similar. Some have extra safety features, others have smart displays. Here is a quick comparison of popular models:
| Model | Pressure Release | Display Type | Testing Difficulty |
|---|---|---|---|
| Instant Pot Duo | Manual steam handle | Basic digital | Easy |
| Instant Pot Duo Nova | Automatic sealing | Upgraded digital | Very easy |
| Instant Pot Ultra | Steam dial | LED screen | Moderate |
| Instant Pot Pro | Steam release button | Large digital | Easy |
Some advanced models have extra sensors. Always read the manual for your model before testing.
Frequently Missed Testing Steps
Even experienced users sometimes overlook these steps:
- Anti-block shield check: This small metal cap under the lid keeps food from blocking the steam release. It should snap on and off easily for cleaning.
- Condensation collector: On most models, a plastic cup at the back catches drips. Make sure it is attached before testing.
- Check for factory tape or packing: Remove any stickers or foam from the inner pot, lid, or heating element.
- Test with different power outlets: Sometimes a kitchen outlet is faulty. Try a different plug if the Instant Pot does not turn on.
How To Test For Odor And Residue
New Instant Pots can have a plastic or chemical smell. The water test helps, but for stubborn odors, try this method:
- Add 1 cup (250 ml) of water, 1 cup (250 ml) of white vinegar, and a few lemon slices to the inner pot.
- Run a “Steam” cycle for 2 minutes.
- Let the pressure release naturally, then wash all parts as before.
This step removes most new-appliance smells.
Testing The Sealing Ring: Why It Matters
The sealing ring is a vital safety part. If it is loose, cracked, or dirty, pressure will not build. After every test, remove the ring and inspect it. The ring should be soft and flexible, with no gaps. If you notice food smells stuck in the ring, soak it in vinegar and baking soda for a few hours.
A damaged sealing ring is one of the top reasons Instant Pots fail water tests. Always keep a spare ring on hand, especially if you cook often.
Instant Pot Error Messages: What They Mean
Understanding error codes is crucial. Here is a quick reference for common messages:
| Error Code | Meaning | Action |
|---|---|---|
| Lid | Lid not closed properly | Check, close, and restart |
| BURN | Overheating detected | Add liquid, scrape bottom |
| C5 | Sensor error | Unplug, cool, restart |
| NoPr | No pressure detected | Check sealing ring, add water |
If you get an error, do not panic. Check each possible cause before calling support.
How Often Should You Test Your Instant Pot?
A full water test is not just for new units. Test your Instant Pot:
- When it is brand new
- After deep cleaning
- After changing the sealing ring
- After dropping or bumping the lid
- If you notice leaks or errors
For frequent users, a test every 2–3 months is a good habit.
Practical Tips For Safe Instant Pot Testing
- Do not overfill: Only use the recommended water amount for testing. Too much water can block the steam release.
- Stay nearby: Never leave the Instant Pot unattended during the test.
- Keep children and pets away: Steam can burn quickly.
- Use oven mitts when touching the steam release handle.

Credit: shop.americastestkitchen.com
Comparing Instant Pot Testing To Other Brands
The Instant Pot is famous for safety, but how does its test process compare to other pressure cookers?
| Brand | Test Method | Ease of Use | Unique Steps |
|---|---|---|---|
| Instant Pot | Water test, steam release check | Very easy | Float valve, sealing ring check |
| Ninja Foodi | Water test, crisping lid check | Moderate | Multiple lids |
| Crock-Pot Express | Water test, pressure valve test | Easy | Simpler display |
| Fagor Lux | Water test, float valve test | Moderate | Manual pressure knob |
The Instant Pot stands out for clear error messages and a reliable lid lock. However, always follow the specific instructions for your brand.
Cleaning Up After Testing
After the test, let the parts cool. Remove and wash the inner pot, lid, and sealing ring. Dry all parts before reassembling. Wipe the base with a damp cloth—never let water drip into the heating element.
If you notice water stains, use a little vinegar to clean the inner pot. This keeps it shiny and free from spots.
What To Do If Your Instant Pot Fails The Test
If your Instant Pot does not pass the water test, do not cook with it. Check these areas:
- Sealing ring: Is it cracked or out of place?
- Float valve: Is it blocked by food or stuck?
- Steam release: Is it set to “Sealing”?
- Lid: Is it locked fully?
If the problem continues, contact Instant Pot support or return the device if it is new. Never try to fix electrical parts yourself.
Non-obvious Insights For Beginners
Many beginners do not realize how important the sealing ring is. Even a small crack or bit of old food can cause major leaks. Another missed step is checking the anti-block shield—if this is missing or blocked, steam cannot escape, and pressure will not build.
Also, some first-time users do not understand that the float valve can stay up for several minutes after cooking. This is normal. Never force the lid open while the float valve is up, as there may still be pressure inside.
Storing Your Instant Pot After Testing
Let all parts dry fully before reassembling. Store the Instant Pot with the lid upside down on top of the base. This prevents odors from building up inside and keeps the sealing ring fresh.
If you use your Instant Pot often, keep the manual, spare sealing ring, and steam rack nearby for easy access.
Where To Find Reliable Instant Pot Information
For more details, you can visit the official Instant Pot website. They have up-to-date manuals, troubleshooting guides, and video tutorials.
:max_bytes(150000):strip_icc()/sea-instant-pot-pro-6qt-multi-use-pressure-cooker-nsimpson-45-d681866ba9e24b70bb732bd3a580b861.jpeg)
Credit: www.seriouseats.com
Frequently Asked Questions
What Is The Water Test For The Instant Pot?
The water test is a simple way to check if your Instant Pot builds pressure and works safely before you cook food. You add water, lock the lid, and run a short cycle. If there are no leaks or errors, your Instant Pot is ready for use.
How Long Does The Instant Pot Water Test Take?
The whole process takes about 20–25 minutes. This includes time for the pot to heat up, build pressure, cook for 5 minutes, and release steam at the end.
What If My Instant Pot Does Not Build Pressure During The Test?
If your Instant Pot does not build pressure, check the sealing ring, make sure the lid is locked, and the steam release is on “Sealing.” Add enough water. If it still does not work, contact support.
Is The Water Test Required For Every Instant Pot Model?
Yes, the water test is recommended for all models, including Duo, Ultra, Nova, and Pro. The steps are very similar, but always check your manual.
Can I Use Soap Or Vinegar In The Instant Pot During The Test?
For most water tests, just use water. If you want to remove odors, you can add white vinegar and lemon slices. Never use soap inside the Instant Pot during a pressure cycle.
Testing your Instant Pot is a simple but important step for safe, reliable cooking. With these tips and steps, you will be ready to enjoy delicious meals with confidence, knowing your device is working at its best.