
Adding A Shower To A Half Bath In Basement
Many homeowners dream of making their homes more comfortable and functional. If you have a half bath in your basement, adding a shower can transform it into a full bathroom. This change is not just about convenience—it can also increase your home’s value and make your basement more usable for guests, renters, or family members. But before you begin, it’s important to know what’s involved, from planning and costs to plumbing and design.
Turning a small powder room into a complete bath is a big project, but it’s possible even in older or tight spaces. With careful planning and the right guidance, you can avoid common mistakes and make smart decisions. This guide walks you through every step, sharing practical advice, typical costs, and key factors you shouldn’t ignore.
Understanding The Basics
A half bath usually contains only a toilet and a sink. To make it a full bath, you need to add a shower or bathtub. In most basements, space and plumbing are the main challenges. Before you start, think about these important questions:
- Is there enough space for a shower?
- Can your basement support plumbing changes?
- Are there local building codes to follow?
- How much are you willing to spend?
Knowing the answers will help you plan better and avoid surprises.
Why Add A Shower To Your Basement Half Bath?
- Increase Home Value: Real estate experts say that a full bathroom adds more value than a half bath. According to Remodeling Magazine’s Cost vs. Value Report, adding a bathroom can return up to 54% of the investment when you sell your home.
- More Functionality: A full bath makes the basement suitable for overnight guests or renters. It can also be a great asset if your family grows.
- Convenience: No need to climb stairs when working or relaxing in the basement.
- Potential Income: With a shower, the basement can become a small rental unit, bringing in extra income if local laws allow.
Assessing Space And Layout
Not every half bath is ready for a shower. Start by measuring the room. The minimum comfortable size for a shower stall is about 32 inches by 32 inches (81 cm x 81 cm). If your half bath is very small, a corner shower or a compact design can help.
Measuring And Planning
- Measure the width and length of your bathroom.
- Check the location of existing plumbing.
- Look for possible places to install the shower—corners often work best.
- Think about door swings and space for movement.
Tip: It’s easy to underestimate how much space a shower needs. Always allow for some room around the shower for easy entry and cleaning.
Ceiling Height And Headroom
Basements often have lower ceilings. The standard minimum height for a shower is 80 inches (203 cm), but more is always better for comfort. If you have pipes running overhead, you might need to reroute them or build a soffit.
Existing Plumbing Location
Where are your water supply lines and drain pipes? The closer they are to your planned shower spot, the less expensive the job will be. If your existing half bath is far from the main drain stack, you may need extra plumbing work.
Understanding Building Codes And Permits
Every town or city has building codes that control how bathrooms are built. You’ll likely need a permit to add a shower. Local codes dictate things like:
- Minimum room size
- Ceiling height
- Ventilation (usually an exhaust fan or window)
- Drain sizes and types
- Electrical safety (especially with lighting near water)
Tip: Never skip the permit process. Unpermitted work can cause problems when you sell your home or file an insurance claim. A licensed plumber or contractor can help with permits.
Plumbing Challenges In Basements
Adding a shower in a basement isn’t as simple as upstairs. Gravity is a key part of drainage, and most basement drains are lower than the main sewer line. Here’s what to consider:
Drainage Solutions
- Gravity Drain: If the main sewer line is lower than your shower, you can connect directly. This is the simplest solution.
- Upflush System: If your basement floor is below the sewer line, you’ll need a pump to move waste upward. Upflush toilets and shower systems are designed for this.
- Sump Pump: For very low basements, a sump pump basin collects water and pumps it out to the main sewer.
Typical Drain Sizes
- Shower drains are usually 2 inches (5 cm) in diameter.
- Make sure your existing drain can handle the extra flow, or upgrade if needed.
Water Supply Lines
Adding a shower means you need both hot and cold water. If your existing lines are nearby, this is easy. If not, you may need to run new pipes from the water heater.
Non-obvious insight: Many people forget to check water pressure in the basement. If it’s low, you may need a booster pump for a satisfying shower experience.
Waterproofing And Moisture Control
Basements are naturally damp. Adding a shower increases the risk of mold and moisture problems. Good waterproofing is essential.
Waterproofing Steps
- Install a Shower Pan: This is a waterproof base that directs water into the drain.
- Use Cement Board: Regular drywall is not suitable for shower walls. Use a cement backer board instead.
- Seal Joints and Corners: Use waterproof tape and membrane on seams.
- Tile or Waterproof Panels: Finish walls with tile or special waterproof panels.
- Ventilation: Install a strong exhaust fan to remove steam and reduce humidity.
Practical tip: Buy a fan rated for at least 80 CFM (cubic feet per minute) for a small bathroom. Make sure it vents outside, not just into the ceiling.
Designing The Shower Space
Design choices make a big difference, especially in small basements. Here are some ideas:
Types Of Showers
- Corner Shower: Saves space, fits in tight areas.
- Walk-in Shower: Easier to access, especially for seniors or people with disabilities.
- Curved or Neo-Angle: Makes the room feel larger by cutting off corners.
- Tub-Shower Combo: Possible if space allows, but usually requires more room.
Door Options
- Sliding Doors: Good for small spaces, no swing area needed.
- Pivot Doors: Need room to open but often seal better.
- Shower Curtain: The simplest option, but can look less finished.
Material Choices
- Acrylic/Fiberglass: Affordable, easy to clean, and quick to install.
- Tile: Stylish and durable, but more expensive and needs good waterproofing.
- Glass: Makes the space feel larger, but can show water spots.
Lighting
Basements often lack natural light. Add waterproof LED lights in the shower and use bright bulbs elsewhere. Consider a dimmer switch for comfort.
Storage
Use wall niches or corner shelves for soap and shampoo. Avoid big cabinets that eat up floor space.
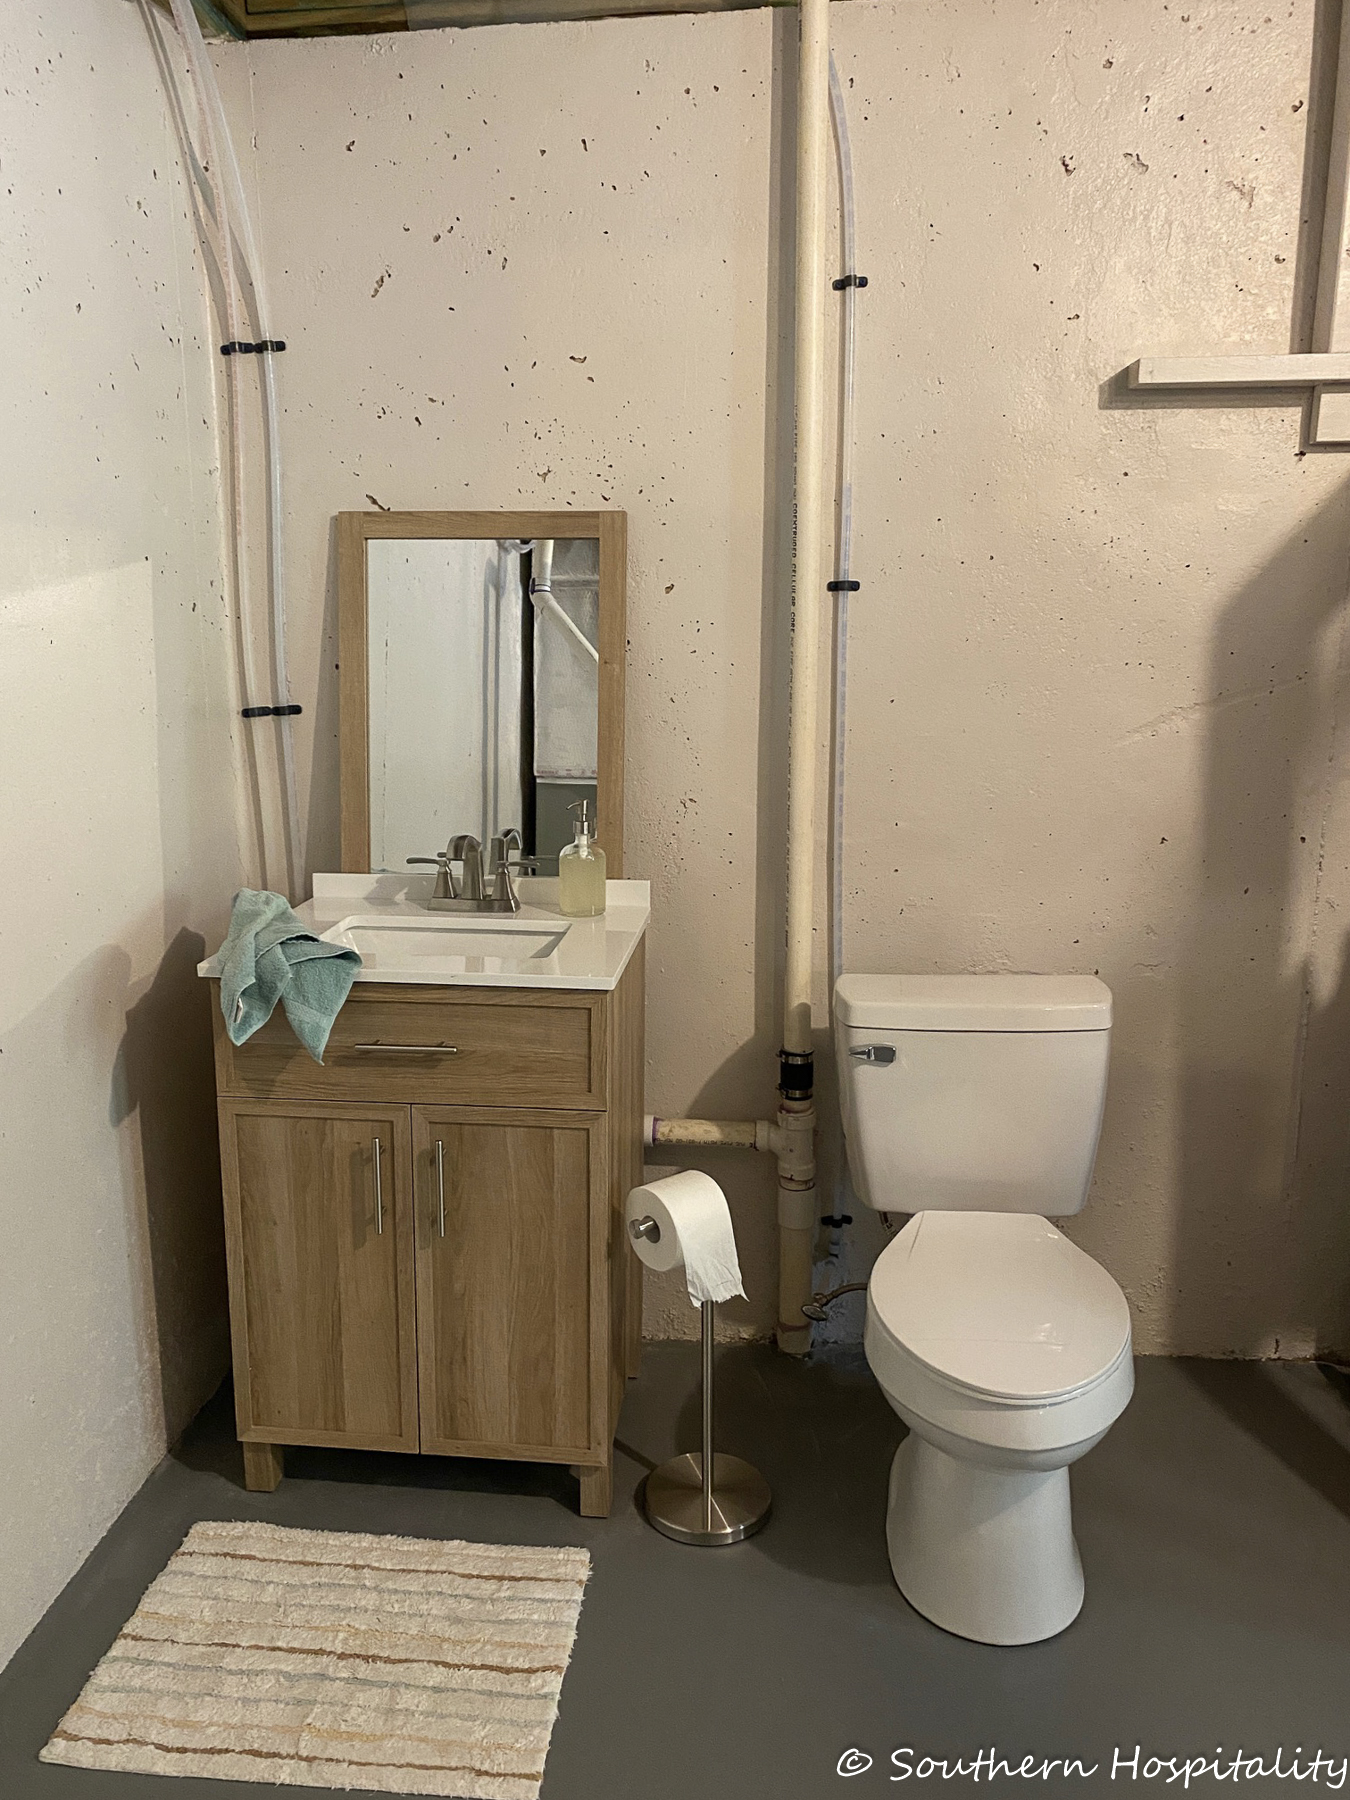
Credit: southernhospitalityblog.com
Estimating Costs
How much will it cost to add a shower to your basement half bath? The price varies by location, materials, and labor. Here’s a breakdown:
| Item | Low Cost | High Cost |
|---|---|---|
| Shower Kit (stall, base, door) | $400 | $1,500 |
| Plumbing Labor | $1,000 | $3,500 |
| Waterproofing & Tile | $500 | $2,000 |
| Exhaust Fan & Lighting | $150 | $600 |
| Permits | $100 | $500 |
| Miscellaneous (paint, shelves, etc.) | $200 | $700 |
| Total | $2,350 | $8,800 |
Note: If you need a pump or major plumbing work, costs can rise quickly.
Non-obvious insight: Many people forget to budget for finishing touches—paint, trim, mirrors, or towel racks can add $200–$500 to your bill.
Diy Vs. Hiring A Professional
Some handy homeowners install showers themselves, but most people hire professionals for basement work. Here’s a quick comparison:
| Task | DIY | Professional |
|---|---|---|
| Plumbing | Possible, but risky without experience | Code-compliant, faster, safer |
| Waterproofing | Can be done with care | Guaranteed results, warranty |
| Electrical | Not recommended | Licensed, safe, meets code |
| Shower Installation | Possible with basic kits | Custom options available |
| Permits | Must do research | Handled for you |
Tip: Even if you do some work yourself, consider hiring a plumber for the drain and a licensed electrician for wiring.

Credit: www.youtube.com
Step-by-step Process For Adding A Shower
Here’s what the typical project looks like from start to finish:
1. Plan And Design
- Measure your space.
- Decide on shower type and location.
- Make a sketch or use design software.
2. Get Permits
- Contact your city’s building department.
- Submit plans and pay fees.
3. Prepare The Area
- Remove old fixtures or walls as needed.
- Check for moisture problems or cracks in the concrete.
4. Install Plumbing
- Rough in water lines and drain.
- Add vent pipes if required by code.
- Test for leaks before closing walls.
5. Build Or Install Shower Base
- Set a pre-made shower pan or build a custom one with mortar.
- Waterproof the floor and walls.
6. Finish Walls
- Install cement backer board.
- Waterproof seams and corners.
- Add tile or panels.
7. Install Doors Or Curtain
- Hang shower door or rod.
- Seal edges to prevent leaks.
8. Add Lighting And Fan
- Install waterproof lights.
- Wire and mount exhaust fan.
9. Paint And Finish
- Paint walls with mold-resistant paint.
- Add shelves, towel hooks, and accessories.
10. Final Inspection
- Schedule a city inspection if required.
- Correct any issues before using the shower.
Real-world example: In many cities, passing final inspection means your project is legal and safe. Inspectors check for proper drainage, secure plumbing, and safe electrical work.
Common Mistakes To Avoid
Even careful planners can make errors. Here are pitfalls to watch for:
- Skipping Permits: This can cause legal and safety problems.
- Ignoring Moisture: Without proper waterproofing, mold will grow.
- Poor Drainage: Slow or backing-up drains are hard to fix later.
- Using Wrong Materials: Regular drywall and wood rot quickly in showers.
- Bad Lighting: Dark, damp spaces feel unwelcoming.
- Not Planning Storage: Shelves and niches are hard to add after tiling.
- Underestimating Cost: Always have a 10–20% budget cushion for surprises.
- Wrong Shower Size: Too small, and it’s uncomfortable; too large, and it eats up space.
Experience-based tip: It’s better to spend a little extra now on waterproofing and plumbing than to pay for expensive repairs later.

Credit: www.familyhandyman.com
Special Considerations For Old Or Small Basements
Older homes and tight basements bring extra challenges.
- Low Ceilings: Use low-profile shower pans and slim LED lights.
- Uneven Floors: Level the floor before installing shower base.
- Limited Water Pressure: Check supply lines and consider a booster.
- Limited Access: Carry all large items in before you start construction.
If your basement is prone to flooding, think twice before adding a shower. You may need a backup sump pump or extra drainage.
Non-obvious insight: Check for radon gas before major basement renovations. Sealing floors and adding ventilation can help if levels are high.
Smart Design Tips For Small Spaces
A basement half bath is often tiny. Here’s how to make it feel bigger:
- Use light colors on walls.
- Choose glass doors instead of curtains.
- Add mirrors to reflect light and space.
- Use wall-mounted sinks or toilets for more floor area.
- Install recessed shelves instead of bulky cabinets.
- Select compact fixtures made for small bathrooms.
Practical advice: A well-placed mirror and bright lighting can make even a small basement bathroom feel open and inviting.
Maintenance And Long-term Care
A basement bathroom needs regular attention to stay fresh and safe.
- Run the exhaust fan during and after showers.
- Check grout and caulk for cracks every 6–12 months.
- Clean drains to avoid clogs.
- Watch for signs of mold or mildew—fix leaks fast.
- Use a dehumidifier if the basement stays damp.
Long-term benefit: Well-cared-for bathrooms need fewer repairs and hold their value better.
When To Call A Pro
Sometimes, it’s best to get help from an expert. Call a licensed plumber or contractor if:
- You have no experience with plumbing or electricity.
- Your city requires licensed trades for permits.
- You find mold, asbestos, or structural problems.
- Your basement has a history of flooding.
Professional help costs more but saves time and reduces risk.
Value And Return On Investment
A finished basement with a full bath attracts buyers and renters. On average, you can expect to recoup around 50–60% of your investment when selling, according to national surveys. The exact return depends on your local market and the quality of the work.
Adding a shower to a basement half bath is a smart move for comfort, flexibility, and resale value—if done right.
Useful Resources
If you want to read more about basement bathroom codes and best practices, check out the HUD User guide on bathroom planning.
Frequently Asked Questions
How Much Space Do I Need To Add A Shower To A Half Bath In My Basement?
You need at least 32 x 32 inches for a comfortable shower, but more is better. Make sure there’s enough room to move and open the door. Smaller spaces can use corner or neo-angle showers.
Do I Need A Permit To Add A Shower In My Basement Half Bath?
Yes, in most places you need a building permit. This ensures your project meets local codes for plumbing, safety, and ventilation.
Can I Install A Shower In The Basement Myself?
It’s possible if you have plumbing and waterproofing skills. But basement work is complex. Most people hire a professional for plumbing and electrical tasks to avoid problems.
What Is An Upflush System And Do I Need One?
An upflush system uses a pump to move waste and water up to the main sewer line. You need it if your basement drain is below the main sewer pipe.
How Do I Prevent Mold In My New Basement Shower?
Proper waterproofing and a strong exhaust fan are key. Use cement board, seal all joints, and vent the fan outside. Regular cleaning and a dehumidifier also help.
Adding a shower to your half bath in the basement is a rewarding project that can boost your home’s comfort and value. With good planning, smart design, and careful work, you can enjoy a beautiful new bathroom for years to come.