
Building an above ground pool from cinder blocks is a creative way to enjoy the water without the high cost of a traditional in-ground pool. For many homeowners, this project offers a blend of durability, flexibility, and a unique DIY challenge.
With careful planning and the right approach, a cinder block above ground pool can become a centerpiece in your backyard for years to come.
But is this idea practical for everyone? What does it take to build one? And how does it compare to other pool options? Let’s explore everything you need to know about cinder block above ground pools—from initial planning to maintenance, along with common mistakes and smart tips for beginners.
Why Choose A Cinder Block Above Ground Pool?
Cinder blocks are known for their strength and affordability. Unlike steel or resin pool kits, cinder blocks do not rust and can handle harsh weather. People often choose cinder block pools because:
- They last longer than many prefabricated options.
- The pool size and shape can be customized.
- Repairs are usually straightforward.
- They have a sturdy, permanent look that blends with many home styles.
While above ground pool kits are quick to set up, they rarely match the solid feel of a cinder block pool. Homeowners who value durability often lean toward this approach, especially if they plan to stay in their home for a long time.
Planning Your Cinder Block Pool Project
Before you start stacking blocks, planning is everything. Rushing in can lead to expensive mistakes and safety problems. Here’s what you need to consider before laying the first block.
Deciding On Size And Shape
The pool’s size affects cost, water volume, and how much space you’ll need. Most DIY cinder block pools are rectangular or square because these shapes are easier to build. A common size for families is about 12 feet by 24 feet, with a depth of 4 to 5 feet. If you want a lap pool, consider a longer and narrower design.
Odd shapes (like circles or ovals) are possible, but they’re much harder to build with cinder blocks, requiring custom cutting and more labor.
Checking Local Regulations
Many cities require a building permit for any pool over a certain size or depth. You may also need to follow rules about fences, barriers, and water drainage. Always check with your local building office before starting. Skipping this step can mean fines or even having to remove your pool later.
Budgeting Your Project
Here’s a breakdown of what you might need to budget for:
- Cinder blocks (hundreds to thousands, depending on size)
- Mortar and concrete for stability
- Waterproofing materials
- Pool liner (or waterproof plaster)
- Plumbing (pump, filter, skimmer)
- Backfill and gravel
- Tools (trowel, level, shovel, etc.)
Labor is another factor. If you’re hiring help for heavy work, the cost rises. DIYers can save, but it’s important to be realistic about your skills and the time required.
Choosing A Site
Look for a flat area with good sunlight and no overhanging trees. Avoid spots with poor drainage or where water collects after rain. The ground must be solid to support the weight of the pool.
If your site is sloped, extra excavation and retaining walls may be needed. Always call local utility companies to make sure you’re not digging into gas, water, or electrical lines.
Credit: gtoperu.com
Step-by-step Guide: Building A Cinder Block Above Ground Pool
The process is demanding but manageable for those with basic construction skills. Here are the main steps you’ll follow.
1. Mark And Excavate The Site
Use stakes and string to outline your pool’s shape. Measure carefully—mistakes here will affect every next step. Excavate the area to make it level. Remove grass, rocks, and soft soil until you reach hard, undisturbed ground.
If you want the pool partially in the ground, dig down to your desired depth.
2. Prepare The Base
A solid foundation prevents shifting and cracking. Spread a layer of compacted gravel (about 4-6 inches thick). This helps with drainage and keeps the blocks stable.
On top of the gravel, pour a reinforced concrete slab. A typical slab is 6-8 inches thick, with steel rebar for strength. Let the concrete cure for at least a week.
3. Lay The Cinder Blocks
Start by laying out the first course of blocks without mortar to check your layout. Adjust as needed.
When satisfied, begin setting the blocks with mortar, starting at the corners. Use a level to keep each row straight. Stagger the joints for extra strength, like brickwork.
As you build up, add vertical steel rebar in the core holes for reinforcement. Fill these holes with concrete every two or three rows.
4. Install Plumbing And Skimmer
Before you finish the last few rows, add pipes for water inlet, outlet, and the skimmer. Plan where the pump and filter will sit, and leave holes or sleeves for pipes to pass through the wall. Seal these areas well to avoid leaks.
5. Waterproof The Walls
Bare cinder blocks are not waterproof. There are two main methods to seal your pool:
- Pool liner: A heavy vinyl liner is custom cut to fit your pool shape. It’s the most common approach for DIY projects.
- Waterproof plaster or epoxy: Applied over the blocks for a smooth, watertight finish. More expensive, but gives a classic look.
Apply a waterproofing membrane before the liner or plaster for extra protection.
6. Backfill Around The Pool
After the walls are complete and waterproofed, backfill around the outside with gravel and soil. This adds stability and helps with drainage.
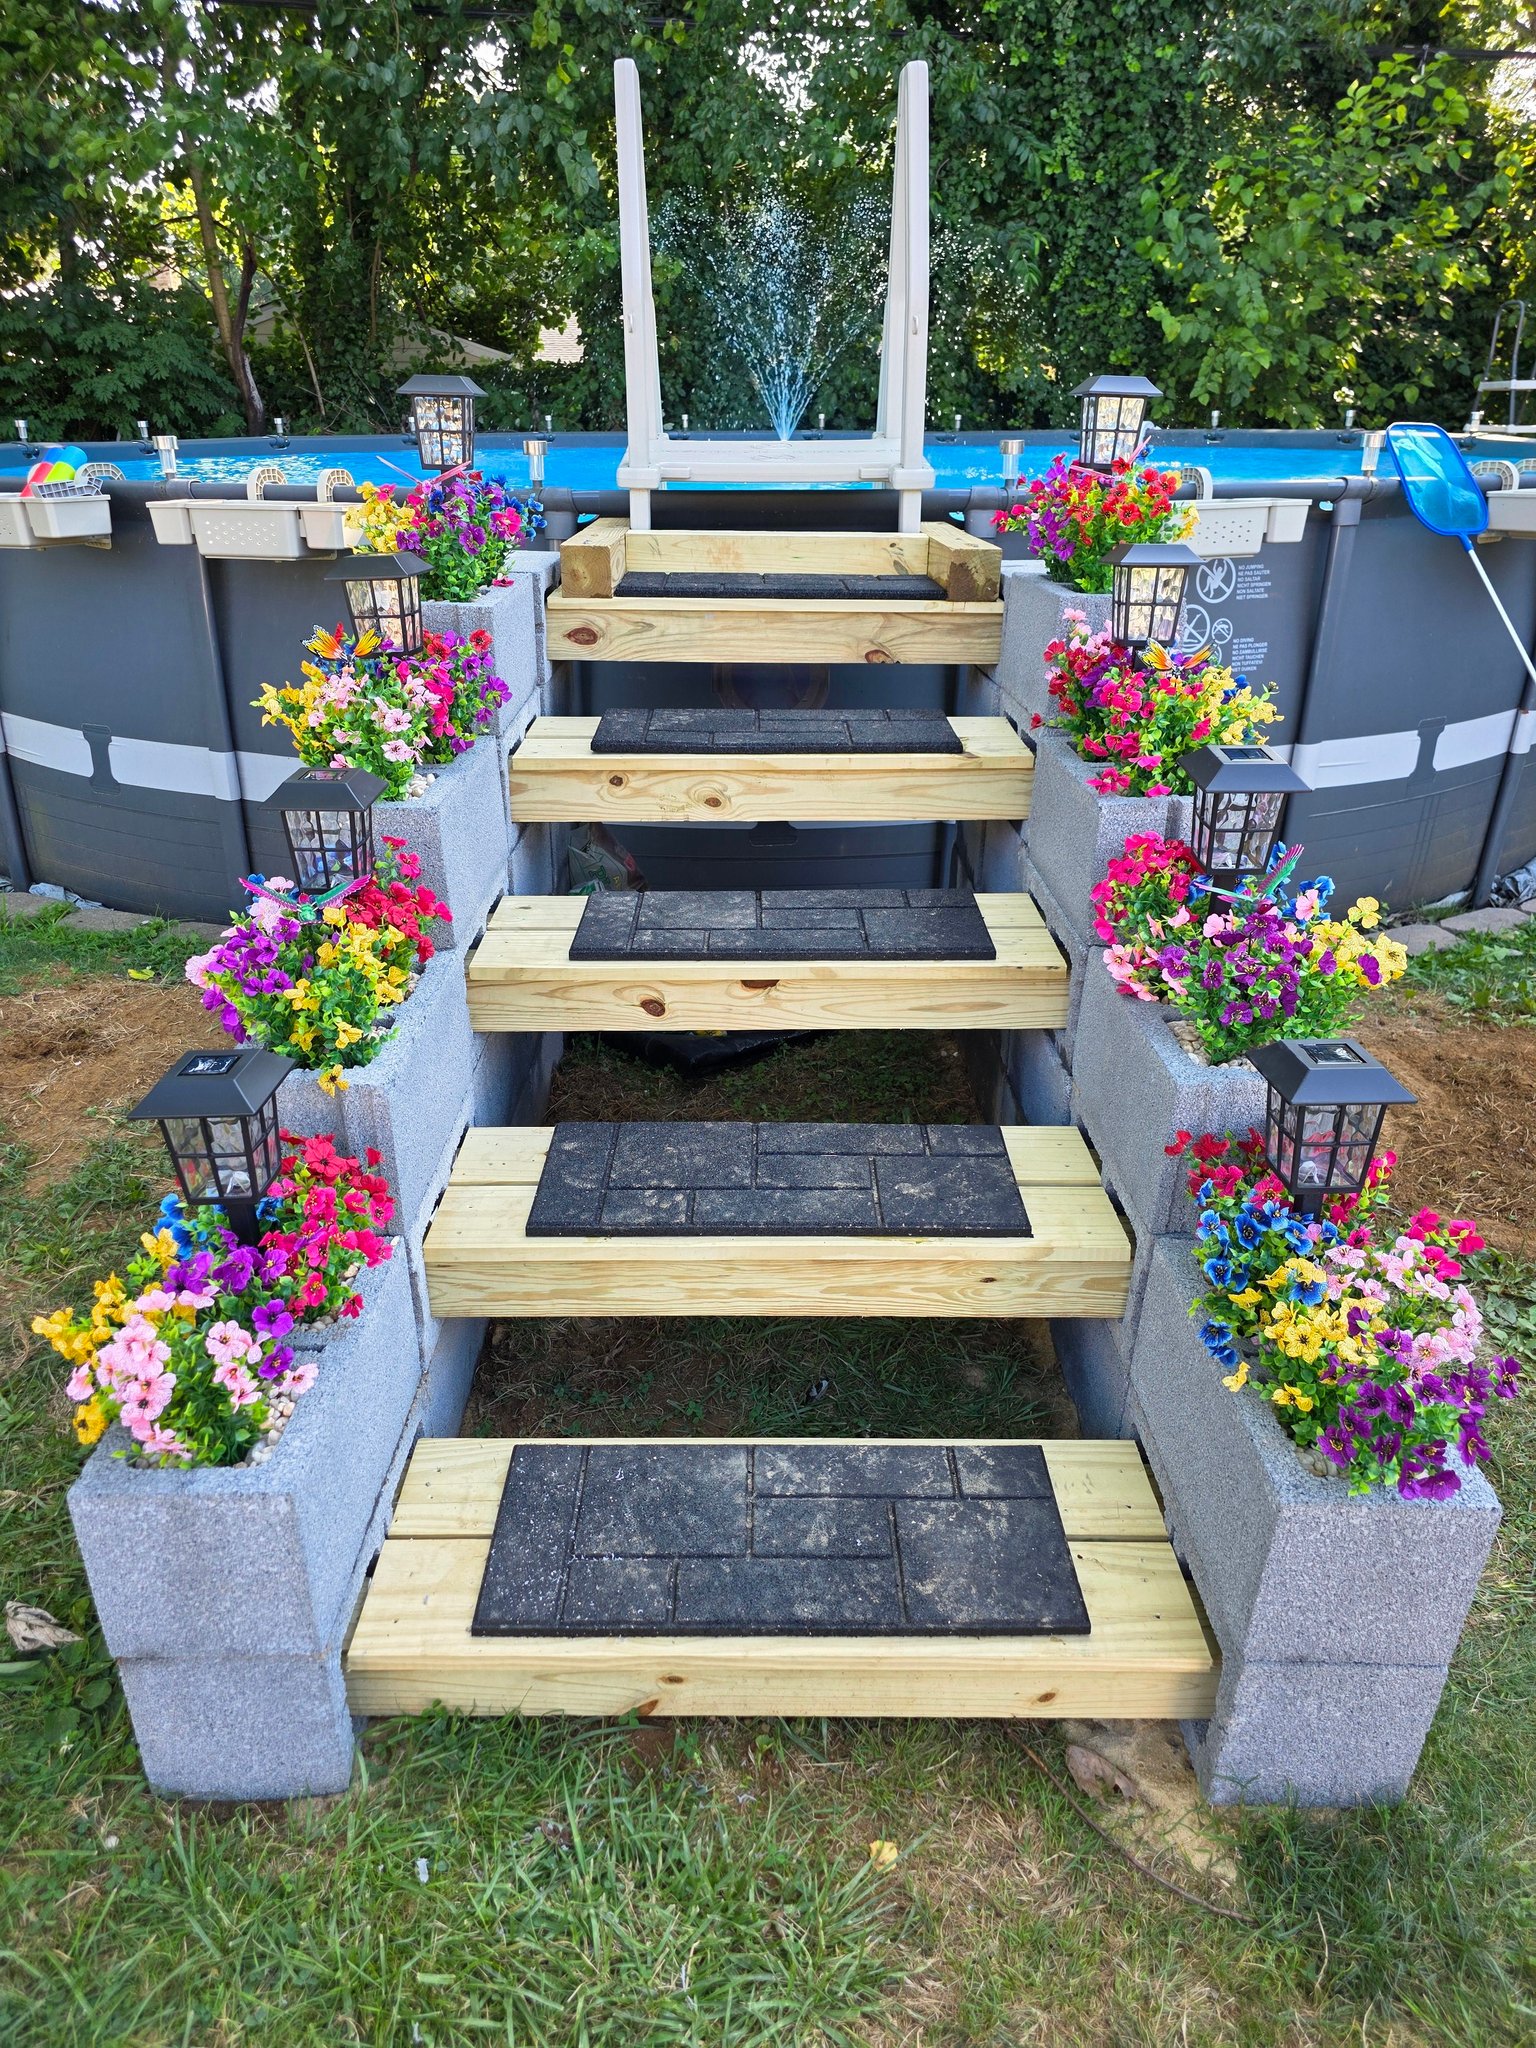
7. Build The Pool Deck And Steps
A deck makes getting in and out safe and easy. Wood, concrete, or composite decking can be used. Add sturdy steps or a ladder for entry. Make sure the deck is strong enough to support multiple people.
8. Install The Pump And Filter
Connect the plumbing to your pump, filter, and any extras like heaters or chlorinators. Follow manufacturer instructions for each component.
Test everything for leaks before filling the pool.
9. Fill And Enjoy
Finally, slowly fill your pool with water. Watch for any leaks. Adjust the water chemistry (pH, chlorine, alkalinity) before swimming.
Materials And Tools: What You Need
The right materials make or break your pool’s strength and lifespan. Here’s a closer look at what you’ll need.
Cinder Blocks
Standard cinder blocks are 8″x8″x16″. For a pool, solid blocks or blocks with vertical holes for rebar are best. You’ll need hundreds, so plan for extras in case of breakage.
Mortar And Concrete
Use a strong mortar mix for the block joints. For filling the rebar holes, regular concrete with gravel is used. Pre-mixed bags work for small pools, but ready-mix deliveries are better for large jobs.
Steel Reinforcement
Steel rebar (usually ½-inch diameter) is set vertically in the wall cores and tied into the slab below. This prevents movement and cracking.
Waterproofing
Choose between a pool liner or a waterproof coating. For liners, order from a company that custom-cuts to your pool’s size and shape.
Pump And Filter
A good filter keeps your pool clean. Cartridge filters are easy to use and maintain. Sand filters are another reliable choice.
Decking And Steps
Pressure-treated wood, composite, or poured concrete are common decking choices. Make sure any steps are slip-resistant.
Tools
You’ll need:
- Shovels
- Wheelbarrow
- Trowel
- Level
- Rebar cutter/bender
- Hammer and chisel
- String line
- Tape measure
Having the right tools saves time and prevents frustration.

Credit: www.youtube.com
Safety Considerations
A pool is a source of fun but also a safety risk. These tips protect your family and guests.
Fencing And Gates
Most areas require a fence at least 4 feet tall with a self-closing gate. This keeps children and pets safe.
Non-slip Surfaces
Use non-slip coatings or mats on steps and decking. Wet feet and smooth concrete can be dangerous.
Water Quality
Test your pool water at least twice a week. Poor water chemistry can cause skin irritation and equipment damage.
Electrical Safety
If you install underwater lights or a pump, follow all electrical codes. Use ground fault circuit interrupters (GFCIs) to prevent shocks.
Emergency Equipment
Keep a life ring and a pool pole nearby. Make sure everyone knows basic water safety.
Cinder Block Vs. Other Above Ground Pools
How does a cinder block pool compare to other options? Here’s a side-by-side look.
| Feature | Cinder Block Pool | Steel/Resin Pool Kit | Inflatable Pool |
|---|---|---|---|
| Durability | Very High | Moderate | Low |
| Custom Size/Shape | Yes | Limited | Very Limited |
| Cost | Medium to High | Low to Medium | Low |
| Time to Build | Several weeks | 1-2 days | 1 hour |
| Maintenance | Medium | Low | Low |
| Resale Value | May increase | No | No |
A cinder block pool is a bigger investment in time and money, but offers unmatched strength and custom options. Steel or resin kits are quicker and cheaper but may not last as long.
Cost Breakdown: What To Expect
Building a cinder block above ground pool is not as cheap as an inflatable, but less expensive than most in-ground pools. Here’s an estimated cost breakdown for a 12’x24’ pool:
| Item | Estimated Cost (USD) |
|---|---|
| Cinder Blocks | $1,200 – $2,000 |
| Concrete & Mortar | $800 – $1,500 |
| Steel Rebar | $400 – $700 |
| Pool Liner | $800 – $1,200 |
| Pump & Filter | $500 – $900 |
| Deck & Steps | $1,000 – $3,000 |
| Plumbing & Fittings | $300 – $700 |
| Waterproofing | $200 – $600 |
| Permits & Misc | $200 – $600 |
| Total | $5,400 – $11,200 |
Prices vary by location and whether you do the work yourself. Hiring professionals raises costs but ensures quality.
Common Mistakes To Avoid
Many DIYers run into the same problems. Here are some pitfalls to watch for:
- Ignoring Ground Prep: Skipping a solid base leads to cracks and shifting blocks.
- Weak Waterproofing: Relying on paint or thin sealers instead of a real liner or membrane often results in leaks.
- Poor Reinforcement: Not using enough rebar or failing to tie it into the foundation makes walls weak.
- Bad Plumbing Layout: Placing pipes or the skimmer in the wrong spot can cause headaches later.
- Rushing the Cure Time: Filling the pool before the concrete sets can ruin the structure.
A less obvious mistake is underestimating drainage around the pool. Water must be directed away from the base, or you risk erosion and settling.
Maintenance Tips For Long Life
Keeping your cinder block pool in top shape is simple with routine care.
- Test water regularly: Check pH and chlorine at least twice a week.
- Clean filter: Rinse or replace cartridges every month during heavy use.
- Check for cracks: Inspect walls and deck each season. Small cracks can be sealed with pool-grade caulk.
- Winterize: In cold climates, drain water below the skimmer, remove the pump, and cover the pool.
- Brush walls: Algae can grow on rough surfaces. Use a pool brush every week.
One insight many miss: the grout lines between blocks can collect dirt and algae. Focus cleaning here, not just the main wall surfaces.
Design Ideas And Custom Features
Building with cinder blocks lets you get creative. Here are ways to make your pool stand out:
- Built-in benches: Add a block bench along one wall for sitting.
- Water features: Add a small waterfall or fountain for sound and movement.
- LED lights: Install waterproof lights for night swimming.
- Tiled edges: Use mosaic tiles along the waterline for a polished look.
- Planters: Integrate planters into the deck or corners for a natural touch.
Some owners build a hot tub section with a dividing wall—easy to do with blocks if you plan ahead.
Credit: ozonohealth.co
Environmental Impact And Sustainability
Cinder block pools use materials with a long lifespan. Unlike steel or plastic, blocks do not rust or degrade quickly. However, concrete production has a carbon footprint. To reduce your impact:
- Use locally sourced blocks and gravel.
- Limit pool size to what you’ll use.
- Install a solar cover to reduce water evaporation.
- Use an energy-efficient pump.
A well-built cinder block pool can last 30+ years, making it more sustainable over time than replacing cheaper pools every few seasons.
Real-world Examples
Many backyard enthusiasts share their cinder block pool projects online. For example, a homeowner in Texas built a 15’x30′ pool with a shallow and deep end for under $8,000 using reclaimed blocks and a custom liner. Another in Florida added a tanning ledge and waterfall, finishing the project over two summers.
Each project has unique challenges—soil type, weather, and budget—but the results show that with patience and planning, a sturdy, attractive pool is possible.
For further inspiration, you can explore real DIY pool builds on Instructables, where users share step-by-step guides and photos.
Frequently Asked Questions
How Long Does A Cinder Block Above Ground Pool Last?
A well-built cinder block pool can last 30 years or more with good care. The main risks are water leaks and shifting if the base is not solid. Regular inspection and quick repairs extend the pool’s life.
Can I Build A Round Cinder Block Pool?
While possible, building a round pool with cinder blocks is much harder. Standard blocks are designed for straight lines, so curves require extra cutting and work. Most DIYers choose rectangular or square designs for simplicity and strength.
Is A Cinder Block Pool Safe For Kids?
Yes, if you add proper fencing, non-slip surfaces, and supervise children at all times. Install a self-closing gate and consider a pool alarm for extra safety.
Do I Need A Pool Liner With Cinder Block Pools?
A liner is strongly recommended. Cinder blocks and mortar are not waterproof on their own. A liner prevents leaks and is easier to clean. Some use waterproof plaster, but liners are more common for DIY projects.
How Much Time Does It Take To Build A Cinder Block Pool?
Most projects take 3 to 8 weeks, depending on size, weather, and how much help you have. Excavation, curing concrete, and waterproofing require waiting periods, so plan for a few months from start to swim.
Creating a cinder block above ground pool is a big project, but the reward is a custom backyard oasis that can last for decades. With the right prep, materials, and care, you’ll enjoy many summers of safe and refreshing fun.