
A leaking pool filter can quickly turn a relaxing summer into a maintenance headache. If you own a Hayward pool filter and notice water dripping, spraying, or pooling around the band clamp, you’re not alone. Many pool owners face this problem, which can lead to cloudy water, chemical imbalance, and even pump damage if ignored. Understanding why your Hayward pool filter is leaking at the band clamp, how to fix it, and how to prevent future leaks will save you time, money, and stress.
Hayward filters are popular for their performance and reliability, but like any equipment, they require proper care. The band clamp holds the two halves of the filter tank together and keeps the internal pressure sealed. When this seal fails, leaks occur—sometimes slowly, sometimes dramatically.
You may see a slow drip, a thin stream, or even hear hissing from the clamp area. A leak here is more than just a nuisance; it signals a loss of pressure integrity, which can harm your whole pool system.
This article will walk you through everything you need to know about Hayward pool filter leaks at the band clamp. You’ll learn the common causes, how to diagnose the problem, step-by-step repair instructions, essential maintenance tips, and even advice on when to call for professional help.
Along the way, we’ll highlight real-world examples, mistakes to avoid, and pro tips many beginners miss.
Understanding The Hayward Pool Filter Band Clamp
Before diving into leak solutions, it’s important to know what the band clamp is and why it matters. On most Hayward pool filters—especially their popular models like the Pro Series and SwimClear—the tank is split into two sections. The band clamp wraps around the middle, holding the upper and lower halves tightly together. Inside the clamp area sits an O-ring (also called a tank seal gasket), which creates a watertight seal under pressure.
If this clamp is loose, damaged, or the O-ring is worn or misplaced, water will escape. Because the filter operates under pressure, even a small issue can quickly become a significant leak.
Key Functions Of The Band Clamp
- Seals the filter tank to prevent water and air leaks
- Withstands internal pressure (up to 50 psi in some models)
- Allows for easy access to the filter’s interior for cleaning or repairs
Improper installation or lack of maintenance are the most common reasons for leaks at this point.
Common Causes Of Leaks At The Band Clamp
A leak at the Hayward band clamp doesn’t have a single cause. Several factors might be at play, and often, more than one issue contributes to the leak. Here are the main reasons:
- Worn or Flattened O-Ring: The O-ring is crucial for sealing. Over time, heat, chemicals, and pressure can cause it to flatten, crack, or lose elasticity.
- Dirty or Damaged O-Ring: Grit, sand, or debris on the O-ring or clamp surface can break the seal. Even a tiny grain of sand can prevent a watertight fit.
- Improper Clamp Tightness: If the clamp is too loose, water can escape. If it’s too tight, it can pinch or distort the O-ring, causing leaks.
- Misaligned Tank Halves: If the top and bottom sections are not properly seated, the clamp cannot create an even seal.
- Damaged Clamp or Tank Lips: Rust, bent metal, or cracked plastic at the clamp area can prevent a tight seal.
- Incorrect or Missing Lubrication: The O-ring should be coated with pool-safe lubricant. Dry O-rings can twist or tear.
- Aging or Degraded Tank: Over years, the plastic can warp or crack, making sealing impossible without replacement.
Let’s look deeper into these causes and how to spot them.
Signs Of A Failing O-ring
- Visible cracks or splits on the ring surface
- The O-ring feels stiff or brittle instead of flexible
- The ring appears flat instead of round
- Water leaking more during filter startup or backwash
Signs Of Clamp Or Tank Problems
- Clamp does not tighten evenly (one side feels tighter)
- You see rust or pitting on metal clamps
- Cracks or chips in plastic tank lips
- Clamp cannot be tightened fully (stripped threads or bent band)
Many new pool owners overlook the importance of proper O-ring lubrication. This simple step prevents twisting and helps the O-ring seat evenly. Another overlooked point is that cleaning the O-ring and groove before reassembly is essential—dirt acts like a wedge that breaks the seal.

Credit: www.youtube.com
Diagnosing The Leak: Step-by-step
Before you start repairs, you need to confirm the exact cause of the leak. Here’s how to diagnose a band clamp leak on your Hayward filter:
- Turn Off the Pump: Always shut down your pump and relieve filter pressure using the air relief valve.
- Visually Inspect the Clamp Area: Look for dripping water, spray, or mineral build-up around the band clamp.
- Check O-Ring Condition: Open the clamp and carefully remove the top half of the tank. Inspect the O-ring for flat spots, cracks, or dryness.
- Clean the Surfaces: Wipe down the O-ring, tank lips, and clamp groove to remove dirt and debris.
- Look for Alignment Issues: When reassembling, check that the top and bottom halves fit flush with no gaps.
- Check Clamp and Tank Damage: Examine the clamp for bends and the tank lips for cracks or chips.
If you find more than one issue, address all of them. For example, replacing the O-ring but ignoring a warped clamp will not stop the leak.
Pressure Test
After reassembling, run the filter and watch for leaks. Sometimes, slow leaks are only visible under full pressure. Use a dry towel around the clamp to check for moisture after 5–10 minutes of operation.
Step-by-step Repair: Fixing A Hayward Band Clamp Leak
Fixing a leak at the band clamp doesn’t have to be difficult. Here’s a detailed guide to get your filter watertight again.
Tools And Materials Needed
- Replacement O-ring (get the exact model for your filter)
- Pool-safe lubricant (silicone-based, NOT petroleum jelly)
- Screwdriver or socket wrench (for clamp bolt)
- Clean cloths or paper towels
- Soft brush for cleaning
- Optional: New band clamp (if damaged)
1. Shut Down And Relieve Pressure
Switch off the pump at the breaker. Open the air relief valve on top of the filter to release built-up pressure. This is crucial for safety.
2. Remove The Band Clamp
Using the appropriate tool, loosen the clamp bolt. Carefully remove the band clamp, then gently lift off the top half of the tank. If it sticks, tap lightly around the edge with a rubber mallet—never use sharp tools.
3. Inspect And Clean The O-ring
Take out the O-ring. Inspect for:
- Cracks
- Flat spots
- Stiffness
- Tears
Wipe the O-ring with a clean, damp cloth. Also, clean the groove it sits in and the tank mating surfaces. Even tiny debris can cause leaks.
4. Replace Or Lubricate The O-ring
- If the O-ring is damaged, replace it with the exact model.
- Apply a thin, even layer of pool-safe lubricant. This helps the O-ring seat correctly and prevents pinching.
Pro tip: Always use silicone-based lubricant. Petroleum-based greases break down rubber.
5. Check Tank Alignment
Before reassembly, ensure the top and bottom halves line up perfectly. Most Hayward filters have alignment marks—line these up before installing the clamp.
6. Reinstall The Band Clamp
Set the clamp evenly around the tank. Tighten the bolt slowly, switching sides to keep pressure even. Do not over-tighten—just snug enough to compress the O-ring fully.
7. Pressure Test
Turn on the pump and watch for leaks. Use a dry towel around the clamp area. If you see moisture, shut off and recheck O-ring seating and clamp tightness.
8. Check For Even Compression
The gap between the clamp halves should be uniform all the way around. If one side is tighter, loosen and reposition the clamp.
9. Confirm Success
Let the system run for 10–15 minutes. Check the clamp area for any sign of water. If dry, you’ve fixed the leak.
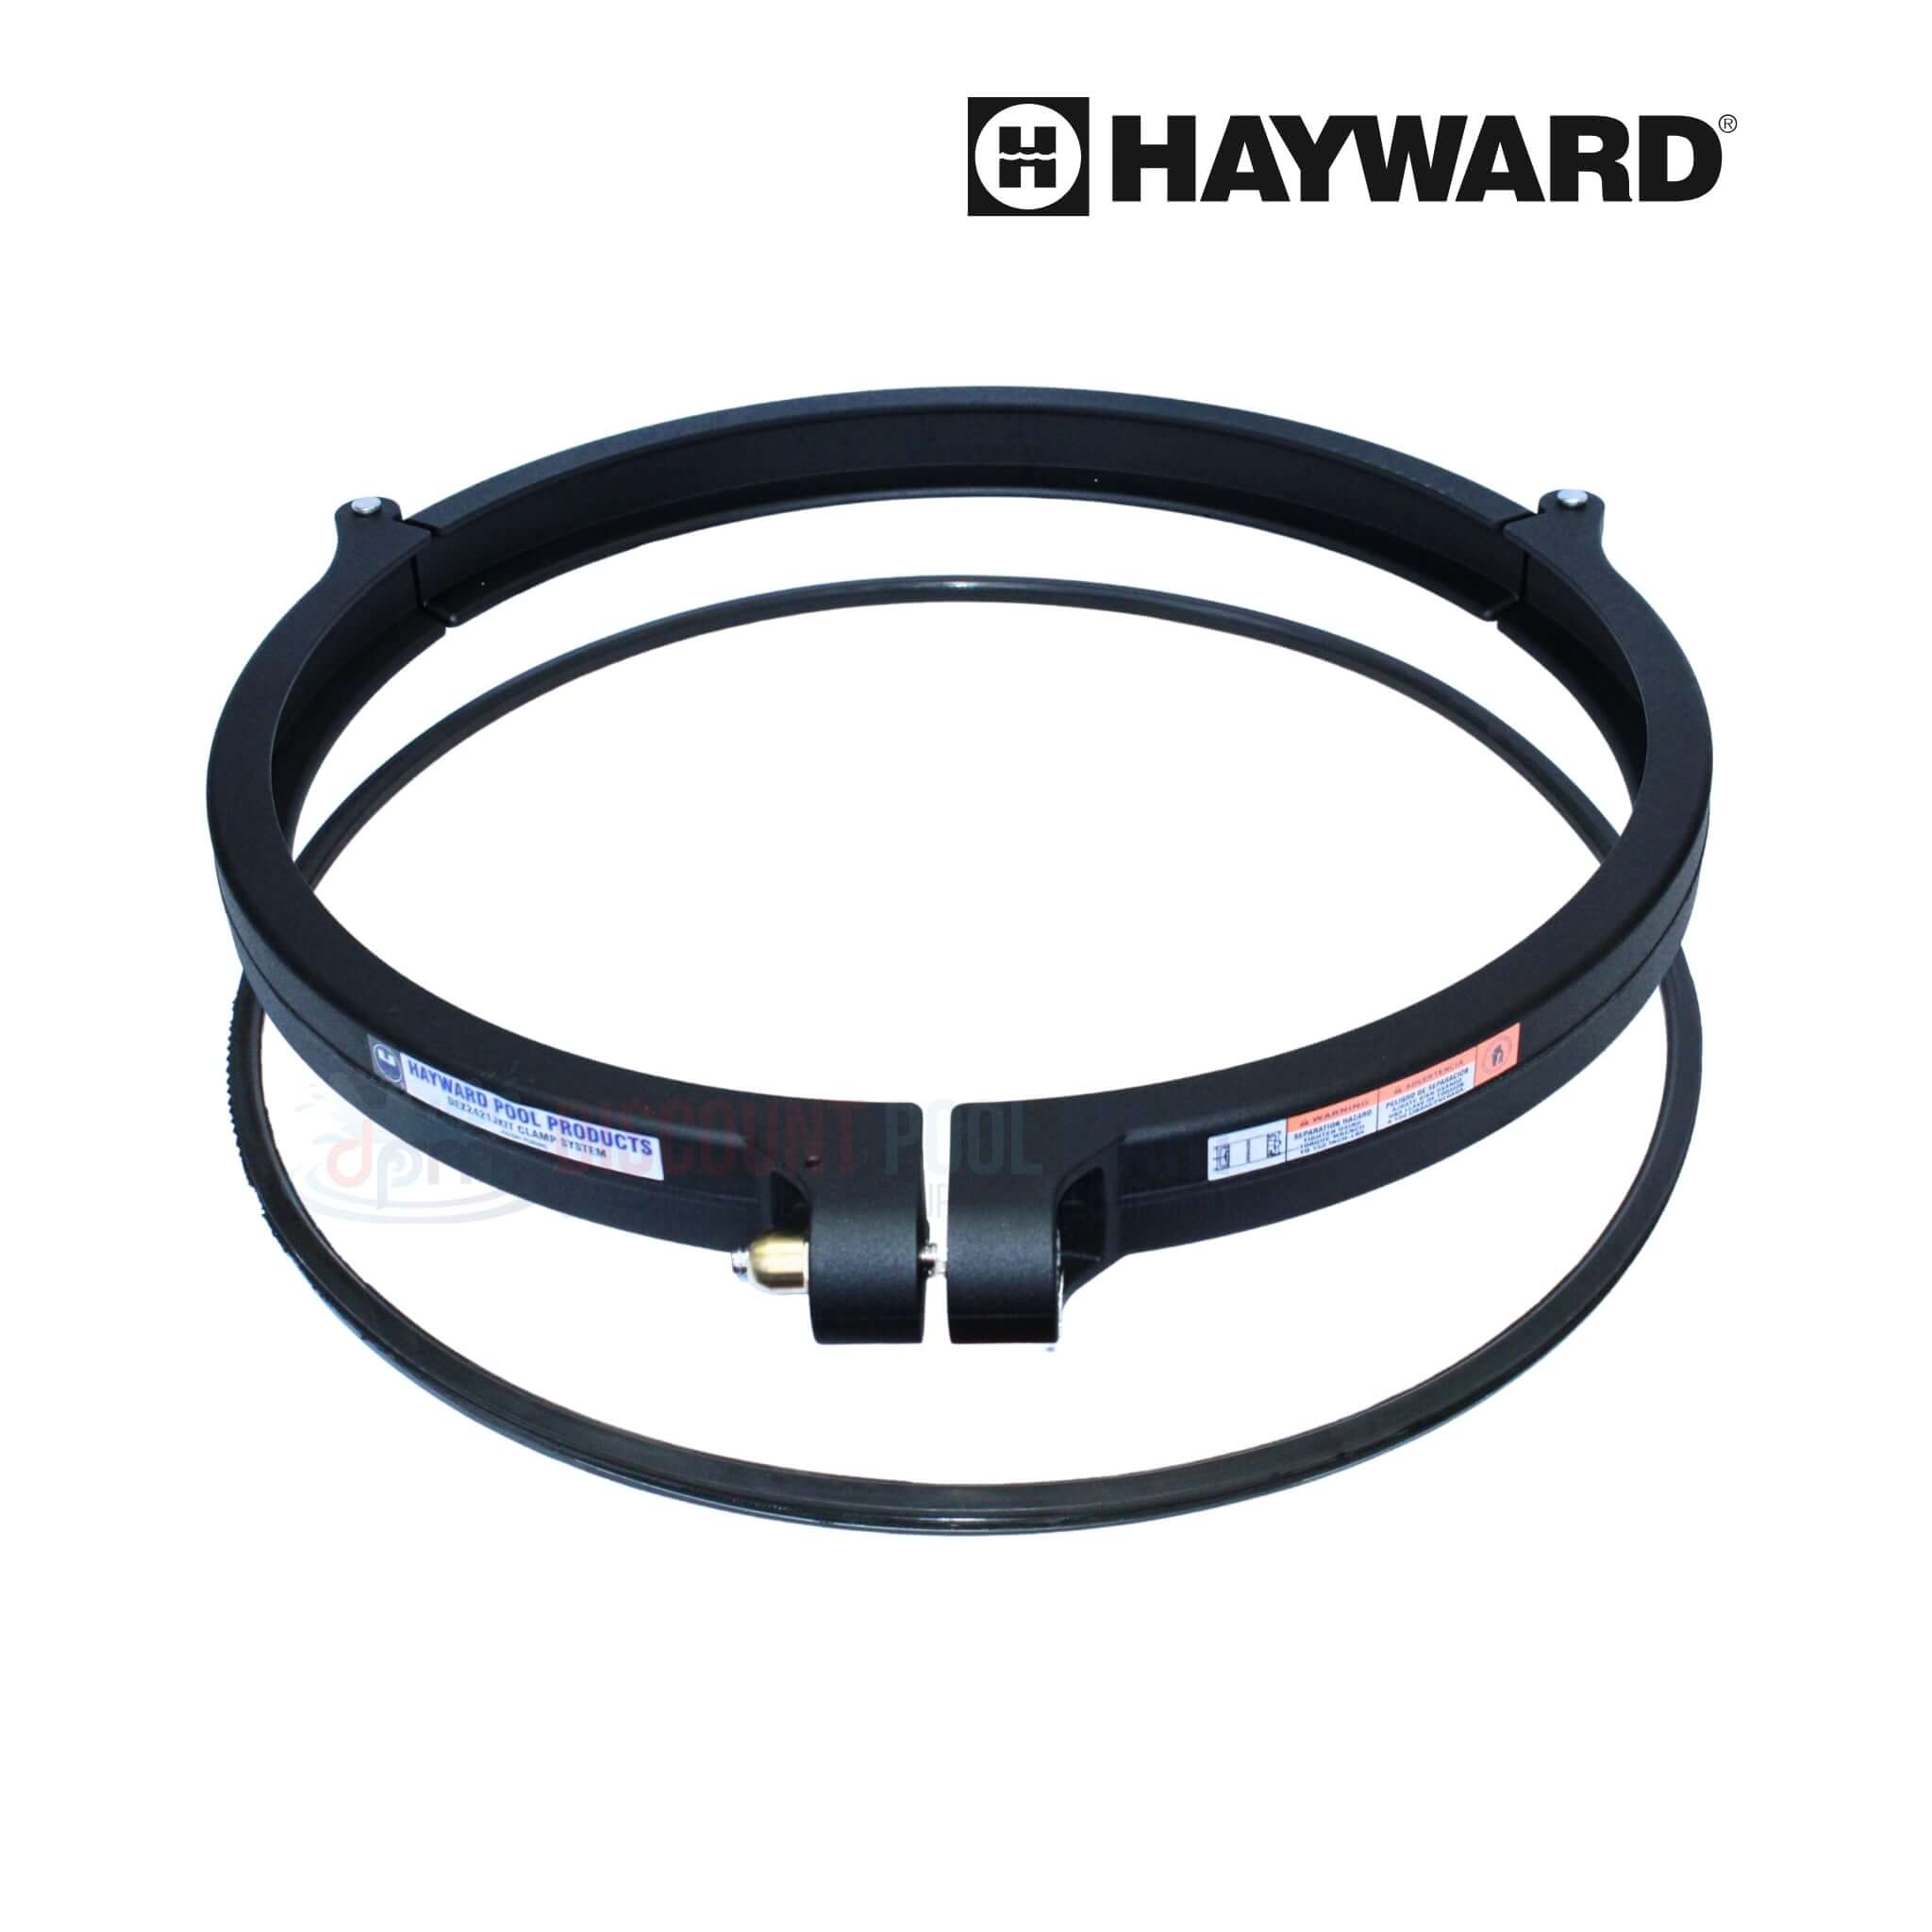
Credit: discountpoolmart.com
When To Replace Parts
Not all leaks can be fixed by adjusting or lubricating. Sometimes, parts are too old or damaged. Here’s when you should replace components:
- O-ring: Replace every 1–2 years, or sooner if you see damage.
- Band Clamp: Replace if bent, rusted, or the bolt is stripped.
- Filter Tank: Replace if you see cracks, chips, or warping around the clamp area.
Common Mistakes To Avoid
- Using petroleum jelly as lubricant (breaks down O-rings)
- Over-tightening the band clamp (can crack the tank)
- Re-using a visibly damaged O-ring
- Ignoring small leaks (they often get worse with time)
- Not cleaning the O-ring groove before reassembly
Comparison: Hayward Band Clamp Vs. Other Filter Sealing Methods
How does the Hayward band clamp system compare to other pool filter designs? Here’s a quick look:
| Feature | Hayward Band Clamp | Threaded Closure | Quick-Lock Ring |
|---|---|---|---|
| Seal Type | O-ring + clamp | O-ring + threads | O-ring + snap ring |
| Ease of Service | Medium | Hard | Easy |
| Common Leak Causes | O-ring, clamp misalignment | Cross-threading, dry O-ring | Worn O-ring, debris |
| Parts Cost | Low to medium | Low | Medium |
Hayward’s band clamp is popular because it balances good sealing with relative ease of access for cleaning. Threaded closures (common on older filters) are harder to work on and more likely to leak if cross-threaded. Quick-lock rings are fast but need careful cleaning to avoid leaks.

Credit: www.reddit.com
Preventive Maintenance For A Leak-free Filter
Preventing leaks at the band clamp is easier than fixing them. Here are proven maintenance tips:
- Inspect the O-ring at least twice a season. Look for cracks, flat spots, or brittleness.
- Clean the O-ring and groove whenever you open the tank. Dirt is a common cause of leaks.
- Lubricate the O-ring every time you reassemble. Use only silicone-based grease.
- Do not over-tighten the band clamp. Tighten evenly until snug.
- Check clamp and tank lips for damage. Replace worn parts before they cause leaks.
- Replace the O-ring every 1–2 years. Even if it looks fine, rubber degrades over time.
Useful Maintenance Schedule Example
| Maintenance Task | Frequency |
|---|---|
| O-ring inspection | Every 6 months |
| O-ring lubrication | Each tank opening |
| Band clamp check | Annually |
| Tank lip inspection | Annually |
| O-ring replacement | Every 1–2 years |
By following a simple schedule like this, you can catch small issues before they become leaks.
Real-world Examples And Troubleshooting Scenarios
Understanding how these leaks appear in real life helps you react quickly. Here are a few common scenarios:
Example 1: Leak After Cleaning
You clean your filter, reassemble, and immediately see water dripping at the clamp. This is usually caused by:
- O-ring not seated correctly
- O-ring dry or twisted
- Dirt in the groove
Solution: Open the tank, clean and lubricate the O-ring, and reassemble with care.
Example 2: Leak Develops Mid-season
Your filter was fine for months, but suddenly starts leaking at the clamp. Likely causes:
- O-ring has aged, cracked, or flattened
- Clamp bolt has loosened over time
Solution: Inspect and replace the O-ring if needed. Tighten the clamp gently and evenly.
Example 3: Leak After Freeze Or Impact
After a cold snap or a bump with a tool, you notice a leak. Possible causes:
- Tank lip is cracked
- Clamp is bent or out of shape
Solution: Visually inspect for cracks. Replace any damaged parts. Never attempt to run a pressurized system with a cracked tank.
Common mistake beginners make: Over-tightening a leaking clamp hoping to “crush” the leak away. This often cracks the tank or damages the O-ring further.
When To Call A Professional
Most Hayward band clamp leaks can be fixed with DIY skills and basic tools. But in some cases, it’s best to call a pool professional:
- Crack or major chip in the filter tank
- Clamp will not tighten or threads are stripped
- Repeated leaks after proper O-ring replacement and lubrication
- Leaks at very high pressure (over 30 psi)
A pool technician can pressure test the system, order replacement parts, and ensure safety. Remember, a cracked filter tank under pressure can burst—never ignore serious damage.
Cost Of Repair Vs. Replacement
Repairing a band clamp leak is usually affordable. Here’s a cost comparison:
| Item | DIY Cost (USD) | Pro Service Cost (USD) |
|---|---|---|
| O-ring replacement | $15–$30 | $80–$150 |
| Band clamp replacement | $35–$70 | $120–$200 |
| Tank replacement | $200–$500 | $400–$900 |
Tip: Always use genuine Hayward parts. Generic O-rings or clamps may not fit perfectly and can void warranties.
Upgrading Your Filter Or Clamp
If you find yourself repairing leaks often, it may be worth upgrading your filter or clamp. Newer Hayward models may offer:
- Improved clamp designs for easier service
- Better O-ring materials for longer life
- Stronger tank plastics to resist cracking
Check your filter’s model number and talk to your local pool supply about upgrade options. For more details about Hayward filters and pool equipment, you can visit the Swimming pool sanitation page on Wikipedia.
Frequently Asked Questions
What Size O-ring Do I Need For My Hayward Filter?
Each Hayward filter model uses a specific O-ring size. Check your filter’s manual or look for the part number on Hayward’s website. Never stretch or cut an O-ring to fit—a perfect match is required for a watertight seal.
Can I Use Regular Grease To Lubricate The O-ring?
No. Only use silicone-based pool lubricant. Regular greases like Vaseline or automotive grease will break down the rubber and cause leaks or O-ring failure.
How Tight Should The Band Clamp Be?
The clamp should be snug—tight enough to compress the O-ring fully but not so tight that the tank bends or the clamp distorts. The gap between the clamp halves should be even all the way around. Over-tightening can damage the tank or clamp.
Is A Leaking Band Clamp Dangerous?
Yes, it can be. If the tank is cracked or the clamp fails, the pressurized tank could burst, causing injury. Always turn off the pump and relieve pressure before working on the filter.
How Often Should I Replace The O-ring And Clamp?
Replace the O-ring every 1–2 years or sooner if you see damage. Replace the clamp if it becomes bent, rusted, or the bolt strips. Regular maintenance prevents most leaks.
—
A leaking Hayward pool filter at the band clamp is a common but manageable problem. With the right knowledge, tools, and a careful approach, you can fix leaks quickly and keep your pool water clean and safe. Remember to inspect, clean, and lubricate your O-ring regularly, check for alignment and damage, and replace worn parts as needed.
By staying proactive, you’ll avoid bigger repairs and enjoy a trouble-free swimming season.