
Running into problems with your Kitchenaid dishwasher can be frustrating, especially if you’re not sure what’s wrong. But before you call a technician or start searching for new parts, there’s a simple way to get more information: running a diagnostic cycle. This process can help you find hidden issues, error codes, and even reset some common problems. If you’ve never done it before, don’t worry—running a diagnostic isn’t as complicated as it sounds. With the right steps and a little patience, you can get valuable insights into your dishwasher’s health and possibly fix minor issues yourself.
In this guide, you’ll learn exactly how to run a diagnostic on your Kitchenaid dishwasher, what to look for, and what to do with the results. I’ll also cover common mistakes, tips for accurate testing, and how to interpret error codes.
By the end, you’ll feel confident tackling basic troubleshooting on your own and know when it’s time to call in a professional.
Why Run A Diagnostic On Your Kitchenaid Dishwasher?
A diagnostic cycle is like a checkup for your dishwasher. It tells you if there’s a problem with sensors, wiring, water flow, or other key systems. Here’s why running a diagnostic makes sense before spending money on repairs:
- Pinpoint Problems Quickly: Diagnostics show error codes that point to specific issues.
- Save Money: Fixing minor issues yourself can avoid costly service calls.
- Reset Stuck Cycles: Sometimes, a diagnostic will clear glitches and restore normal operation.
- Prevent Bigger Problems: Early detection can stop small issues from turning into major breakdowns.
- Understand Warranty Needs: If you need service, having error codes helps the technician and can speed up repairs.
Many Kitchenaid dishwashers share a similar diagnostic process, but you’ll need to follow steps carefully for accurate results.
Safety First: Preparing For The Diagnostic Test
Before you start, take a few minutes to prepare. This helps keep you safe and protects your dishwasher from accidental damage.
- Disconnect Power: Either unplug the dishwasher or switch off the circuit breaker. Wait at least one minute.
- Read the Manual: If you have your model’s user manual, check for specific instructions or warnings.
- Clear the Dishwasher: Remove dishes and racks if possible, so nothing blocks the sensors or spray arms during testing.
- Dry Surrounding Area: Water on the floor or wet hands increase risk of electric shock.
Never skip safety steps. Even though diagnostics are simple, working with appliances always carries some risk.

Credit: www.youtube.com
Understanding Kitchenaid Dishwasher Controls
Not all Kitchenaid dishwashers look the same. There are two main types:
- Touchpad Control Panel: Buttons you press directly on the panel or door.
- Hidden Control (Top Control): Controls are located on the top edge of the door, hidden when the door is closed.
Most diagnostic cycles use combinations of these buttons. Knowing your model’s control type will help you follow the right sequence.
Model Number Location
If you’re not sure which model you have, look for the sticker or plate. Usually, it’s found:
- On the side of the door
- On the frame behind the door
- Sometimes on the kickplate or near the bottom
Having the model number handy makes it easier to find specific instructions or parts if needed.
Step-by-step: How To Run A Diagnostic On Your Kitchenaid Dishwasher
Let’s get into the main process. These steps work for most modern Kitchenaid dishwashers, especially models produced after 2010. If you have an older model, some details may vary.
1. Power Cycle The Dishwasher
Start by resetting the dishwasher’s control system.
- Unplug or turn off power at the breaker.
- Wait at least 1 minute.
- Restore power.
This step ensures the system is ready for diagnostics and clears any temporary glitches.
2. Open The Dishwasher Door
Open the door fully. Make sure nothing presses against the buttons or display.
3. Locate The Buttons For Diagnostic Mode
Usually, you’ll use the following buttons:
- Heated Dry (or “Heat Dry”)
- Normal Wash
Some models use High Temp Wash and Heated Dry instead. If your panel has different labels, check your manual for the right combination.
4. Enter Diagnostic Mode
Here’s the most common way to start the diagnostic cycle:
- Press Heated Dry → Normal Wash → Heated Dry → Normal Wash in quick sequence (about 5 seconds).
- If your model uses High Temp, substitute it for Heated Dry.
The control panel lights should all turn on or start blinking. If nothing happens, repeat the sequence a little faster or slower. Some models require you to close the door after pressing the buttons.
5. Start The Diagnostic Cycle
Once in diagnostic mode, the dishwasher will automatically start a test cycle. The process usually takes 10–20 minutes.
- The dishwasher may fill, wash, drain, and heat.
- Control panel lights may flash in a pattern.
- Error codes can appear on the display or as blinking lights.
Tip: Stay nearby. Listen for unusual noises or watch for leaks during the test.
6. Record Any Error Codes
During the test, the dishwasher may display error codes. Write these down carefully. Each code points to a specific problem—like F7E1 for heating problems or F9E2 for drain issues.
If your model does not have a digital display, count blinking lights. The pattern (e. g. , 7 blinks, pause, 1 blink) matches the code.
7. Let The Cycle Finish
Do not open the door or press buttons during the test. When the diagnostic is finished, the dishwasher will usually turn off or show “End” on the display.
Opening the door too early may interrupt the test and give incomplete results.
8. Exit Diagnostic Mode
Most dishwashers exit diagnostic mode automatically. If not, disconnect power for 1 minute, then restore it.
You’re now ready to interpret the results.
Interpreting Error Codes And Results
The most valuable part of running a diagnostic is understanding what the dishwasher is telling you. Each code or light pattern has a meaning.
Common Kitchenaid Dishwasher Error Codes
Here are some frequent codes you might see:
| Error Code | Meaning | Possible Fix |
|---|---|---|
| F7E1 | Heater does not work | Check heating element, wiring |
| F9E2 | Drain problem | Clean filter, check drain hose |
| F8E1 | Water supply issue | Check inlet valve, water pressure |
| F6E4 | Float switch stuck | Clear debris, check float switch |
| F5E1 | Door not closing | Check latch, door alignment |
You can find a full list of codes in your user manual or on the Kitchenaid website.
What To Do With Error Codes
- Look Up the Code: Find the meaning in your manual or official sources.
- Inspect the Problem Area: For example, if you see a drain error, check the filter and hose.
- Try Simple Fixes First: Clean filters, check for blockages, and reset the dishwasher.
- Document Everything: If you need professional help, share the code and what you tried.
No Error Code? What Next?
Sometimes the test finishes but no code appears. That usually means:
- The dishwasher did not detect a problem.
- The issue may be intermittent.
- There may be a mechanical problem not detected by electronics.
If your dishwasher still isn’t working right, check for other symptoms—strange noises, leaks, or poor cleaning.
Deeper Troubleshooting Based On Diagnostic Results
Once you know the error code, you can focus your troubleshooting. Here’s how to address the most common issues:
Heating Problems (f7e1)
If you see a heating error, the dishwasher may not dry dishes or complete cycles. Causes include:
- Burned-out heating element
- Loose wiring connections
- Faulty control board
Tip: You can test the heating element for continuity with a multimeter if you’re comfortable. Otherwise, call a technician.
Drain Problems (f9e2)
A drain error usually means water stays in the bottom after cycles. Check:
- The filter for clogs
- The drain hose for kinks or blockages
- The air gap (if installed) for debris
Cleaning the filter is easy and often solves the problem.
Water Supply Issues (f8e1)
If the dishwasher isn’t filling, look for:
- Closed water supply valve
- Blocked inlet screen
- Low water pressure
Make sure the supply is on and the hose is not pinched.
Door And Latch Errors (f5e1)
If the door isn’t closing, the dishwasher won’t start. Check for:
- Obstructed racks or utensils
- A misaligned door
- Broken latch mechanism
Pro tip: Sometimes, adjusting the leveling legs helps the door close properly.
Float Switch Errors (f6e4)
The float switch prevents overfilling. If stuck, the dishwasher may not fill or may stop mid-cycle.
- Look for debris under the float assembly.
- Gently move the float up and down to free it.
If the switch is broken, it needs replacement.
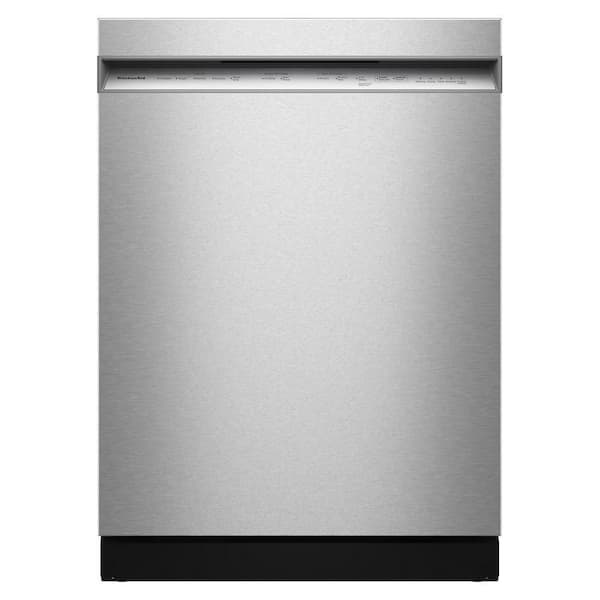
Credit: www.homedepot.com
How Diagnostic Mode Resets Some Problems
Running diagnostics doesn’t just find errors—it can also:
- Reset stuck cycles: If your dishwasher was stuck mid-cycle, the test can clear the memory.
- Clear minor glitches: Software bugs or sensor errors sometimes disappear after a diagnostic.
- Test all major systems: You’ll hear the pump, heater, and motor run in sequence.
If your dishwasher works normally after the test, the issue may have been temporary.
When To Call A Professional
Diagnostics can solve many problems, but not all. Call a technician if:
- You see repeated error codes after cleaning and resetting.
- The dishwasher leaks, smokes, or smells burned.
- You’re not comfortable working with electrical parts.
- The control board needs replacement.
Attempting advanced repairs without the right tools or experience can be dangerous. Having the diagnostic results ready will help the technician work faster.
Extra Tips For Accurate Kitchenaid Diagnostics
These insights help you get the most out of your test:
- Run Diagnostics After a Problem Appears: Don’t test just for fun. Run the cycle when you notice an issue.
- Don’t Open the Door Mid-Test: This can interrupt the process and give false results.
- Clear Error Codes After Fixing: After repairs, run another diagnostic to make sure the issue is gone.
- Label Control Buttons: If the labels wear off, put clear tape and write with a marker for future tests.
- Document Serial and Model Numbers: Keep a photo or note for easy access during repairs or calls.
Practical Example: Resolving A Drain Error
Let’s walk through a common real-life scenario.
- You notice water pooling at the bottom after a cycle.
- You run the diagnostic and see F9E2.
- You remove the bottom rack and find food debris in the filter.
- You clean the filter and check the drain hose under the sink—no kinks or clogs.
- Run another diagnostic. The error code is gone, and the dishwasher drains fully.
This simple fix saves you a service call and gets your dishwasher running again.
Common Mistakes To Avoid
Even careful homeowners make errors during diagnostics. Avoid these pitfalls:
- Skipping the manual: Each model can have slight differences.
- Forgetting to restore power: If you don’t power cycle, some glitches remain.
- Misreading error codes: Write them down accurately; one digit can change the meaning.
- Trying to fix major electrical issues without training: Leave complex repairs to professionals.
- Ignoring leaks: Water leaks can cause serious damage. Address them immediately.
How Diagnostic Mode Compares To A Service Technician’s Test
You might wonder how a built-in diagnostic compares to a technician’s tools. Here’s a quick look:
| Home Diagnostic Mode | Technician’s Tools |
|---|---|
| Checks most sensors and key systems | Can test each sensor, motor, and wire directly |
| Shows error codes and light patterns | Reads advanced data with special meters |
| Can reset minor software issues | Can reprogram or replace control boards |
| Free and easy for basic problems | Essential for deep or repeated failures |
For most issues, diagnostics are enough. But if the same problem returns, a technician’s advanced tools are needed.
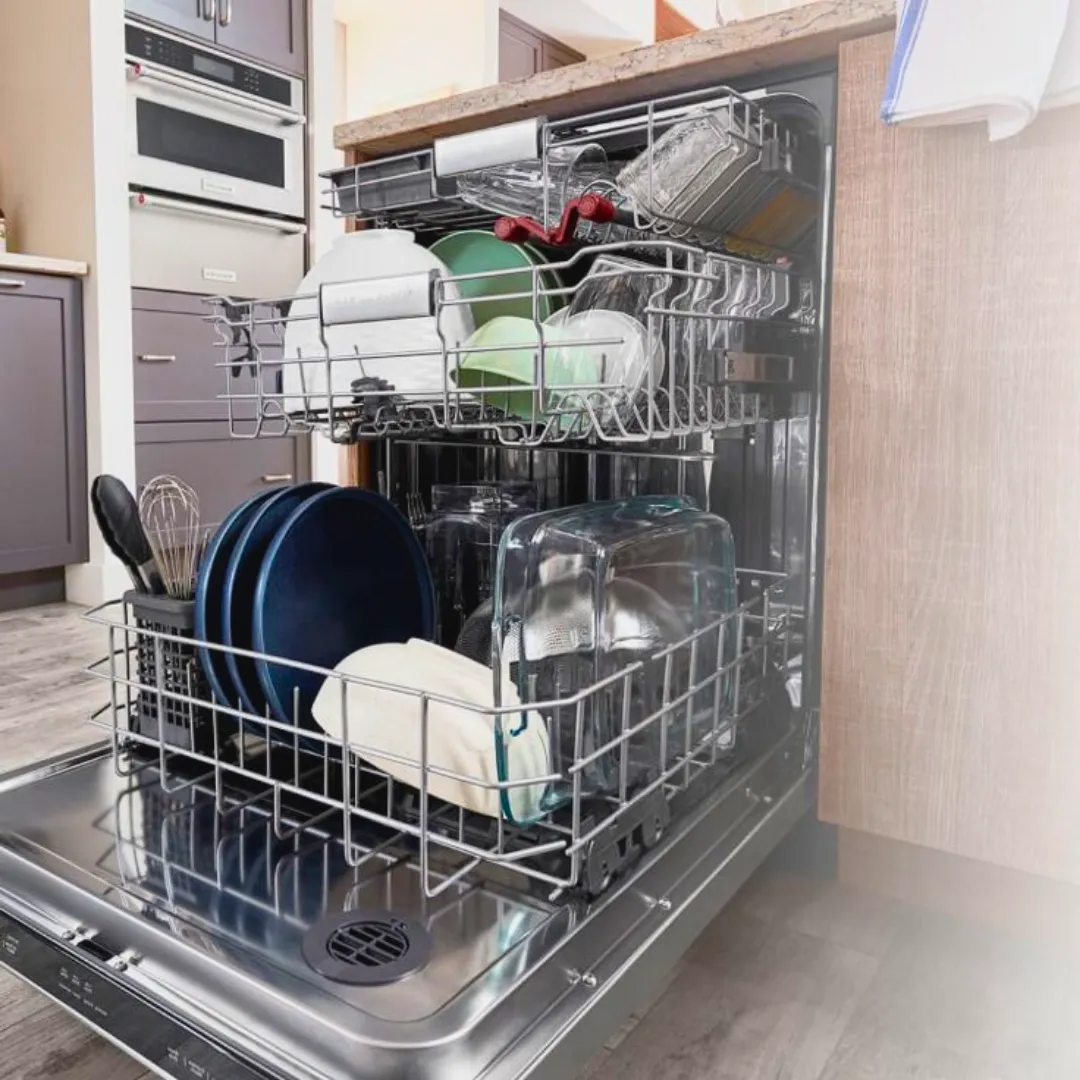
Credit: nashfix.us
How To Find Your Kitchenaid Model’s Diagnostic Sequence
While the steps above work for most models, there are exceptions. Here’s how to confirm you’re using the right process:
- Check the User Manual: Look for a “Diagnostic Cycle” or “Service Test” section.
- Search the Model Number Online: Manufacturer sites or forums often have details.
- Contact Kitchenaid Support: They can email you instructions if needed.
If you can’t find your manual, the Heated Dry/Normal Wash sequence works for most models made after 2010.
Maintaining Your Dishwasher To Prevent Future Problems
Diagnostics are helpful, but regular maintenance is even better. Here are simple ways to keep your Kitchenaid dishwasher running smoothly:
- Clean the Filter Monthly: A clogged filter is the #1 cause of poor performance.
- Wipe the Door Gasket: Food or soap buildup can stop the door from sealing.
- Check Spray Arms: Remove and rinse them if you see debris in the holes.
- Run Vinegar Cycles: Every few months, run a hot cycle with a cup of vinegar in the bottom to remove buildup.
- Inspect the Drain Hose: Look for kinks or blockages under your sink.
Regular care reduces breakdowns and makes diagnostics less likely in the first place.
Environmental And Energy Benefits Of Diy Diagnostics
Fixing your dishwasher yourself isn’t just good for your wallet—it helps the planet, too.
- Fewer Service Visits: Reduces technician travel, saving fuel.
- Less Waste: Fixing a part means fewer old appliances in landfills.
- Lower Energy Use: A dishwasher that works correctly uses less water and power.
Small efforts add up, making home diagnostics a smart and responsible choice.
When Diagnostics Don’t Work: Next Steps
If your dishwasher won’t enter diagnostic mode, or the test doesn’t start, try these steps:
- Double-check the button sequence and timing.
- Make sure the control lock isn’t enabled.
- Try power cycling again.
- If the display or buttons don’t respond, the control board may be faulty.
In rare cases, the dishwasher’s electronics may need professional repair or replacement.
Comparing Kitchenaid Diagnostic Cycles With Other Brands
Curious how Kitchenaid stacks up with other dishwasher brands? Here’s a quick comparison:
| Brand | Diagnostic Entry Method | Display/Error Codes | User-Friendly? |
|---|---|---|---|
| Kitchenaid | Button sequence | Codes or blinking lights | Yes, for most models |
| Bosch | Hidden button or knob sequence | Digital display | Moderate |
| GE | Press/hold Start + select cycle | Flashing lights | Moderate |
| Samsung | Press 2 buttons for 3 seconds | Digital codes | Easy |
Kitchenaid’s process is among the most straightforward, especially for homeowners.
Trusted Resources For Further Help
If you need more information, try these sources:
- The official Kitchenaid Service & Support page
- Appliance repair forums like ApplianceBlog.com
- Your user manual
These resources offer diagrams, troubleshooting tips, and model-specific guides.
Frequently Asked Questions
How Often Should I Run A Diagnostic Test On My Kitchenaid Dishwasher?
You don’t need to run diagnostics regularly. Only use it if your dishwasher is acting strange—like not starting, not draining, or showing error codes. Running it after a problem appears can help you fix it faster.
Will Running A Diagnostic Cycle Damage My Dishwasher?
No. Diagnostic mode is a built-in feature. It’s designed for safe testing and won’t harm the appliance. Just follow the instructions and don’t open the door mid-test.
Can I Clear Error Codes Without Fixing The Problem?
Sometimes, running diagnostics will clear an error temporarily. But if the underlying problem isn’t fixed, the code will come back. Always check and repair the cause before relying on a reset.
Why Doesn’t My Dishwasher Respond To The Diagnostic Button Sequence?
If nothing happens, check that you’re pressing the right buttons in the correct order and timing. Some models need the door closed, others need it open. If the control panel is unresponsive, there may be a deeper electrical issue.
What’s The Difference Between A Hard Reset And A Diagnostic Cycle?
A hard reset means unplugging the dishwasher or turning off the breaker for one minute to clear memory. A diagnostic cycle is a special test that checks sensors, motors, and other systems for errors. Both are useful, but diagnostics give you more information.
Running a diagnostic on your Kitchenaid dishwasher is one of the best ways to keep your appliance running smoothly and solve problems quickly. With careful steps, good notes, and basic maintenance, you can avoid many common headaches and know when you really need expert help.