
Reupholstering kitchen chairs is a rewarding way to refresh your dining space without spending a fortune. Whether your chairs are worn, stained, or simply out of style, giving them new life with fresh fabric can make a big difference in your kitchen’s look and comfort.
Many people think this project is only for experts, but with the right guidance and tools, almost anyone can do it at home. You don’t need advanced skills—just patience, attention to detail, and a willingness to learn something new.
If you’ve never tried upholstery before, you might feel nervous about removing staples, cutting fabric, or putting a chair back together. That’s normal. But as someone who has worked with many DIYers, I can promise the process is much simpler than it seems.
In fact, many first-timers are surprised by how satisfying and straightforward the results are. This guide will walk you through every step—planning, removing the old material, choosing new supplies, assembling everything, and adding finishing touches. I’ll also share insights that most beginners miss, so you can avoid common mistakes and enjoy chairs that look and feel brand new.
Why Reupholster Kitchen Chairs?
Reupholstering kitchen chairs offers several benefits beyond just appearance. First, it’s cost-effective. Instead of buying new furniture, you can upgrade what you already have for a fraction of the price. Second, it lets you choose colors, patterns, and materials that fit your personal taste or match your kitchen décor.
Third, it’s environmentally friendly. By updating existing chairs, you reduce waste and avoid sending bulky furniture to landfills.
Many people also reupholster chairs to improve comfort. Over time, chair padding can flatten or lose support, making meals less enjoyable. Adding new foam or batting not only looks good but feels better too. Finally, reupholstering gives you a sense of accomplishment.
Completing this project yourself is deeply satisfying and often sparks interest in other DIY activities.
Tools And Materials You Need
Before starting, gather all the necessary tools and materials. Having everything ready will save time and help you work safely.
Essential tools:
- Flathead screwdriver or staple remover
- Needle-nose pliers
- Scissors (sharp fabric scissors are best)
- Staple gun (manual or electric)
- Measuring tape or ruler
- Marker or chalk for marking fabric
- Drill or screwdriver (for removing seat from frame)
Materials:
- Upholstery fabric (see below for how much you need)
- Upholstery foam (usually 1–2 inches thick)
- Batting (optional, for extra softness)
- Staples (heavy-duty, 1/4–3/8 inch)
- Dust cover fabric (optional, for the underside)
- Spray adhesive (optional, to hold foam in place)
If your chair needs extra repairs, you may also need wood glue, paint, or sandpaper. Most kitchen chairs are simple enough that you won’t need specialized tools.
Choosing The Right Fabric And Foam
Selecting the right upholstery fabric is key to both durability and style. Kitchen chairs face daily wear, spills, and sunlight, so choose a material that is strong, easy to clean, and matches your décor.
Popular Fabric Choices
- Cotton or cotton blend: Soft, breathable, and available in many patterns. Not as stain-resistant as synthetic fabrics.
- Polyester or microfiber: Durable, easy to clean, and resists stains well.
- Vinyl or faux leather: Wipes clean easily and is water-resistant. Good for homes with kids.
- Canvas or duck cloth: Very strong and affordable, but can be stiff.
- Jacquard or tapestry: Adds texture and luxury, though can be harder to clean.
How Much Fabric Do You Need?
For standard kitchen chairs, you’ll need about 1/2 yard (45 cm) of fabric per seat. If your chairs have large seats, arms, or backs, plan for more. Always buy a little extra for mistakes or pattern matching.
Foam And Batting
Choose high-density upholstery foam for best comfort and durability. Thickness of 1–2 inches (2.5–5 cm) is common. Adding a layer of batting over the foam creates a softer, rounded look and helps fabric glide smoothly.
Comparison: Common Upholstery Fabrics
Here’s a quick look at how different fabrics compare on key factors:
| Fabric Type | Durability | Ease of Cleaning | Cost | Style Variety |
|---|---|---|---|---|
| Cotton Blend | Medium | Medium | Low-Medium | High |
| Polyester | High | High | Low | Medium |
| Vinyl | High | Very High | Medium | Low-Medium |
| Jacquard | Medium-High | Low-Medium | High | High |
Non-obvious insight: If you have children or pets, choose a fabric with a tight weave and a stain-resistant finish. It will last much longer and look better after spills.
Removing The Old Upholstery
Start by turning your chair upside down. In most kitchen chairs, the seat is attached with screws. Use a screwdriver or drill to carefully remove them. Set the screws aside in a safe place; you’ll need them again.
Once the seat is loose, look underneath. Most seats are covered in dust cover fabric stapled to the bottom. Use a flathead screwdriver or staple remover to gently pry up the staples. Needle-nose pliers help pull them out. Go slowly—old staples can break or snap.
After removing the dust cover, you’ll see the old fabric, foam, and possibly more staples. Take photos as you go. These will help you remember how to put everything back together. Remove the top fabric and any padding underneath. If the wood base is dirty, wipe it clean with a damp cloth.
Beginner tip: Don’t rush staple removal. Forcing out old staples too quickly can damage the wooden seat base, making it hard to attach new fabric securely.
Inspecting And Repairing The Chair Base
With the old upholstery removed, check the chair’s base for damage. Look for cracks, loose joints, or weak spots. Kitchen chairs often suffer from wobbly legs due to loose screws or dried-out glue.
If the wood is rough, sand it lightly to remove splinters or old glue. Tighten any loose screws or bolts. For cracks, use wood glue and clamps to fix them. Let the glue dry fully before continuing.
If you want to change the color of the chair frame, now is the time to paint or stain it. Let the finish dry completely before reattaching the seat.
Non-obvious insight: If the seat base is warped or severely damaged, replacing it with a new plywood cutout is often easier than trying to repair it. Many hardware stores can cut plywood to size for you.
Cutting New Foam And Batting
Lay the seat base on top of your new foam. Use a marker to trace the shape exactly. Cut the foam with a sharp knife or electric carving knife, keeping the edges straight and smooth. For best results, cut just outside your line—foam compresses easily.
Place the foam on the seat base. If using batting, lay it over the foam, letting it hang over the edges by 2–3 inches (5–7. 5 cm). Batting smooths out corners and makes the seat look softer and more professional.
Use spray adhesive to attach foam to the base if you want extra stability. This step isn’t always necessary but helps keep everything in place while you work.

Credit: www.kovifabrics.com
Cutting And Placing The Fabric
Lay your chosen fabric face down on a clean surface. Place the seat (with foam and batting) upside down on top of the fabric. Make sure you have enough excess fabric on all sides—usually 3–5 inches (8–12 cm) beyond the edge of the seat.
If your fabric has a pattern (stripes, flowers, etc. ), align it carefully so it looks straight on the finished chair. Mark the fabric’s center and match it to the center of the seat. Cut the fabric with sharp scissors, following your outline.
Beginner mistake to avoid: Cutting the fabric too small. Always err on the side of too much rather than too little; you can trim excess later.
Stapling The Fabric
Starting with one side, pull the fabric snug and staple it to the underside of the seat base. Put one staple in the center of each side, pulling fabric tight but not overstretching. Move to the opposite side, repeat, and then do the other two sides.
Once all four sides are anchored, continue stapling outwards toward the corners, working evenly. Place staples about 1 inch (2.5 cm) apart for a strong hold.
When you reach the corners, fold the fabric neatly for a clean finish. There are several ways to do this: pleat, tuck, or gather, depending on your fabric and style. Take your time here—corners are the most visible part of your work.
Trim any excess fabric and batting so the underside is neat.
Stapling Corners Like A Pro
Corners can be tricky for beginners. Here’s how to get a crisp, smooth look:
- Pull the fabric toward the center of the seat, making a small tuck.
- Staple the tuck in place.
- Fold the side fabric over the tuck, creating a neat pleat.
- Add 2–3 more staples to secure the pleat.
- Repeat for each corner.
If your fabric is thick or stiff, use more staples to hold everything flat. For thin or patterned fabrics, keep pleats small and even.
Adding A Dust Cover (optional)
A dust cover is a thin piece of fabric (often black or gray) that hides staples and raw edges underneath the seat. It’s optional but gives a professional finish and helps keep out dirt.
Cut the dust cover slightly smaller than the seat base. Lay it flat and staple it around the edge, using fewer staples than for the main fabric. The dust cover should be smooth but not stretched too tightly.
Reattaching The Seat To The Chair Frame
Once the new upholstery is secure, line up the seat with the chair frame. Use your original screws and a drill or screwdriver to reattach it firmly. If the screws are stripped or loose, replace them with slightly longer ones for a tighter fit.
Check that the seat is centered and level. Tighten all screws, but don’t overtighten—this can damage the wood.
Pro tip: Sit on the chair and test for squeaks or wobbling before finishing. If you hear noise, check all connections again.
Cleaning And Protecting Your New Upholstery
Your new kitchen chairs should look and feel fresh. To keep them that way:
- Vacuum regularly to remove crumbs and dust.
- Wipe spills quickly with a damp cloth.
- For stubborn stains, use mild soap and water. Avoid harsh chemicals.
- Consider a fabric protector spray for extra stain resistance.
If you used vinyl or faux leather, a gentle wipe with soapy water is usually enough.

Credit: lamparaswisdom.com
Comparing Diy Vs. Professional Reupholstery
Some people wonder if they should do the job themselves or hire a pro. Here’s a quick comparison to help you decide:
| Factor | DIY | Professional |
|---|---|---|
| Cost | Low (materials only) | High (labor + materials) |
| Time Required | 2–4 hours per chair | 1–2 weeks turnaround |
| Customization | High (you choose every detail) | High (with guidance) |
| Skill Needed | Beginner to intermediate | None (done for you) |
| Result Quality | Good, with care | Excellent, usually |
Common Mistakes And How To Avoid Them
Even simple DIY projects can go wrong without care. Here are frequent mistakes—and how to dodge them:
- Cutting fabric too small: Always add extra inches for wrapping and pleating.
- Overstretching fabric: Pull fabric snug, but not so tight that it warps foam or patterns.
- Ignoring pattern direction: Check that stripes or designs line up on every chair.
- Skipping base repairs: Fix wood damage before adding new upholstery.
- Using the wrong staples: Use heavy-duty staples at least 1/4 inch (6 mm) long.
- Not checking fit before stapling: Test how fabric lies before committing with lots of staples.
- Forgetting to test comfort: Sit on the chair after adding foam, before attaching fabric. Adjust as needed.
Creative Ideas To Personalize Your Kitchen Chairs
Reupholstering is not just repair—it’s a chance to express your style. Here are some ways to make your chairs unique:
- Mix and match fabrics for each chair (great for an eclectic look).
- Add decorative trim or piping along the edges.
- Use bold prints or bright colors to liven up a neutral kitchen.
- Choose waterproof or wipe-clean fabrics for homes with kids.
- Stencil or paint the wood frame to match your new upholstery.
How Long Does It Take To Reupholster Kitchen Chairs?
Time depends on your experience and the number of chairs. For a beginner, expect to spend 2–4 hours on the first chair as you learn. After the first, most people finish each additional chair in 1–2 hours.
If you’re doing a full set, you can save time by working in batches: remove all seats at once, cut all fabric at once, and so on.
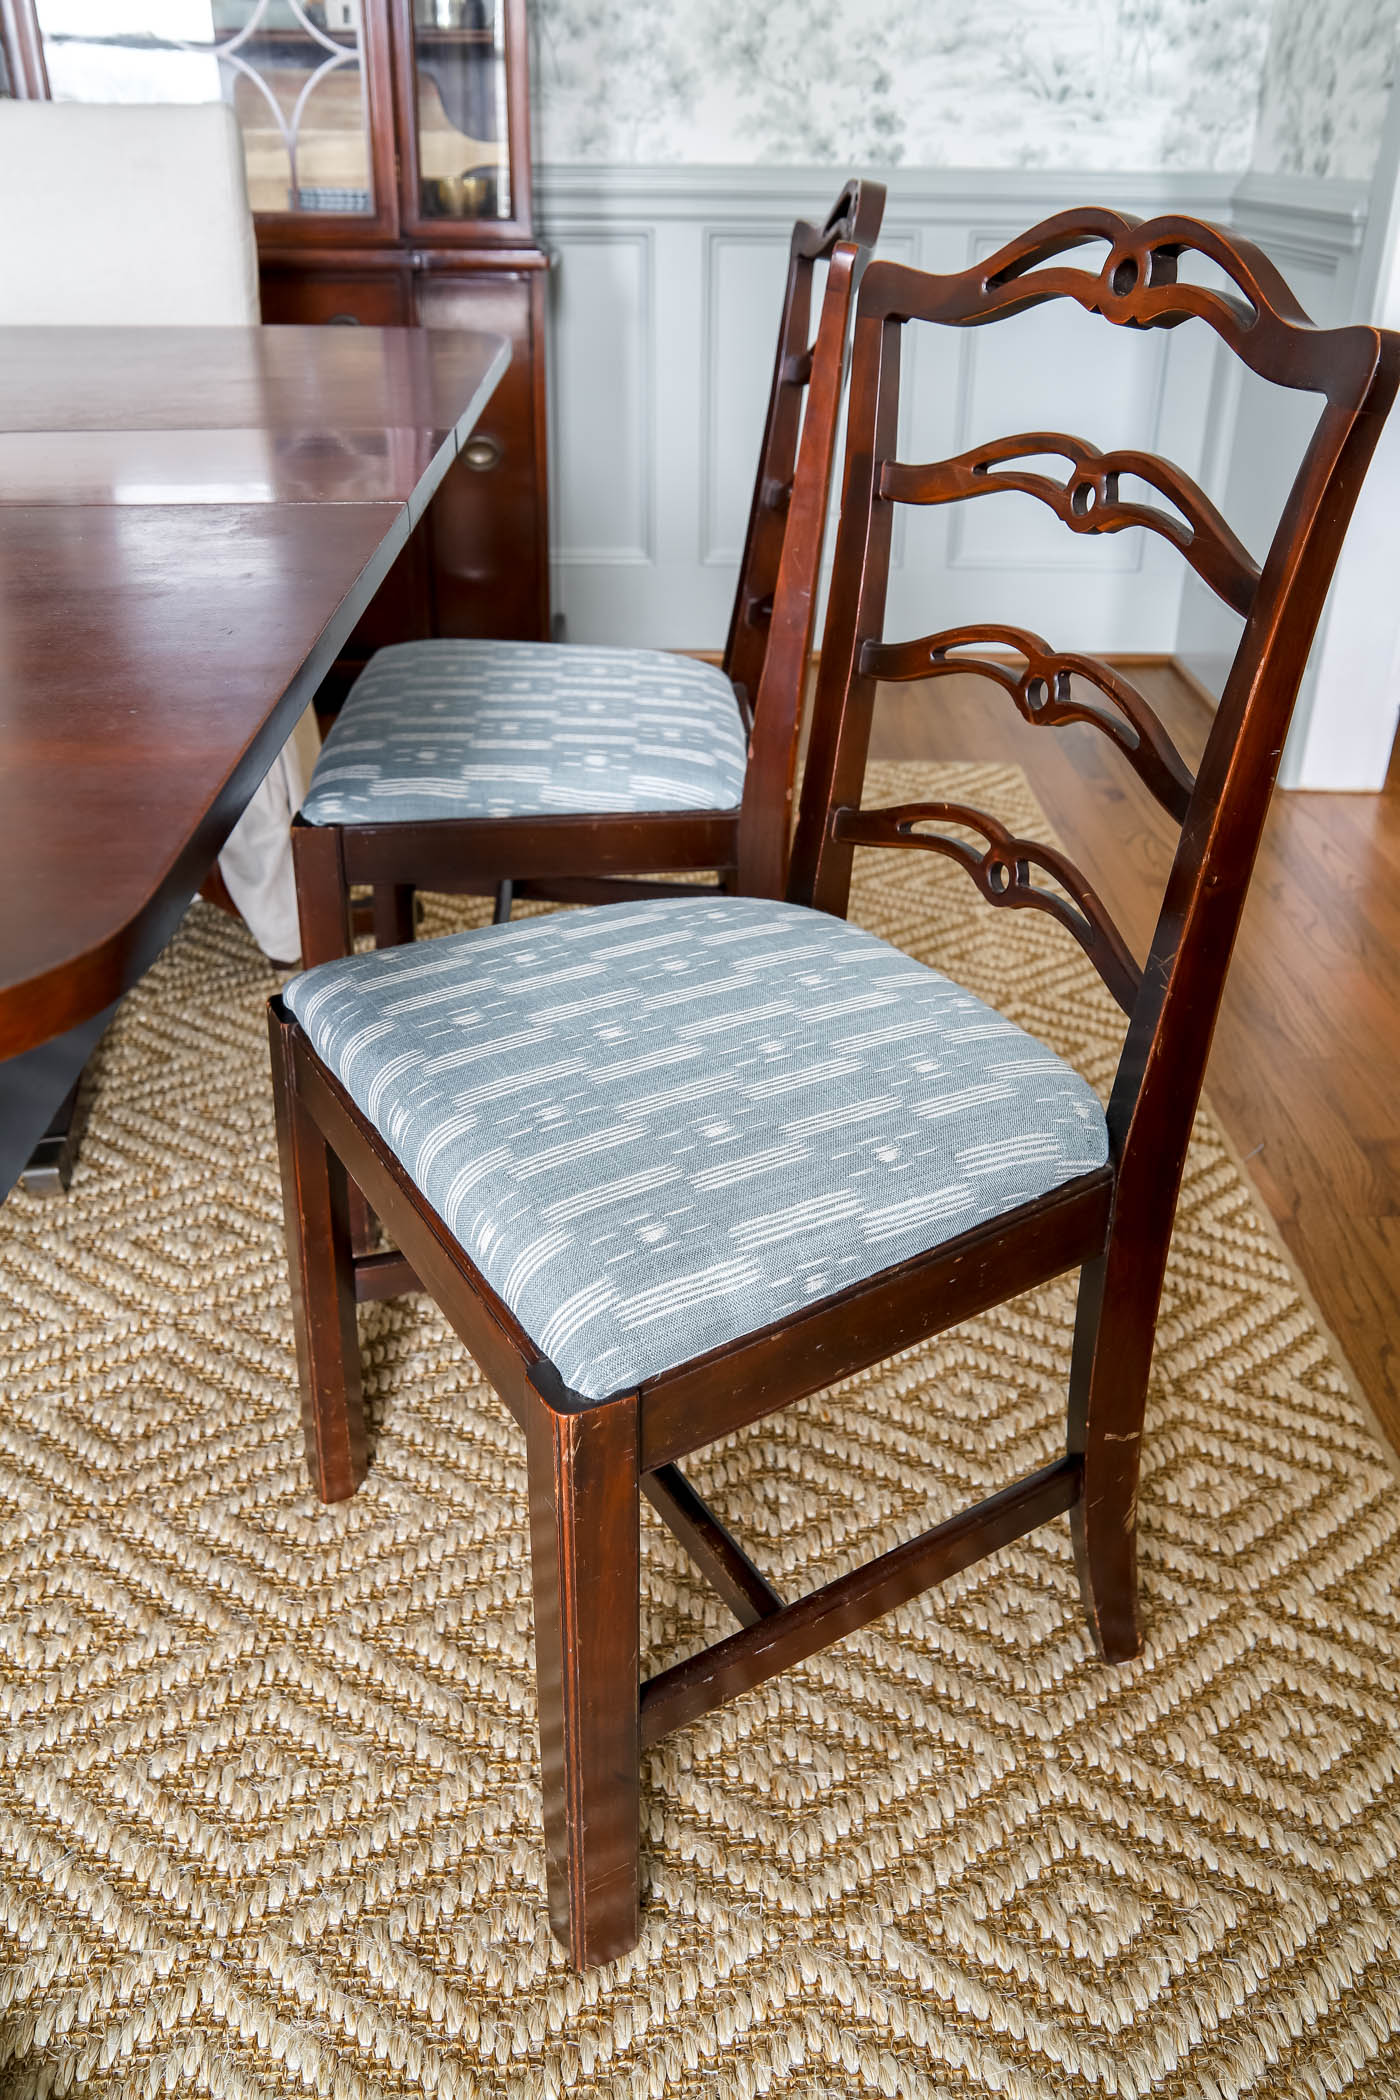
Credit: theturquoisehome.com
Typical Costs For Diy Reupholstery
The main costs are fabric, foam, and staples. Here’s a rough breakdown for one standard kitchen chair:
- Upholstery fabric: $10–$30 (depending on quality and design)
- Foam: $10–$20
- Batting: $5
- Staples: $2
- Dust cover: $2 (optional)
- Tools (if you don’t already own): $20–$40 (one-time)
Total per chair: $30–$60 (excluding tools). Compare this to professional reupholstery, which usually starts at $75–$150 per chair, and buying new chairs, which can cost much more.
When Not To Reupholster
Sometimes, it’s better to replace rather than recover a chair. If the frame is badly broken, infested with pests, or the seat base is rotten, new upholstery won’t fix deep structural issues. Also, some modern chairs have molded seats or are glued together, making disassembly difficult.
If you’re unsure, ask a local furniture repair shop for advice before starting.
Sustainability And Upcycling: Good For The Planet
Reupholstering is a sustainable choice. It keeps furniture out of landfills, reduces demand for new resources, and lets you reuse materials when possible. If you want to go further, look for eco-friendly fabrics (like organic cotton or recycled polyester) and natural latex foam.
Some DIYers even reuse old curtains, tablecloths, or denim for creative and unique upholstery projects.
For more on sustainability in furniture, check out this resource: Wikipedia: Upholstery.
Troubleshooting: Fixes For Common Problems
Loose Or Wrinkled Fabric
If your finished seat has wrinkles, remove a few staples, pull the fabric tighter, and restaple. Work in small sections.
Staples Won’t Go In
Use a heavier-duty staple gun or try shorter staples. If the wood is very hard, predrill small starter holes.
Crooked Patterns
Remove the fabric and realign it before stapling again. Use chalk or tape to mark straight lines on the fabric.
Foam Feels Lumpy
Check that the foam is cut evenly. Adding a layer of batting helps smooth out bumps and gives a softer finish.
Advanced Upgrades: Beyond Basic Kitchen Chairs
Once you master simple seat reupholstery, you might want to try more advanced projects:
- Upholstering chair backs (if they are removable)
- Adding tufting or decorative buttons
- Sewing custom piping or trim
- Using double layers of foam for extra comfort
These steps are more complex but add a high-end look to your kitchen.
Is Reupholstery Right For Your Kitchen?
Think about your kitchen’s style and how you use your chairs. If your chairs see heavy use from kids, pets, or guests, choose tough, easy-clean materials. For a more formal kitchen, softer or patterned fabrics work well.
Reupholstering is a smart upgrade if you like the shape and fit of your current chairs but want a fresh appearance. It’s also a good skill to learn for future furniture projects.
Frequently Asked Questions
How Do I Know If My Chair Can Be Reupholstered?
Most kitchen chairs with a removable seat base can be reupholstered easily. If the seat is molded, glued, or part of a one-piece frame, it may be difficult or impossible to recover at home.
What Is The Best Fabric For Kitchen Chairs?
The best fabric is durable, stain-resistant, and easy to clean. Polyester blends, vinyl, and microfiber are top choices for busy kitchens. If you prefer natural fibers, look for tightly woven cotton with a stain-resistant finish.
How Thick Should Foam Be For Kitchen Chair Seats?
A thickness of 1–2 inches is usually best for kitchen chair seats. Thicker foam may feel too soft or raise the seat too high. Always use high-density foam for better support and long-term comfort.
Can I Wash My Reupholstered Chair Seat?
Most fixed upholstery cannot be machine washed, but you can spot clean with mild soap and water. Removable fabric covers (with zippers or Velcro) can sometimes be washed, but check the fabric care instructions.
How Long Does Reupholstered Fabric Last?
With regular use and proper care, new upholstery typically lasts 5–10 years. High-quality materials and careful construction extend the life of your chairs.
Reupholstering kitchen chairs is a practical, creative way to refresh your home. With the right tools, materials, and tips, you can achieve professional-looking results—even on your first try. Take your time, enjoy the process, and soon your kitchen will feel more welcoming and comfortable than ever.