
Filling Pool After Acid Wash: The Complete Guide
A freshly acid-washed pool looks stunning—bright, clean, and almost like new. But what happens next is more important than many pool owners realize. Filling a pool after acid wash is not just about turning on the hose. If you miss a step, you could damage your pool surface, mess up the water chemistry, or even void your warranty. Many pool owners are surprised by how much detail and care this process requires.
This guide will take you through every step of safely and effectively filling your pool after acid washing. You’ll learn why timing, water quality, and chemistry matter, plus get practical advice for a flawless refill. Whether you’re a homeowner doing it yourself or managing a pool for others, these steps will help you keep your investment safe—and your water perfect.
Understanding Acid Wash And Its Impact
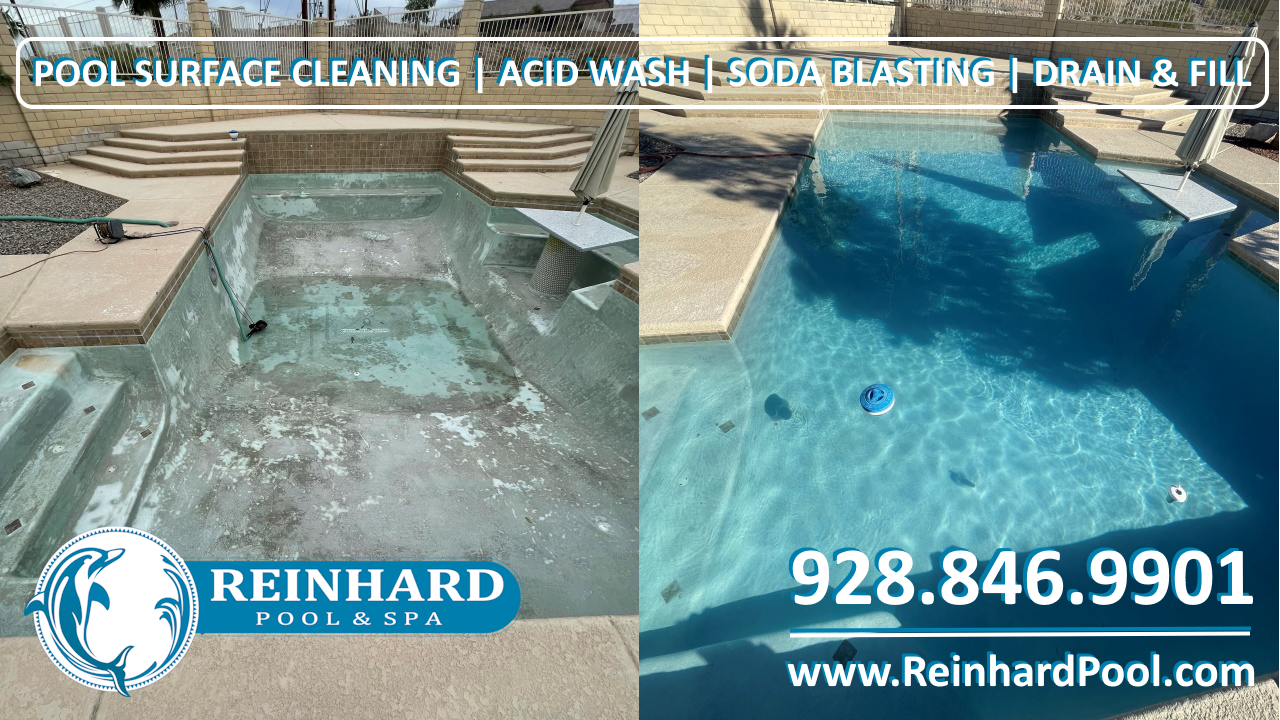
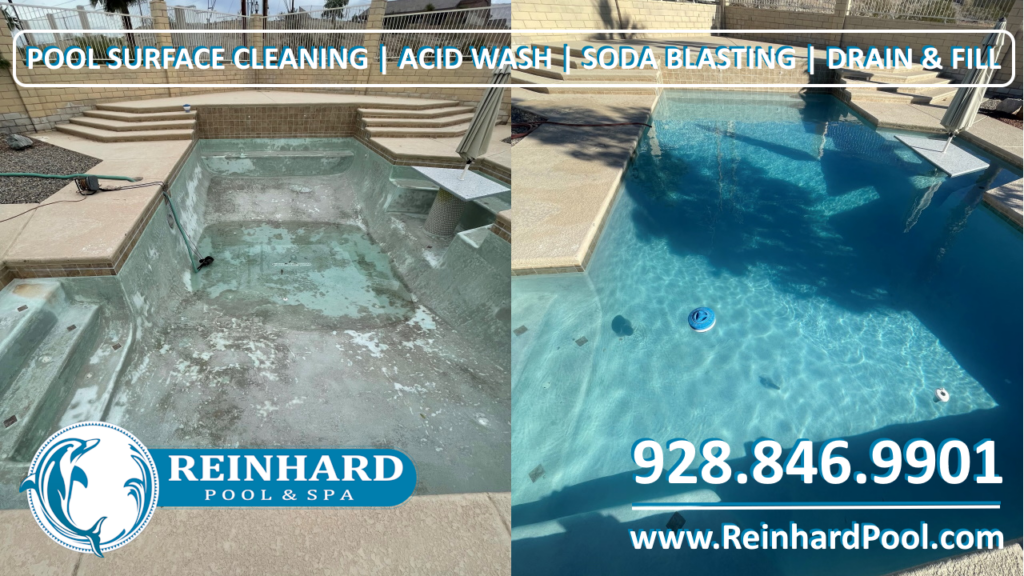
Before you refill, it’s important to know what an acid wash actually does to your pool. Acid washing uses a solution—usually muriatic acid—to strip a thin layer from the pool’s interior surface. This removes stains, algae, and buildup, making the pool surface look new again.
But the acid also exposes fresh plaster or aggregate, making the surface more porous and sensitive. For a short period, your pool is like a sponge—ready to absorb minerals, metals, and chemicals from the first water that enters. That’s why filling the pool correctly is critical.
How Acid Wash Changes The Pool Surface
- Increased Porosity: Freshly exposed surfaces can absorb minerals and stains easily.
- Lower Alkalinity: Acid reduces surface alkalinity, which can affect initial water balance.
- Potential for Etching: If water balance is off during refill, the plaster can erode or etch.
Preparing For Refilling
Preparation is the secret to a smooth refill. Rushing this part is one of the most common mistakes pool owners make.
Inspect The Pool Shell
After acid washing, do a careful check of the pool shell before filling. Look for cracks, hollow spots (sometimes called “pop outs”), or leftover debris. If anything looks wrong, now is the time to fix it. Once filled, repairs are much harder and more expensive.
- Walk around the pool and inspect all surfaces.
- Tap gently with a rubber mallet—listen for hollow sounds.
- Remove any leaves, dirt, or debris.
- Check that all drains, returns, and inlets are clear and working.
Confirm All Repairs And Equipment
Make sure any repairs from the acid wash process (like patching small cracks or re-grouting tiles) are finished and dry. Ensure all equipment—main drain covers, skimmers, lights, and ladders—are in place and secure.
Gather Necessary Supplies
You’ll need a few things ready before you start filling:
- Garden hoses (multiple if possible for faster fill)
- Water source (city supply, well, or delivery)
- Metal sequestrant (to prevent stains)
- Water test kit or strips
- Bucket for pre-mixing chemicals
- PH and alkalinity increaser
- Clean towels or rags
Plan The Water Source
The water you add will shape your pool’s chemistry for months. City water is usually best because it is filtered and balanced. Well water can be high in metals (iron, copper) or minerals (calcium), which may stain the new surface.
If you must use well or trucked-in water, consider having it tested before filling. Some pool pros recommend installing a pre-filter on your garden hose to catch metals and minerals before they enter the pool.
Credit: amicipools.com
Step-by-step Process For Filling The Pool
Filling a pool after acid wash is not complicated, but the details matter a lot.
1. Rinse The Pool Thoroughly
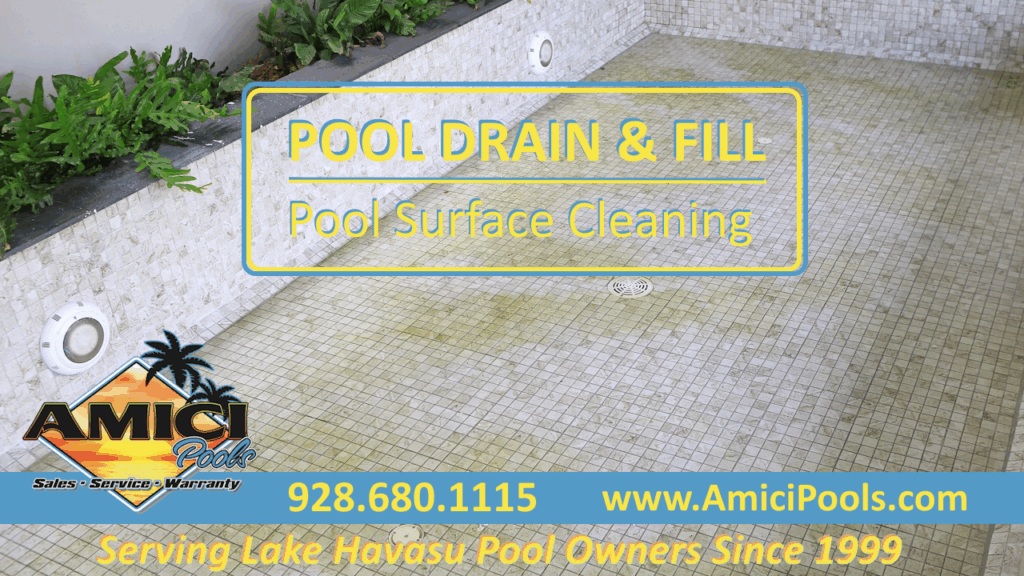
Before adding water, rinse down the entire pool shell with a hose. Acid residue can damage the new surface and affect water chemistry. Start at the top and work down, pushing all residue toward the main drain. Use plenty of water—do not let any acid dry on the surface.
2. Neutralize Any Remaining Acid
If your pool service did not neutralize the acid, do it now using a soda ash solution (sodium carbonate). Sprinkle soda ash over the wet surface and rinse again. This step is crucial for protecting the new plaster from damage.
3. Position The Hose Correctly
When filling, always place the hose at the deep end of the pool. Put a clean towel under the hose to prevent it from etching the new surface. Never let the hose metal touch the plaster.
- Keep the hose running until the pool is full. Stopping mid-fill can cause a visible line (“bathtub ring”) on the new surface.
- If using multiple hoses, space them evenly to avoid erosion.
4. Start Filling—no Chemicals Yet
Begin filling with plain water. Do not add chlorine, algaecide, or any other pool chemicals at this stage. The goal is to fill the pool quickly and evenly.
- Monitor the filling process. For a standard-size pool (15,000–20,000 gallons), it may take 24–48 hours.
- Do not let the water stop before it reaches the middle of the tile line or designated fill level.
Pro tip: If you must pause, call your pool professional for advice. Stopping can cause permanent lines and stains.
5. Add A Metal Sequestrant
As the pool fills, add a metal sequestrant (follow package directions). This binds metals in the water (like iron or copper) so they don’t stain the new surface. Pour it in where water is entering for best distribution.
6. Monitor The Fill
Check the fill level every few hours. Make sure the water is not overflowing and the hose is not causing surface erosion. If you notice any discoloration or residue, rinse the area with pool water immediately.
7. Stop When Full
Stop the hose when the water reaches halfway up the tile line or at your pool’s designed fill level. Turn off all water sources at the same time to avoid uneven fill marks.
First Steps After Filling
Once your pool is full, it’s not ready for swimming yet. The initial water chemistry and equipment startup are just as important as the fill itself.
Test And Balance The Water
The first test is crucial. Use a fresh test kit (not old strips) for accuracy. Record the following:
- PH
- Total Alkalinity
- Calcium Hardness
- Metals (iron, copper)
- Chlorine (initially should be 0)
Ideal start-up ranges:
- PH: 7.2–7.6
- Alkalinity: 80–120 ppm
- Calcium Hardness: 200–400 ppm
If your water is outside these ranges, adjust before adding chlorine. Use a bucket to pre-mix chemicals with water before adding to the pool, which prevents staining or bleaching.
Add Start-up Chemicals
The first chemicals you add are different from normal pool care. Start with:
- Alkalinity increaser (sodium bicarbonate) if needed
- PH increaser (soda ash) if pH is below 7.2
- Calcium if needed (especially important with fresh plaster)
Wait at least 24 hours before adding chlorine or salt. This gives the new surface time to cure and prevents etching.
Non-obvious insight: Many owners add chlorine too soon, which can cause a “blotchy” surface or rough texture. Patience is key.
Start The Circulation System
Once chemicals are added and balanced, turn on the pool pump. Run it continuously for at least 72 hours (three days) to circulate water and mix chemicals evenly. Check filter pressure and backwash as needed.
- Keep debris out of the pool—do not vacuum until after the first week.
- Brush the new surface daily with a soft-bristle brush. This removes plaster dust and helps the surface cure evenly.
Detailed Timeline: First 7 Days After Fill
The first week after filling is the most critical for long-term pool health. Here’s what to do each day:
| Day | Action | Why It Matters |
|---|---|---|
| Day 1 | Test water, add alkalinity/pH/calcium as needed. Start pump. No chlorine yet. | Gently balance chemistry, protect new surface. |
| Day 2–3 | Brush pool twice daily. Monitor water clarity. Test chemistry daily. | Remove plaster dust, prevent uneven curing. |
| Day 4–5 | Add small dose of chlorine if water is clear and balanced. Continue brushing. | Slowly sanitize without damaging surface. |
| Day 6–7 | Resume gentle vacuuming if needed. Keep brushing and monitoring chemistry. | Keep pool debris-free, finish surface curing. |
Tip: Do not use automatic pool cleaners or robotic vacuums during the first month after acid wash and refill. The surface needs gentle treatment to harden and cure.
Water Chemistry And Stain Prevention
Water chemistry right after acid washing is different than regular pool maintenance. New surfaces are more reactive and can stain or etch quickly.
Key Water Parameters
- PH: If too low, plaster etches; if too high, scale forms.
- Alkalinity: Stabilizes pH and prevents wild swings.
- Calcium Hardness: Prevents water from leaching calcium from the plaster, which causes roughness and damage.
- Chlorine: Sanitizes, but too much too soon harms new surfaces.
- Metals: Cause stains if not controlled.
How To Prevent Stains And Scaling
- Always fill with the cleanest water possible.
- Use a metal sequestrant during fill and for the first month.
- Test and adjust pH and alkalinity daily for the first week.
- Brush the entire pool surface daily to remove plaster dust.
- Avoid shock treatments or high chlorine for the first two weeks.
Non-obvious insight: Don’t add salt for saltwater pools until at least 30 days after refill. Early salt can damage the new surface before it hardens.
Choosing The Right Water Source
Where your fill water comes from makes a big difference in initial water balance and stain risk.
City Water Vs Well Water
| Source | Pros | Cons |
|---|---|---|
| City Water | Usually filtered, balanced, low metals | May contain chloramines or fluoride |
| Well Water | Cheap, no city restrictions | High risk of metals, minerals, staining |
| Truck Delivery | Fast, consistent quality if sourced well | Extra cost, may need multiple deliveries |
If you must use well water, test for iron, copper, and manganese before filling. These metals can instantly stain a new surface. Always use a sequestrant and consider a hose filter.
Handling Special Situations
What If Rain Is Forecast?
Heavy rain during the refill can dilute chemicals or cause an uneven fill. If possible, delay filling until clear weather. If rain is unavoidable, cover the pool with a tarp during fill and closely monitor water levels.
Dealing With Slow Fills
If you have low water pressure or strict water restrictions, filling could take several days. In this case:
- Keep the hose running, even overnight (check local rules).
- Monitor the waterline and plaster for any signs of drying or discoloration.
- Consider renting a water truck for a fast, even fill.
What If Stains Or Discoloration Appear?
If you see brown, green, or gray stains during or after fill:
- Test for metals immediately.
- Add extra sequestrant per label directions.
- Do not add chlorine until stains are resolved.
- Contact a pool professional if stains persist after a week.
Common Mistakes To Avoid
Many pool owners make simple mistakes that can cost thousands to fix later. Here are some to watch out for:
- Stopping the fill mid-way: Always fill in one go. Stopping creates a visible “bathtub ring” that may never go away.
- Adding chlorine too soon: Early chlorine can etch or bleach the new surface.
- Skipping sequestrant: If your water has metals, you’ll get stains without a sequestrant.
- Not brushing the surface: Plaster dust hardens into rough spots if not brushed off daily.
- Ignoring water testing: Early imbalances can cause permanent damage.
- Using automatic cleaners: Robotic or suction cleaners can scar fresh surfaces. Wait at least a month.
- Filling with dirty water: Water with metals or debris will cause immediate staining.
Pro tip: Take pictures of your pool after acid wash and after fill. If problems appear, you’ll have a record for your pool builder or warranty.
Post-fill Maintenance: The First Month
The first month after filling is when the new surface “cures” and hardens. How you treat your pool now shapes its health for years.
Daily And Weekly Tasks
- Brush entire surface daily for the first two weeks, then every other day.
- Test water daily for pH, alkalinity, and chlorine; adjust as needed.
- Keep filter and pump running at least 12–24 hours per day.
- Vacuum lightly after two weeks, but avoid aggressive brushing or scrubbing.
Adding Salt (for Saltwater Pools)
Wait at least 30 days before adding salt and starting the chlorinator. Early salt can cause surface pitting and void warranties.
Monitoring Surface And Water
Look for:
- White streaks or rough patches (sign of scale or etching)
- Colored stains (usually metal or algae)
- Cloudy water (could be plaster dust or chemical imbalance)
Address problems quickly—early intervention prevents long-term damage.
Credit: reinhardpool.com
When To Call A Professional
While many homeowners refill after acid wash themselves, some situations call for expert help:
- Persistent stains after fill, even with sequestrant
- Water chemistry that won’t balance after several days
- Leaks or rapid water loss
- Cracking, blistering, or hollow-sounding plaster
A qualified pool technician can diagnose and fix these issues before they get worse. You can find certified pros through the Pool & Hot Tub Alliance or your local pool store.
Cost And Time Considerations
Filling your pool after acid wash is a significant investment of time and money.
- Water cost: Filling a 20,000-gallon pool may cost $100–$250, depending on local rates.
- Chemical cost: Plan to spend $50–$150 on start-up chemicals and test kits.
- Time: Filling takes 1–2 days; first-week care is daily, then regular maintenance.
If you make mistakes, repairs can be costly—surface repairs often start at $1,000 or more.
Credit: reinhardpool.com
Real-world Example: Step-by-step Timeline
Let’s walk through an actual pool refill after acid wash for a standard 15,000-gallon pool:
- Day 0: Acid wash completed, surface rinsed and checked for cracks. All equipment inspected.
- Day 1 (Morning): Rinsed and neutralized pool shell. Placed hose in deep end, started fill. Added sequestrant as water entered.
- Day 2 (Afternoon): Pool full after ~30 hours. Turned off hoses, checked for stains or residue.
- Day 2 (Evening): Tested water—pH 7.0, alkalinity 60, calcium 150. Added alkalinity increaser, pH up, and calcium as needed.
- Day 3–4: Ran pump 24/7, brushed twice daily, monitored for plaster dust.
- Day 5: Water clear, chemistry balanced. Added small dose of chlorine.
- Day 7: Surface smooth, no stains. Began regular maintenance schedule.
This careful approach resulted in a flawless pool surface—no stains, no rough spots, and crystal-clear water.
Comparison: Diy Vs. Professional Refill
Is it better to do it yourself or hire a pro? Here’s a quick comparison:
| Factor | DIY | Professional |
|---|---|---|
| Cost | Lower (water + chemicals only) | Higher (labor + expertise) |
| Risk of Error | Higher (if unfamiliar) | Lower (experienced technician) |
| Warranty Protection | May be limited | Often included |
| Time Required | More for owner | Less owner involvement |
| Result Quality | Good if careful | Excellent if pro is reputable |
If you have experience and time, DIY is possible. For first-timers or expensive pools, a pro is worth considering.
Frequently Asked Questions
How Soon Can I Swim After Refilling The Pool?
Wait at least seven days after filling and balancing chemicals before swimming. The surface needs time to harden, and early swimming can introduce oils and debris that stain new plaster.
Do I Need To Use A Special Brush After Acid Wash?
Yes, use a soft-bristle pool brush for the first month. Hard or metal brushes can scratch the new surface. Brush the entire pool daily to remove plaster dust and help the surface cure evenly.
Can I Use Well Water To Fill My Pool After Acid Wash?
You can, but it’s risky. Well water is often high in metals that can stain a fresh surface. Always test the water first and use a metal sequestrant. A hose filter is strongly recommended.
Why Is My Pool Water Cloudy After Refill?
Cloudy water is usually from plaster dust or unbalanced chemicals. Brush daily, run the filter 24/7, and test water daily. Most cloudiness clears in 3–7 days with proper care.
Where Can I Find More Information On Pool Start-up After Acid Wash?
The Pool & Hot Tub Alliance offers detailed guides and certified technician directories. For in-depth chemistry and best practices, visit their official site: Pool & Hot Tub Alliance.
A successful refill after acid wash is about patience and attention to detail. With the right steps, your pool will stay beautiful, healthy, and ready for years of enjoyment.