
When building a swimming pool, few parts are more crucial than the gunite shell. Gunite forms the strong, waterproof structure that holds everything together. But after spraying gunite, many homeowners and contractors wonder: how long after gunite can you tile? Rushing this step can create big problems later. Waiting too long can also cause delays. Getting the timing right is key to a long-lasting, beautiful pool finish.
In this guide, you’ll discover everything you need to know about gunite curing, tiling schedules, best practices, and common mistakes. Whether you’re a homeowner overseeing a pool project or a contractor looking for clear answers, this article will give you practical advice and deep insights.
Let’s start by understanding gunite and why timing matters so much.
What Is Gunite And Why Is Curing Important?
Gunite is a mix of cement, sand, and water applied through a high-pressure hose. When sprayed, it forms a dense, hard shell for pools and other structures. The process is similar to shotcrete, but with a slightly different mixing method. Gunite is favored because it creates a strong, seamless structure that resists leaks and cracking.
But gunite’s real strength comes after it’s applied. The material must cure—a process where it hardens and gains full strength as water reacts with the cement. If gunite doesn’t cure properly, it can crack, shrink, or fail under pressure. That’s why the curing process is essential before moving to the next steps, like waterproofing and tiling.
How Gunite Cures
Curing isn’t just drying. It’s a chemical process called hydration. As water reacts with cement, the mix hardens over time. This process can take weeks. Gunite needs to stay moist for at least 7 days after application to reach its potential strength. If it dries too fast, it can become brittle and weak.
Why Proper Curing Matters For Tiling
Tiles need a stable, strong surface to adhere to. If the gunite is still curing, moisture movement and shrinking can loosen tiles or crack grout. Moisture in the gunite can also lead to efflorescence—white mineral deposits that appear on tile and grout. Proper curing reduces these risks.
Factors That Influence When You Can Tile After Gunite
There isn’t a one-size-fits-all answer to the question of when you can tile after gunite. The ideal waiting period depends on several factors:
- Climate and Weather: Warm, dry weather speeds up curing. Cold or wet weather slows it down.
- Gunite Thickness: Thicker shells take longer to cure fully.
- Moisture Retention: How well the gunite was kept moist after spraying.
- Type of Tiles and Adhesives: Some materials require a drier, stronger substrate than others.
- Project Schedule and Quality Control: Rushed projects may pressure teams to tile early, but this increases risk.
- Site Conditions: High humidity, poor drainage, or shade can slow the drying process.
Understanding these factors helps you plan a more reliable timeline.
Typical Timeline: How Long After Gunite Can You Tile?
Most pool professionals recommend waiting at least 21 to 28 days after spraying gunite before tiling. This period allows the gunite to reach about 70-80% of its full strength and minimizes shrinkage.
Here’s a simplified overview:
| Step | Recommended Waiting Time | Reason |
|---|---|---|
| Gunite Application | Day 0 | Base structure formed |
| Moist Curing | Days 1-7 | Prevents cracking, ensures strength |
| Drying & Curing | Days 8-21/28 | Moisture leaves, strength increases |
| Tiling Can Begin | Day 21-28+ | Safe to install tiles |
Some professionals push for tiling as early as 14 days, but this is risky unless conditions are ideal and the gunite is confirmed dry and strong. The safest bet is 28 days.
Why Not Tile Sooner?
Tiling too soon may seem like a shortcut, but it leads to problems:
- Tile Debonding: Adhesives can’t grip well on “green” or damp gunite.
- Cracking: The shell may still be shrinking or settling, which can crack grout lines and tiles.
- Efflorescence: Moisture moving out of the gunite can push minerals through grout, leaving white stains.
- Warranty Issues: Many pool tile manufacturers and contractors won’t cover failures caused by premature installation.
The Science Behind Gunite Curing
For those who want to dig deeper, the science of gunite curing is fascinating. Gunite is a concrete product, and concrete doesn’t reach full strength overnight. The first week is critical—hydration reactions happen quickly, but the process continues for weeks.
A common measurement is compressive strength. Most gunite reaches 70% of its design strength in 7 days and 100% in 28 days if cured properly. The American Concrete Institute (ACI) and pool industry guidelines both use these numbers.
Here’s how gunite strength increases over time:
| Days After Application | % of Full Strength Achieved |
|---|---|
| 1 Day | 15-20% |
| 7 Days | 60-70% |
| 14 Days | 80-85% |
| 28 Days | 100% |
This is why patience pays off. If you apply tiles before day 28, you risk bonding to a surface that’s not fully stable.
Moisture Testing
A non-obvious but important step is moisture testing. Before tiling, some builders use a moisture meter to check how much water remains in the gunite. This tool gives a clearer signal than just waiting a set number of days. If the reading is too high, it’s wise to wait longer.
How To Care For Gunite During The Curing Period
The success of your tile depends on how well you care for the gunite during the curing process. Here’s what professionals recommend:
- Keep It Moist: For at least 7 days, lightly spray the gunite with water several times a day. This slows drying and prevents cracks.
- Cover When Needed: In very hot, dry, or windy weather, cover the gunite with plastic sheets or burlap to keep moisture in.
- Avoid Pooling Water: Don’t let water sit on the gunite—it should be damp, not flooded.
- Watch for Cracks: Hairline cracks are common, but large cracks are a warning sign. If you see these, consult your builder.
- Don’t Rush: Delays are frustrating but better than costly repairs later.
Example Of A Curing Schedule
Many pool builders use a simple calendar:
- Days 1-7: Wet curing (spray 2-3 times daily)
- Days 8-21/28: Let dry out naturally, inspect for issues
This routine is easy but effective.
Preparing The Gunite Surface For Tiling
After the curing period, don’t just start tiling right away. The gunite surface needs proper preparation to ensure good adhesion and a long-lasting result.
Steps To Prepare Gunite For Tiling
- Clean the Surface: Remove dust, debris, loose particles, and any curing compounds. Use a stiff brush or pressure washer if needed.
- Check for Efflorescence: White powdery deposits should be scrubbed away. They can block adhesives.
- Inspect for Cracks: Fill or repair any cracks larger than hairline width. Large cracks may signal deeper problems.
- Level the Surface: Trowel on a thin layer of mortar if the gunite is uneven. A flat surface helps tiles set evenly.
- Prime If Needed: Some adhesive systems require a primer coat on the gunite.
- Dryness Check: The surface should be dry to the touch. Use a moisture meter if possible.
Skipping these steps can cause tiles to pop off, grout to crack, or water to leak behind the finish.
Common Mistakes In Preparation
- Not cleaning the gunite thoroughly
- Ignoring cracks or surface bumps
- Skipping the primer when the adhesive requires it
- Starting while the surface is still damp
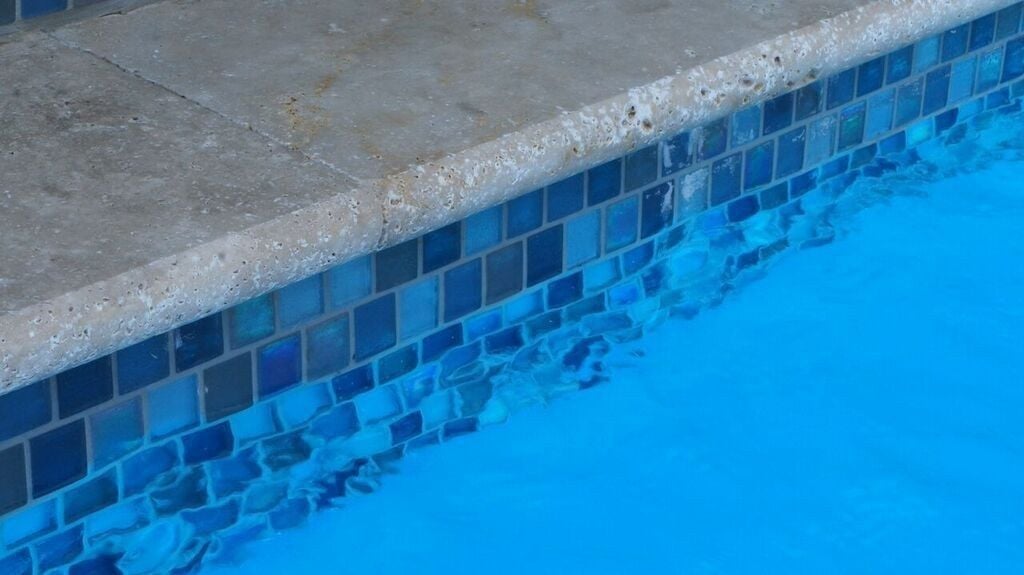
Credit: www.riverpoolsandspas.com
Choosing The Right Tile And Adhesive System
The type of tile and adhesive you use also affects when and how you can tile after gunite.
Tile Types For Pools
- Ceramic and Porcelain: Popular for pool waterlines and walls. Durable and water-resistant.
- Glass Tile: Offers a luxury look but needs special adhesives and care.
- Natural Stone: Used for decks and surrounds, but less common underwater.
Adhesive Options
- Thinset Mortar: Most common for underwater tile. Requires a dry, strong gunite surface.
- Epoxy Adhesive: Used for glass tile and areas needing extra chemical resistance.
- Premixed Adhesives: Not recommended for pools due to water exposure.
Choosing the wrong adhesive or installing on uncured gunite can lead to failure.
Adhesive Curing Times
Tiles set in thinset mortar usually need 24-48 hours to cure before grouting. Epoxy systems may require longer. Always follow manufacturer instructions.
Waterproofing
Many professionals add a waterproofing membrane between gunite and tile. This extra layer prevents water movement and protects the bond. However, the gunite must be fully cured and dry before applying any membrane.
Impact Of Weather And Climate On Tiling Schedule
Weather can change everything. Here’s how different conditions affect the waiting time after gunite:
- Hot, Dry Weather: Curing happens faster, but you must keep the gunite moist to avoid cracks.
- Cold Weather: Curing slows down. If temperatures are below 50°F (10°C), curing can take longer than 28 days.
- Rainy or Humid Weather: Slows drying. Surface may look dry but moisture may be trapped inside.
Comparing Curing Times In Different Climates
| Climate | Recommended Waiting Period | Notes |
|---|---|---|
| Hot/Dry (90°F+) | 21-24 days | Extra moisture needed |
| Mild (70-85°F) | 21-28 days | Standard curing |
| Cool (50-65°F) | 28-35 days | Slower curing |
| Wet/Humid | 28+ days | Check moisture before tiling |
Pay attention to local conditions, not just the calendar.
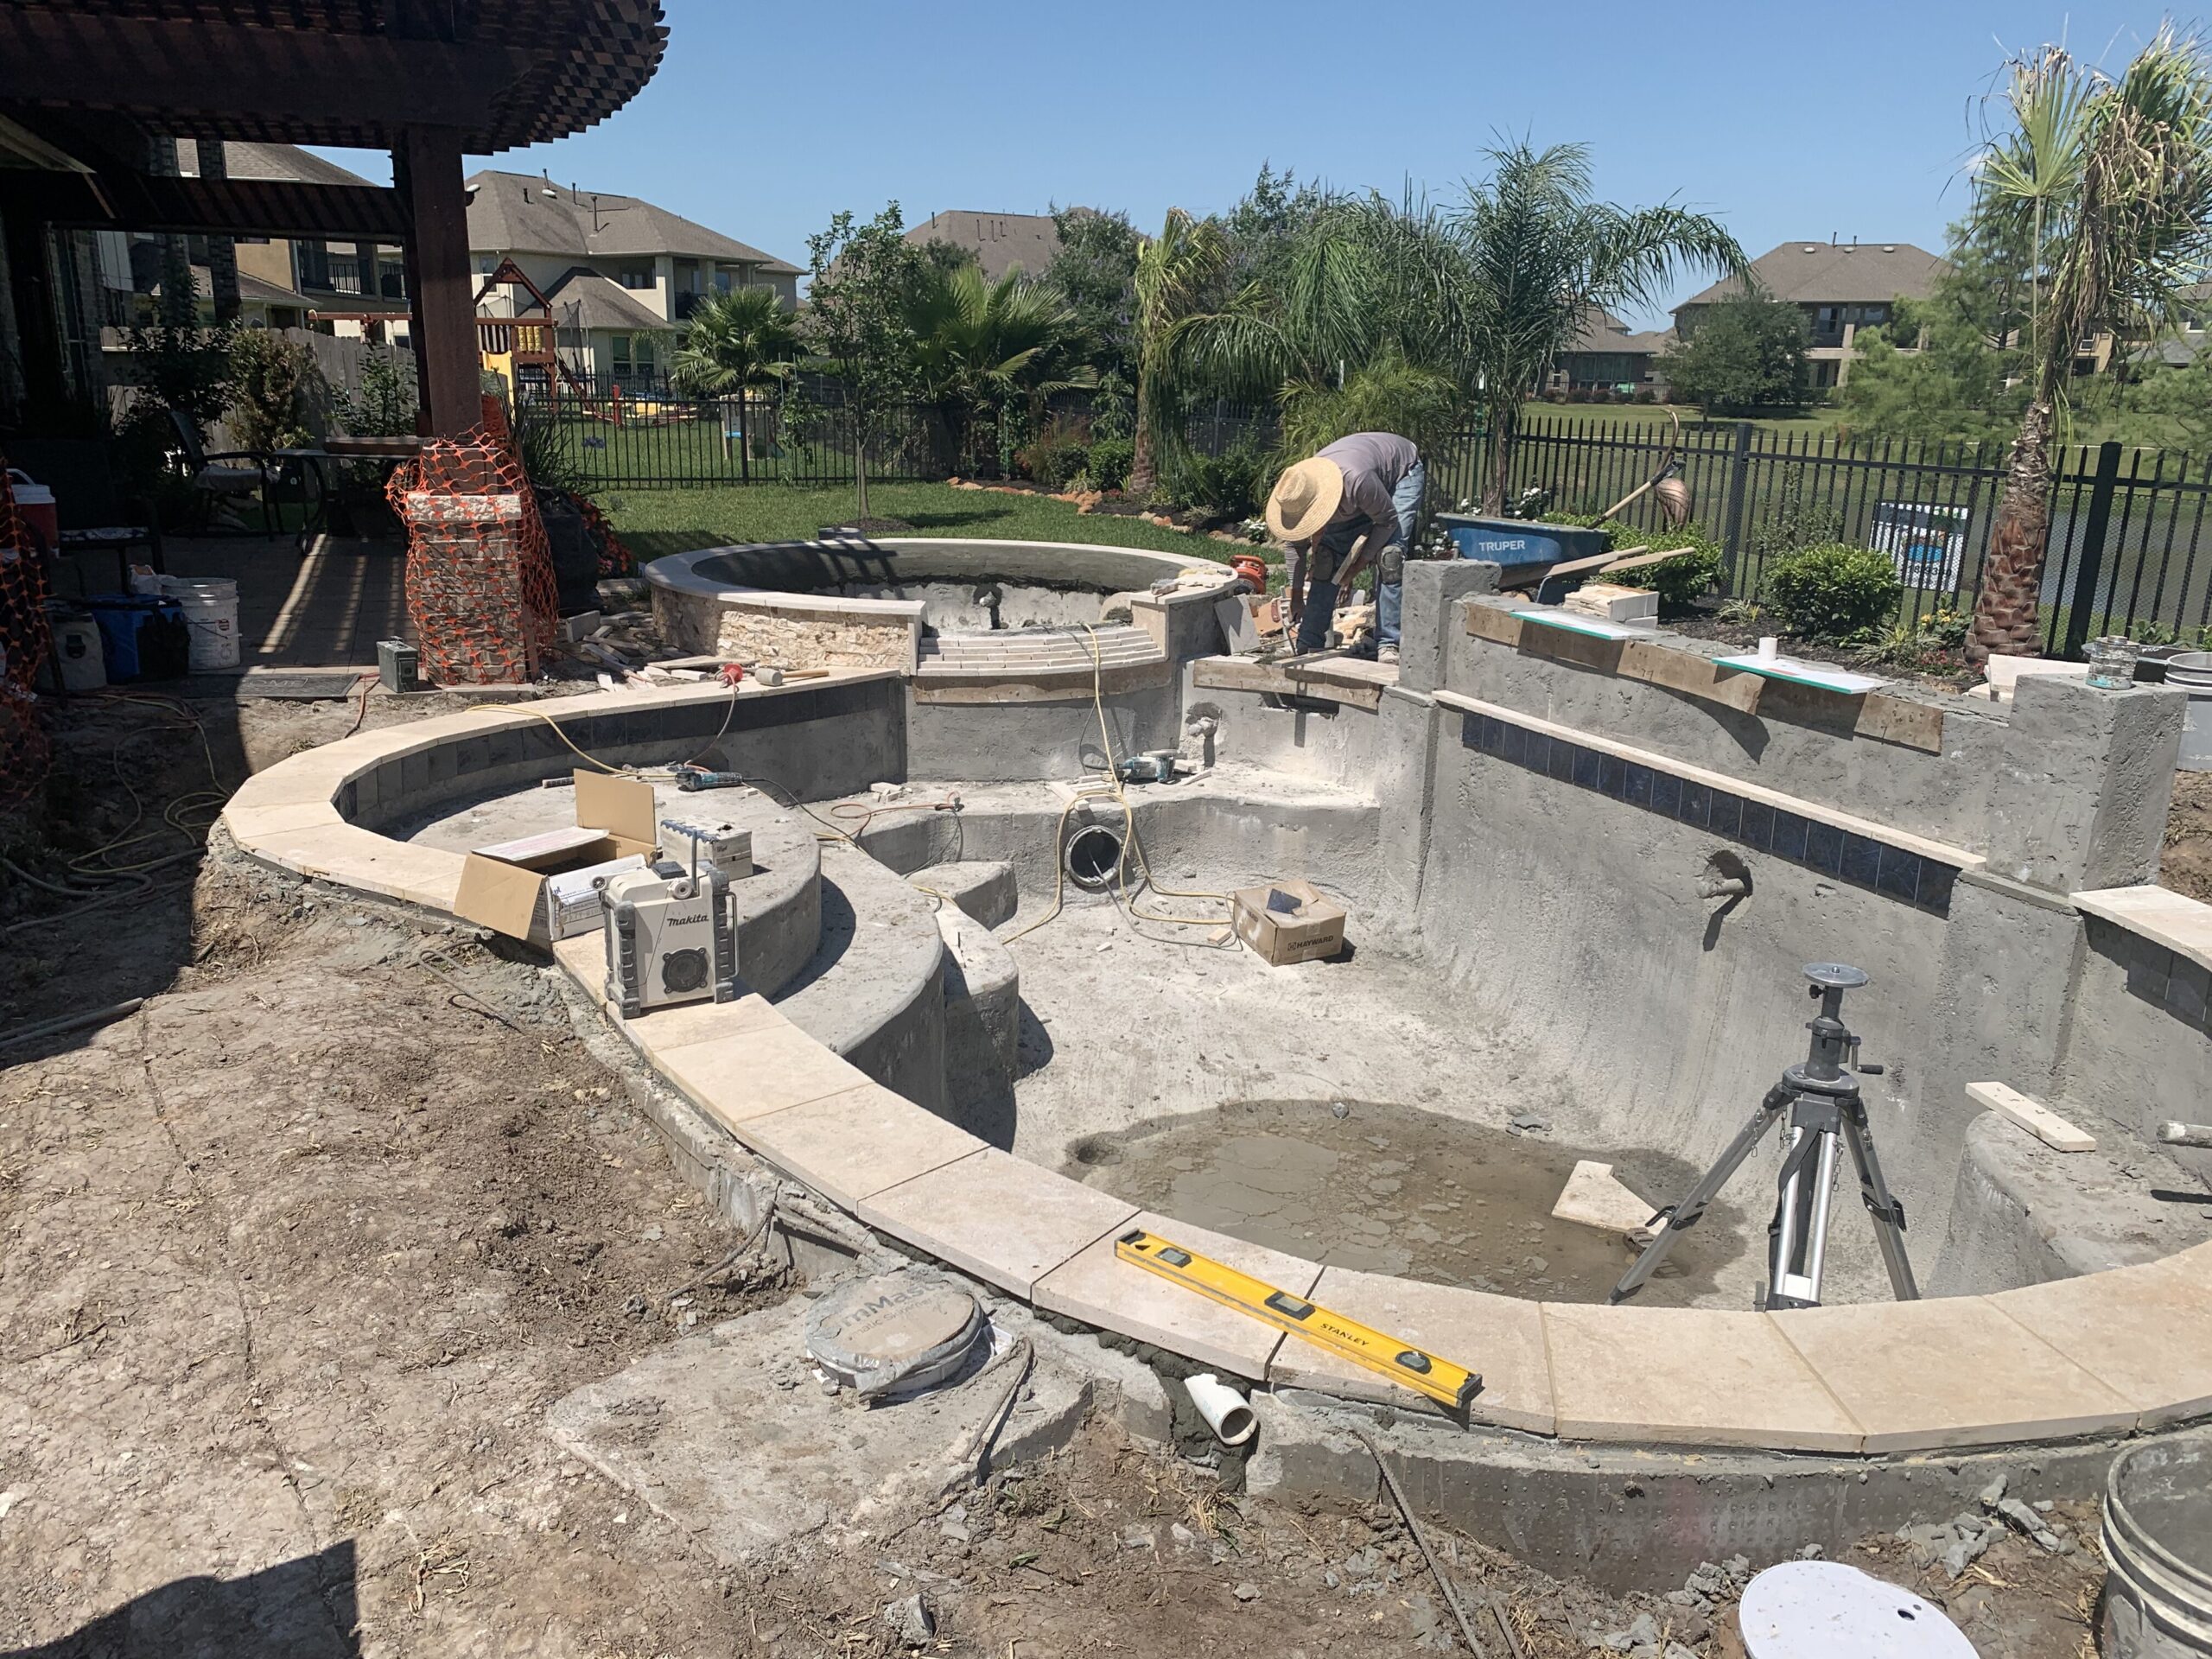
Credit: jrpoolplastering.com
Real-world Examples: When Projects Go Right (or Wrong)
Success Story
A homeowner in California waited the full 28 days after gunite spraying. The builder kept the shell damp for the first week and let it dry out naturally. Before tiling, they cleaned the surface, checked moisture, and used a quality waterproofing membrane.
Years later, the pool still looks perfect, with no loose tiles or stains.
Failure Example
A contractor in Texas tiled only 10 days after applying gunite, trying to save time. Two months later, tiles started popping off, and white stains (efflorescence) appeared everywhere. The repair cost was thousands of dollars—much more than the cost of waiting another two weeks.
Non-obvious Insights Most Beginners Miss
- Moisture Can Be Hidden: Even if gunite feels dry on the surface, moisture deep inside can escape later and cause tile or grout problems. Always use a moisture meter or wait longer if unsure.
- Efflorescence Is a Red Flag: If you see white powdery stains, the gunite was not fully cured or dried. Clean and wait until the problem stops before tiling.
- Waterproofing Is Not a Shortcut: A membrane helps but won’t fix issues from uncured gunite. Proper curing is always step one.
- Early Cracks Signal Trouble: If cracks appear before tiling, consult a structural expert. Small cracks are normal, but larger ones mean the shell is moving too much.
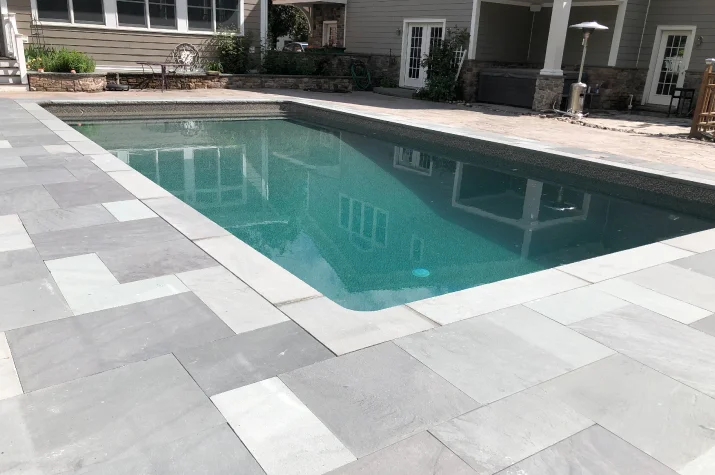
Credit: rainbowpools.com
Best Practices To Avoid Problems
- Follow the 28-Day Rule: Unless you have expert confirmation, waiting 28 days is the safest approach.
- Document Everything: Keep a record of when gunite was applied, curing steps, and moisture checks.
- Hire Experienced Contractors: Skilled workers know how to judge readiness, not just look at the calendar.
- Request a Moisture Test: Don’t rely on “it looks dry.” Ask for a professional test.
- Don’t Let Schedules Rush You: Pressure to move quickly leads to expensive mistakes.
What If You Need To Tile Sooner?
Sometimes, schedules are tight. There are cases where tiling can happen after 14-21 days, but only if:
- The gunite was cured perfectly (constant moisture, good weather)
- The shell passes moisture testing
- You use specialty adhesives approved for “green” concrete (rare in pools)
- Manufacturer and contractor warranties allow it
These cases are exceptions, not the rule. For most projects, patience is your best friend.
Comparing Pool Finishes: Tile Vs. Plaster Vs. Pebble
Some pool owners consider alternatives to tile. Here’s how they compare:
| Finish | Waiting Time After Gunite | Durability | Appearance |
|---|---|---|---|
| Tile | 21-28 days | 20+ years | Custom, luxury |
| Plaster | 14-21 days | 7-12 years | Smooth, classic |
| Pebble | 21-28 days | 15-25 years | Textured, natural |
Tiling takes time but gives the most custom look and longest life if done right.
Signs That The Gunite Is Ready For Tiling
Here’s a quick checklist before you start tiling:
- At least 21-28 days have passed since gunite was sprayed
- The surface is dry to the touch and free from visible moisture
- No new cracks have appeared for at least a week
- Efflorescence has stopped or is easily cleaned away
- Moisture meter reading is in the safe range
- The surface is clean, level, and solid
If any of these are missing, wait or fix the issue before moving ahead.
Cost Implications Of Rushing Or Delaying Tiling
Rushing to tile too soon can be very expensive:
- Repairs: Removing failed tiles and re-tiling can cost thousands of dollars.
- Delays: If you wait too long without reason, you might pay more for project management or lose good weather.
The best approach is to plan your project so the 28-day cure fits naturally into your schedule.
Expert Recommendations
- The National Plasterers Council and most pool industry groups advise a minimum of 21-28 days after gunite for any pool finish, especially tile.
- Always check with your tile, adhesive, and waterproofing manufacturers for their recommendations.
- For a deeper dive into concrete curing and pool building standards, read this guide from the American Concrete Institute.
Frequently Asked Questions
How Long Should You Wait After Gunite Before Tiling?
You should wait at least 21-28 days after gunite application before tiling. This allows the gunite to cure and reach enough strength to support tiles. Waiting ensures the surface is stable and reduces risks of cracks or tile failure.
What Happens If You Tile Too Soon After Gunite?
If you tile too soon, the gunite may still be releasing moisture and shrinking. This can cause tile debonding, cracking, or efflorescence (white stains). Tiles or grout may fail, leading to expensive repairs.
Can Weather Affect The Curing Time Of Gunite?
Yes, weather has a big impact. Hot, dry weather speeds up curing (but you must keep the gunite moist), while cold or wet weather slows it down. Always adjust your schedule based on local climate and conditions.
Do I Need To Waterproof Before Tiling On Gunite?
Applying a waterproofing membrane is recommended, but only after the gunite has fully cured and dried. Waterproofing helps protect the tile bond and prevents water movement, but it’s not a substitute for proper curing.
Is Moisture Testing Necessary Before Tiling?
Moisture testing is a smart step, especially in humid or cold climates. Even if the surface looks dry, moisture may be trapped inside. Using a moisture meter helps ensure the gunite is truly ready for tile installation.
Building a pool is a major investment, and patience during the gunite curing process leads to a beautiful, lasting finish. By understanding the science, watching the weather, and following best practices, you’ll avoid costly problems and enjoy your pool for years to come.