Cleaning crown molding can make a big difference in the way a room looks and feels. Many people focus on floors and furniture, but forget about the dust and dirt that gathers above their heads. Over time, crown molding can collect dust, cobwebs, and stains, making even the cleanest home look dull.
Whether your crown molding is painted, stained wood, or plaster, knowing how to clean it properly helps keep your home looking fresh and cared for. This guide will walk you through everything you need to know, from tools and products to step-by-step cleaning methods, safety tips, and expert tricks for tricky spots.
Even if you have never cleaned crown molding before, you will feel confident by the end of this article.
Why Cleaning Crown Molding Matters
Crown molding is not just a decorative feature. It acts like a shelf, collecting dust and allergens that fall from the ceiling or rise from below. If you ignore it, dust builds up and can trigger allergies, dull the paint, or even lead to mold in damp rooms.
Clean crown molding helps keep your home healthy and makes the entire room look sharper. People often notice clean crown molding without even realizing it, because it frames the room and draws the eye upward.
Understanding Crown Molding Types
Before you start cleaning, it helps to know what kind of crown molding you have. Different materials can need different cleaning methods.
Painted Wood
This is the most common type. It can be cleaned with mild soap and water, but you need to be gentle to avoid damaging the paint.
Stained Or Natural Wood
Wood molding looks beautiful, but harsh chemicals or too much water can damage the wood or finish. Gentle cleaning is best.
Plaster
Plaster moldings are more delicate. Avoid water and harsh scrubbing, as they can crack or chip.
Polystyrene Or Polyurethane
These are light, often found in newer homes. They are water-resistant and easy to clean, but can dent if you press too hard.
Metal Or Specialty Moldings
Less common in homes, but sometimes found in modern or industrial styles. These need gentle cleaning to avoid scratches or rust.
Tip: If you are not sure what material you have, try cleaning a small, hidden area first to see how it reacts.
Essential Tools And Supplies
You do not need expensive equipment to clean crown molding. Most tools are simple and easy to find.
- Step ladder: A sturdy ladder is safer than standing on furniture.
- Microfiber cloths: They pick up dust without leaving lint.
- Soft-bristled brush: Great for corners and detailed designs.
- Vacuum with brush attachment: Helpful for removing loose dust or cobwebs.
- Bucket of warm water
- Mild dish soap
- Sponge or soft cleaning pad
- Cotton swabs: For tiny crevices.
- Old toothbrush: Works for detailed areas.
- Spray bottle: For applying cleaning solution.
- Dry towel: For wiping and drying.
- Protective gloves: If using stronger cleaners.
If your molding is high or in a difficult spot, an extendable duster can help. For tall ceilings, a duster with a telescopic handle is safer than stretching on a ladder.
Safety First: Cleaning High Areas
Cleaning crown molding often means working above your head. Safety is important, especially when using a ladder.
- Check your ladder: Make sure it is stable and on a flat surface.
- Do not overreach: Move the ladder instead of stretching.
- Wear shoes with good grip: Avoid slipping.
- Ask for help: If the molding is very high, have someone hold the ladder.
- Keep your workspace clear: Remove obstacles around the ladder.
Ignoring safety can lead to falls or injuries. Take your time and do not rush.

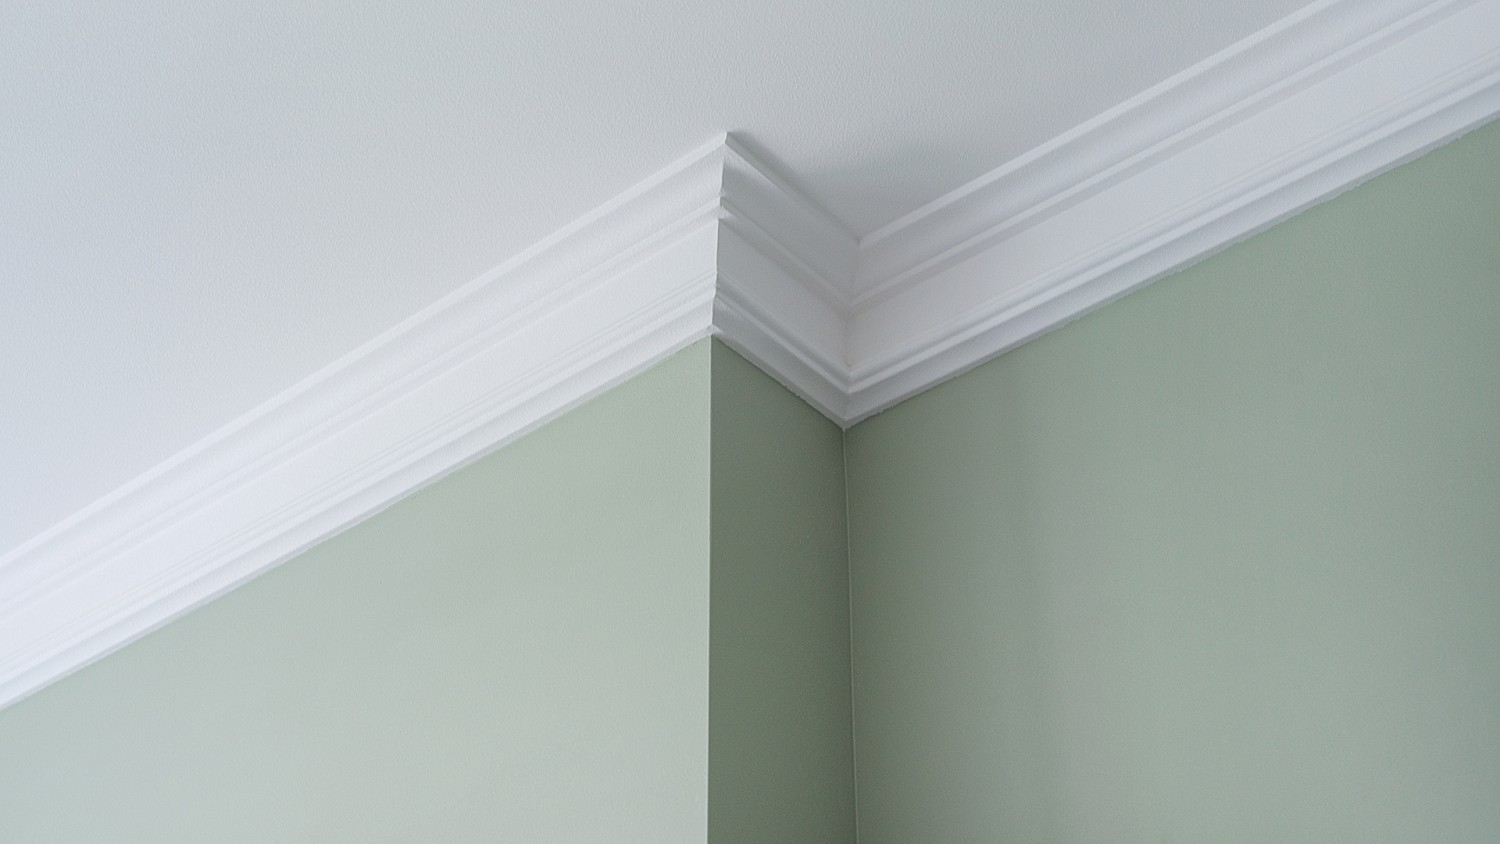
Credit: www.reddit.com
Step-by-step: How To Clean Crown Molding
Now, let’s get into the process. These steps work for most types of crown molding. Adjust the technique for your specific material as needed.
1. Dry Dusting
Start by removing loose dust and cobwebs.
- Use a microfiber cloth or a duster with a long handle.
- For detailed molding, a soft-bristled brush helps get into corners.
- Gently wipe or brush from one end to the other.
Dry dusting prevents dirt from turning into sticky grime when you add water later.
2. Vacuuming (if Needed)
If there is a lot of dust or pet hair, a vacuum with a brush attachment can be helpful.
- Use a gentle setting to avoid scratching the surface.
- Move slowly to pick up as much dust as possible.
3. Spot Cleaning Stains And Marks
Sometimes, you will find stains, fingerprints, or smudges.
- Mix a few drops of mild dish soap in warm water.
- Dip a soft cloth or sponge in the solution and wring it out well.
- Gently rub the stained area.
- Avoid soaking the molding, especially with wood or plaster.
For tough spots, use an old toothbrush or cotton swab to clean details.
4. Rinse And Dry
After cleaning, it’s important to remove any soap left on the molding.
- Wipe with a clean, damp cloth (just water).
- Dry immediately with a towel to prevent water marks or streaks.
5. Polish Or Protect (optional)
For wooden or painted molding, you can apply a little wood polish or furniture wax to protect the finish and make it shine. Do not use oil-based products on painted surfaces, as they can leave a residue.
Special Cleaning Methods By Material
Some crown moldings need extra care. Here’s how to handle different types:
Painted Molding
- Use mild soap and water.
- Avoid abrasive sponges or strong chemicals, which can strip paint.
- Touch up any chips with matching paint if needed.
Stained Or Natural Wood
- Use a slightly damp cloth, not wet.
- Dry immediately to avoid water stains.
- Use wood cleaner or polish for extra shine.
Plaster
- Dust with a soft brush.
- Use a barely damp cloth for spots.
- Avoid scrubbing or soaking.
Polystyrene Or Polyurethane
- Gentle soap and water work well.
- Dry after cleaning to avoid streaks.
- Avoid hard scrubbing, as the material can dent.
Metal Moldings
- Wipe with a damp cloth.
- Dry to prevent rust.
- Use a metal polish for extra shine.
Cleaning Crown Molding In Every Room
The crown molding in different rooms faces different challenges. Let’s look at the best way to handle each space.
Kitchen
Kitchen crown molding collects grease and cooking residue. To clean:
- Add a little white vinegar to your soapy water.
- Use a degreaser for heavy buildup (test first).
- Wipe dry to prevent sticky residue.
Bathroom
Bathrooms have moisture and mildew. To clean:
- Use a mix of water and a little vinegar or baking soda.
- For mold, use a mold remover or diluted bleach (wear gloves and ventilate the room).
- Dry well to prevent new mold growth.
Living Room/bedrooms
Here, dust is the main problem.
- Regular dusting and gentle cleaning are usually enough.
- Use a soft brush for decorative moldings.
Hallways And Entryways
These areas see more dirt from shoes and outdoor air.
- Dust more often.
- Spot clean fingerprints or scuff marks as needed.
How Often Should You Clean Crown Molding?
The answer depends on your home and environment. But as a rule of thumb:
- Dust every 2-4 weeks.
- Deep clean every 3-6 months.
In kitchens or bathrooms, you may need to clean more often. If you have pets, more frequent cleaning helps reduce allergens.
Dealing With Stubborn Problems
Even with regular care, crown molding can develop tough stains or other problems.
Grease And Sticky Buildup
Grease is common in kitchens. Use a mix of warm water, dish soap, and a splash of vinegar. For heavy buildup, a degreaser can help, but always test on a small area first.
Mold And Mildew
This is most common in bathrooms or damp rooms. Mix one part bleach to three parts water, apply with a cloth, and rinse well. Always wear gloves and make sure the room is well-ventilated.
Paint Or Finish Damage
If cleaning removes paint or finish, touch up with matching paint or stain. For large areas, you may need to repaint or refinish the molding.
Water Stains
Wipe with a cloth dampened with a mix of water and a little vinegar. Dry immediately. For wood, consider using a wood cleaner.
Non-obvious insight: Many people try to scrub off water stains, but gentle cleaning and quick drying are more effective and safer for the finish.
Tips For Cleaning High Or Hard-to-reach Crown Molding
Tall ceilings or staircases can make cleaning tricky. Here are some safe solutions:
- Use an extendable duster or vacuum attachment.
- Attach a microfiber cloth to a broom handle with a rubber band.
- For very high molding, consider hiring a professional cleaner.
Non-obvious insight: Cleaning high crown molding in sections over several days can be safer and less tiring than trying to do it all at once.
Credit: www.today.com
Preventing Dust And Dirt Buildup
Regular cleaning is best, but a few tricks can help keep molding cleaner longer.
- Run an air purifier to reduce dust in the room.
- Change HVAC filters regularly.
- Use ceiling fans with dust-repellent blades.
- After cleaning, rub a dryer sheet along the molding to help repel dust.
These steps make each cleaning easier and keep your home looking fresh.
Comparison Of Cleaning Methods
To help you choose the right method for your molding, here’s a quick comparison:
| Method | Best For | Pros | Cons |
|---|---|---|---|
| Dry Dusting | All types | Fast, safe for all materials | Does not remove stains |
| Soap & Water | Painted, polystyrene, metal | Removes dirt and some stains | Can damage plaster or wood if too wet |
| Vacuuming | High or delicate molding | No chemicals, good for allergies | Needs the right attachment |
| Degreaser | Kitchen grease | Breaks down sticky buildup | Harsh, must test first |
| Bleach Solution | Mold/mildew | Kills spores, removes stains | Can discolor paint, needs ventilation |
Common Mistakes To Avoid
Even with the best intentions, mistakes can happen. Here are some to watch out for:
- Using too much water: This can damage wood or plaster.
- Scrubbing too hard: Paint and finish can peel or chip.
- Ignoring safety: Always use a stable ladder and never overreach.
- Skipping drying: Leaving water on molding can cause stains or warping.
- Using harsh cleaners on delicate materials: Always test in a hidden spot first.
Cleaning And Maintenance Schedule Example
A regular schedule helps you keep up with cleaning and avoid big messes.
| Task | Frequency | Details |
|---|---|---|
| Dry Dusting | Every 2-4 weeks | Use microfiber cloth or duster |
| Spot Cleaning | Monthly/as needed | Remove stains, fingerprints |
| Deep Clean | Every 3-6 months | Soap, water, and detail work |
| Polishing/Protecting | Every 6 months | Wood polish or wax (for wood molding) |
| Check for Mold | Every 3 months | Especially in bathrooms and kitchens |
Eco-friendly Cleaning Options
If you prefer to avoid chemicals, there are natural ways to clean crown molding.
- Vinegar and water: Good for cutting grease and mild stains.
- Baking soda paste: Mix with water for a gentle scrub.
- Castile soap: A plant-based soap that is safe for most surfaces.
These options are safe for families, pets, and the environment. Always test on a small area first, as even natural products can affect some finishes.
Restoring Old Or Neglected Crown Molding
If your crown molding has been ignored for years, you may need to do more than basic cleaning.
Removing Heavy Buildup
- Use a soft scraper or putty knife (plastic, not metal) to gently lift off thick dust or grime.
- Clean with soap and water, then dry.
Repairing Damage
- Fill small chips or cracks with wood filler or patching compound.
- Sand lightly and touch up with paint or stain.
Repainting Or Refinishing
- For badly stained or peeling molding, repaint or refinish after cleaning.
- Use primer for a smooth base, then apply paint or varnish.
Tip: Sometimes, repainting is easier than endless scrubbing for old, dirty molding.

Credit: www.youtube.com
When To Call A Professional
Some situations are best handled by pros:
- Moldings that are very high or in difficult places.
- Mold or mildew that keeps coming back.
- Historic or ornate moldings that need special care.
Professional cleaners have the right tools and experience to avoid damage and keep your home safe.
Saving Time: Cleaning Hacks For Busy People
If you are short on time, try these quick tips:
- Dust a different room each week instead of all at once.
- Use a vacuum with a long hose for high spots.
- Clean crown molding right after dusting ceiling fans or light fixtures. Dust falls down, so you only have to clean once.
- Wipe molding while cleaning windows to save time.
A little each week is easier than a big cleaning session every few months.
How Clean Crown Molding Changes A Room
It may not seem important, but clean crown molding really does improve a room. Clean lines catch the light and frame the space, making colors and decorations stand out. Guests often notice clean crown molding, even if they cannot say why a room looks so tidy.
If you want your home to look its best, do not skip this simple task.
Frequently Asked Questions
How Do I Clean Crown Molding Without A Ladder?
Use an extendable duster or a vacuum with a long hose and brush attachment. You can also attach a microfiber cloth to a broom handle with a rubber band for extra reach. For very high areas, consider a professional cleaning service.
What Is The Best Cleaner For Painted Crown Molding?
A mix of mild dish soap and warm water is usually best. Avoid harsh chemicals or abrasive pads, as these can damage the paint. Always wring out your cloth so it is damp, not wet.
How Can I Prevent Dust From Building Up On My Crown Molding?
Run an air purifier in the room, change your HVAC filters regularly, and dust every few weeks. After cleaning, lightly wipe the molding with a dryer sheet to help repel dust.
Can I Use Bleach On Crown Molding?
Bleach can help remove mold and mildew, especially in bathrooms. But use it carefully: dilute with water (one part bleach to three parts water), wear gloves, and test on a small area first. Bleach can discolor paint or damage delicate finishes.
How Do I Clean Detailed Or Ornate Crown Molding?
Use a soft-bristled brush, an old toothbrush, or cotton swabs to get into small crevices. Dry dusting works well for details. For sticky residue, use a damp cloth with mild soap, but be gentle to avoid breaking or chipping the details.
Keeping your crown molding clean is one of those small jobs that makes a big difference. With the right tools and a little care, your home will look brighter, cleaner, and more inviting. If you want to see examples of cleaning methods or find more tips, check out guides from Better Homes & Gardens for more ideas. Take the time to look up—you’ll be glad you did.