
Keeping your Kalorik air fryer clean is not just about appearance. It’s about safety, taste, and making your kitchen life easier. A clean air fryer works better, lasts longer, and keeps your food tasting fresh. Yet, many owners feel unsure about how to clean each part or worry about damaging their appliance. This guide will walk you through every step, share practical tips, and help you avoid mistakes that can ruin your air fryer or even void the warranty.
Air fryers are popular for their ability to cook crispy food with little oil. But after a few uses, you might notice grease, crumbs, and sticky residue building up. If you don’t clean them properly, that buildup can cause smoke, bad smells, or even affect how your food tastes.
Worse, leftover oil and food bits can be a breeding ground for bacteria. Learning how to clean your Kalorik air fryer means enjoying safer, tastier meals—and saving time in the long run.
Let’s look at what makes the Kalorik model unique, the cleaning supplies you’ll need, and a step-by-step guide for both quick cleanups and deep cleaning. You’ll also find out what to avoid, how to handle tough stains, and how to keep your air fryer in top shape for years.
Whether you use your air fryer daily or just on weekends, you’ll find practical advice you can use right away.
Why Cleaning Your Kalorik Air Fryer Matters
Many people underestimate the importance of regular cleaning. But a dirty air fryer can lead to several problems:
- Weaker performance: Grease can block heating elements, making the fryer work harder.
- Bad smells and smoke: Old oil and crumbs burn and create smoke.
- Shorter lifespan: Buildup can damage parts and even cause breakdowns.
- Unhealthy cooking: Bacteria and old food residue can contaminate new meals.
- Weird tastes: Old grease can make everything taste the same.
If you want your air fryer to last—and your food to taste good—cleaning is not optional. It’s part of owning the appliance.
Understanding Your Kalorik Air Fryer
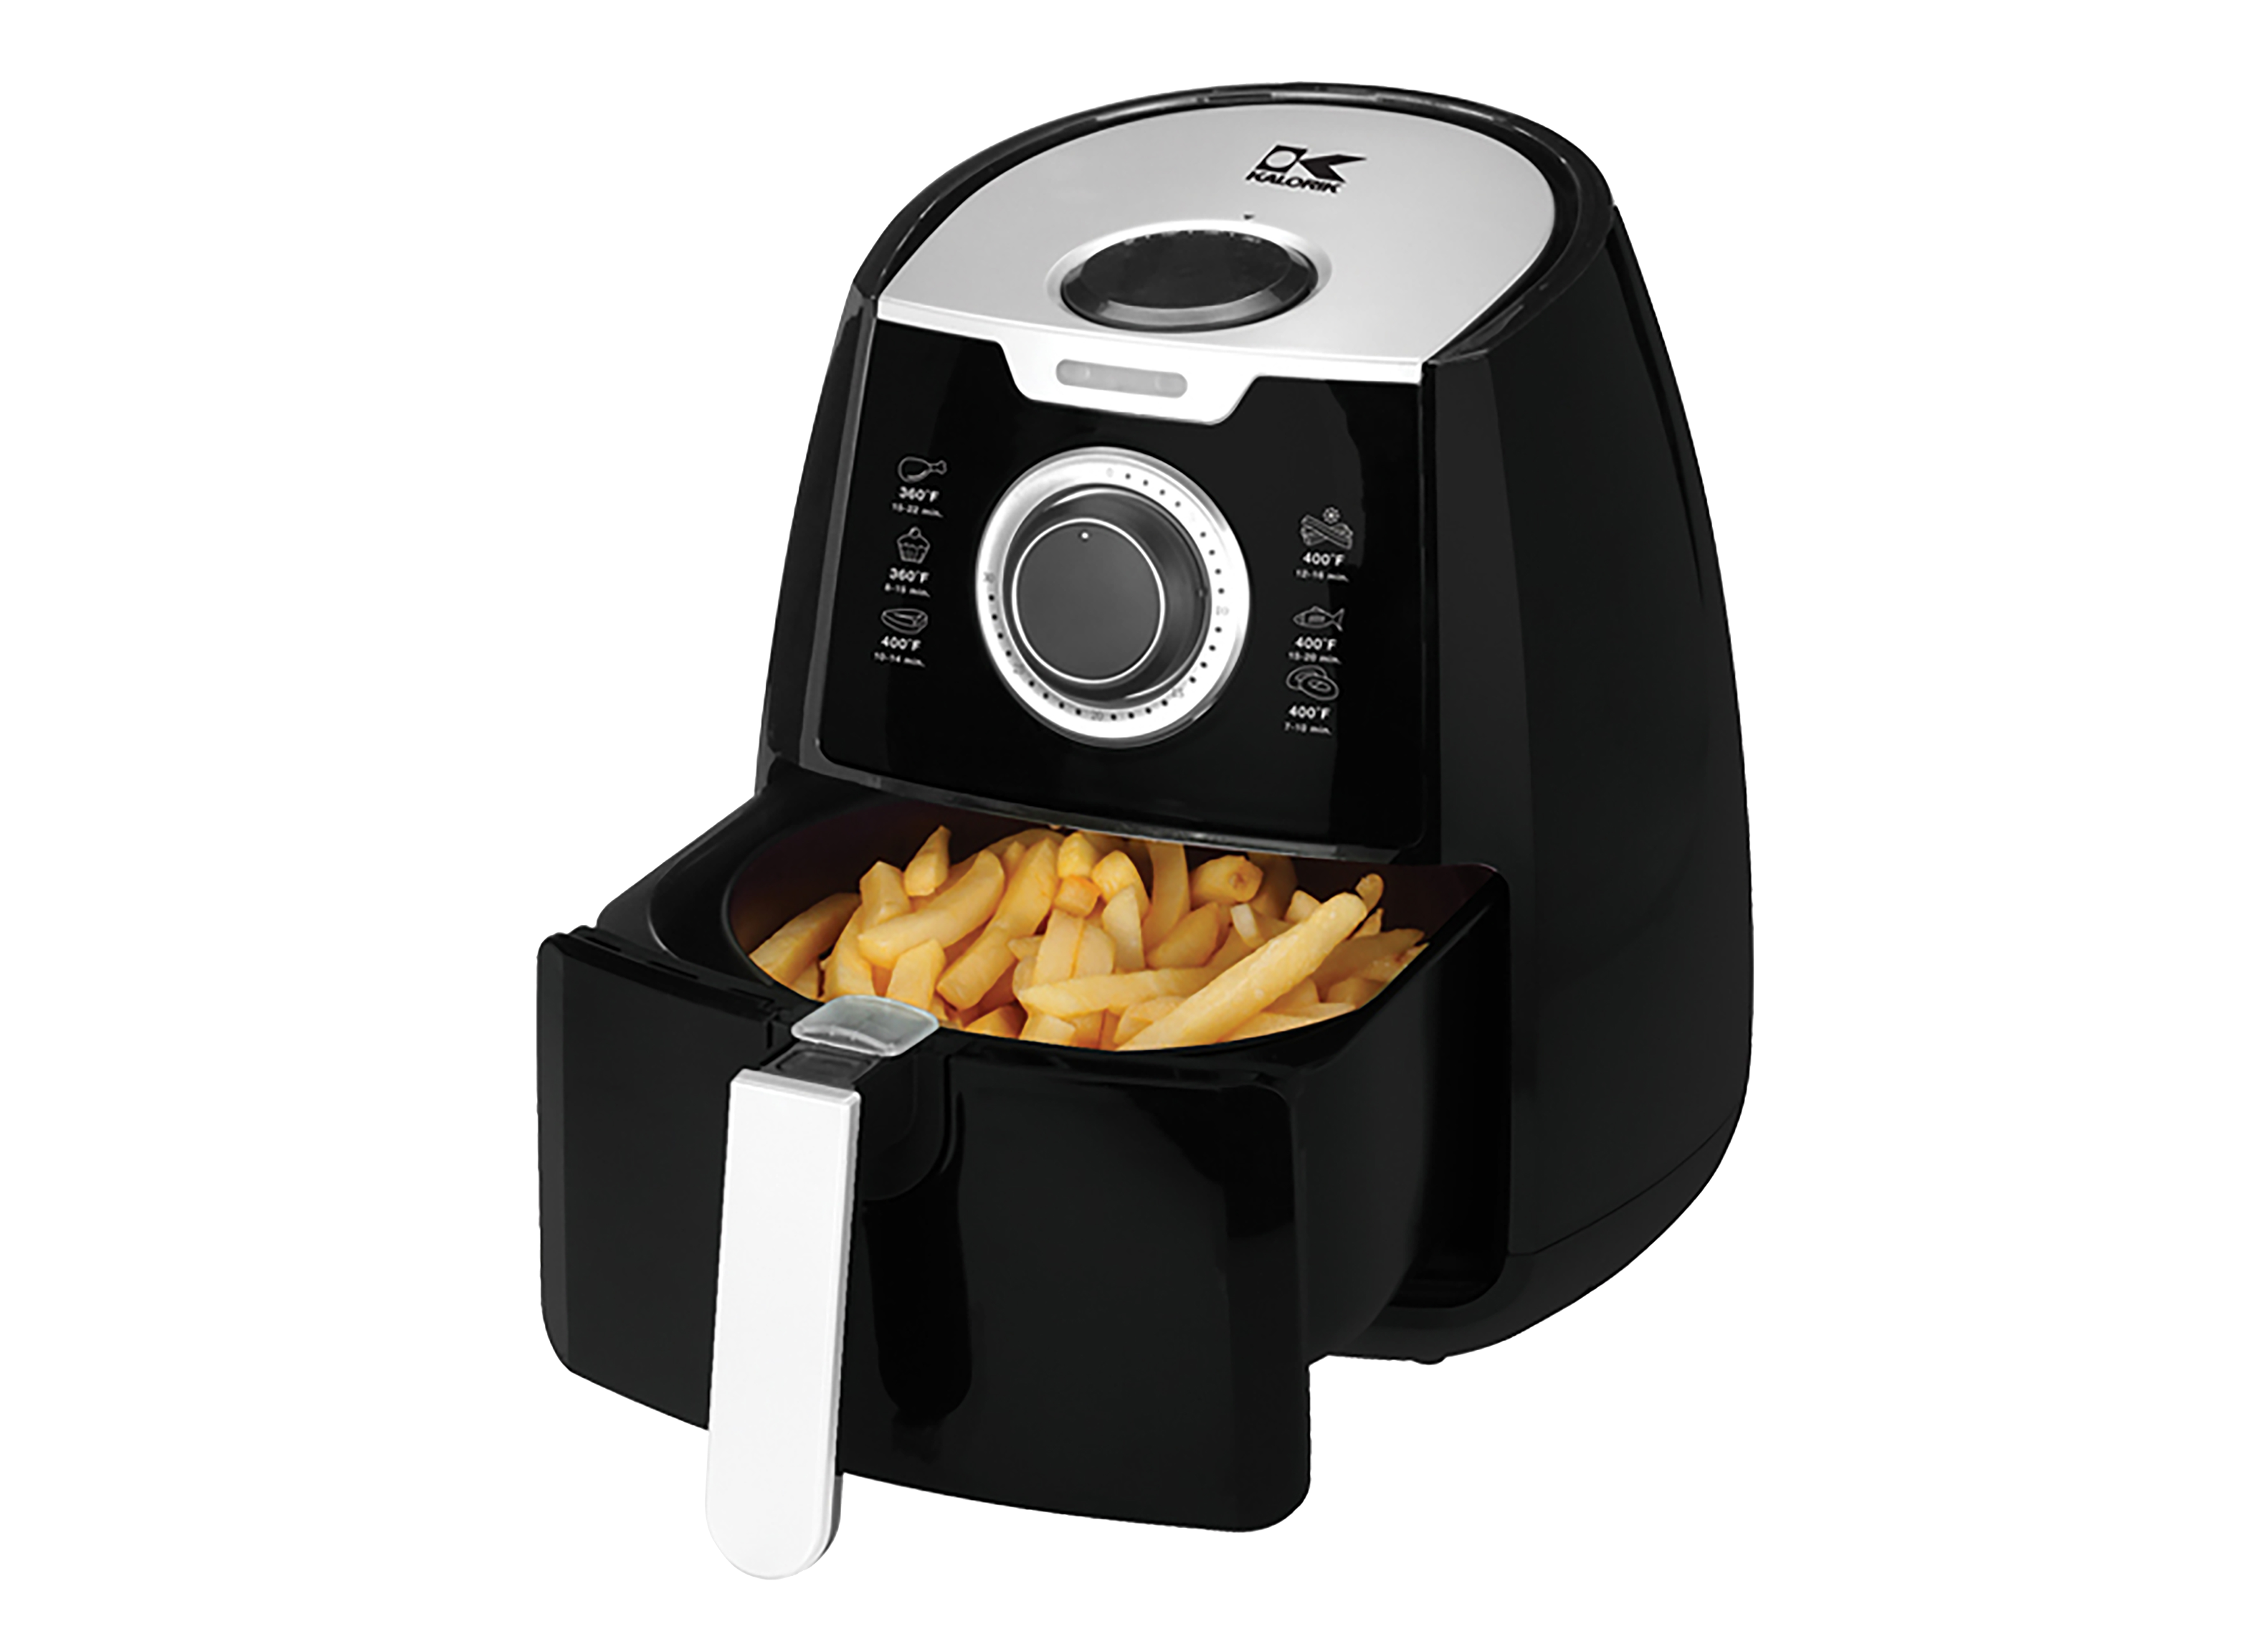
Before you start, it’s helpful to know the main parts of your Kalorik air fryer:
- Basket: Where you place food.
- Pan/Drawer: Holds the basket, collects oil and crumbs.
- Heating element: Located above the basket.
- Fan: Circulates hot air.
- Controls and exterior: The outside and display panel.
Some Kalorik models have unique features, such as dual baskets or rotisserie attachments. Always check your model’s manual for any special cleaning instructions.
Key Differences From Other Brands
Kalorik air fryers are designed for easy cleaning, but some parts might not be dishwasher safe. For example, the basket may have a non-stick coating that can scratch if you use rough sponges. The heating element is also easier to reach than in some brands, which helps with deep cleaning.

Credit: www.youtube.com
What You Need For Cleaning
It’s best to have your cleaning supplies ready before you start. Here’s what you’ll need:
- Soft sponge or cloth (non-abrasive)
- Dish soap (mild, without bleach)
- Soft brush (old toothbrush works well)
- Paper towels or microfiber cloth
- Baking soda (for tough stains)
- White vinegar (for deodorizing)
- Warm water
- Toothpick or skewer (for hard-to-reach crumbs)
- Small bowl (for soaking parts)
Avoid using steel wool, harsh chemicals, or metal utensils. These can scratch non-stick surfaces and damage your air fryer.
Quick Cleaning After Each Use
Regular cleaning doesn’t have to be a big chore. Doing a quick wipe-down after each use makes deep cleaning easier later on.
Simple Steps For Daily Cleaning
1. Unplug And Cool Down
Always unplug your Kalorik air fryer and let it cool for at least 15–20 minutes before cleaning.
2. Remove The Basket And Pan
Take out the basket and pan. Shake off crumbs or leftover food into the trash.
3. Wash Removable Parts
Use warm water, a bit of mild dish soap, and a soft sponge to clean the basket and pan.
- If food is stuck, soak the parts in warm soapy water for 10–15 minutes.
- Rinse thoroughly and dry with a towel.
- Wipe the interior
Use a damp cloth or sponge to wipe inside the air fryer. Be gentle around the heating element.
5. Wipe The Exterior
Clean the outside with a damp cloth to remove fingerprints and oil splashes.
6. Dry And Reassemble
Make sure all parts are dry before putting them back together.
What Most People Miss
Many people forget to clean under the basket. Grease often collects here and can cause smoke the next time you cook. Slide out the basket and check underneath each time.
Another missed spot is the heating element. Even if you don’t see much dirt, a quick wipe helps prevent buildup.

Credit: www.kalorik.com
Deep Cleaning: Step-by-step Guide
Even with regular cleaning, you’ll need to do a deep clean once every 1–2 weeks, or more often if you cook greasy foods. Deep cleaning removes stubborn stains, burnt-on grease, and keeps your fryer smelling fresh.
Step 1: Unplug And Disassemble
Always unplug your air fryer. Let it cool completely. Remove the basket, pan, and any removable racks or trays.
Step 2: Soak Removable Parts
Fill a bowl or your sink with hot, soapy water. Place the basket, pan, and other accessories in the water. Let them soak for 15–30 minutes. This loosens grease and makes scrubbing easier.
Step 3: Scrub Gently
Use a soft sponge or brush to clean the basket and pan. For tough spots, sprinkle a bit of baking soda and scrub gently. Never use metal brushes or abrasive sponges.
For racks or skewers, a toothbrush helps clean corners and small holes.
Step 4: Clean The Heating Element
This step is often skipped, but it’s important for safety and performance.
- Turn your air fryer upside down (gently) so you can see the heating element.
- Use a damp (not wet) cloth or sponge to wipe away grease.
- For stuck-on spots, use a soft brush dipped in vinegar.
- Dry with a paper towel.
Step 5: Clean The Interior
Wipe the inside walls with a damp cloth. If you see oil splatters, use a bit of dish soap. Avoid letting water drip into the electronics.
Step 6: Clean The Exterior
Wipe the outside with a damp cloth. For sticky spots, use a drop of dish soap.
Step 7: Dry Everything
Let all parts air dry or dry them with a clean towel. Make sure nothing is wet before reassembling.
Step 8: Reassemble
Put all parts back in place. Now your air fryer is ready for the next meal.
How To Clean Tough Stains And Odors
Sometimes, regular cleaning isn’t enough. You might notice sticky residue or lingering smells. Here’s how to handle them:
Removing Sticky Grease
- Make a paste of baking soda and water.
- Apply to the stain and let sit for 10–15 minutes.
- Scrub gently with a sponge or brush.
- Rinse and dry.
Fighting Odors
- Wipe the inside with a cloth dipped in vinegar.
- Leave the basket and pan in sunlight for a few hours.
- Air fry lemon slices at 350°F (175°C) for 5 minutes to freshen the smell.
For Burnt-on Food
- Soak parts longer in hot soapy water.
- Use a wooden or silicone spatula to gently lift burnt bits.
- Repeat soaking if needed.
Cleaning The Heating Element: Special Tips
The heating element is the heart of your air fryer. Grease on the element can cause smoke and fire risk. Here’s how to keep it clean:
- Unplug and cool the air fryer first.
- Turn the unit upside down for easier access.
- Use a soft brush or toothbrush, never metal.
- If buildup is heavy, use vinegar on the brush.
- Wipe off any loose crumbs with a dry paper towel.
Never spray water directly onto the element. Moisture can damage the unit or cause electric shock.
Are Kalorik Air Fryer Parts Dishwasher Safe?
Many Kalorik models have dishwasher-safe baskets and pans. But always check your manual. If your parts are dishwasher safe:
- Place them on the top rack to avoid warping or damage.
- Avoid high-heat drying cycles.
- Hand washing helps the non-stick coating last longer.
Here’s a quick comparison:
| Part | Dishwasher Safe? | Recommended Cleaning |
|---|---|---|
| Basket | Usually Yes | Hand wash for longer life |
| Pan/Drawer | Usually Yes | Dishwasher or hand wash |
| Heating Element | No | Wipe with damp cloth |
| Exterior | No | Damp cloth only |
| Accessories (racks, skewers) | Some Yes | Check manual |
If you’re unsure, always hand wash. Non-stick coatings can wear out faster in the dishwasher.
Cleaning Between Different Foods: Avoiding Mixed Flavors
Cooking fish one day and cookies the next? Without proper cleaning, flavors can mix. Here’s what you can do:
- Wash the basket and pan right after cooking strong-smelling foods.
- Use vinegar or lemon to wipe the interior.
- Air fry a slice of bread for 3–5 minutes to absorb smells.
This step is especially important if you have food allergies or dietary restrictions.
Common Cleaning Mistakes To Avoid
Many users damage their air fryer by cleaning it the wrong way. Here are mistakes to watch for:
- Using abrasive sponges or steel wool: These scratch the non-stick surface.
- Cleaning while plugged in or hot: This is dangerous and can cause burns.
- Soaking the main unit: Only soak removable parts. The main unit has wires and electronics.
- Skipping the heating element: Grease builds up and causes smoke.
- Forgetting to dry parts: Moisture can lead to rust or electrical problems.
These mistakes can shorten the life of your Kalorik air fryer.
How Often Should You Clean Each Part?
Not every part needs daily cleaning. Here’s a schedule to follow:
| Part | After Each Use | Weekly | Monthly |
|---|---|---|---|
| Basket/Pan | ✔️ | ✔️ | |
| Heating Element | ✔️ | ||
| Exterior | ✔️ | ||
| Accessories | ✔️ | ||
| Deep Clean (all parts) | ✔️ |
If you cook greasy or sticky foods often, deep clean more frequently.
How To Store Your Kalorik Air Fryer After Cleaning
Proper storage prevents dust and keeps your appliance ready for use.
- Make sure all parts are dry.
- Store with the basket slightly open to prevent smells.
- Keep in a dry, cool place.
- Cover with a cloth or lid to block dust.
Never store the air fryer when it’s still damp inside.
Troubleshooting: When Cleaning Isn’t Enough
If your air fryer still smells or smokes after cleaning, try these steps:
- Run the air fryer empty at 350°F (175°C) for 10 minutes to burn off residue.
- Check for hidden food bits under the heating element or in corners.
- Repeat cleaning with baking soda and vinegar.
If problems continue, check your manual or contact Kalorik customer support. Sometimes, a part may be damaged or need replacing.
Extending The Life Of Your Kalorik Air Fryer
A well-maintained air fryer can last 3–5 years or more. Here’s how to keep yours running smoothly:
- Clean after every use, especially the basket and pan.
- Don’t overload with food, which causes extra grease splatter.
- Avoid cooking wet batters directly in the basket.
- Use parchment liners to reduce mess (but only if your manual allows).
- Never use spray oils with propellants on the non-stick surface; they can damage it.
Taking care of your air fryer not only keeps food tasting great but saves you money on repairs or replacements.
Comparing Kalorik To Other Brands: Is Cleaning Easier?
Many people wonder how the Kalorik air fryer compares to brands like Philips, Ninja, or Cosori when it comes to cleaning.
| Brand | Basket Coating | Dishwasher Safe | Heating Element Access |
|---|---|---|---|
| Kalorik | Non-stick | Yes (most models) | Easy |
| Philips | Non-stick | Yes | Moderate |
| Ninja | Ceramic/Non-stick | Yes | Moderate |
| Cosori | Non-stick | Yes | Moderate |
Kalorik stands out for its easy-to-remove basket and good access to the heating element, making cleaning simpler for most users.
Expert Tips For Easier Cleaning
- Clean while warm: Food comes off easier if you clean soon after cooking (but never while hot).
- Use liners: Special air fryer parchment liners catch drips and crumbs.
- Oil spray: Spray food, not the basket. This reduces buildup.
- Don’t soak too long: Soaking non-stick parts overnight can damage them.
- Check corners: Crumbs often hide in corners and under the basket.
Most beginners miss the importance of cleaning the heating element and drying every part. Both steps can prevent smoke and keep your air fryer working like new.
Credit: www.consumerreports.org
Real-world Example: How A Dirty Air Fryer Can Go Wrong
Emily, a new air fryer owner, noticed a burning smell every time she cooked. She only washed the basket, never the pan or heating element. Grease built up, and smoke started coming out during use. After cleaning all parts—including the heating element—the smell disappeared, and her air fryer worked better.
This shows the value of cleaning every part, not just what you see.
When To Replace Parts
Even with good cleaning, air fryer baskets and pans can wear out after a few years. Look for these signs:
- Peeling non-stick coating
- Rust spots
- Cracks or warping
- Loose handles
If you see any of these, it’s time to order a replacement. Using damaged parts can release chemicals or cause injury.
Where To Find Official Cleaning Instructions
Your Kalorik manual is the best source for care instructions. If you lose it, visit the Kalorik website or trusted sources like Consumer Reports for cleaning guides and safety advice.
Frequently Asked Questions
How Do I Clean Sticky Residue From My Kalorik Air Fryer Basket?
Mix baking soda with water to make a paste. Spread it on the sticky spot and let it sit for 10–15 minutes. Scrub gently with a soft brush or sponge. Rinse and dry before using the basket again.
Can I Put Kalorik Air Fryer Parts In The Dishwasher?
Most baskets and pans are dishwasher safe, but always check your manual. For longer life, hand washing is best. Never put the main unit or heating element in the dishwasher.
What Should I Do If My Air Fryer Smells Bad After Cleaning?
Wipe the inside with vinegar, then air fry lemon slices for a few minutes. This helps remove odors. Make sure no food bits are hiding under the heating element or in corners.
How Can I Clean The Heating Element Safely?
Unplug and cool your air fryer. Turn it upside down for access. Use a damp (not wet) cloth or a soft brush with vinegar to wipe the heating element. Dry before using again.
Is It Safe To Use Oven Cleaner On My Kalorik Air Fryer?
No. Oven cleaners are too harsh for air fryers and can damage the non-stick coating. Stick to mild dish soap, baking soda, and vinegar for safe cleaning.
A clean Kalorik air fryer means better food, safer cooking, and a longer-lasting appliance. By following these steps and tips, you’ll keep your air fryer in top condition—ready for healthy, tasty meals every time.