
If you plan to paint your wood cabinets, the cleaning stage is the foundation for a professional, long-lasting finish. Many people rush this step, but it’s where most painting projects go wrong. Dirt, grease, and old residues can ruin your work—even if you use the best paint.
Understanding how to clean wood cabinets before painting is crucial. This guide breaks down everything you need to know, from gathering materials to drying and inspection, so your cabinets look fresh and new for years.
Why Cleaning Wood Cabinets Matters
Before you even think about opening a can of paint, your cabinets need to be totally clean. Most kitchen cabinets collect grease from cooking, fingerprints, dust, and sometimes even mold or old cleaning products. These stick to the surface and stop paint from sticking well. If you skip cleaning or do it halfway, you risk peeling, bubbling, and uneven color.
Professional painters often say, “Paint is only as strong as what’s under it. ” If your prep is poor, even the best paint will fail. A recent survey by the Paint Quality Institute found that 67% of paint problems happen because of poor surface prep, not the paint itself.
Tools And Materials You Will Need
The right supplies make cleaning easier and more effective. You don’t need expensive products, but you do need the right ones. Here’s what you should have ready:
- Mild dish soap (like Dawn)
- Degreaser (such as TSP or a citrus-based cleaner)
- Warm water
- Buckets
- Soft sponges or microfiber cloths
- Soft-bristled brush (for corners and grooves)
- Old toothbrush
- Rubber gloves
- Dry towels
- Painter’s tape (for protecting nearby surfaces)
- Screwdriver (for removing hardware)
- Vacuum with a brush attachment
- Fine steel wool (#0000 grade, optional)
- Sandpaper (220 grit, optional for after cleaning)
Having these items on hand means you won’t have to pause once you start. Professionals often point out that running back and forth for missing supplies leads to mistakes and rushed work.
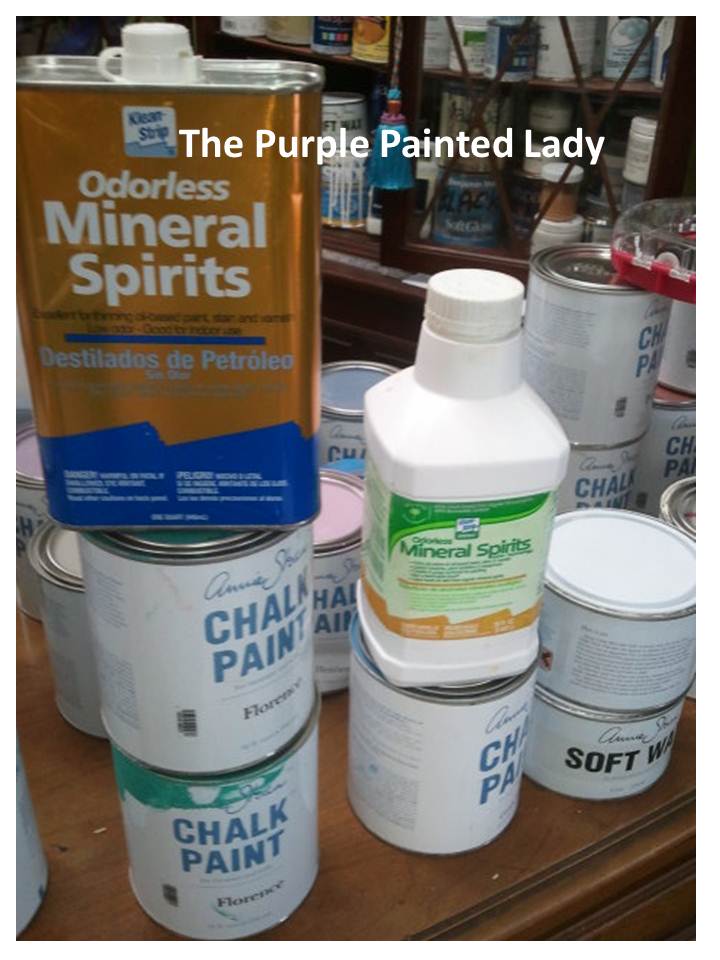
Credit: www.thepurplepaintedlady.com
Preparing Your Space And Cabinets
Preparation isn’t just about the wood—it’s also about protecting your kitchen and making cleanup easier later. Let’s break down the practical steps:
- Clear the Area: Remove everything from the cabinets. Take out dishes, food, and liners. Clear countertops around your workspace.
- Protect Surfaces: Place drop cloths or old sheets on counters and the floor. Use painter’s tape to protect edges, walls, and nearby appliances.
- Remove Hardware: Unscrew handles, knobs, and hinges if possible. Put these in a container so you don’t lose any pieces. If you can, label cabinet doors and hardware. This makes reassembly much easier.
- Ventilate the Room: Open windows or use fans. Cleaning products, especially degreasers, can release fumes.
- Vacuum Dust and Debris: Use a vacuum with a brush attachment to remove loose dust, crumbs, and cobwebs inside and outside the cabinets.
Most beginners miss the importance of labeling doors and hardware. Even a small kitchen can have many similar-looking parts, and mixing them up can lead to uneven gaps or doors that don’t close right.
Choosing The Right Cleaning Solution
Picking the correct cleaner is critical. Not all products are safe for wood, and some can leave residues that stop paint from sticking. Here’s a comparison of common cleaning agents for cabinets:
| Cleaner | Best For | Pros | Cons |
|---|---|---|---|
| Mild dish soap | Light dirt, dust | Safe, gentle, easy to rinse | Not strong enough for heavy grease |
| Degreaser (TSP) | Heavy kitchen grease | Very effective, fast | Can dull wood finish, must rinse well |
| White vinegar solution | Mild grease, odors | Natural, inexpensive | Can dry wood if not rinsed |
| Commercial wood cleaner | Delicate finishes, light dirt | Safe for most woods | Expensive, may leave residue |
For most cabinets, start with mild dish soap and warm water. If you have heavy grease (common above stoves), add a degreaser. Always test any cleaner on a hidden spot before using it everywhere.
Step-by-step Cleaning Process
Cleaning wood cabinets before painting is more than just wiping them down. Each step prepares the surface for the next, so don’t skip any.
1. Remove Surface Dust And Debris
Start with the basics: get rid of dust, crumbs, and loose dirt. Use a vacuum or a dry microfiber cloth. Pay attention to corners, hinges, and the tops of cabinet doors, which often collect grime that’s easy to miss.
2. Wash With Mild Soap Solution
Mix a few drops of dish soap in a bucket of warm water. Dip a sponge or cloth in the solution, wring it out well, and gently wash all cabinet surfaces. Scrub with the grain of the wood, not against it. Work in small sections to prevent water from sitting on the wood too long.
Tip: Avoid soaking the wood. Excess water can cause swelling, warping, or stains.
3. Degrease Problem Areas
Kitchens usually have sticky grease, especially near stoves and handles. For these spots, use a degreaser like trisodium phosphate (TSP). Follow the instructions on the label, as TSP is strong and needs to be diluted. Wear gloves and rinse off the cleaner with fresh water and a clean cloth.
If you prefer natural cleaners, mix equal parts white vinegar and water. This works for light grease, but rinse thoroughly to avoid drying out the wood.
4. Scrub Corners And Details
Cabinet doors often have grooves, raised panels, or decorative edges that collect grime. Use a soft-bristled brush or an old toothbrush to clean these areas. Be gentle—scrubbing too hard can scratch the wood.
5. Clean Inside The Cabinets
If you plan to paint the inside, clean it as well. Remove shelves if possible and wash all surfaces. Even if you aren’t painting inside, cleaning prevents odors and keeps your kitchen fresh.
6. Rinse And Wipe Dry
After cleaning, rinse all surfaces with a clean, damp cloth to remove soap and cleaner residues. Any leftover cleaner can affect paint adhesion. Immediately follow with a dry towel to absorb moisture.
7. Inspect For Remaining Stains Or Residue
Look closely at each cabinet. Greasy spots, sticky patches, or shiny areas mean more cleaning is needed. Repeat the degreasing step on tough spots. Don’t rush—paint highlights every flaw.
8. Let Cabinets Dry Completely
Moisture is the enemy of good paint jobs. Let the wood air dry for at least 2-4 hours, or overnight if you can. Open cabinet doors to speed up drying. Never start sanding or painting damp wood.
Handling Stubborn Stains And Build-up
Some cabinets have years of built-up grease, smoke, or even crayon marks and stickers. These need extra effort. Here’s what to do:
- For thick grease, apply a degreaser directly and let it sit for a few minutes before scrubbing.
- Use fine steel wool (#0000) with cleaner for sticky residues, but always move gently and with the grain.
- For old stickers or tape, use a little rubbing alcohol on a cloth, then wipe clean.
- Water marks or dark rings can sometimes be removed by rubbing gently with a baking soda paste, then rinsing.
- For mold or mildew, clean with a diluted bleach solution (one part bleach to ten parts water). Wear gloves and rinse well.
Always test abrasive methods in a hidden area first. Aggressive scrubbing can damage the wood, creating extra work during painting.
Common Mistakes To Avoid
Many beginners make the same errors when cleaning cabinets before painting. Avoid these to save time and frustration:
- Using too much water. Wood absorbs water, which causes warping and peeling paint.
- Skipping the rinse step. Leftover soap or degreaser creates adhesion problems.
- Over-scrubbing with hard brushes or abrasive pads. This scratches the wood, showing under paint.
- Not letting cabinets dry fully. Even a little moisture can ruin the finish.
- Forgetting to clean inside edges or hardware holes. Paint won’t stick to hidden grease.
- Rushing the process. Good prep takes time but gives professional results.
A key insight: It’s better to spend extra time on cleaning than to fix peeling paint later. Paint covers color, not texture or residue.
When And How To Sand After Cleaning
Many guides skip this detail, but sanding comes after cleaning, not before. If you sand dirty, greasy cabinets, you grind the grime into the wood, making things worse. Here’s how to combine cleaning and sanding for best results:
- Only sand once the cabinets are completely dry.
- Use 220-grit sandpaper to lightly scuff the surface. This helps paint stick.
- Focus on shiny or glossy areas, as these are hardest for paint to grip.
- Wipe away sanding dust with a damp cloth, then let dry again before painting.
For best results, consider a deglosser (liquid sandpaper) if you want to avoid sanding by hand. Apply with a cloth, let dry, and you’re ready to paint.
Special Cases: Painted, Stained, Or Varnished Cabinets
Different finishes need slightly different cleaning approaches. Here’s a quick guide:
| Cabinet Finish | Cleaning Method | Notes |
|---|---|---|
| Painted wood | Mild soap, gentle degreaser | Avoid harsh chemicals that strip paint |
| Stained wood | Soap, vinegar solution | Test in a hidden area, avoid soaking |
| Varnished wood | Soap, TSP if needed | Rinse well, light sanding after |
| Laminated cabinets | Soap, non-abrasive cleaner | Do not use sandpaper; paint may not stick well |
If you’re not sure what finish you have, test your cleaner in an out-of-sight spot. Watch for color change, dullness, or swelling.
Handling Old Or Damaged Cabinets
Older cabinets may have cracks, peeling veneer, or loose joints. Cleaning these needs extra care:
- Avoid soaking or scrubbing fragile areas.
- For peeling veneer, gently lift loose edges, clean underneath, and glue down before painting.
- Fill cracks or holes with wood filler after cleaning and drying.
- Let repairs dry fully before sanding and painting.
Repairing at the cleaning stage saves time later. Many DIYers only notice problems after painting, leading to patchy results.
The Role Of Deodorizing And Odor Removal
Some wood cabinets hold onto strong smells—smoke, must, or cooking odors. Cleaning removes many, but not all, odors. For persistent smells:
- Wipe with a vinegar solution, then rinse and dry.
- Place bowls of baking soda inside cabinets overnight.
- For tough cases, use a product like activated charcoal or a commercial odor absorber.
Odor removal is easy before you paint, difficult after. Paint can seal in bad smells if not handled first.
Drying And Final Inspection
Never underestimate drying time. Even a little moisture in the wood can lead to bubbling or cracking paint. For best results:
- Allow cabinets to air dry as long as possible—overnight is ideal.
- Use fans or open windows to speed up drying.
- Check for hidden moisture under edges or inside grooves.
After drying, run your hand over the surface. It should feel clean, smooth, and dry—not sticky or damp. Touch and sight are better than guessing.
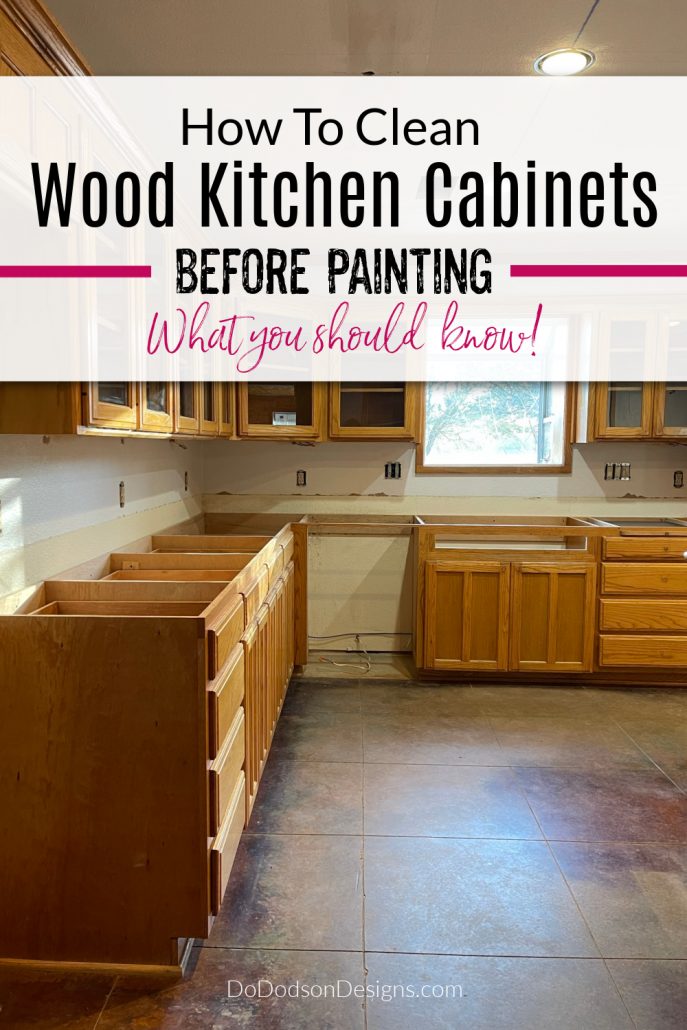
Credit: www.dododsondesigns.com
Final Prep Before Painting
After cleaning and drying, you’re almost ready to paint. But a few last steps help ensure a smooth finish:
- Fill any dents or holes with wood filler.
- Sand filled areas until smooth.
- Dust off all surfaces with a clean, dry cloth.
- Wipe with a tack cloth to remove fine dust.
- Re-check that all grease and residue are gone.
Now your cabinets are ready for primer and paint. Skipping any of these steps can show in the final result, even with high-quality paint.
How Professionals Speed Up The Process
Experts use a few tricks to clean cabinets more efficiently:
- Work in teams: One person cleans, another dries.
- Use spray bottles for cleaning solution—less mess, more control.
- Clean doors and drawers on a flat surface for better access.
- Lay items on racks or stands to dry faster.
Still, most pros agree: never rush drying or skip inspection. Fast cleaning leads to slow, costly repairs.
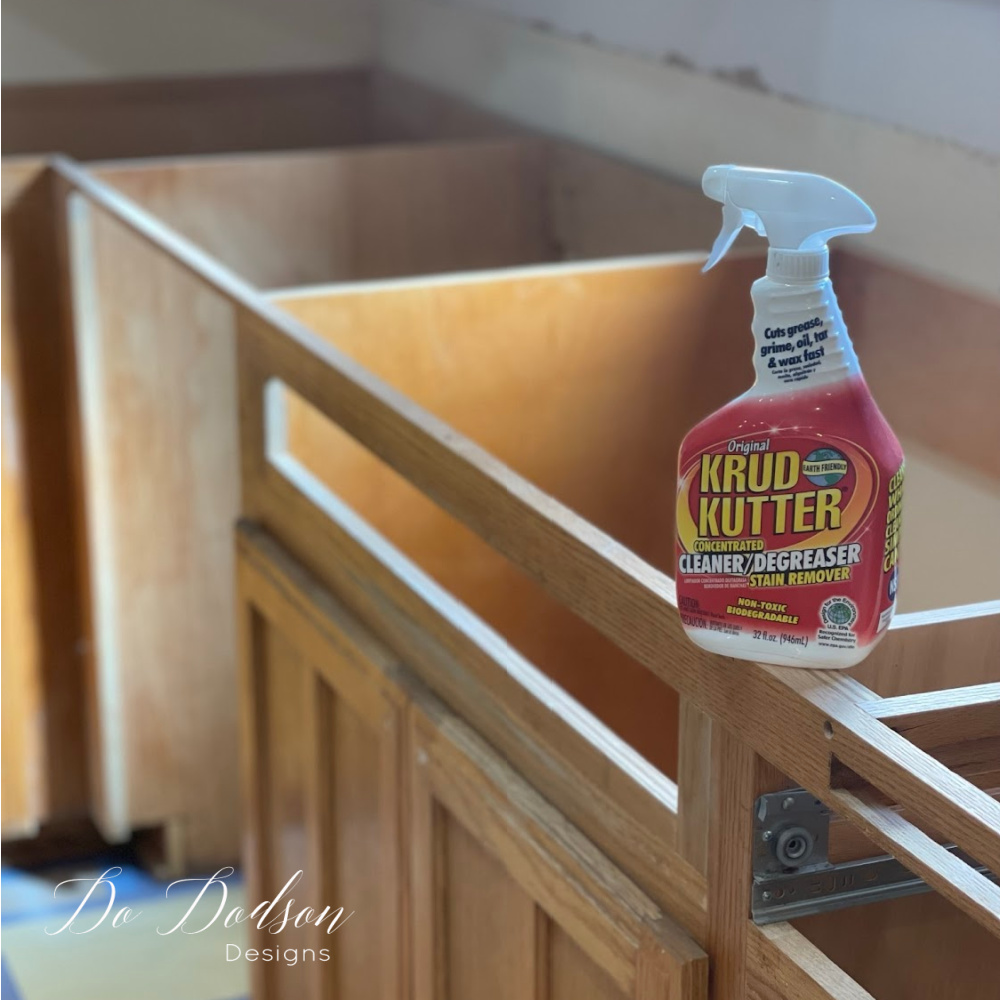
Credit: www.dododsondesigns.com
Real-life Examples: Before And After
Consider this story: A homeowner in Chicago spent hours painting her kitchen cabinets, but within months, the paint began to peel and bubble—especially near the stove. She had wiped the cabinets with a damp rag but skipped degreasing. After sanding and repainting, she used TSP, and the results lasted for years.
Another example: A family in Texas used only dish soap on their old, stained cabinets. The paint looked fine at first but chipped easily where oily hands touched most. A professional later showed them how to use a deglosser and a degreaser for a much tougher finish.
These stories highlight the difference thorough cleaning makes.
Environmental And Health Considerations
Some cleaners contain harsh chemicals. If you’re sensitive to fumes, choose low-VOC or natural alternatives. Always wear gloves, ventilate the room, and keep children and pets away during cleaning.
Key insight: Don’t ignore safety warnings on products like TSP or bleach. Long-term exposure can harm your skin and lungs.
If you want more information on safe cleaning products, the EPA offers helpful resources at EPA Safer Choice.
Troubleshooting: What If Problems Appear Later?
If you see paint peeling, bubbling, or stains bleeding through after painting, it usually means cleaning wasn’t thorough enough. Here’s how to fix common issues:
- Peeling paint: Scrape off loose paint, clean the area again, sand, and touch up.
- Sticky paint: Wait for full curing (up to a week), then clean gently and repaint if needed.
- Stains reappearing: Use a stain-blocking primer before repainting.
Prevention is much easier than repair—don’t cut corners in cleaning.
Frequently Asked Questions
How Long Should I Wait After Cleaning Before Painting Wood Cabinets?
Wait at least 2-4 hours for cabinets to dry after cleaning. For best results, allow them to dry overnight. Moisture in the wood can cause paint to bubble, crack, or not adhere properly.
Can I Use Vinegar To Clean Wood Cabinets Before Painting?
Yes, a mixture of equal parts white vinegar and water works for light grease and odors. However, always rinse with clean water afterward to prevent drying out the wood. For heavy grease, a degreaser is more effective.
Is Sanding Always Required After Cleaning Cabinets?
Sanding is not always required, but light sanding helps paint stick, especially if the wood is glossy or has an old finish. Use 220-grit sandpaper, and always sand after cleaning and drying—not before.
What Is The Best Degreaser For Wood Cabinets Before Painting?
Trisodium phosphate (TSP) is a popular choice for heavy kitchen grease. Dilute as directed and rinse thoroughly. For a natural option, use a citrus-based degreaser. Always test any cleaner on a hidden area first.
Do I Need To Remove Cabinet Doors Before Cleaning And Painting?
Removing doors and hardware makes cleaning and painting easier and leads to a smoother finish. It also helps you reach corners and edges. If you cannot remove them, be extra careful to clean all surfaces and protect hinges with painter’s tape.
Properly cleaning wood cabinets before painting is the key to a smooth, durable finish. While it takes time and effort, skipping or rushing this step leads to problems that are hard to fix later. Focus on thorough cleaning, careful drying, and attention to detail.
With the right tools, cleaners, and steps, your painted cabinets will look professional and last for years—making your kitchen or bathroom feel brand new. Take your time, follow these steps, and you’ll avoid the mistakes that many beginners make. Happy painting!