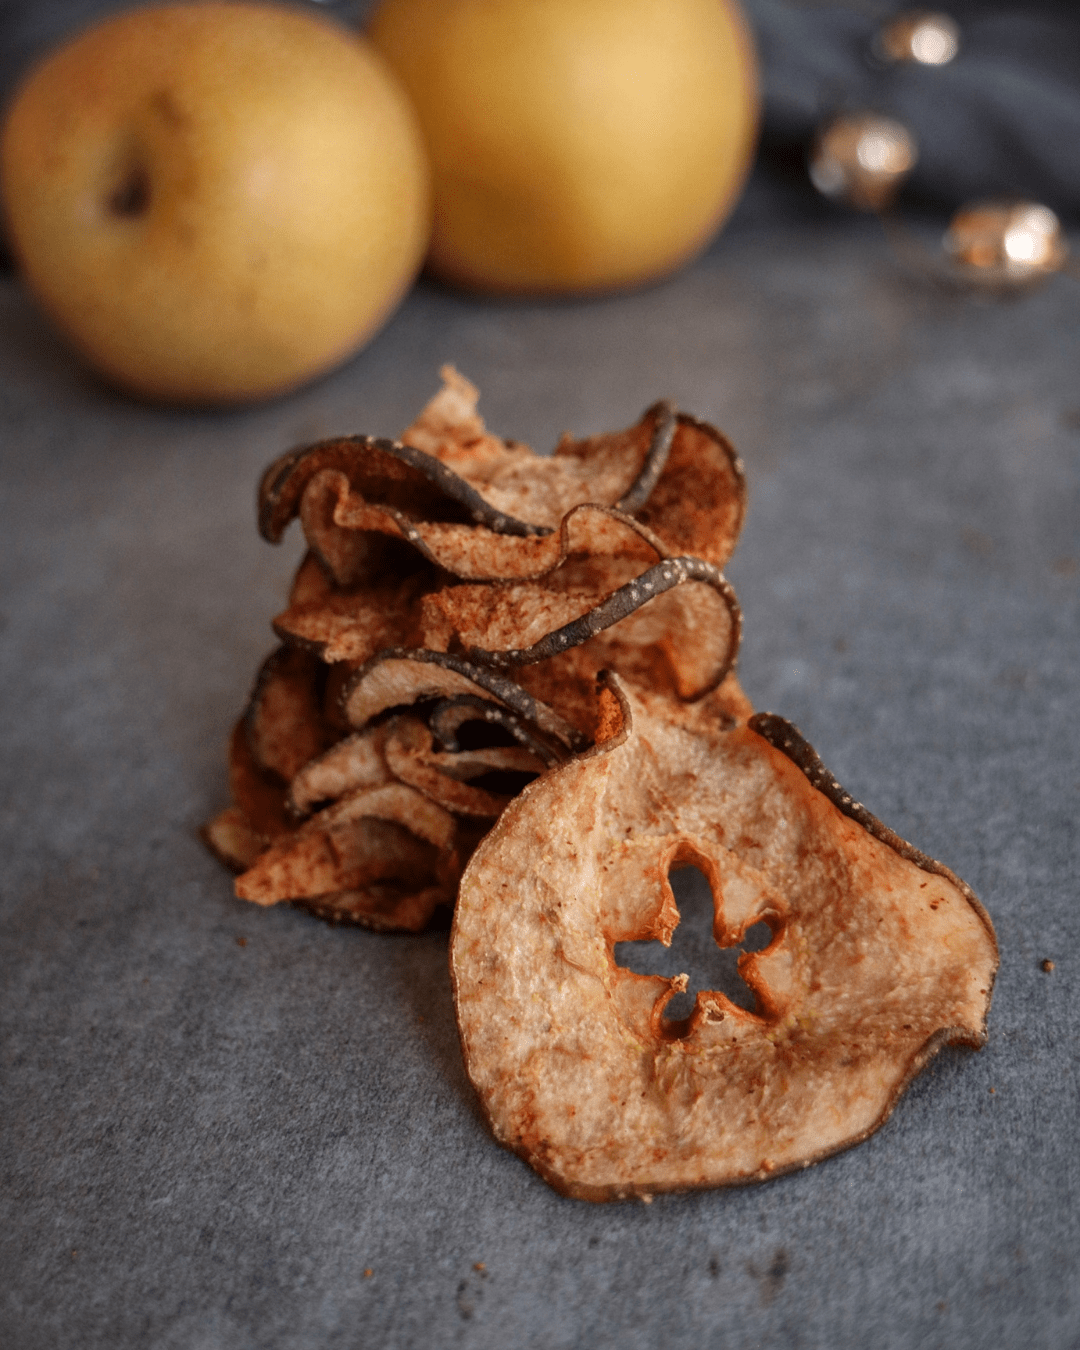
Dehydrating pears in the oven turns a juicy, seasonal fruit into a sweet, chewy snack that keeps for months. It’s a simple process, but a few important steps make a big difference in the flavor, texture, and shelf life of your dried pears.
Whether you have a backyard pear tree or just found a deal at the market, oven-dried pears are a great way to reduce waste and enjoy fruit all year. This guide will walk you through everything you need to know, from choosing the right pears to storage and creative uses.
Even if you have never dried fruit before, you’ll feel confident tackling this project at home.
Why Dehydrate Pears?
Drying pears is one of the oldest methods for preserving fruit. The process removes water, which stops bacteria and mold from growing. It also concentrates the natural sugars, making pears taste even sweeter. Dried pears are a healthy snack, and they add flavor to baked goods, cereals, and salads.
Unlike commercial dried fruit, homemade dried pears don’t need extra sugar or preservatives. You control everything: the ingredients, the thickness, and the flavor. This is especially helpful if you want to avoid sulfites or just prefer a more natural taste.
Another benefit is that dried pears are lightweight and portable, making them an ideal snack for hiking, school lunches, or traveling. Because the drying process reduces the fruit’s size, they fit easily into small containers or bags. They are also less messy than fresh pears, which can be juicy and sticky.
Insight: Many people don’t realize that drying pears at home allows you to use fruit that is slightly blemished or misshapen, reducing overall food waste. As long as the damaged parts are cut away, the rest of the pear dries perfectly.
Choosing The Best Pears For Dehydrating
Not all pears are the same when it comes to drying. The variety, ripeness, and quality will affect the final result. Here’s how to pick the best pears:
- Variety matters: Bartlett, Bosc, and Anjou pears are excellent choices. Bartletts are sweet and juicy, Bosc pears hold their shape well, and Anjous are firm and flavorful. Asian pears can also be used, but they are more watery and less sweet.
- Ripeness: Choose pears that are ripe but not mushy. Overripe pears become sticky when dried. Under-ripe pears can taste bland and chewy.
- Appearance: Avoid pears with bruises, mold, or deep blemishes. Small spots can be cut out, but deep damage can ruin the batch.
- Organic vs. conventional: Organic pears are best if you want to dry with the skin on, since the skin holds many nutrients. If using non-organic, wash and peel to reduce pesticide residue.
Pro Tip: Drying is a forgiving process. If you have a mix of pears, that’s fine—just try to cut slices of equal thickness for even drying.
Extra detail: When choosing pears, press gently near the stem. If the flesh gives slightly, the pear is ripe. If it’s hard, it needs a few more days to ripen. Don’t dry pears with very soft spots, as they can become mushy or even ferment during drying.
What You Need To Dehydrate Pears In The Oven
You don’t need any special equipment, but a few tools will make your job easier and improve results.
- Oven: Any standard oven will work. Convection ovens are even better because they circulate air for faster, more even drying.
- Sharp knife or mandoline: For even slices, a mandoline is best, but a sharp knife works too.
- Cutting board: For safe and easy slicing.
- Baking sheets: Use large, rimmed sheets to catch any juices.
- Parchment paper or silicone mats: Prevents sticking and makes cleanup easier.
- Wire cooling racks (optional): Helps air flow around the pears for more even drying.
- Large bowl: For soaking slices in anti-browning solution (optional).
- Lemon juice or citric acid: To keep pears from turning brown.
If you plan to dry pears often, consider investing in reusable silicone baking mats. They’re eco-friendly and save money over time.
Non-obvious insight: A small spray bottle filled with lemon juice and water can help you evenly coat pear slices before drying, saving time during the anti-browning step.
Prepping Pears For Dehydrating
Proper preparation is key to tasty, evenly dried pears. Here’s a step-by-step guide:
1. Wash And Dry
Rinse pears under cool water to remove dirt and residue. Dry them with a towel.
Extra tip: For pears with a waxy skin (sometimes found on store-bought fruit), rub gently with a soft brush to remove any coating, as it can interfere with the drying process.
2. Core And Slice
You can core pears with a corer, melon baller, or small spoon. For rings, slice across the pear; for wedges or chips, slice from top to bottom. Aim for slices about ¼ inch (6 mm) thick. Thicker slices take longer to dry and may end up chewy in the middle.
Non-obvious tip: Thinner slices dry faster but can become brittle. Try a test batch to find your ideal thickness.
Example: If you like a chewy texture, stick to slices no thinner than 1/4 inch. For a crispier snack, you can experiment with 1/8-inch slices, but watch them closely in the oven.
3. Peel Or Not?
The skin is edible and full of fiber, but it can be a bit tough after drying. Some people prefer to peel; others leave it on. If you’re not sure, try both ways and compare.
Insight: Peeling can be easier with a Y-shaped vegetable peeler, which removes just the skin and not too much flesh.
4. Prevent Browning
Pears oxidize quickly and turn brown. Soak slices in a mixture of:
- 1/4 cup lemon juice (or 1 tablespoon citric acid)
- 1 quart (about 1 liter) cold water
Let them soak for 5 minutes, then drain and pat dry. This step is optional, but it keeps pears looking fresh and appetizing.
Extra detail: If you are dehydrating a large batch, keep prepared slices in the solution while you finish cutting the rest. This ensures every piece gets treated and prevents uneven browning.
5. Optional: Add Flavor
You can sprinkle slices with cinnamon, ginger, or nutmeg for a twist. Sugar isn’t needed, but a dusting of cinnamon makes a delicious snack.
Example: For a fall-inspired flavor, try a mix of cinnamon and ground cloves. For a tropical taste, lightly sprinkle with ground cardamom before drying.
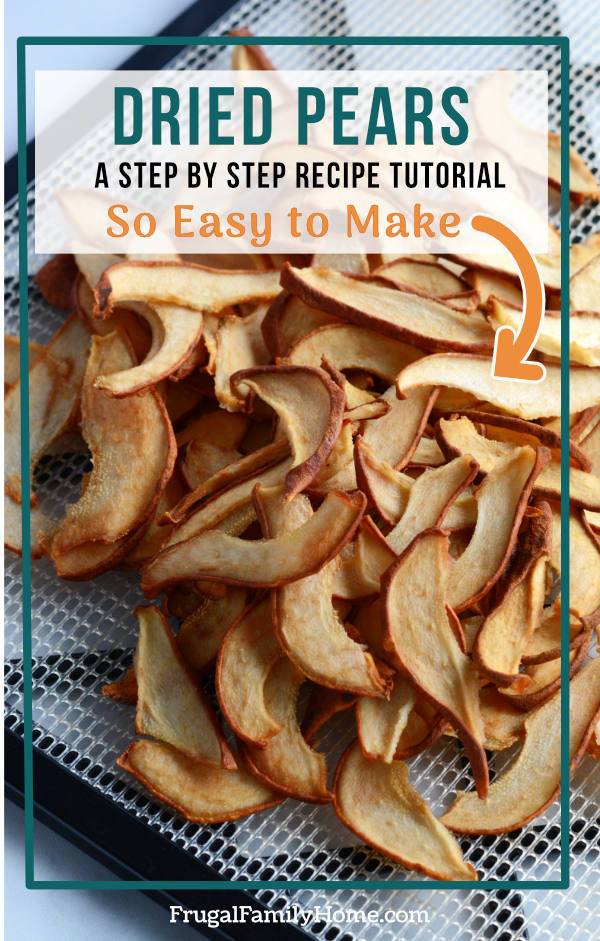
How To Dehydrate Pears In The Oven: Step-by-step
Follow these steps for consistent, tasty results. This method works for any oven.
1. Arrange Slices
Lay pear slices in a single layer on parchment-lined baking sheets or on wire racks set over baking sheets. Make sure the slices do not overlap.
Insight: Overlapping slices dry unevenly and can stick together, so leave a little space between each piece.
2. Set Oven Temperature
Dehydrating works best at low temperatures. Set your oven to 135°F (57°C) to 175°F (80°C). If your oven’s lowest setting is higher, prop the door open with a wooden spoon to let moisture escape and keep the temperature down.
Non-obvious tip: Use an oven thermometer to check the real temperature. Many ovens run hotter or cooler than the dial shows.
Extra detail: If your oven only goes down to 200°F (93°C), turn the oven off for a few minutes every hour to avoid overcooking the pears.
3. Drying Time
Drying time varies with thickness, pear variety, and oven type. Expect 4 to 8 hours. Start checking at the 4-hour mark.
- Thinner slices: 4–6 hours
- Thicker slices or wedges: 6–8 hours
Flip slices halfway through for even drying.
Example: In a convection oven, 1/4-inch slices may dry in as little as 3.5 hours. In a standard oven, it may take closer to 7 hours.
4. Check For Doneness
Dried pears should be pliable but not sticky. They should not feel wet or squishy, but they should bend without snapping. If they are crisp, they are over-dried.
To test: Let a slice cool for a few minutes, then bend it. If no moisture beads appear and it bends easily, it’s ready.
Extra tip: If you’re unsure, cut a slice in half. If the inside looks dry and no juice escapes, the pears are done.
5. Cool And Condition
Remove pears from the oven and let them cool completely at room temperature. This step is important—warm fruit can feel softer than it really is.
Pro Tip: “Condition” your dried pears by storing them loosely in a jar for 7 days. Shake the jar daily. If you see moisture, return them to the oven for further drying.
Insight: Conditioning is often skipped by beginners, but it equalizes moisture and prevents mold, especially for thick slices.
Oven Dehydrating Pears Vs. Other Methods
How does oven drying compare to a food dehydrator or air drying? Here’s a quick look:
| Method | Pros | Cons |
|---|---|---|
| Oven Dehydration | Widely available, no special equipment, easy to control temperature | Uses more energy, needs monitoring, can heat kitchen |
| Food Dehydrator | Best results, energy-efficient, automatic temperature control | Extra cost, takes storage space |
| Air Drying | No energy needed, traditional method | Needs dry, warm climate; takes days; risk of contamination |
Insight: Oven drying is the best option for most home cooks. It offers a good balance of convenience, cost, and quality.
Extra explanation: Air drying works best in places with low humidity and lots of sunshine. In humid or rainy climates, oven drying is safer and more reliable.
Credit: thenutritionadventure.com
Troubleshooting Common Problems
Drying pears isn’t hard, but small mistakes can ruin a batch. Here are some solutions to typical problems:
Pears Are Too Sticky
- Slices were too thick or weren’t dried long enough.
- Solution: Return them to the oven and dry for 30–60 more minutes.
Detail: Stack a few slices together; if they stick or leave damp spots, they need more time.
Pears Are Brittle
- Temperature was too high, or slices were too thin.
- Solution: Lower the heat and try thicker slices next time.
Example: If you want a chewy snack, avoid slicing thinner than 1/4 inch.
Uneven Drying
- Slices were different thicknesses or overlapped.
- Solution: Use a mandoline for even slices and arrange in a single layer.
Non-obvious tip: Rotate trays halfway through, especially in ovens with hot spots.
Pears Are Brown
- Not soaked in anti-browning solution.
- Solution: Use lemon juice or citric acid bath before drying.
Extra detail: Even with anti-browning steps, some darkening is normal, especially if pears are very ripe.
Mold After Storage
- Pears were not fully dried before storage.
- Solution: Always test for doneness and condition before sealing.
Tip: Store in small batches so if one container spoils, you don’t lose everything.
How To Store Oven-dried Pears
Proper storage keeps your dried pears fresh and tasty for months.
- Cool completely: Pears must be at room temperature before storing to prevent condensation.
- Use airtight containers: Glass jars, vacuum-sealed bags, or heavy-duty freezer bags work well.
- Store in a cool, dark place: Light and heat shorten shelf life. A pantry or cupboard is ideal.
- Check regularly: If you see moisture or mold, discard the batch.
Dried pears last 6 to 12 months if stored properly. For longer storage, freeze them.
Extra tip: Label containers with the date so you can use older batches first.
Non-obvious insight: Adding a small food-safe desiccant packet (like those in seaweed snack packs) can help absorb extra moisture and extend shelf life.
Nutrition And Benefits Of Dried Pears
Dried pears are more than a sweet treat—they’re full of nutrients.
- Fiber: Pears are rich in dietary fiber, which helps digestion and heart health.
- Vitamins: They provide vitamin C, K, and small amounts of B vitamins.
- Minerals: Good source of potassium, copper, and magnesium.
- Antioxidants: Many are found in the skin, so leaving the skin on boosts nutrition.
However, drying concentrates calories and sugar. Eat dried pears in moderation, especially if you monitor your sugar intake.
| 100g Fresh Pears | 100g Dried Pears |
|---|---|
| 57 kcal, 0.1g fat, 15g carbs, 3g fiber, 10g sugar | 262 kcal, 0.6g fat, 70g carbs, 9g fiber, 53g sugar |
Note: Dried pears are much denser in calories and sugar because the water is removed.
Extra detail: Because dried pears are so concentrated, a small handful (about 30g) makes a satisfying snack and provides about 3g of fiber.
Creative Ways To Use Oven-dried Pears
Once you have a batch of dried pears, there are many delicious ways to use them.
- Snacking: Eat as-is for a chewy, sweet snack.
- Trail mix: Mix with nuts, seeds, and other dried fruit.
- Baking: Add to muffins, breads, or cookies.
- Cereals and oatmeal: Chop and sprinkle over hot or cold cereals.
- Salads: Pair with goat cheese, walnuts, and greens for a gourmet salad.
- Cheese boards: Dried pears are perfect with sharp cheeses and crackers.
- Homemade granola bars: Add chopped pears for flavor and texture.
- Rehydrated dishes: Soak in warm water and use in compotes, sauces, or pies.
- Garnish: Use as a pretty topping for desserts or cocktails.
Bonus tip: Puree dried pears with a little hot water to make a natural sweetener for yogurt or smoothies.
Example: Rehydrated dried pears are great in savory dishes, like pork roast or stuffing, adding a sweet note without extra sugar.

Credit: www.marthastewart.com
Comparing Pear Varieties For Drying
Some pears dry better than others. Here’s a quick comparison to help you choose.
| Pear Variety | Drying Quality | Flavor After Drying |
|---|---|---|
| Bartlett | Excellent | Sweet, aromatic |
| Bosc | Very Good | Firm, spicy-sweet |
| Anjou | Good | Mild, juicy |
| Asian Pear | Fair | Crisp, less sweet |
Insight: Bartlett pears tend to be the best for flavor, while Bosc holds shape best for chewy snacks.
Extra detail: If you like a firmer, more tart dried pear, try using slightly under-ripe Anjou pears.
Practical Tips For Best Results
After drying pears many times, here are some advanced but simple tips most beginners miss:
- Rotate trays: If using multiple baking sheets, swap their positions halfway through to ensure even drying.
- Use a fan: If your oven allows, turning on the fan or using convection helps moisture escape faster.
- Batch size: Don’t overload the oven. More slices mean longer drying times and uneven results.
- Test before storing: Always cool and test a few pieces before sealing up the whole batch.
Experience-based guidance: The first batch may not be perfect. Take notes on time, temperature, and thickness for your next try—small adjustments lead to great results.
Extra insight: Store a few dried pears in a paper bag for a day before final storage. If they soften, they’re not dry enough yet.
Dehydrating Pears With Kids
Drying fruit is a fun family project. Kids can help with washing, arranging slices, and even taste-testing. It’s a hands-on way to teach about healthy snacks and food preservation.
Safety note: Adults should handle slicing and oven work. Kids can help arrange and season slices.
Extra tip: Give kids the job of sprinkling cinnamon or arranging slices in patterns. This makes them feel involved and more likely to eat the finished snack.
The Environmental And Economic Benefits
Drying pears at home reduces food waste. If you have a surplus from a tree or a large box from the market, drying prevents spoilage. It also saves money compared to buying commercial dried fruit, which often costs $15–$25 per pound.
Homemade dried pears also cut down on packaging waste. Store them in reusable containers, and you’ll avoid single-use plastics.
Insight: Many people don’t realize that by drying fruit at home, you can preserve varieties not available commercially. This lets you enjoy unique flavors and textures all year.
For more on the science of food dehydration, see Wikipedia: Food Dehydration.
Credit: frugalfamilyhome.com
Frequently Asked Questions
How Do I Know When My Dried Pears Are Done?
Dried pears should feel pliable but not sticky. They should bend without breaking. To check, let a slice cool, then bend it—if no moisture comes out and it’s flexible, it’s ready.
Extra tip: If you store pears and see foggy spots on the container, it means moisture is present. Return pears to the oven for further drying.
Can I Dehydrate Pears Without Peeling Them?
Yes, you can dry pears with or without the skin. Pears with skin will be chewier and higher in fiber. Some people prefer the flavor and nutrition of unpeeled pears, but the texture is a bit different.
What Temperature Is Best For Oven Drying Pears?
The ideal temperature is 135°F to 175°F (57°C to 80°C). If your oven doesn’t go that low, use the lowest setting and leave the door slightly open to let moisture escape and keep the temperature down.
How Long Do Oven-dried Pears Last?
If stored in an airtight container in a cool, dark place, dried pears can last 6 to 12 months. For longer storage, keep them in the freezer.
Why Did My Dried Pears Turn Brown?
Browning is usually caused by oxidation. Soaking pear slices in lemon juice or a citric acid solution before drying helps prevent this. Brown pears are still safe to eat, but they may look less appealing.
Dehydrating pears in the oven is a rewarding kitchen project that creates a healthy, delicious snack. With careful preparation, attention to detail, and a few handy tips, you’ll enjoy sweet, chewy pears anytime—no dehydrator required. Experiment with varieties and thickness to find your perfect dried pear, and share your homemade treats with family and friends.