Dealing with mice in your oven is more than just a simple cleaning task. Mice can leave behind germs, urine, droppings, and even nesting materials that put your health at risk. Just removing visible dirt is not enough; you need to disinfect your oven completely to make it safe for cooking again. Many people overlook hidden areas or use the wrong cleaners, leaving behind dangerous bacteria. If you want a kitchen that’s truly clean, you need to know how to disinfect your oven after mice—and how to avoid common mistakes along the way.
This guide takes you through each step, from preparing your kitchen to safely finishing the job. You’ll learn about the right cleaning agents, proper safety gear, and the hidden dangers you need to tackle. By following these steps, you can confidently restore your oven and your peace of mind.
Understanding The Risks: Why Mice In Your Oven Are Dangerous
When mice invade your oven, they leave behind more than just a mess. The real danger comes from diseases and bacteria that stick to surfaces long after the mice are gone. Some of the most common risks include:
- Hantavirus: Found in mouse urine and droppings. It can become airborne when disturbed.
- Salmonella: Bacteria that can live on oven surfaces and spread to your food.
- Leptospirosis: Carried in mouse urine and can cause serious illness in humans.
- Allergens: Mouse dander and droppings can trigger allergic reactions.
These health risks are not always visible, so even a clean-looking oven might still be unsafe. That’s why deep disinfection is essential—not just a quick wipe.
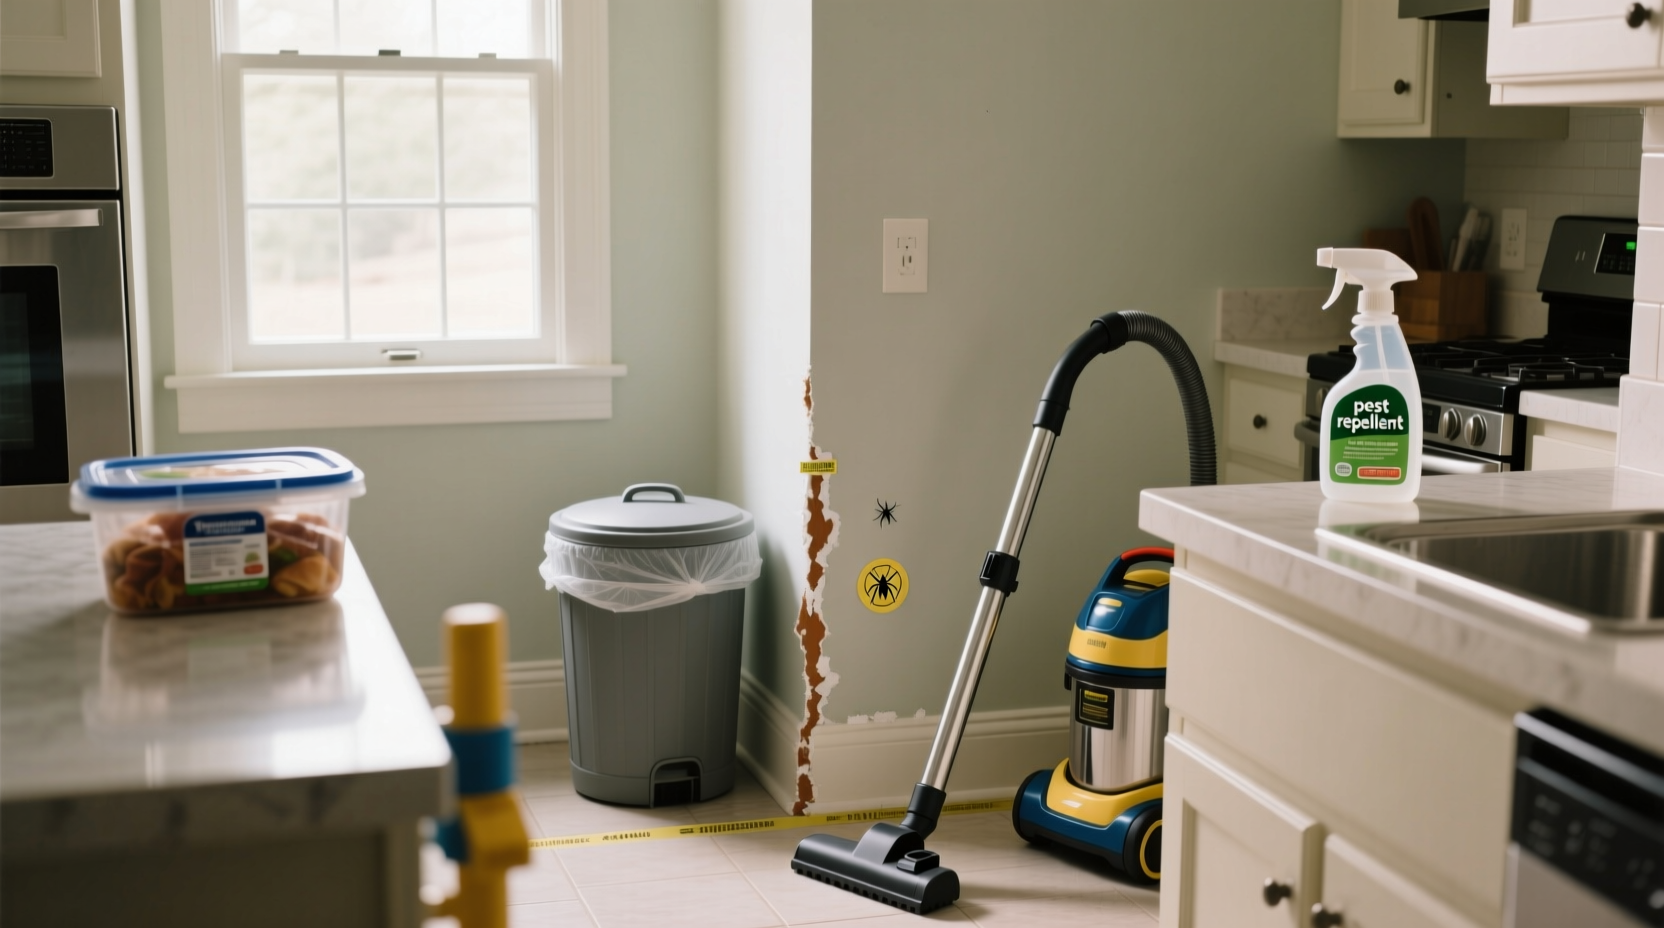
First Steps: Preparing For Oven Disinfection
Before you start disinfecting your oven, you need to prepare your space and gather the right supplies. This helps you stay safe and ensures you don’t miss any steps.
1. Gather Your Safety Gear
Mice leave behind bacteria and viruses that you should never touch directly. Protect yourself by wearing:
- Disposable gloves (nitrile or latex)
- Face mask (N95 or similar)
- Protective eyewear
- Long sleeves and pants
These items stop germs from reaching your skin or lungs.
2. Turn Off Power And Gas
Always unplug the oven or turn off the gas supply before cleaning. This prevents electrical shock and gas leaks. For electric ovens, unplug from the wall. For gas ovens, turn the valve to the off position.
3. Open Windows And Ventilate
Good ventilation helps clear out dust and odors. Open kitchen windows and turn on a fan if possible. This is especially important if you’ll use strong disinfectants.
4. Gather Cleaning Supplies
Have these items ready before you begin:
- Heavy-duty trash bags
- Paper towels and rags
- Scrub brushes and sponges
- Bucket with hot, soapy water
- Disinfectant spray (approved for kitchen use)
- White vinegar and baking soda (for natural cleaning options)
- Spray bottle
- Old toothbrush (for tight spots)
If you plan to use a commercial disinfectant, make sure it’s rated to kill viruses and bacteria. The EPA has a list of effective products.

Credit: www.nytimes.com
Step-by-step Guide: How To Disinfect Your Oven After Mice
Cleaning an oven after mice is a multi-step process. Each step is important—don’t skip any, even if the oven looks clean.
1. Remove Oven Racks And Loose Debris
Start by taking out all oven racks, trays, and loose parts. Place them in a sink or large tub for separate cleaning. Use gloves at all times.
Pick up any large debris, nesting materials, or droppings with paper towels. Bag them immediately in heavy-duty trash bags. Never sweep or vacuum dry droppings—this can send particles into the air.
2. Pre-clean Visible Contamination
Use disposable paper towels to wipe up:
- Mouse droppings
- Urine stains
- Food debris
- Any nesting material
Double-bag all waste and seal tightly. Take the trash outside as soon as possible.
3. Apply Disinfectant Generously
Spray a disinfectant (such as a bleach solution or EPA-approved spray) on all oven surfaces. Make sure to cover:
- Oven floor, walls, and ceiling
- Door seals and handles
- The inside of the oven window
- Gaps and crevices
Let the disinfectant sit for at least 10 minutes. This gives it time to kill germs.
Example Bleach Solution
For a homemade disinfectant, mix:
- 1 part bleach
- 10 parts water
Never mix bleach with ammonia or other cleaners. Always label your spray bottle clearly.
4. Scrub All Surfaces
After the disinfectant has soaked, use a scrub brush or sponge to clean all surfaces. Scrub the corners, seams, and any hidden spots. Use an old toothbrush to get into tight areas, such as door hinges or under heating elements.
Change water and rags often to avoid spreading germs.
5. Clean Oven Racks And Removable Parts
Wash oven racks, trays, and any removable parts separately. Soak them in hot, soapy water for at least 20 minutes. Then scrub thoroughly with a brush or sponge.
If you see any sticky residue or stains, use a paste of baking soda and water. Rinse well and allow to dry fully before putting back in the oven.
6. Wipe Down Exterior And Controls
Don’t forget the oven knobs, buttons, and exterior handles. These areas can also be contaminated. Use disinfectant wipes or spray on a cloth to clean these surfaces.
7. Inspect And Clean Hidden Areas
Mice sometimes hide or leave droppings in oven drawers, under the oven, or behind the appliance. Pull out the oven (if safe) and check:
- Underneath the oven
- Behind the oven
- In storage or warming drawers
Clean these areas using the same steps above.
8. Rinse And Dry Surfaces
After scrubbing, wipe all surfaces with a clean, damp cloth to remove any remaining cleaner or residue. Dry thoroughly with a towel. Moisture can attract pests and cause mold.
9. Run A High-heat Cycle
Once the oven is dry and reassembled, plug it back in or turn on the gas. Run the oven empty at the highest temperature (usually 450–500°F or 230–260°C) for at least 1 hour. This burns off any remaining germs and odors.
Keep windows open during this step to let smells escape.
10. Final Check And Odor Removal
After the oven has cooled, check for any missed spots or lingering odors. If smells remain, place a bowl of baking soda or activated charcoal inside the oven for a few hours to absorb odors.
Pro tip: Some odors linger because droppings or urine remain in hidden spots, like insulation or under the oven. If the smell does not go away, consider calling a professional.
Comparing Oven Cleaners And Disinfectants
Choosing the right cleaning product is essential. Some are stronger, while others are safer for food surfaces. Here’s a comparison of common options:
| Product | Strength | Safe for Food Surfaces | Odor | Best Use |
|---|---|---|---|---|
| Bleach Solution | Very High | No (must rinse well) | Strong | Heavy contamination |
| White Vinegar | Medium | Yes | Mild | Light cleaning, odor removal |
| Baking Soda | Low | Yes | None | Deodorizing, scrubbing |
| Commercial Disinfectant Spray | High | Check label | Varies | General disinfection |
| Hydrogen Peroxide | Medium | Yes | Mild | Surface cleaning, spot treatment |
Always check the label for food safety and instructions for use. Bleach and strong chemicals can be effective but must be rinsed thoroughly.

Credit: www.reddit.com
Deep Cleaning: What Most People Miss
Many people think their oven is clean after wiping surfaces, but mice can hide in areas you don’t see. Here are a few hidden spots you must check:
- Beneath the oven floor panel: Some ovens have a removable bottom. Mice often hide here.
- Behind insulation panels: If urine or droppings have soaked into insulation, it may need to be replaced.
- Vent and fan areas: Mice crawl into vent holes or behind oven fans. Remove covers and clean if possible.
- Under the cooktop (for stove-oven combos): Food and droppings can fall here.
If you’re unsure how to remove panels or covers, check your oven’s manual or look for a guide online.
Safety Precautions: Protecting Yourself And Your Home
Cleaning after mice is risky. Here are extra safety steps you should always follow:
- Never vacuum mouse droppings with a regular vacuum. This can send harmful particles into the air.
- Double-bag all contaminated waste and take it outside right away.
- Wash your hands thoroughly after removing gloves.
- Do not eat, drink, or touch your face while cleaning.
- Keep pets and children away from the area until cleaning is finished.
If you have asthma or allergies, ask someone else to do the cleaning or wear extra protection.
When To Call A Professional
Some situations are too risky or complicated for DIY cleaning. Call a pest control or cleaning professional if:
- The mouse infestation is large or ongoing.
- There is a strong urine smell that does not go away.
- You find droppings inside oven insulation or electrical parts.
- You are unable to disassemble or move your oven safely.
- You have health conditions that make cleaning dangerous.
Professionals have equipment and chemicals that can clean areas you cannot reach.
Preventing Future Mouse Infestations
Once your oven is clean, you want to keep mice from coming back. Prevention is easier than dealing with another infestation.
1. Seal Entry Points
Mice can squeeze through holes as small as a pencil. Check your kitchen and home for:
- Gaps around pipes and wires
- Cracks in walls or floors
- Openings behind appliances
- Unsealed doors and windows
Seal holes with steel wool and caulk. For large gaps, use metal mesh.
2. Store Food Properly
Mice are attracted to food crumbs and open containers. Keep your kitchen clean by:
- Wiping counters and floors daily
- Storing food in airtight containers
- Keeping pet food sealed and off the floor
3. Set Traps And Baits
If you see signs of mice, use traps in areas where they travel. Traditional snap traps, electronic traps, or humane catch-and-release options are available. Avoid poison baits in kitchens, as these can be dangerous for children and pets.
4. Regularly Inspect Appliances
Check under and behind your oven, fridge, and dishwasher every few months. Look for droppings, gnawed wires, or nesting materials.
5. Manage Outdoor Spaces
Trim plants, remove debris, and keep garbage bins sealed. Mice often enter from outside, so keeping the area tidy helps prevent entry.
Real-life Example: A Forgotten Oven Disaster
A family returned from vacation and noticed a foul smell in the kitchen. After searching, they found mouse droppings and nesting material inside their oven’s warming drawer. They thought cleaning the drawer and oven surface was enough. However, the smell remained.
They later discovered droppings under the oven floor and urine-soaked insulation behind the appliance. Only after removing the oven and cleaning every hidden area did the odor disappear.
Lesson: Always check hidden areas, even if you think the problem is small.
Signs Your Oven Is Safe To Use Again
After following all cleaning and disinfection steps, your oven should be:
- Free of all visible droppings, stains, or debris
- Dry and without any strong chemical or urine odor
- Fully reassembled with all parts clean
- Running a high-heat cycle without unusual smells
If you meet these conditions, your oven is safe for cooking again. If not, repeat cleaning or consult a professional.
Data: How Common Are Mice In Kitchens?
According to the U.S. Department of Housing and Urban Development, about 11% of American homes report signs of rodents every year. Kitchens are a favorite spot because of food, warmth, and hiding places.
Here’s how rodent activity compares across household areas:
| Location | Percentage of Rodent Sightings |
|---|---|
| Kitchen | 68% |
| Basement | 20% |
| Attic | 6% |
| Other rooms | 6% |
This data shows why thorough oven cleaning is important—kitchens are the top target for rodents.
Common Mistakes People Make When Disinfecting Ovens After Mice
Many people don’t realize how easy it is to miss important steps. Here are some of the most common mistakes:
- Only cleaning visible surfaces: Mice hide in hidden areas you can’t see.
- Using the wrong cleaners: Not all products kill dangerous bacteria. Always check the label.
- Not letting disinfectant sit long enough: Germs need time to die. Wait at least 10 minutes.
- Vacuuming dry droppings: This can spread germs into the air.
- Missing the oven exterior and controls: Mice touch more than just the inside.
- Skipping the high-heat cycle: Heat helps kill remaining bacteria and odors.
Pro tip: Document the cleaning process with photos—this can help if you need to call a professional or want peace of mind.
Credit: lifetips.alibaba.com
Products And Tools: What Works Best For Oven Disinfection?
There are many products on the market, but not all are effective or safe for ovens. Here’s a quick comparison of popular options:
| Product/Tool | Pros | Cons | Availability |
|---|---|---|---|
| Bleach Cleaner | Strong germ-killing; cheap | Harsh smell; must rinse well | Supermarkets, hardware stores |
| Enzyme Cleaner | Breaks down urine/odor | Can be expensive | Pet stores, online |
| Oven-Safe Disinfectant Wipes | Easy to use; convenient | Not for heavy mess | Supermarkets |
| Baking Soda & Vinegar | Natural; non-toxic | Less powerful on germs | Everywhere |
| Heavy-Duty Scrub Brush | Removes tough residue | Can scratch surfaces | Hardware stores |
Choose products based on your needs and always follow safety instructions.
Disinfecting Other Kitchen Appliances After Mice
If mice have been in your oven, they may have visited other appliances. Use similar cleaning steps for:
- Microwave: Remove turntable and racks, clean all surfaces with disinfectant, rinse, and run empty for a few minutes.
- Dishwasher: Run a hot cycle with no dishes, using a disinfectant safe for dishwashers.
- Fridge: Remove shelves and drawers, clean all surfaces, and watch for droppings in back corners.
Use separate sponges or brushes for each appliance to avoid cross-contamination.
How Long Should You Wait Before Using Your Oven Again?
After cleaning and running a high-heat cycle, wait until:
- The oven is completely dry
- All chemical smells are gone
- There are no visible droppings or stains
Usually, this means waiting at least 2–3 hours after the final high-heat cycle. If you used strong chemicals, leave the oven door open and ventilate the kitchen.
Useful Resources For Oven Disinfection
For more details on cleaning and disinfecting your home after rodents, check out the Centers for Disease Control and Prevention (CDC) guide at CDC Cleaning After Rodents.
This resource provides official advice on safe cleanup and health risks.
Frequently Asked Questions
How Can I Tell If Mice Have Been In My Oven?
Look for droppings, urine stains, nesting material, chewed wires, or a strong musty smell. You may also find food debris or hear noises from the oven at night.
What Should I Do If I Find Mouse Droppings Inside My Oven Insulation?
Oven insulation is hard to clean and often traps urine or droppings. In this case, it’s best to call a professional to remove and replace the insulation safely.
Can I Use My Oven’s Self-cleaning Feature To Disinfect It After Mice?
The self-cleaning feature uses high heat, which can kill many germs, but it won’t remove droppings or urine. Always remove all debris and clean surfaces before running self-clean.
Is It Safe To Use Natural Cleaners Like Vinegar And Baking Soda For Disinfecting?
Vinegar and baking soda can help remove odors and light stains but are not as effective as bleach or commercial disinfectants for killing all germs. For best results, use them as a final step after a stronger disinfectant.
How Can I Stop Mice From Coming Back To My Kitchen?
Seal all entry points, keep food in sealed containers, and clean up crumbs and spills daily. Regularly check for signs of mice and set traps if needed.
Restoring your oven after a mouse infestation takes time and effort, but it is worth it for your family’s health. By following these steps and staying alert, you can keep your kitchen clean and safe for the future.