
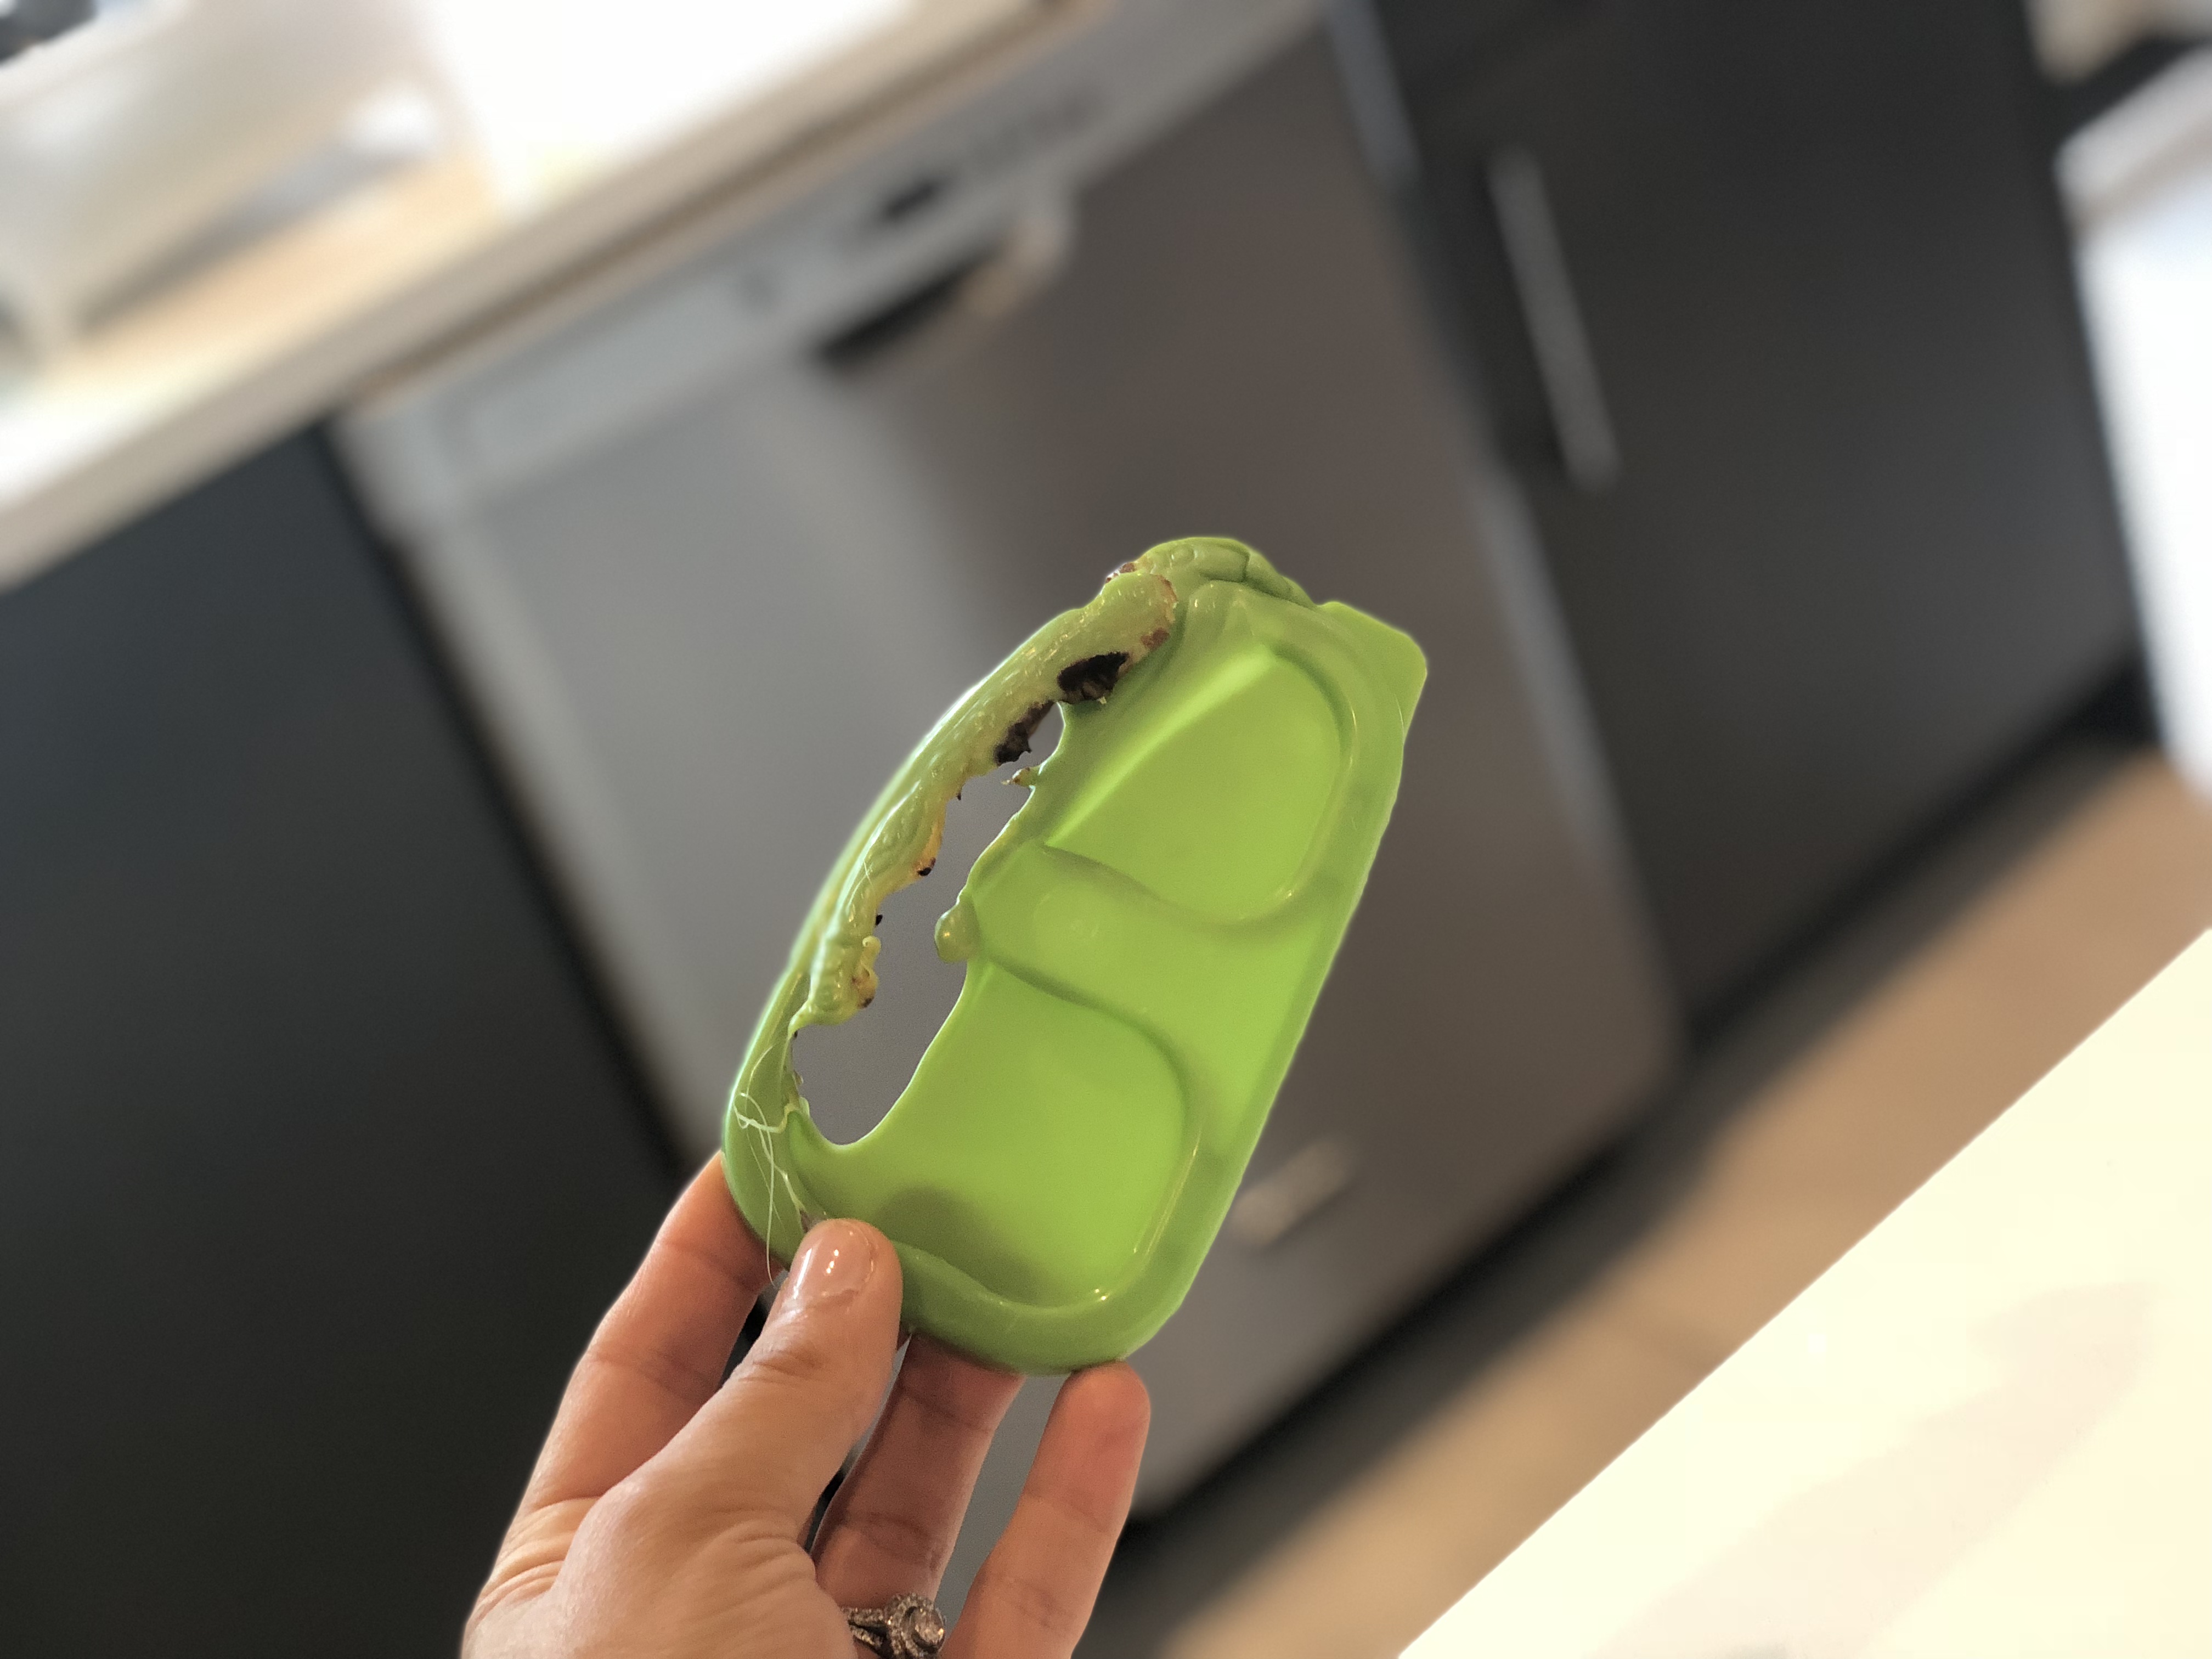
Getting melted plastic off your dishwasher might seem like a disaster, especially after you open the door and see a sticky, smoky mess. The smell, the hard clumps, and the fear of damaging your machine can make anyone anxious. But you’re not alone—this accident happens more often than you think.
Many people put plastic items on the bottom rack, not realizing how hot the heating element gets. If you act carefully and follow the right steps, you can clean your dishwasher, avoid permanent damage, and get rid of that burnt plastic smell for good.
This guide explains every detail you need, from understanding why plastic melts in dishwashers to step-by-step removal methods. You’ll learn how to handle different dishwasher surfaces, what tools and products are safe, and how to keep this from happening again.
Even if you’re facing a stubborn case, you’ll find advanced solutions here. Let’s start with the basics and work our way to a clean, odor-free dishwasher.
Why Plastic Melts In Dishwashers
Many people wonder why some plastics survive a dishwasher cycle but others end up stuck to the heating element or base. The answer is simple: dishwasher heat and plastic melting points.
Most dishwashers heat water to 120–160°F (49–71°C), but the heating element can get much hotter—sometimes 170–200°F (77–93°C) or more. Thin plastic items, like storage lids or disposable containers, often can’t handle this. If they fall from the upper rack or are placed on the bottom, they might land right on the heating element, melting instantly.
Not all plastics are the same. Polypropylene and polyethylene (used in food containers and plastic wrap) have lower melting points. Polycarbonate and other high-grade plastics (often labeled “dishwasher safe”) can withstand higher temperatures. But even “dishwasher safe” items can warp or melt if they touch the heating coil.
A non-obvious risk: Sometimes, plastic pieces become soft during washing and, if not secured, move around. This is why it’s critical not to overload your dishwasher or put lightweight items on the bottom rack.
The Dangers Of Melted Plastic In Your Dishwasher
Besides looking bad, melted plastic creates several hazards:
- Odor: Burnt plastic smell can linger for weeks, transferring to dishes.
- Health risk: Some plastics release chemicals when overheated.
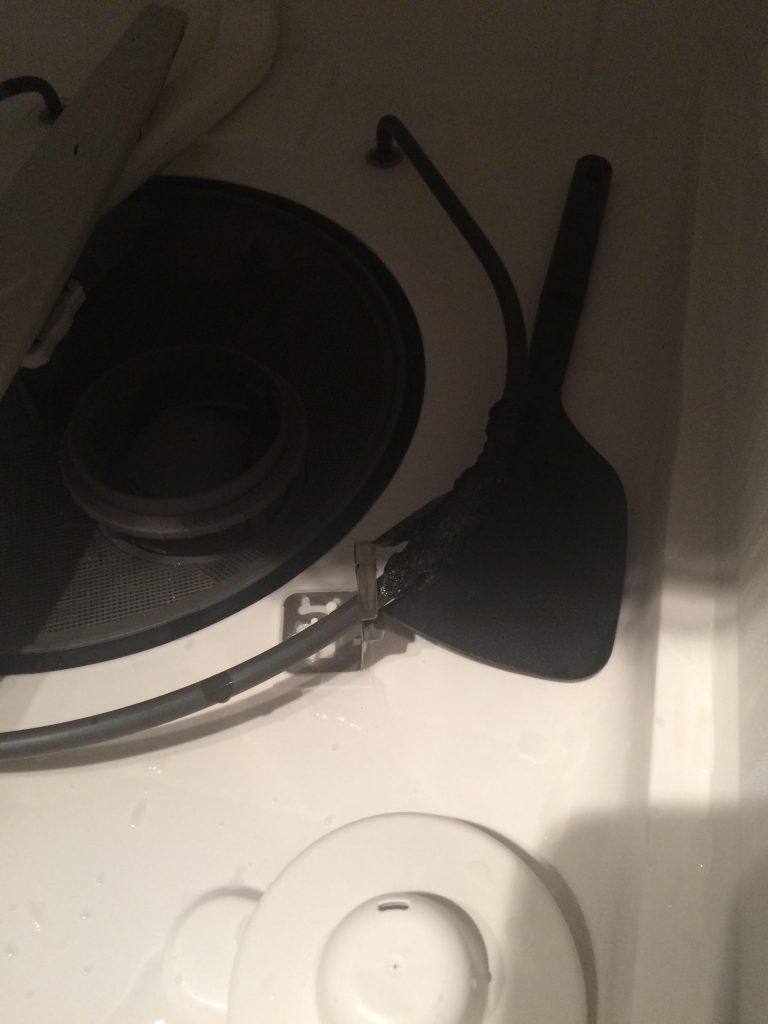
- Machine damage: Melted plastic stuck on the heating element can overheat it or block water jets.
- Dish contamination: Bits of plastic can stick to other dishes or utensils.
Some people try to run more cycles, hoping the plastic will fall off, but this rarely works and can make the problem worse. Immediate action is safer and more effective.
What To Do First: Safety And Preparation
Before touching anything, focus on safety. Melted plastic is hot, sharp, and sticky. Here’s how to prepare:
- Turn off the dishwasher. Unplug it or switch off the breaker to avoid electric shock.
- Let it cool completely. Wait at least 30 minutes after the cycle ends. If plastic is still soft, you risk burns or spreading the mess.
- Open windows. If you smell burnt plastic, ventilate the kitchen. This helps clear fumes that might irritate your lungs.
- Gather supplies. You will need:
- Rubber gloves
- Plastic scraper or wooden spatula
- Ice cubes or a bag of frozen peas
- Soft cloths or paper towels
- Baking soda and vinegar
- Dish soap
- Old toothbrush or nylon brush
- Small bowl or cup
- Optional: Needle-nose pliers, hair dryer, commercial cleaner (for tough cases)
Step-by-step: Removing Melted Plastic
Every situation is a bit different, but these steps cover most dishwasher models and types of melted plastic. Follow each step carefully.
1. Freeze The Plastic To Make Removal Easier
When plastic cools, it becomes brittle. Freezing makes it easier to scrape off in chunks.
- Place ice cubes in a plastic bag or wrap frozen peas in a towel.
- Lay this over the melted plastic for 10–15 minutes.
- Avoid using ice directly on the heating coil—condensation can cause rust.
2. Gently Scrape Off The Plastic
Wear gloves. Use a plastic scraper or wooden spatula. Never use metal tools, as they can scratch or damage the heating element or metal surfaces.
- Scrape at a low angle, applying even pressure.
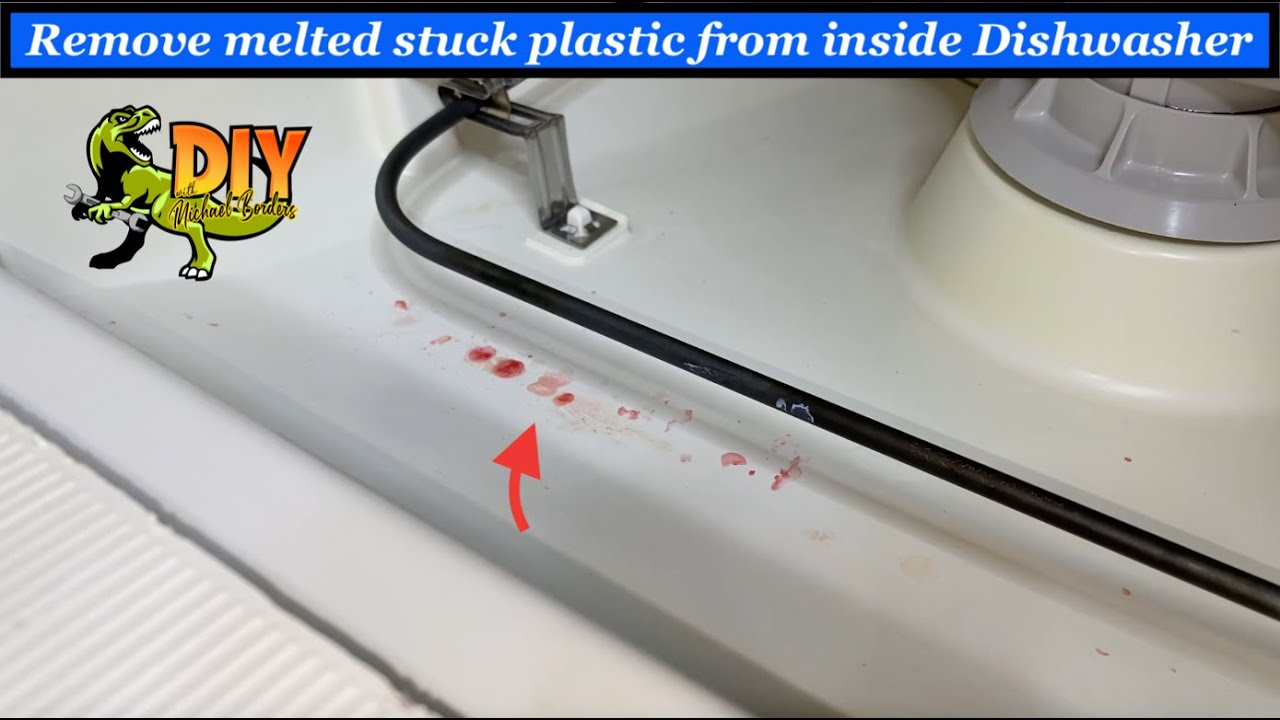
- If plastic is stuck on the heating element, work slowly to avoid bending it.
- For stubborn pieces, gently tap with the back of the scraper to crack them.
3. Remove Small Or Stubborn Bits
If scraping leaves behind residue:
- Use an old toothbrush or a nylon brush. Dip it in warm, soapy water and scrub gently.
- For small crevices, try needle-nose pliers to pull off thin strings or melted edges.
4. Clean The Area Thoroughly
Plastic can leave a thin film or oily residue.
- Mix baking soda and water to form a paste.
- Apply it to the affected area and let it sit for 5–10 minutes.
- Wipe with a damp cloth or sponge.
For extra stubborn stains, try white vinegar. Pour a small amount on a cloth and wipe the area. This helps neutralize odors too.
5. Use Heat For Leftover Traces
Sometimes, thin films won’t come off with scraping or scrubbing. Use gentle heat to soften the residue.
- Set a hair dryer to low or medium. Hold it a few inches away from the plastic.
- As the plastic softens, wipe it with a cloth or gently scrape again.
Never use an open flame or heat gun. These can damage your dishwasher or create new hazards.
6. Run A Cleaning Cycle
After all visible plastic is gone, clean the interior to remove odor and any invisible residue.
- Place a cup of white vinegar on the top rack.
- Run a short, hot-water cycle with no dishes inside.
- For extra deodorizing, sprinkle baking soda on the bottom and run another rinse cycle.
7. Inspect And Test
When finished, check:
- The heating element is clean and undamaged.
- All plastic and residue are gone.
- There’s no lingering smell.
- The spray arms and water jets are clear.
Now, run a normal cycle with a few dishes to confirm everything works and no smell remains.
Credit: www.onesmileymonkey.com
Table: Melting Points Of Common Plastics Used In Dishwashers
Understanding which plastics are most at risk helps you prevent future accidents.
| Plastic Type | Common Uses | Melting Point (°F) | Dishwasher Safe? |
|---|---|---|---|
| Polyethylene (PE) | Plastic wrap, bags | 230 | No |
| Polypropylene (PP) | Food containers | 266 | Sometimes |
| Polystyrene (PS) | Disposable cups | 212 | No |
| Polycarbonate (PC) | Reusable bottles | 310 | Yes |
Tools And Products: What Works And What To Avoid
Many people try harsh chemicals or sharp tools, hoping for quick results. But some methods can damage your dishwasher or even make the problem worse.
Safe Tools And Cleaners
- Plastic scraper: Removes melted bits without scratching.
- Wooden spatula: Also safe for scraping.
- Baking soda: Gentle abrasive, removes stains and odors.
- White vinegar: Dissolves residue and neutralizes smell.
- Mild dish soap: Cleans surfaces safely.
- Nylon brush: Gets into crevices without damaging plastic or metal.
Unsafe Or Risky Tools
- Metal knives or blades: Scratch and damage heating coils.
- Steel wool or abrasive pads: Leave permanent marks.
- Harsh chemical cleaners: Some contain bleach or ammonia, which can react with plastic and metal.
One non-obvious tip: Avoid using citrus-based cleaners on plastic or rubber gaskets. They can break down seals and cause leaks over time.
Table: Comparison Of Melted Plastic Removal Methods
Each method has pros and cons. Here’s a quick comparison to help you choose the best for your situation.
| Method | Effectiveness | Surface Safety | Odor Control | Time Needed |
|---|---|---|---|---|
| Freezing & Scraping | High | Safe | Moderate | 15–30 min |
| Soapy Brush Scrub | Medium | Very Safe | Low | 15–20 min |
| Baking Soda Paste | Medium | Very Safe | High | 20–30 min |
| Hair Dryer Softening | High | Safe | Low | 10–15 min |
| Commercial Cleaner | High | Varies | High | 30–60 min |
Special Cases: Removing Melted Plastic From Different Dishwasher Parts
Not all melted plastic ends up in the same spot. Here’s how to handle tricky areas.
Heating Element
- Always let it cool first. Heating elements are fragile.
- Use a plastic scraper, not metal.
- If residue is baked on, repeat the freeze-and-scrape method.
- Avoid harsh chemicals—they can corrode the element.
Stainless Steel Tub
- Scraping is usually safe, but avoid sharp tools.
- Baking soda paste works well for stains.
- For a shiny finish, wipe with a vinegar-soaked cloth.
Plastic Tub Or Racks
- Softer than metal, so use only nylon brushes or plastic scrapers.
- Don’t use abrasive powders.
- Rinse well after cleaning to avoid residue buildup.
Spray Arms
- If plastic clogs a spray arm, remove the arm if possible.
- Soak in hot, soapy water and use a brush to clear holes.
- Check for small bits inside the arm—shake them out or flush with water.
Dealing With Burnt Plastic Smell
Even after removing the melted plastic, the burnt odor can linger. Here’s how to deal with it:
- Ventilate: Open windows and run the kitchen exhaust fan.
- Vinegar wash: Place a bowl of vinegar inside and run a hot cycle.
- Baking soda rinse: Sprinkle baking soda on the bottom and run another rinse cycle.
- Lemon slices: Place a few slices in a dishwasher-safe bowl and run a short cycle. The fresh scent helps neutralize odors.
- Repeat if needed: Sometimes, odors persist for a few cycles. If so, repeat the vinegar and baking soda treatments.
A non-obvious insight: Odor can also collect in the filter and drain. Remove the filter (usually at the bottom) and wash it with hot, soapy water.
Preventing Melted Plastic In The Future
Prevention is much easier than removal. Here’s what you need to do:
- Top rack only: Always place plastic items on the top rack. The heating element is usually at the bottom.
- Secure lightweight items: Place them between larger items so they don’t flip during washing.
- Read labels: Only wash items labeled “dishwasher safe.”
- Don’t overload: Overcrowding can cause small items to fall or move.
- Avoid thin plastics: Disposable containers, cutlery, and plastic wrap should never go in the dishwasher.
- Check after loading: Before starting, make sure nothing has fallen onto the heating element.
Credit: guinco.com
Table: Safe And Unsafe Dishwasher Plastics
This quick reference helps you choose what’s safe to wash.
| Plastic Item | Dishwasher Safe | Recommended Rack |
|---|---|---|
| Reusable food containers | Yes (if labeled) | Top rack |
| Plastic cups | Yes (if sturdy) | Top rack |
| Disposable cutlery | No | Do not wash |
| Plastic wrap | No | Do not wash |
| Baby bottles | Yes (if BPA-free) | Top rack |
When To Call A Professional
If you’ve tried all these steps and still see melted plastic, smell burning, or notice your dishwasher isn’t working right, it’s time for expert help. Signs you need a professional:
- You can’t remove all plastic and it’s baked onto the heating element.
- The dishwasher smells burnt even after several cleans.
- The heating element is bent, broken, or discolored.
- Dishes aren’t coming out clean after several cycles.
- There’s smoke or odd noises during operation.
A repair technician can safely remove stubborn plastic, check for machine damage, and help you avoid future problems. While it might cost more, it’s better than risking a broken appliance.
Common Mistakes To Avoid
Many people make errors when trying to solve this problem. Avoid these to save time and money:
- Don’t run more cycles hoping the plastic will fall off. It usually gets worse.
- Never use metal tools. Scratches can lead to rust and leaks.
- Don’t use harsh chemicals. They can damage seals and parts.
- Avoid letting plastic sit for days. The longer it sits, the harder it is to remove and the worse the smell becomes.
- Don’t ignore small pieces. Even tiny bits can clog spray arms or filters.
Real-life Examples
Many dishwasher owners have faced this issue. For instance, one family accidentally put a plastic measuring cup on the bottom rack. It melted during the dry cycle, and the smell was overwhelming. They used the freeze-and-scrape method, followed by vinegar and baking soda cycles, and their dishwasher was back to normal in a day.
Another case involved a plastic storage lid that fell onto the heating element. The homeowner tried to scrape it off with a metal knife, scratching the element and causing it to fail. The repair cost over $100 for a new part.
This example shows why using safe tools is essential.
Environmental Concerns: What To Do With The Removed Plastic
After removal, don’t toss melted plastic in your regular trash if you can avoid it. Some local recycling centers accept hard plastics, but melted or burned pieces might not qualify. Check with your local waste authority for safe disposal methods.
Never wash plastic flakes down the drain—they can block pipes and harm the environment. Always dispose of scraps in a sealed bag to prevent accidental contact.
Extra Tips For Hard Cases
A few situations need more patience and creativity:
- If melted plastic is inside small holes or corners, use a toothpick or cotton swab dipped in vinegar.
- For thick, baked-on layers, alternate between freezing and gentle heat. Sometimes, several rounds are needed.
- If your dishwasher has a self-cleaning cycle, run it after manual cleaning to clear any remaining particles.
Useful Resources
If you want to learn more about dishwasher safety, maintenance, and plastic types, the U.S. Food and Drug Administration (FDA) offers excellent resources on food-safe plastics and cleaning methods. For more, see their official page: FDA on Food-Safe Plastics.
Frequently Asked Questions
How Do I Know If The Heating Element Is Damaged?
After cleaning, check the heating element for cracks, bends, or discoloration. If it looks warped or has burn marks that don’t wipe off, it might need replacement. If your dishwasher isn’t drying dishes well or smells burnt, get it checked by a technician.
Is It Safe To Use My Dishwasher After Melted Plastic Was Removed?
Yes, as long as all plastic is removed and there’s no damage to the heating element or spray arms. Run an empty cycle with vinegar first. If everything works and there’s no smell, you’re safe to use it.
Can I Use Oven Cleaner Or Other Harsh Chemicals?
No. Oven cleaners and strong chemicals can damage your dishwasher’s surfaces and parts. Stick to baking soda, vinegar, and mild dish soap for best results.
What Should I Do If The Smell Won’t Go Away?
Clean the filter and drain, run vinegar and baking soda cycles, and air out the machine. If the smell stays after several cycles, check for hidden plastic bits or call a professional.
Will Melted Plastic Contaminate My Dishes?
If you remove all visible plastic and clean your dishwasher well, there’s little risk. However, if plastic residue remains or the filter is clogged, dishes can pick up odors or microscopic particles. Always clean thoroughly before using your dishwasher again.
Removing melted plastic from your dishwasher can be stressful, but it’s manageable with careful steps. By acting quickly, using safe tools, and following these tips, you’ll restore your dishwasher and protect your kitchen from future accidents.
Credit: www.youtube.com