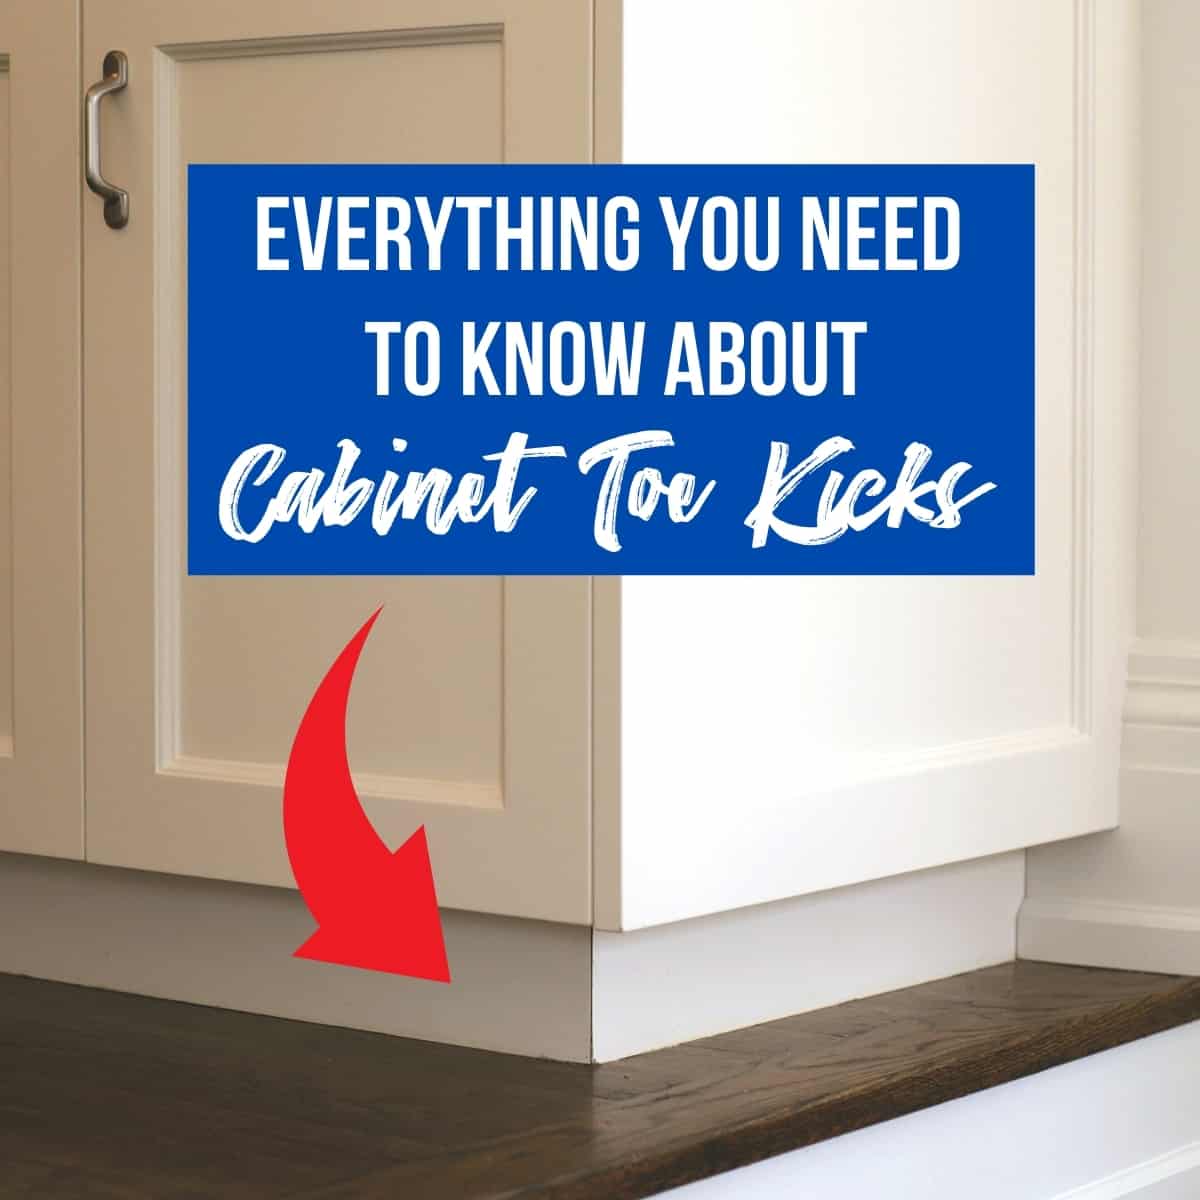
Anyone who has installed new kitchen cabinets knows that the details matter. One small but important detail is the kitchen cabinet toe kick. This strip of material at the base of cabinets may seem simple, but it does a big job: it covers the gap between the cabinet and the floor, hides cabinet legs, and gives your kitchen a finished look. Even more, it helps make standing at the counter more comfortable, as your feet have space to rest. Many homeowners try to save money by installing the toe kick themselves. If you do it right, the result looks professional and lasts for years. But if you miss some steps or make common mistakes, you might end up with gaps, loose panels, or a poor fit. This guide will walk you through everything you need to know to install kitchen cabinet toe kick like a pro—even if you have never done it before.
Understanding Kitchen Cabinet Toe Kick
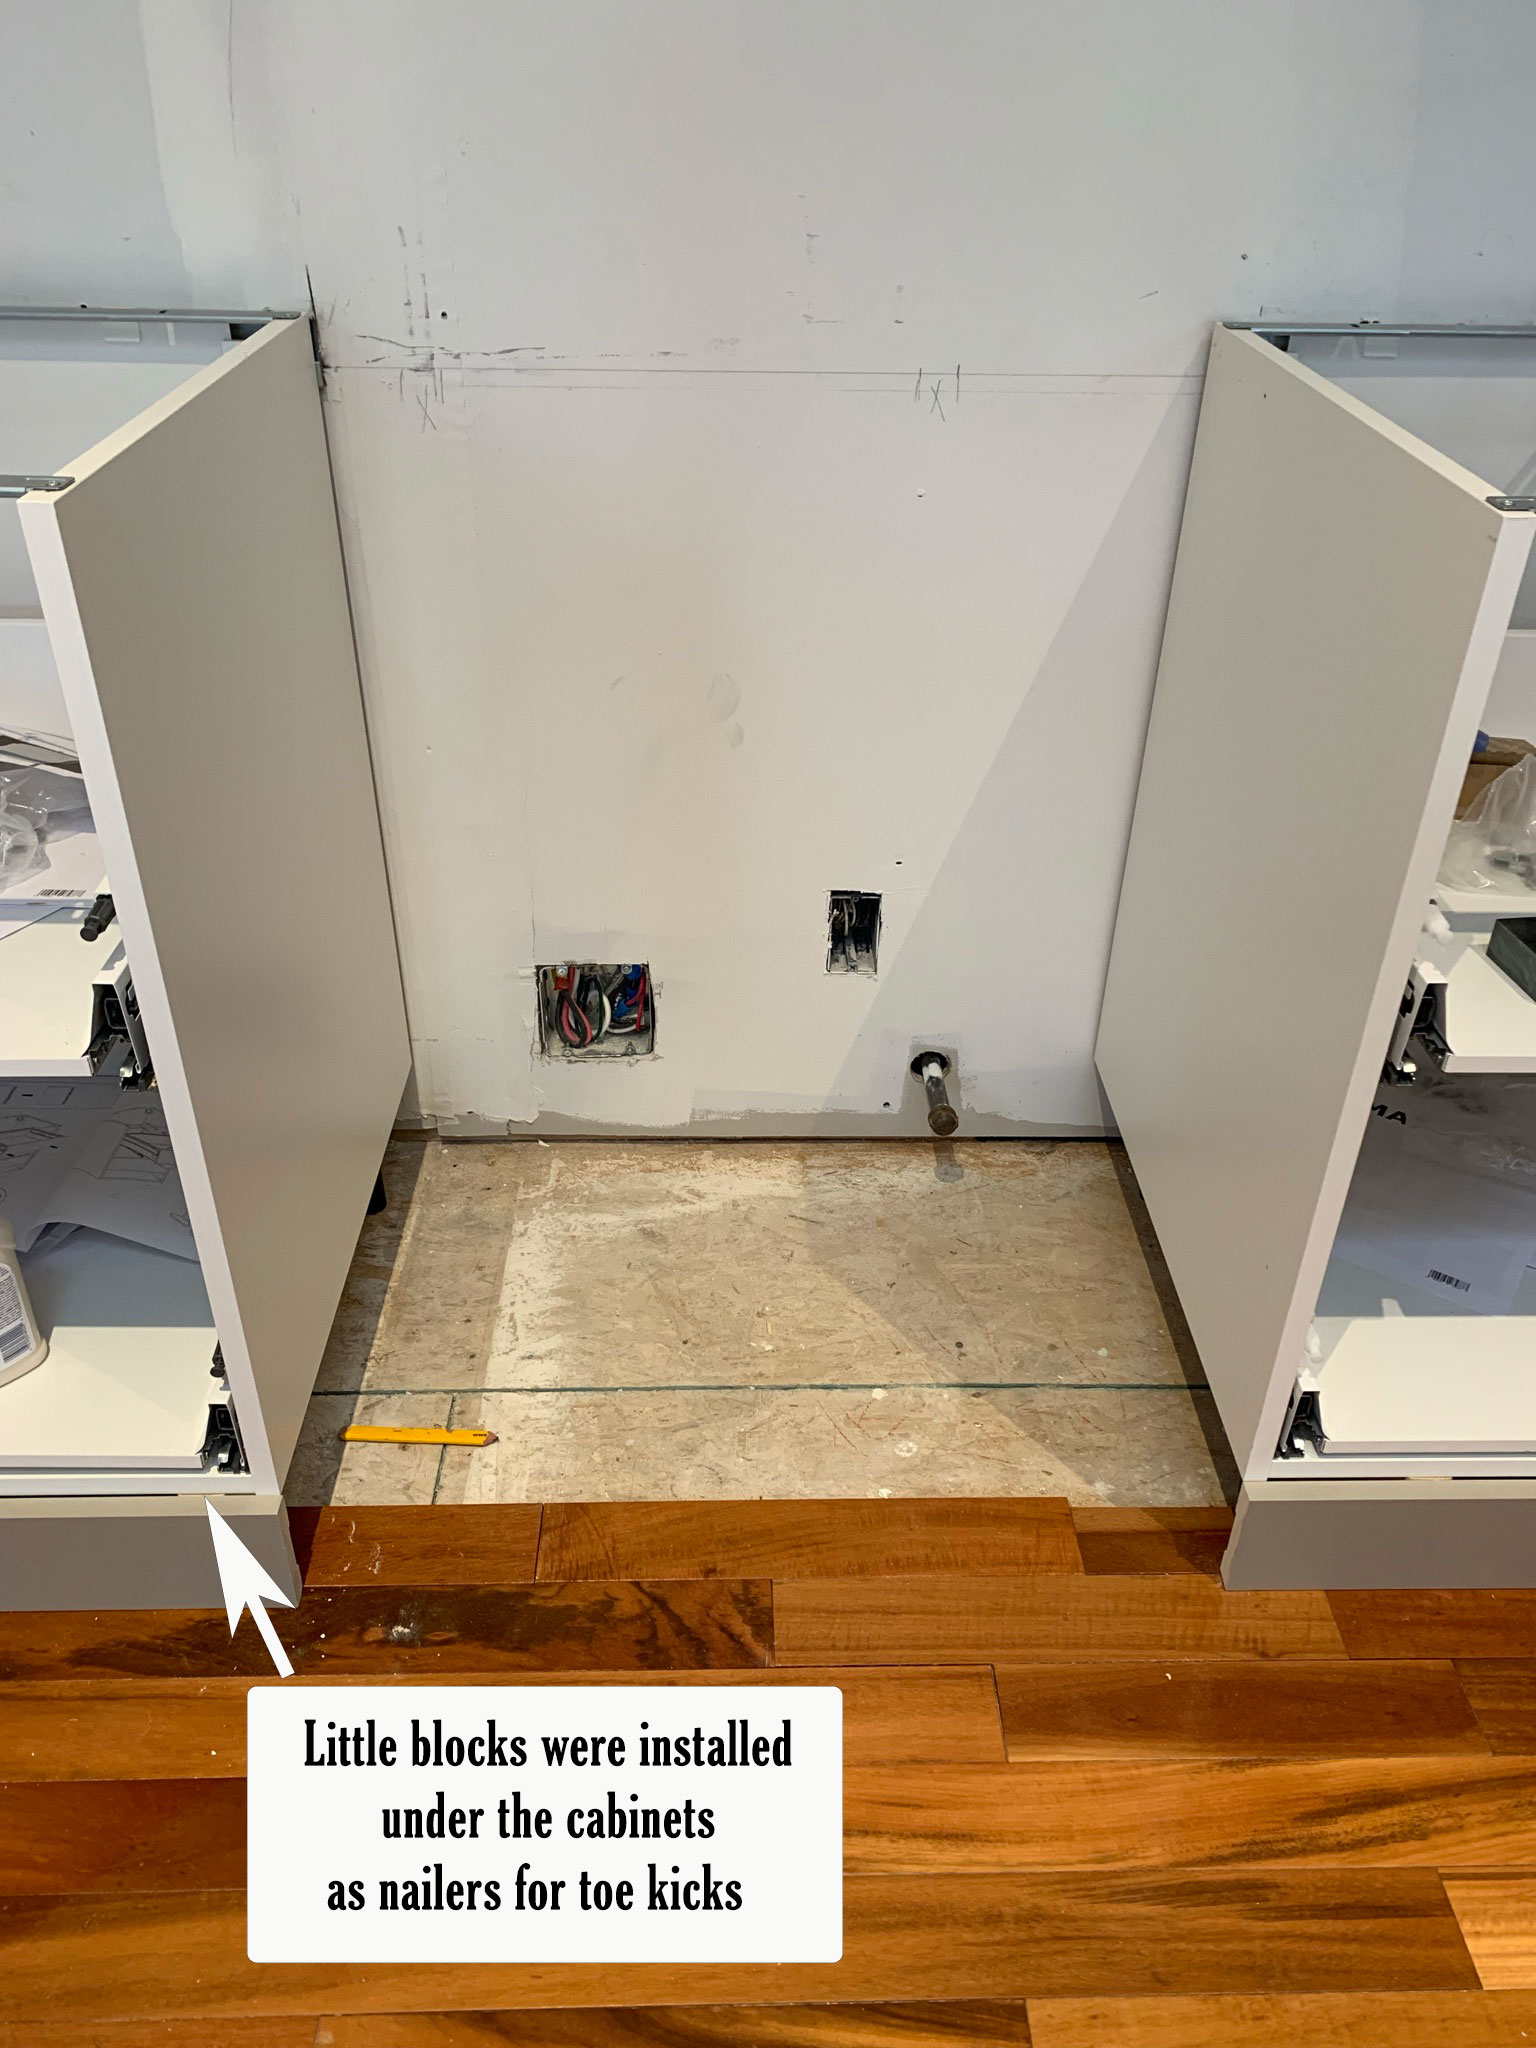
Before starting, it helps to know what a toe kick is and why it matters. The toe kick is a recessed area at the bottom front of your kitchen cabinets, usually about 3.5 inches high and 3 inches deep. The panel that covers this space is called the toe kick board or toe kick panel.
Most toe kick boards are made from MDF, plywood, or the same material as your cabinet doors. Some high-end kitchens use metal for a modern look. The main job of the toe kick is to cover the gap below the cabinet and prevent food, dust, or debris from collecting under the cabinets. It also protects the cabinet legs and makes cleaning easier.
Why Not Skip The Toe Kick?
You might wonder if you really need toe kick panels. Some modern kitchens use open legs or metal posts, but most kitchens look unfinished without the toe kick. It also makes standing at the counter less comfortable. If you skip it, you may notice more dirt and find it harder to keep your kitchen clean.
A good toe kick also helps your cabinets last longer by keeping moisture and spills away from the cabinet base.
Tools And Materials You’ll Need
Installing a toe kick is not very hard, but you need the right tools and materials for a smooth job. Here’s what you’ll need:
- Toe kick panels (match your cabinet finish)
- Measuring tape
- Pencil
- Miter saw or handsaw (for cutting panels to size)
- Utility knife
- Construction adhesive (like Liquid Nails)
- Finishing nails or brad nails
- Hammer or nail gun
- Caulk (paintable, to fill gaps)
- Caulk gun
- Wood putty (for covering nail holes)
- Clamps (optional, to hold panels in place)
- Safety glasses and gloves
Some homeowners also use screws, but finishing nails are more common because they leave a smaller mark.
Comparing Tools: Hand Tools Vs. Power Tools
Here’s a quick look at the differences between hand tools and power tools for this job:
| Tool Type | Pros | Cons |
|---|---|---|
| Hand Tools | Low cost, easy to control, safer for beginners | Slower, may need more effort for long panels |
| Power Tools | Fast, precise, best for many cabinets | More expensive, requires safety care |
For a small kitchen, hand tools are fine. If you’re working on a big project or want perfect edges, a power miter saw and nail gun save time.
Measuring And Planning
Getting the right measurements is the key to a clean, tight fit. Rushing this step is a common mistake.
- Measure the length of each cabinet run. Always measure twice to avoid mistakes.
- Check the height from the floor to the bottom of the cabinets. Most toe kicks are 3.5 to 4 inches high, but older kitchens may be different.
- Note any obstacles. Look for pipes, outlets, or uneven floors.
- Mark the measurements on your toe kick panels with a pencil. Always label each piece so you know where it goes.
A smart tip: Leave a tiny gap (1/16 inch) at the ends for expansion, especially with wood.
Common Beginner Mistakes
- Not checking for uneven floors. If your floor is not level, your toe kick may look crooked.
- Forgetting to measure for corners and cabinet legs. Some cabinets have extra panels or feet to work around.
- Mixing up left and right panels. Always label each piece after cutting.
Cutting Toe Kick Panels To Size
Once you have your measurements, it’s time to cut the panels.
- Mark the cut lines on the back of the toe kick with a pencil and a straightedge.
- Cut panels using a miter saw for straight, clean edges. If you use a handsaw, cut slowly and support the panel to prevent splintering.
- Test fit each piece before final installation. Check that the edges line up and the panel sits flat against the cabinet base.
If your cabinets have inside or outside corners, you’ll need to cut miter joints (angled cuts) at 45 degrees for a tight fit. For most kitchens, this is only at the exposed ends.
Example: Cutting Around Obstacles
If you have a pipe or outlet in the way, use a utility knife or jigsaw to cut a notch in the toe kick panel. Test fit and trim as needed until the panel fits snugly.
Attaching The Toe Kick Panels
There are two main ways to attach toe kick panels: construction adhesive or finishing nails. Many professionals use both for extra strength.
Using Construction Adhesive
- Apply a bead of adhesive to the back of the toe kick panel.
- Press the panel into place under the cabinets.
- Hold or clamp the panel for a minute so the adhesive grips.
- Wipe away any glue that squeezes out before it dries.
Adhesive is great for panels that don’t line up with cabinet edges or when you want a seamless look.
Using Finishing Nails Or Brad Nails
- Position the panel tightly against the cabinet base.
- Nail through the toe kick into the cabinet base or legs. Use nails every 12 to 16 inches.
- Sink the nails just below the surface.
- Fill nail holes with wood putty for a smooth finish.
A nail gun makes this step quick, but a hammer works fine for small kitchens.
Combining Both Methods
For the strongest hold, use adhesive and a few finishing nails. The nails hold the panel while the glue dries, preventing gaps.
Table: Adhesive Vs. Nails For Toe Kick Installation
| Attachment Method | Strength | Finish | Best For |
|---|---|---|---|
| Construction Adhesive | Strong (after drying) | Seamless, no holes | Panels with few supports |
| Finishing Nails | Good (immediate hold) | Small holes to fill | Quick jobs, wood panels |
| Both | Very strong | Best of both methods | High-traffic kitchens |
Dealing With Corners And Joints
Most kitchens have inside and outside corners where toe kick panels meet. For a professional look, use mitered (angled) joints.
- Measure the angle (usually 45 degrees).
- Cut both panels at 45 degrees to meet neatly.
- Dry fit before attaching.
- Glue and nail as usual.
If you have a gap where panels meet, use caulk or wood filler for a seamless finish.
Overlapping Joints
For some cabinets, panels overlap at corners. In this case, cut the panel that faces the room slightly longer so it covers the raw edge of the side panel. This gives a cleaner look.
Special Cases: Toe Kick Drawers
Some high-end kitchens have toe kick drawers for extra storage. These require a special panel with a drawer front. Install the drawer first, then attach the toe kick panels to match. Always follow the drawer manufacturer’s instructions.

Credit: www.youtube.com
Filling Gaps And Finishing Touches
After the panels are attached, you may see small gaps, nail holes, or seams.
- Fill nail holes with wood putty. Let it dry, then sand smooth.
- Run a thin bead of caulk along the top edge where the toe kick meets the cabinet. Smooth with your finger.
- Touch up paint or stain any bare wood or marks.
- Clean away dust and check for missed spots.
For a truly seamless look, paint the caulk to match the cabinet color after it dries.
Dealing With Uneven Floors
Many kitchens have slightly uneven floors. If you notice gaps at the bottom of the toe kick, use quarter round molding or shoe molding to cover the gap. Nail the molding to the toe kick, not the floor, so the floor can expand and contract.
Cleaning Up And Final Inspection
Once your panels are installed and finished, take a few minutes to check your work.
- Look for loose panels. Press on each section to make sure it’s secure.
- Check for gaps, especially at corners and ends.
- Make sure all nail holes and seams are filled and smooth.
- Wipe down the toe kick to remove dust or fingerprints.
If you see any problems, fix them now. It’s much harder to adjust panels after the adhesive dries completely.
Practical Tips For A Pro Finish
Here are some non-obvious tips most beginners miss:
- Stagger your seams. Never line up toe kick seams with cabinet seams. Offset them for a stronger, cleaner look.
- Paint or seal cuts. If you cut through a factory-finished panel, paint or seal the raw edge to prevent moisture damage.
- Buy extra material. Always order an extra 10% toe kick material in case you make a mistake or need to replace a damaged section.
- Label each panel. Mark each piece on the back as you cut and fit them. This avoids confusion during installation.
- Check panel direction. Some panels have a wood grain or pattern. Always install them with the grain running in the same direction for a pro look.
Cost And Time Estimate
Installing toe kick panels is a project most homeowners can do in a weekend.
- Time: 2 to 4 hours for a standard kitchen (10 to 15 feet of cabinets)
- Material cost: $30 to $75 for panels, nails, adhesive, and caulk
- Tools: You may need to buy or rent a miter saw ($20 to $60 per day for rental)
- Skill level: Beginner to intermediate DIY
Hiring a professional can cost $150 to $400 for labor alone, so doing it yourself saves money.
When To Call A Professional
While most people can install toe kick panels, there are times when you should call in a pro:
- If your cabinets or floors are very uneven
- If you have custom cabinets with curves or special features
- If you want hidden toe kick drawers or lighting
- If you don’t have the right tools and don’t want to buy or rent them
A professional can also help if you want to add waterproof toe kicks or match a difficult finish.
Toe Kick Material Comparison
Choosing the right material for your toe kick panels affects how they look and last. Here’s a side-by-side comparison:
| Material | Durability | Water Resistance | Appearance | Cost |
|---|---|---|---|---|
| MDF | Good | Poor (unless sealed) | Paintable, smooth | Low |
| Plywood | Very good | Fair | Natural wood grain | Medium |
| Laminate | Excellent | Very good | Matches cabinets | Medium |
| Metal | Excellent | Excellent | Modern, sleek | High |
For most kitchens, MDF or laminate is the most common choice. If your kitchen gets a lot of water (near a sink or dishwasher), consider laminate or metal for better protection.
Credit: www.thehandymansdaughter.com
Matching The Toe Kick To Your Cabinets
Your toe kick should match your cabinet finish for the best look. Most cabinet makers offer matching panels. If you can’t find a match, you can paint or veneer MDF panels.
- For painted cabinets, use MDF or paint-grade plywood.
- For wood cabinets, use matching veneer or wood panels.
- For modern kitchens, consider stainless steel or aluminum toe kicks.
If you’re unsure, take a sample of your cabinet finish to the store for the best match.
How To Remove Old Toe Kick Panels
If you’re updating your kitchen, you may need to remove old toe kick panels before installing new ones.
- Cut along the caulk line with a utility knife.
- Gently pry off the old panel with a flat bar. Go slowly to avoid damaging the cabinet.
- Remove old nails or glue from the cabinet base.
- Clean the area before installing the new panel.
Sometimes old panels are glued or stapled. Use a putty knife and patience to avoid breaking the cabinet base.
Adding Toe Kick Accessories
Some kitchens add features to the toe kick area for more function:
- Toe kick vents for heating or cooling. Cut a hole in the panel for the vent.
- Toe kick lighting (LED strips) for a modern look. Install the lights before attaching the panel.
- Toe kick drawers for extra storage. Buy a kit or use a local carpenter.
Always plan these extras before installing your panels.
Maintenance And Care
Toe kick panels are easy to maintain:
- Wipe with a damp cloth to clean off dust and spills.
- Avoid soaking with water, especially with MDF.
- Check for loose panels each year and re-attach if needed.
- Touch up paint or caulk as needed to keep panels looking new.
If a panel gets damaged, you can remove and replace just that section without redoing the whole kitchen.
Credit: erinzubotdesign.com
Real-world Example: A Diyer’s Success
Anna, a homeowner in Texas, installed her own toe kick panels during a kitchen remodel. She spent about $60 on materials and used a borrowed miter saw. She made one mistake—cutting a panel too short—but had extra material to fix it.
The whole project took her four hours. She said the hardest part was cutting around a pipe, but using a cardboard template helped get the shape right. Now her kitchen looks finished and is easier to clean.
Where To Learn More
For more detailed guides and videos on kitchen cabinet installation and finishing touches, the Family Handyman website is a trusted resource.
Frequently Asked Questions
How High Should A Kitchen Cabinet Toe Kick Be?
Most toe kicks are 3.5 inches high, but some styles range from 3 to 4.5 inches. The main goal is to give your toes space while standing at the counter. Always match the height to your cabinet design for a seamless look.
Can I Install Toe Kick Panels Without Nails?
Yes, you can use construction adhesive alone. Apply the adhesive in a zigzag pattern on the back of the panel and press it in place. Hold it for a few minutes or use painter’s tape while the glue dries. For high-traffic kitchens, a few finishing nails add extra strength.
What If My Floor Is Not Level?
If you have an uneven floor, you may see gaps under the toe kick. Use a scribe (a pencil on a block of wood) to trace the floor shape on the back of the panel, then trim to fit. You can also cover small gaps with quarter round molding for a clean look.
Can I Paint Toe Kick Panels?
Yes! Most MDF and wood toe kick panels are paintable. Use a high-quality primer and paint to match your cabinets. For laminate panels, use special paint designed for slick surfaces, or order panels that match your cabinet finish.
Do I Need A Professional To Install Toe Kick Panels?
Most homeowners can install toe kick panels with basic tools and patience. You may want a professional if your cabinets are custom, your floors are very uneven, or you want special features like lighting or drawers.
A well-installed toe kick makes your kitchen look complete, protects your cabinets, and makes daily cleaning easier. Take your time with measurements and cuts, and you’ll be proud every time you walk into your kitchen.