
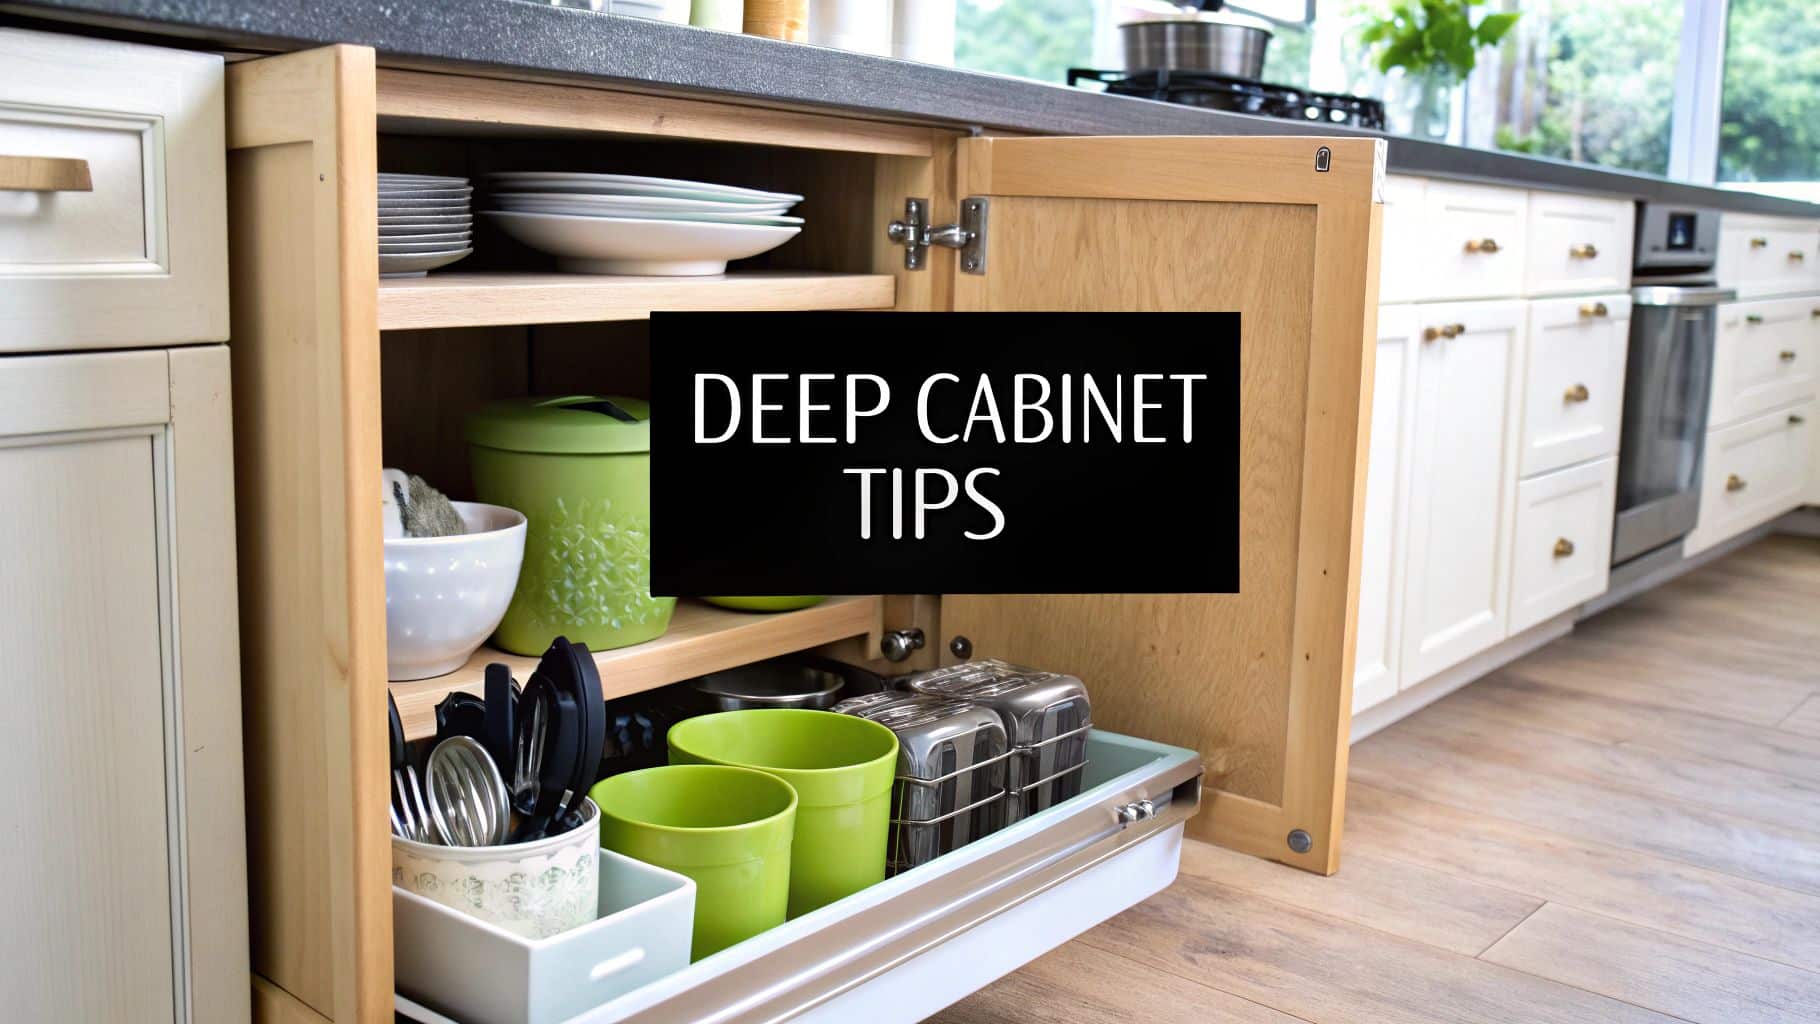
When you open a deep kitchen cabinet, it often feels like looking into a dark cave. You might find lost food containers, forgotten appliances, or that one baking pan you bought years ago but never used. Deep cabinets are common in many kitchens because they offer a lot of storage space.
However, they can also become a source of frustration if not organized well. Items get buried at the back, things topple over, and you end up buying duplicates because you cannot see what you already have.
Organizing deep kitchen cabinets is not just about making things look neat. It is about saving time, reducing stress, and making your kitchen work better for you. Imagine being able to reach everything easily, knowing exactly where your items are, and not wasting food or money.
This guide will show you how to transform those deep cabinets from a cluttered mess into a smart, useful space.
You will learn practical steps, clever tools, and real-life strategies for different types of cabinets and items. From understanding what you really store to using the right organizers, you will find tips that work—even for renters or those with small kitchens.
Let’s start turning your deep kitchen cabinets into one of your favorite kitchen features.
Why Deep Kitchen Cabinets Are Challenging
Deep cabinets sound great in theory, but they come with a few real problems. The biggest issue is access. If you place something at the back, it’s easy to forget it exists. You may also have to remove items in front just to reach what you need. This can make cooking or cleaning stressful.
Another problem is visibility. Deep cabinets are like black holes for small kitchen items. You cannot see what’s inside without bending down or using a flashlight. Items can get dusty, and food can expire before you even remember it’s there.
Wasted space is also common. Many people only use the front part of the cabinet, leaving the back empty. Or they cram everything in, making it impossible to find anything. Deep cabinets can lead to clutter and chaos if not managed.
Step 1: Empty And Evaluate
Before you can organize, you need to know what you’re dealing with. Take everything out of your deep cabinet. Lay items on your countertop or a table. This may look messy, but it’s a crucial step.
Check each item. Ask yourself:
- Do I use this regularly?
- Is it broken, expired, or missing parts?
- Do I have duplicates?
Set aside things you do not need. If you have two slow cookers, decide if you really need both. Get rid of broken gadgets, expired food, or items you haven’t used in a year. Donate, recycle, or throw away what you do not want.
This step gives you a clear view of what should go back into the cabinet. It also frees up space for the items you truly use.

Credit: www.neathousesweethome.com
Step 2: Clean And Prepare
With the cabinet empty, take a few minutes to clean. Wipe down all surfaces with a gentle cleaner or warm, soapy water. Deep cabinets collect crumbs and dust, so a good cleaning now will help keep your items fresh.
Next, measure the inside of the cabinet. Write down the height, width, and depth. These numbers are important when you buy organizers or containers later.
Check for things like peeling paint, sticky shelves, or broken parts. Fix minor issues now. If your cabinet is dark, consider adding a battery-operated LED light. Good lighting helps you see items at the back.
Step 3: Plan Your Space
Think about what you want to store. Deep cabinets work best for:
- Large pots and pans
- Appliances (stand mixers, blenders)
- Bulk food items (rice, flour, canned goods)
- Baking trays and cutting boards
- Tupperware or plastic containers
Avoid putting small, loose items straight into deep cabinets—they get lost easily. Instead, group similar items. For example, keep all baking items together or all food storage containers in one spot.
Be realistic. If you bake only once a month, do not give prime space to baking sheets. Store them at the back or in a less-used area.
Step 4: Choose The Right Organizers
Not all organizers work for deep cabinets. Some tools make a huge difference. Here are top options:
- Pull-Out Drawers or Shelves
- Slide out so you can reach everything, even at the back.
- Great for pots, pans, and food containers.
- Lazy Susans
- Rotating trays let you spin items to the front.
- Perfect for jars, bottles, or small items.
- Storage Bins
- Clear or labeled bins group similar items.
- Easy to pull out the whole bin to find what you need.
- Tiered Racks
- Step-style shelves for canned goods or spices.
- Helps you see everything at a glance.
- File Racks or Dividers
- Use vertical space for baking sheets, trays, or cutting boards.
- Stackable Shelves
- Double up your storage by adding a shelf inside the cabinet.
- Avoids wasted vertical space.
- Under-Shelf Baskets
- Hang below a shelf to store lids or small items.
Here’s a quick comparison of common organizers:
| Organizer Type | Best For | Pros | Cons |
|---|---|---|---|
| Pull-Out Drawer | Pots, Appliances | Easy access, high capacity | Higher cost, needs installation |
| Lazy Susan | Jars, Small Items | Rotates, maximizes space | Not for large items |
| Bins | Snacks, Containers | Flexible, affordable | May slide around |
| Tiered Rack | Cans, Spices | Improves visibility | Limited by cabinet height |
Step 5: Organize By Frequency And Category
Once you have the right organizers, it’s time to put things back. Start with frequency of use. Place items you use every day in the front or on higher pull-out shelves. Seasonal or rarely used items can go at the back or on lower levels.
Group similar items together. Some examples:
- Store all baking tools in one bin.
- Keep snack foods in a clear container for quick access.
- Place all small appliances together.
For deep cabinets, think in zones:
- Front Zone: Most-used items (mixing bowls, main pans)
- Middle Zone: Medium-use items (special baking pans, lunch containers)
- Back Zone: Least-used or heavy items (holiday platters, extra stock)
Label bins or shelves if you share the kitchen with others. Simple labels help everyone put things back in the right spot.
Step 6: Use Vertical Space Wisely
Deep cabinets are often tall as well as deep. Use the height to your advantage. Stack items carefully, but avoid making towers that will fall over.
Some tips:
- Store pans or trays upright using file racks.
- Place stackable shelves to create a second level for shorter items.
- Hang hooks inside the cabinet door for measuring cups or small tools.
If stacking, put heavier items at the bottom. Always make sure you can safely pull out what you need without causing a mess.
Step 7: Smart Storage For Different Items
Not all kitchen items are the same. Each type needs a slightly different approach.
Pots And Pans
Store pots with their lids nearby. Use a pull-out drawer if possible. If not, stack pots by size and place lids in a vertical bin or on an over-the-door rack. Avoid stacking too many, or you’ll have to unstack everything to get one pot.
Food Containers (tupperware)
Match lids and bases before putting them back. Use a deep bin for lids and store containers nested together. Pull-out drawers or clear bins prevent lids from scattering everywhere.
Canned Goods
Tiered racks or bins work best. Place cans with labels facing out. If storing in bins, label the bins by type (soup, beans, fruit). Rotate older cans to the front when you add new ones.
Small Appliances
Put heavy appliances (like a stand mixer) on a lower shelf for easy lifting. Store cords neatly—use a Velcro tie or wrap. Keep small attachments in a labeled bag or box inside the cabinet.
Baking Sheets And Cutting Boards
Store vertically using a file rack or a divider. This saves space and makes it easy to grab just one sheet. Place at the side or back of the cabinet.
Bulk Food
Use airtight containers for flour, rice, or sugar. Label the containers and place them in the back or on a pull-out shelf. Avoid keeping large, opened bags—they can spill and attract pests.
Step 8: Make Items Easy To See
Visibility is key in a deep cabinet. Use clear bins or containers whenever possible. If you cannot see inside, add a label on the front.
A battery-powered stick-on light can brighten the cabinet. Place it at the top or side so you can see all the way to the back.
For food, keep a simple inventory list taped inside the cabinet door. Update it when you add or use items. This helps prevent buying duplicates or letting food expire.
Step 9: Maintain The System
A good system only works if you keep it up. Every month or two, do a quick check. Tidy up bins, match lost lids, and wipe surfaces. Remove items you no longer use.
If something isn’t working, change it. Maybe you need another bin or a better divider. Organizing is not a one-time job—it’s about creating habits that make your kitchen easier to use.
Credit: sinclaircabinets.com
Step 10: Special Tips For Renters And Small Kitchens
If you rent, you might not be allowed to install pull-out shelves or make big changes. Try these ideas:
- Use removable organizers like tension rods or free-standing bins.
- Stick-on hooks can hold small tools.
- Stackable plastic drawers do not require screws or nails.
- Use shelf risers to double up space.
In a small kitchen, be ruthless about what you keep. Only store what you truly need. Consider storing extra items in another room or giving away duplicates.
Step 11: Safety And Accessibility
Heavy items should go on low shelves to avoid injury. Make sure nothing sharp (like mandolins or knives) is loose in the cabinet. Use bins or cases for safety.
If children use the kitchen, keep fragile or dangerous items out of reach. Label bins in large, clear print for easy reading.
Step 12: Mistakes To Avoid
Many people try to organize but make mistakes that cost time and money. Here are common problems to watch for:
1. Buying Organizers Before Measuring
Always measure your cabinet first. Organizers that do not fit are a waste.
2. Overfilling Bins
If bins are too full, you won’t use them. Leave room to add or remove items easily.
3. Stacking Too High
Tall stacks fall over and make it hard to get what you need.
4. Ignoring The Back Of The Cabinet
Use pull-out drawers, lazy Susans, or bins to access the back.
5. Forgetting To Label
Without labels, items get lost and others cannot find things.
6. Keeping Everything
Be honest—if you do not use something, let it go.
Non-obvious Insights For Deep Cabinet Success
Many beginners overlook these smart ideas:
- Store “back stock” together: If you buy multiples (like four boxes of pasta), keep extras in one labeled bin. Only keep one box in the main food zone. This keeps daily-use areas tidy.
- Use “first in, first out” for food: Place new food at the back, move older food to the front. This reduces waste and saves money.
- Repurpose organizers from other rooms: Office file racks, shoe bins, or even magazine holders can work for trays or packets.
- Try lazy Susans for cleaning supplies: If you keep cleaning items under a deep kitchen sink, a turntable makes them much easier to reach.
- Use deep cabinets for “overflow” storage: If you have a pantry, keep only extras in deep cabinets.
Here’s another helpful table comparing types of bins for deep cabinets:
| Bin Type | Material | Visibility | Best For |
|---|---|---|---|
| Clear Plastic Bin | Plastic | High | Food, Containers |
| Wire Basket | Metal | Medium | Produce, Lids |
| Fabric Tote | Cloth | Low | Appliance Parts, Rare Items |
Real-life Example: Transforming A Cluttered Deep Cabinet
Sarah, a busy mom, had a deep cabinet that became a dumping ground for everything from cereal to baking pans. She never knew what she had and food often expired before she found it.
Here’s how she fixed it:
- Emptied the cabinet and sorted items: She tossed old food and gave away unused pans.
- Measured and bought bins: She chose clear plastic bins for snacks and a tiered rack for canned goods.
- Grouped by use: Daily breakfast items in front, baking tools in the back.
- Added a battery light: Made it easy to see everything.
- Labeled bins: Everyone in the family could find what they needed.
Now, Sarah spends less time searching and wastes less food. Her cabinet works for her whole family.
Data: How Organization Saves Time And Reduces Waste
Organized kitchens are proven to save time and money. A study by the National Association of Professional Organizers found that the average person spends 55 minutes a day looking for things at home. In the kitchen, this means wasted time looking for ingredients or tools.
Another survey found that 20% of food waste comes from not seeing what you have. By keeping deep cabinets organized, you can cut food waste and reduce trips to the store. Families who use pull-out shelves or bins report spending 15% less time searching for items compared to those who do not.
How To Organize Deep Corner Cabinets
Corner cabinets are even trickier. They are deep and hard to reach. Here’s how to make them work:
- Lazy Susans: These make the most of round, deep spaces. Store spices, small cans, or bottles.
- Swing-out shelves: Some corner cabinets can fit shelves that swing out when you open the door.
- Deep bins with handles: Use bins you can pull out like drawers.
- Store rarely-used items: Use the farthest corners for things you need only a few times a year.
Keeping Motivation High
Organizing deep cabinets can take time. It is easy to start but hard to finish. Try these tricks to stay motivated:
- Set a timer for 30 minutes and work in short bursts.
- Take before and after photos to see your progress.
- Reward yourself with a treat when you finish.
Ask family members for help. When everyone knows where things go, the system is more likely to last.
Long-term Benefits Of Organized Deep Cabinets
When your cabinets are organized, you cook more, waste less, and feel better in your kitchen. You save money by not buying duplicates and reduce stress because you can find everything quickly.
Clean, easy-to-use cabinets make meal prep faster and more enjoyable. Even if your kitchen is small or busy, these systems help you take control of your space.
For more inspiration and additional strategies, visit Good Housekeeping.
Frequently Asked Questions
How Do I Keep Deep Cabinets From Getting Messy Again?
Create clear zones and use bins or organizers. Label everything, so items always go back to the right place. Do a quick monthly check to keep things tidy.
What If I Cannot Install Pull-out Drawers?
Use bins with handles, lazy Susans, or free-standing shelf risers. These do not require any installation and can be removed if you move.
Can I Organize Deep Cabinets On A Budget?
Yes! Repurpose boxes, shoe bins, or office organizers. Dollar stores often have affordable bins and racks. The key is grouping similar items together.
How Do I Store Heavy Or Large Items Safely?
Keep heavy items on lower shelves to avoid lifting injuries. Use sturdy bins or dividers so items do not fall or shift. Always lift with your knees, not your back.
What Is The Best Way To Organize Deep Corner Cabinets?
Use lazy Susans, swing-out shelves, or deep bins with handles. Store rarely-used items in the farthest corners and keep daily-use items closer to the front.
Organizing deep kitchen cabinets does not have to be overwhelming. With the right steps, tools, and habits, you can turn even the deepest, messiest cabinet into a smart, usable space. Your kitchen will feel bigger, cleaner, and more enjoyable every day.

Credit: www.reddit.com